Wood Laser Engraving: Best Way to Engrave Wood
- Home
- >
- Laser engraver materials
- >
- Wood Laser Engraving: Best Way to Engrave Wood
Outline
So say goodbye to saws, planers, mills, drills, and chisels—no more tedious and risky manual carving! Wood Laser engraving will undoubtedly elevate your woodworking to a whole new level. Discover the surprising advantages it offers over traditional methods.
Why is laser better than other wood engraving methods?
- Easy adjustments - set parameters effortlessly on a computer
- Precise detailing - accurately replicate your designs
- Clean wood edge - Achieve smooth, burr-free surfaces
- Less material wastage - eliminate additional sanding or finishing
- Fast and Automated - Enjoy quick, labor-free operation
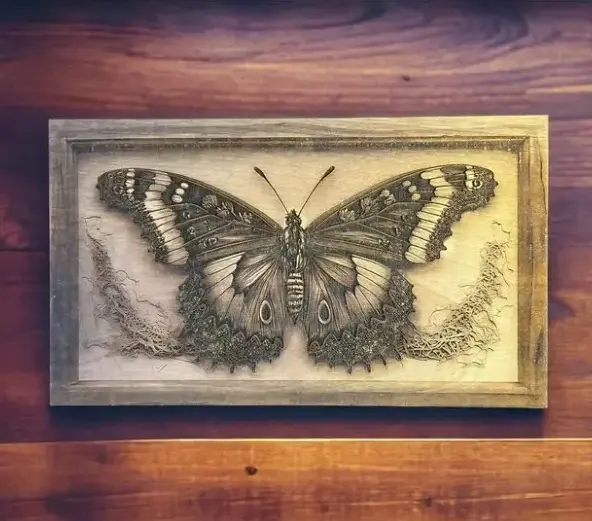
What can you create?
- Arts & crafts
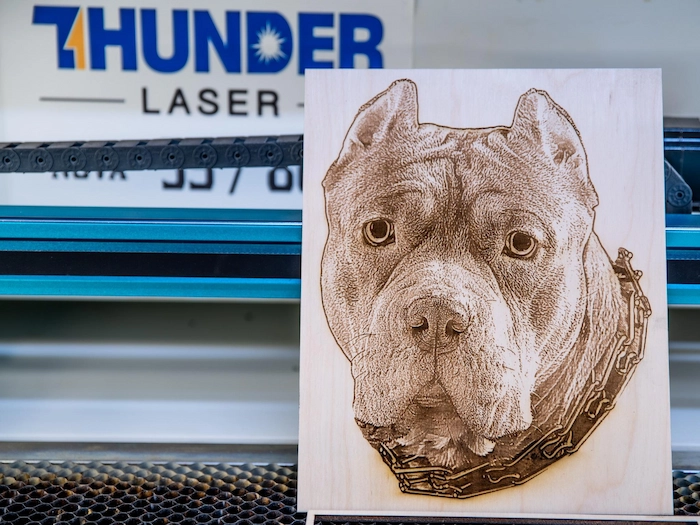
- Wooden engraved photos
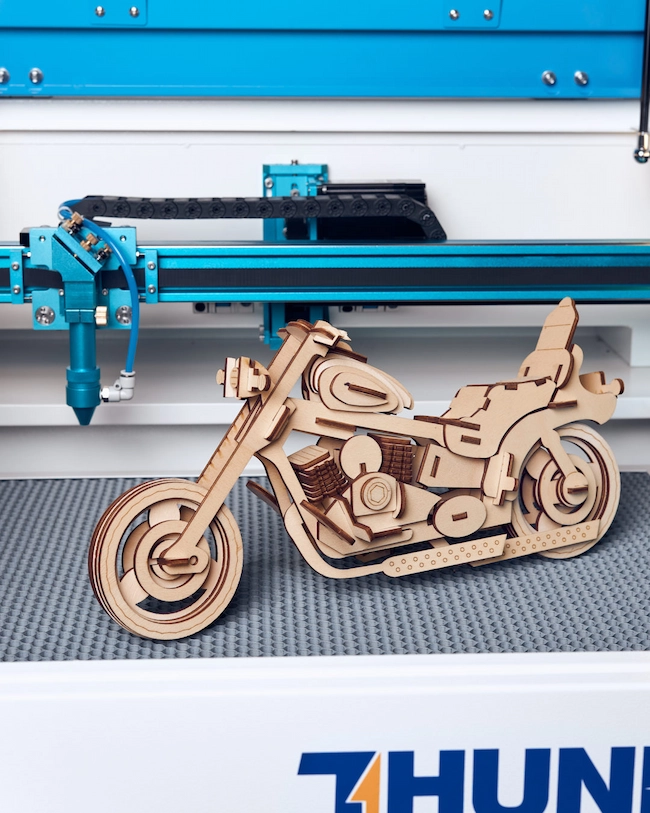
- Decorative items and ornaments
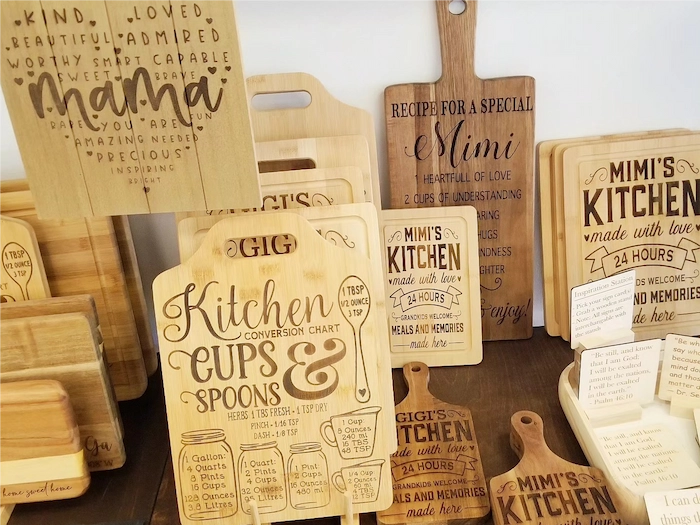

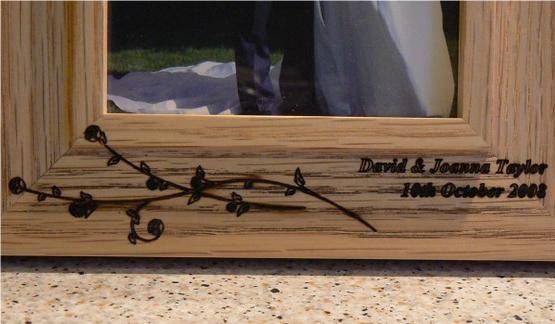
- Customized furniture and home goods
- Advertising sign
- Personalized gifts for friends and families
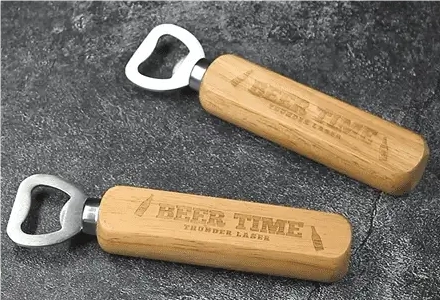
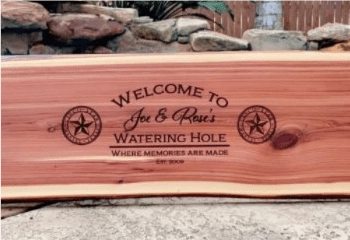
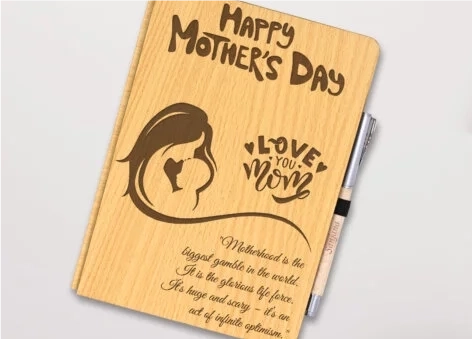
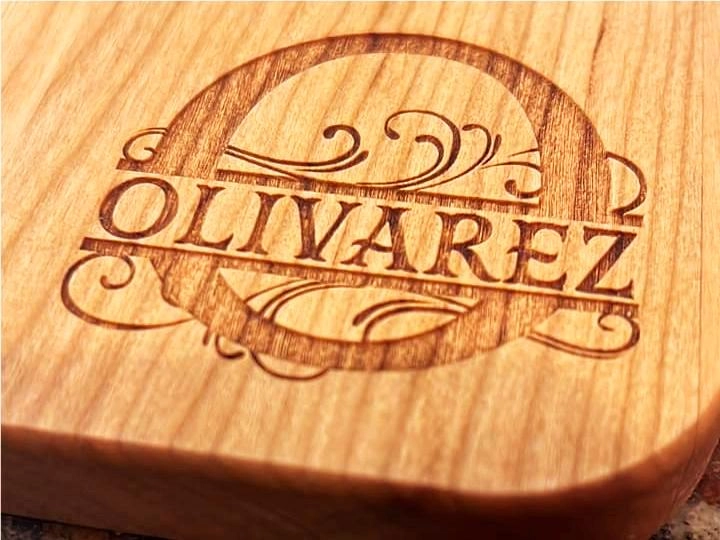
With a powerful wood engraving machine, you can easily complete a variety of creative wood laser engraving projects. Lasers can customize your everyday wooden items and carve intricate patterns and text on wood as art pieces or gifts. Discover the endless possibilities of wood laser engraving!
Wood etching vs wood engraving: What’s the difference?
Are Wood Etching and Wood Engraving the Same? You might confuse the usage and concepts of wood etching and wood engraving, but there are some subtle differences between them.
Laser etching is commonly used on most metal materials and typically utilizes fiber lasers. So, can wood etching also be done with fiber lasers? The answer is “NO”. Both wood etching and wood engraving are generally done using CO2 lasers for better results.
Wood etching employs low-power lasers and short focal lengths to rapidly ablate the wood surface, achieving high-resolution and intricate patterns. This method is ideal for designs rich in detail. Wood engraving, on the other hand, uses high-power lasers with longer focal lengths at lower speeds to create deeper carvings in the wood, enhancing the three-dimensional effect. By adjusting the laser power and speed, you can achieve different results for wood etching or engraving.
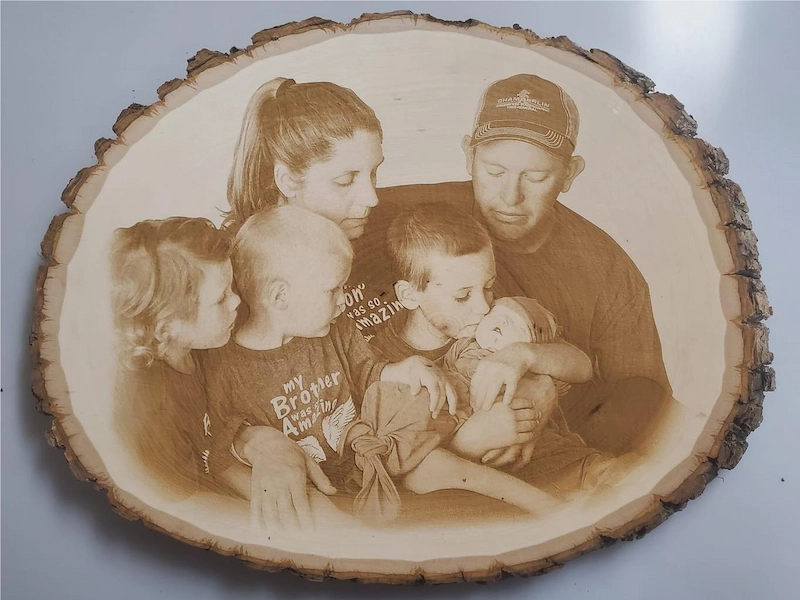
wood etching
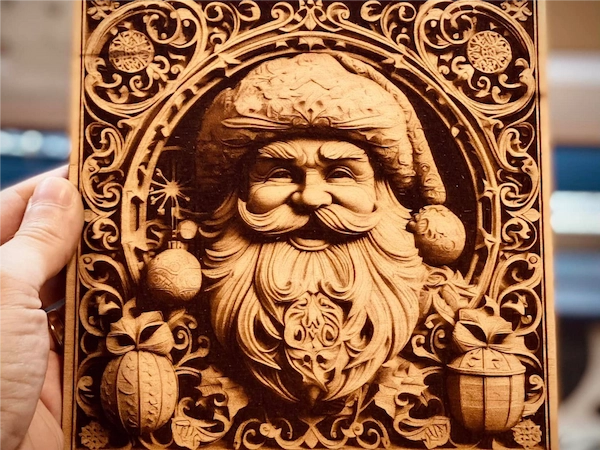
wood engraving
The best wood for laser engraving
The world of wood laser engraving opens up to a vast array of possibilities with hundreds of wood materials available in the market. A high-quality laser engraver for wood can work its magic on various materials, turning them into stunning creations. Among the commonly used materials in laser processing are plywood, solid wood boards, and medium-density fiberboard (MDF).
- Plywood
- Solid wood
- MDF
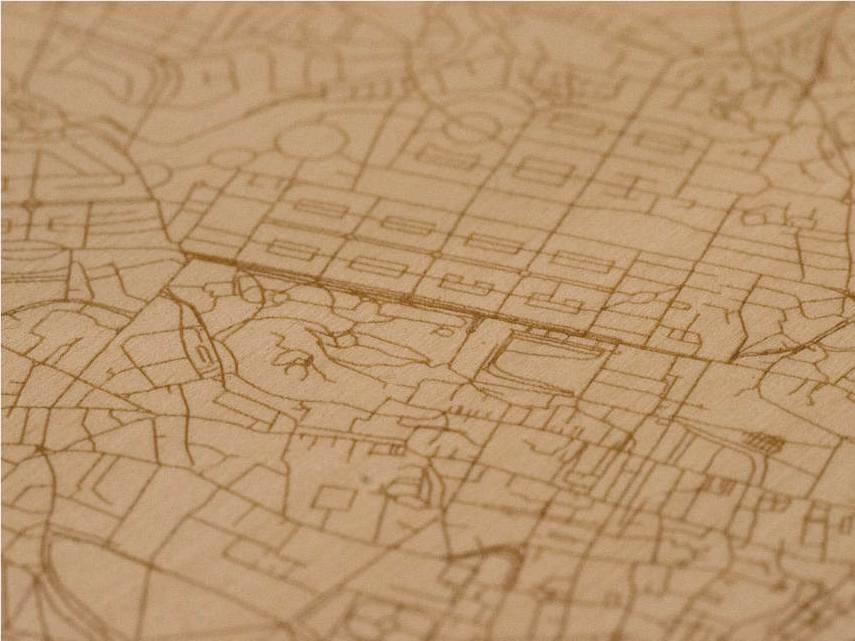
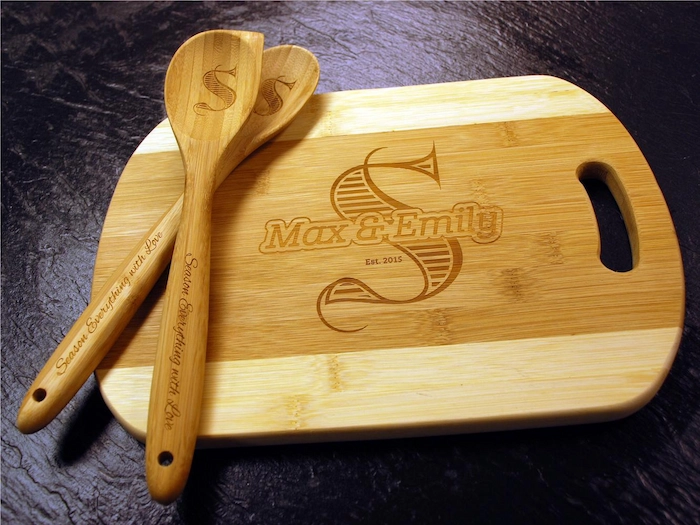
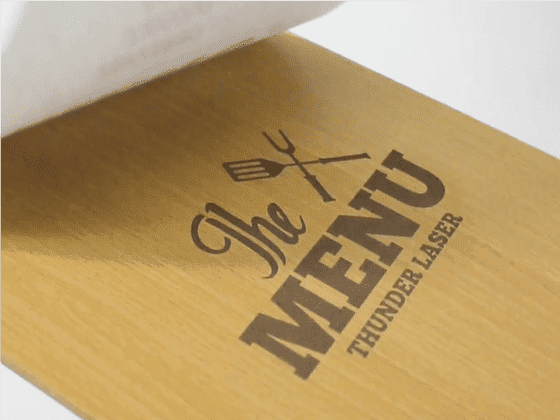
How to laser engrave wood by laser machine?
How does laser wood engraving work?
- Laser focusing
- Material removal
- Air assist
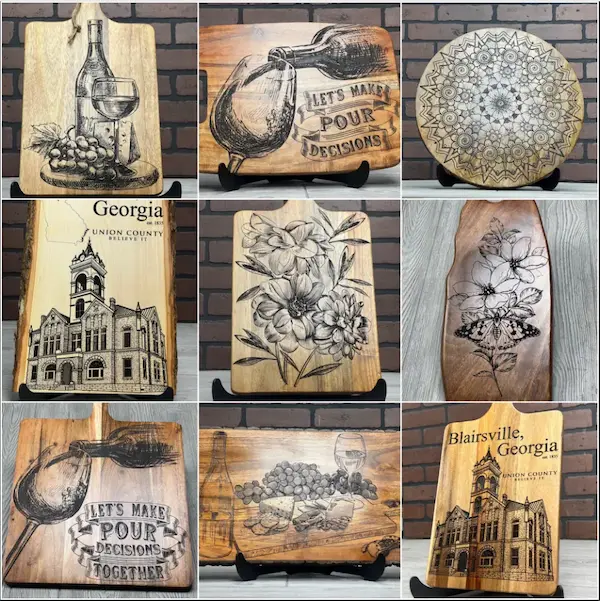
Basic Steps to engrave wood by lasers!
- Prepare materials and machine
- Perform test and formal engraving
- Post-processing
Should I sand wood before laser engraving?
How to darken laser engraving on wood?
- Adjusting settings and performing multiple passes
You can darken engraving on wood by adjusting machine settings. First, you can increase the laser power and decrease the speed, generating higher power to burn the wood more deeply, thus darkening the engraving. Multiple passes, running the laser over the same area several times, can also deepen the engraving and make it darker.
- Using diverse auxiliary products
Many auxiliary products can also achieve a darkening effect. Pre-Engraving Stain applied to the wood before engraving can lead to a darker finish. Be sure to let the stain dry completely before processing. Wood Filler or colored wax can be used after engraving; once dry and sanded, they reveal clean, dark engravings. Chemical Darkening Agents, such as a diluted solution of potassium permanganate, can also be used after engraving. These chemicals react with the wood to darken the engraved areas, but testing is necessary before use.
How to clean wood after wood laser engraving?
You may need to sand the surface after wood laser engraving. Grinding should be done lightly and do not use pressure down. The surface after the first grinding is slightly rough, but after the next grinding it becomes smooth, and the last grinding will remove the remaining rough traces.
First, using 3/0 sandpaper
Use rough sandpaper when grinding – for most wood, you want to use 3/0 sandpaper,
Second, using 4/0 sandpaper
For some very soft wood, such as pinewood or yellow wood, use 4/0 sandpaper.
Finally, using 5/0 or 6/0 sand paper
Gradually replace with 5/0 sandpapers, and finally use 6/0 sandpapers.
Although theoretically, the sandpaper is more thin, the surface of the grinding wood is smoother, but using too thin sandpaper will not only block the thin holes but also affect the effect of the paint. So, you may need to use different sand according to your need.
Choose the best laser wood engraver
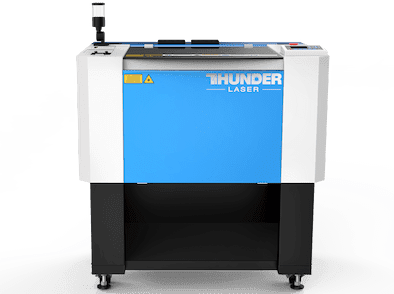
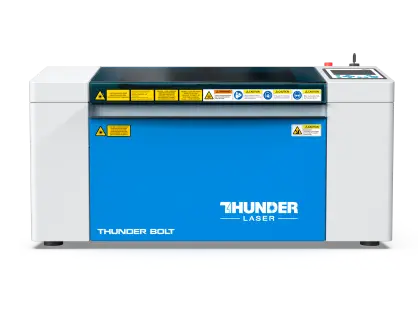
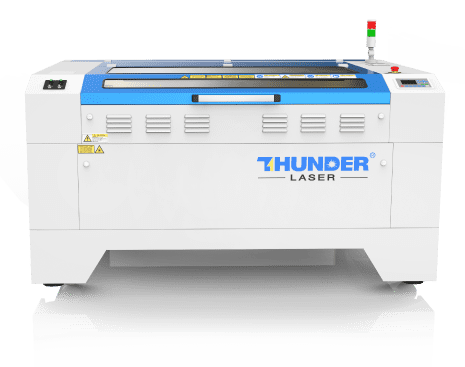
Our top pick? The Thunder Bolt Pro Laser Engraver, a gateway to unparalleled artistry. Enter the realm of artistry with the Thunder Laser engraver for wood boasting speeds up to 2000mm/s. In just a matter of tens of minutes, you can witness the transformation of wood into a masterpiece.
Additionally, Thunder Bolt’s desktop size is suitable for those with limited space, bringing you high-precision wood laser engraving. The Thunder Nova series supports large-scale production with their expansive working areas, and features pass-through doors to accommodate oversized materials. You can choose the laser engraver for wood that suits your needs!
Parameters for wood laser engraving
The following parameters of basswood plywood on Thunder Laser Nova 35 are provided for reference. It’s advisable to conduct small-scale tests and adjust parameters accordingly for your specific needs.
| Named layers | Speed (mm/S) | Power(%) | Direction | Line Interval/DPI | Blow Type | Blow Value |
|---|---|---|---|---|---|---|
| Shallow carving(image) | 500 | 10 | Horizontal Double | 300 | weak | below 0.1 |
| Shallow carving(text) | 500 | 10 | Horizontal Double | 300 | weak | below 0.1 |
| Shallow carving(label) | 500 | 8 | Horizontal Double | 300 | weak | below 0.1 |
| Running a line | 40 | 5 (Corner power5) | Horizontal Double | weak | below 0.1 | |
| Cutting | 45 | 75 | strong | 8 |
Tips and tricks you need to know
What is the role of blowing during wood laser engraving?
Air assist in laser machines serves several purposes:
1. Cool the material and the engraving area, reducing the risk of burning or charring.
2. Blow away smoke and debris, preventing contamination of the lens.
3. Remove molten material, leading to more accurate engravings and smoother edges.
How to reduce backside charring in wood laser engraving?
During wood laser engraving, the laser energy passes through the material and strikes the honeycomb platform. It is then reflected back onto the backside of the wood by a metal mesh, causing it to char and leaving unwanted and visible marks. These marks are a result of laser reflection, reducing them can be achieved by minimizing this reflection. Here are several methods to do so:
1. Optimize Processing Parameters. Increase the cutting speed and lower the laser power.
2. Elevate the Wood with a Nail Bed or Similar Tool. Raise the wood above the honeycomb platform for cutting, similar to using a nail bed.
3. Cut with a Knife Blade Beneath the Wood. Cutting with a knife blade beneath the wood, which is less dense than the honeycomb platform. However, it’s essential to cut from the inside out and this method may not be suitable for very small parts.
4. Cover the Backside with Decorative Paper. Place decorative paper on the backside of the wood, allowing it to absorb some of the reflected energy in place of the wood.
5. Enhance Ventilation. Improve the air assist and exhaust system to minimize the smoke and fumes between the wood and the platform.
- Tags


.png) International
International
 United States
 Brasil
 Canada
 Costa Rica
 Česká
Česká
 Ελλάδα
 Polska
 Ireland
 Portugal
 Lietuva
 Россия
 Deutschland
 Britain
 Україна
 France
 Sverige
 Italia
 Norway
 Denmark
 Romania
 한국
한국
 中国
中国
 ประเทศไทย
 中国香港
中国香港
 Israel
 中國臺灣
中國臺灣
 India
India
 پاکستان
 پශ්රී ලංකා
 ジャパン
ジャパン
 Australia
 New Zealand
 South Africa