Size is incorrect when you using the rotary attachment
Reasons
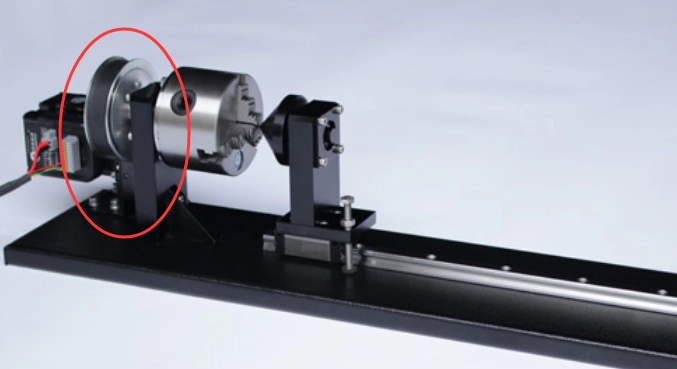
1. Wrong circle pulse or diameter
(1) Circle pulse
Check the gear ratio on your rotary attachment.
Gear ratio 4:1 structure, like below. The Circle pulse or steps per rotation should be set as 16000.
(2) Diameter
The diameter you enter in the software must be the outer diameter of the object you want to engrave/cut.
Solution: Enter the correct circle pulse and diameter.
2. Wrong operation method
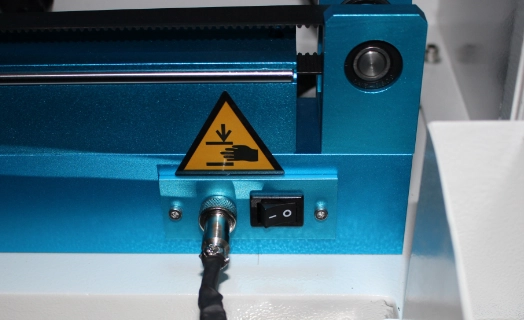
Check the Rotary connector on your machine, the connector is located inside the right front of the machine.
7-pin connector on the machine, like below.
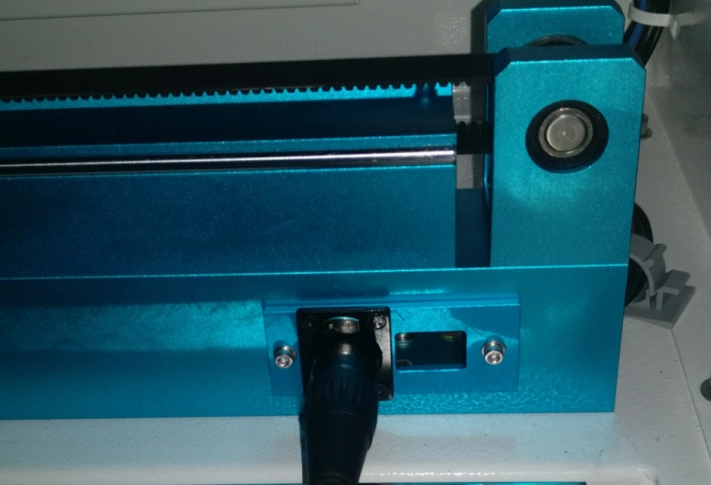
For this type connector, rotary axis is controlled by U axis.
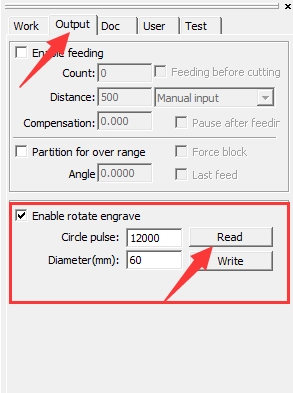
In RDworks, the setting of “Enable rotate engrave” need read and write button that can save the setting into U axis, like below.
Read>>tick “Enable rotate engrave”>>set “Circle pulse” and “Diameter”>>Write

For this type connector,rotary axis is controlled by Y axis after turn on the rotary switch.
In RDworks, there must be no read and write button on the setting of “Enable rotate engrave”.
Tick “Enable rotate engrave”>>set “Circle pulse” and “Diameter”.
PS: The machine with 5 pin type rotary connector does not work correctly with the software Lightburn.
Tip: how to enable and disable the Read and write button on “Enable rotate engrave” of RDworks?
Go into the RDworks’s root directory>>open the text file of “soft”>>change the setting of “ShowRWRotate” >> save the text file, like below.
Solution: Please check what the type of your rotary connector is and run the rotary attachment with correct way.
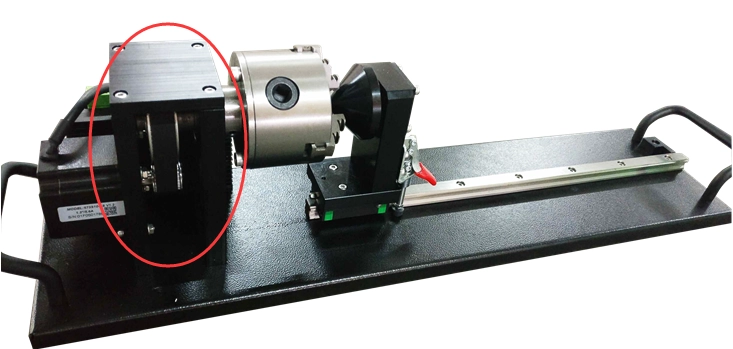
3. Wrong setting on Rotary attachment
Please check Your Rotary attachment
1.The setting for separated motor and driver, like below.
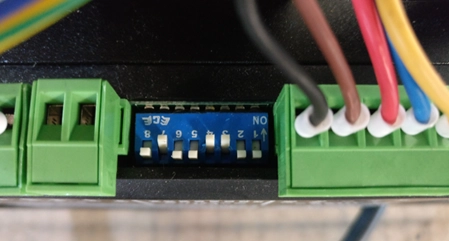
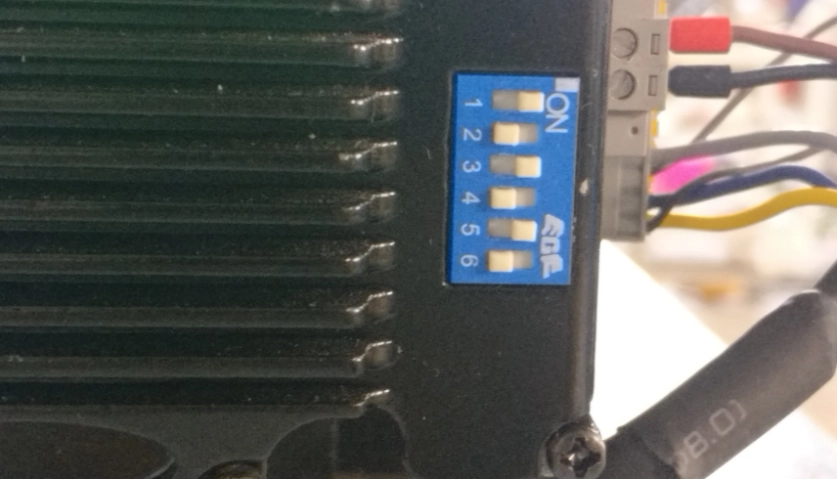
Solution: Change the dip switchs according to pictures above.
Chuck Rotary and Lightburn
Chuck Rotary Settings in Lightburn
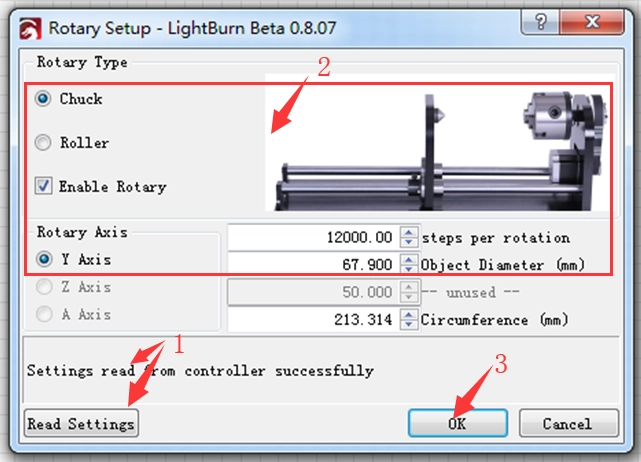
In Lightburns top menu options click Laser Tools. The drop down menu will show Rotary Setup. Click this option to expand the Rotary Setup window. Follow the following steps to set up your chuck rotary.
1.Select Chuck Rotary Type
2.Enable Rotary
3.Steps per rotation should be 12,000 spr
4.A axis should be selected
5.The Object Diameter and Circumference represent your objects size in two different formats. You can enter one or the other.
6.Make sure that the “Read from the controller is successful” to ensure you’re connected and communicating with the laser.
Chuck Rotary Placement and Alignment
1.Lower your Z-Table so you can safely use the rotary without obstructions
2.Plug in your Chuck Rotary (motor on right)
3.Use your red dot laser over the track to align your Chuck Rotary moving it left to right.
4.Place your object on the Chuck and use the key to secure and level your object.
5.Using the Manual Focus methods to bring your laser into focus with the object.
6.Test your graphic and your object measurements.

.png "laser cutter Globle")


