


Wood Laser Engraving and Cutting Guide
 2022-10-22
WHAT ARE YOU LOOKING FOR?
Search Across Products, Blog Posts, Support Content, And Resources.

Wood Laser Engraving and Cutting Guide
2022-10-22

Wood laser engraving and cutting can create detailed patterns, personalized signs, photographs, gifts, décor, models, and production-ready wooden products. Compared with many manual methods, laser processing offers greater consistency, repeatability, and design flexibility.
This guide covers wood laser projects, wood laser machines, engraving settings, suitable wood types, photo engraving, material safety, finishing methods, and practical project ideas.
Laser processing is widely used for wood signs, decorative panels, gifts, architectural models, photographs, and other creative products. A suitable laser machine can reproduce detailed graphics, adapt designs for different customers, and maintain consistent results across repeated jobs.
Most CO2 laser systems can engrave, mark, and cut compatible wood materials. The required laser power, speed, focus, airflow, and number of passes depend on the wood type, thickness, design, and desired result. Below are examples of laser-cut and laser-engraved wood projects.
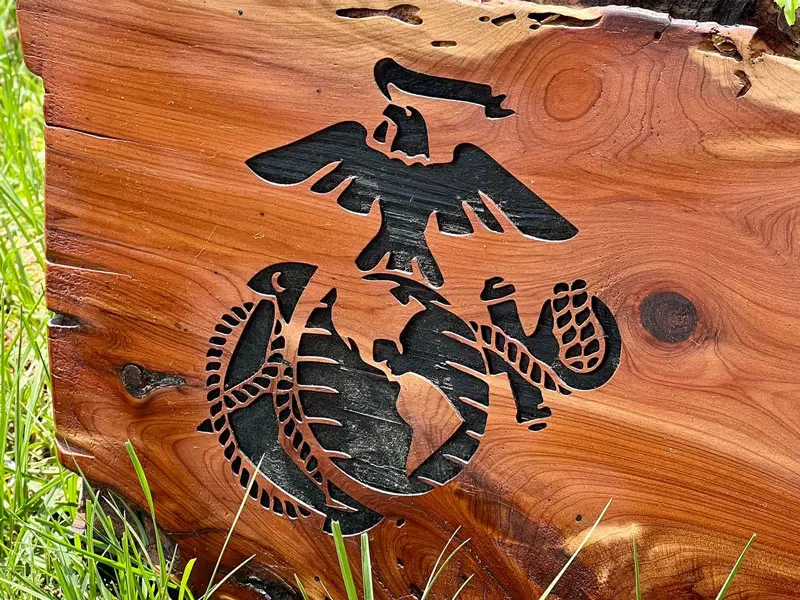
Cedar Wood
Birch Wood
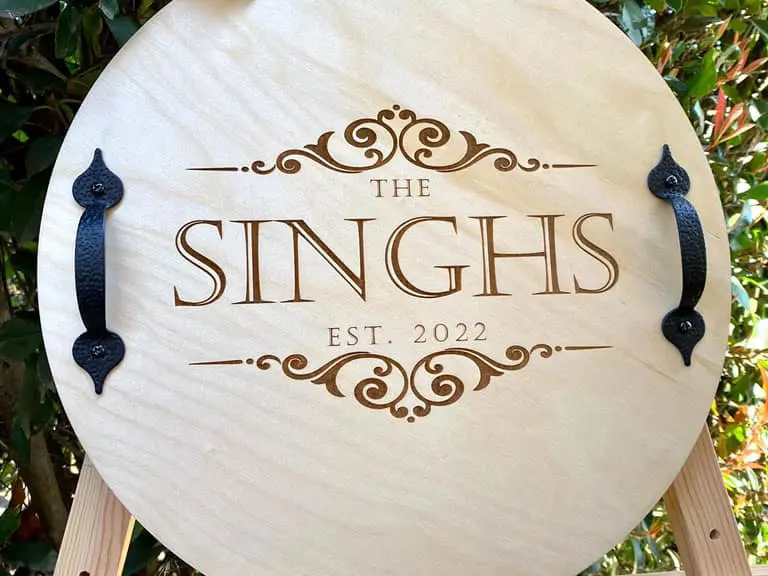
Laser Wood Sign
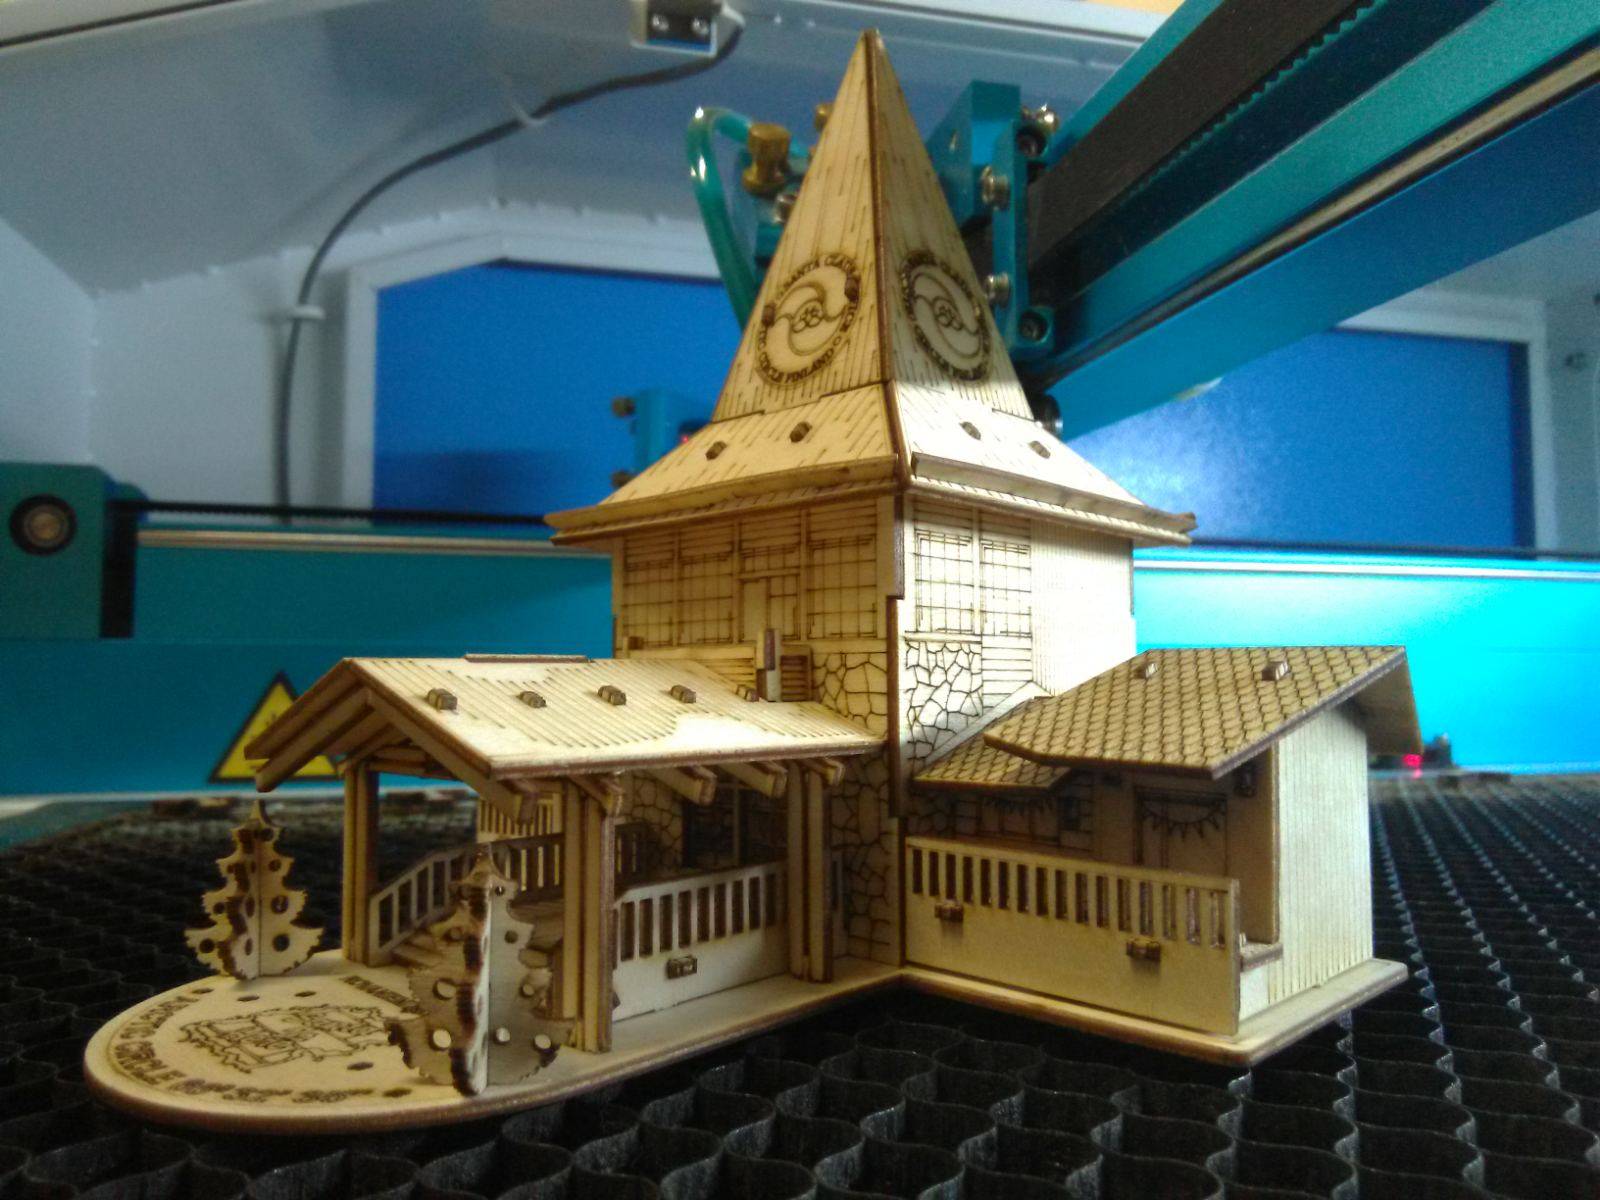
Laser-Cut Building Model
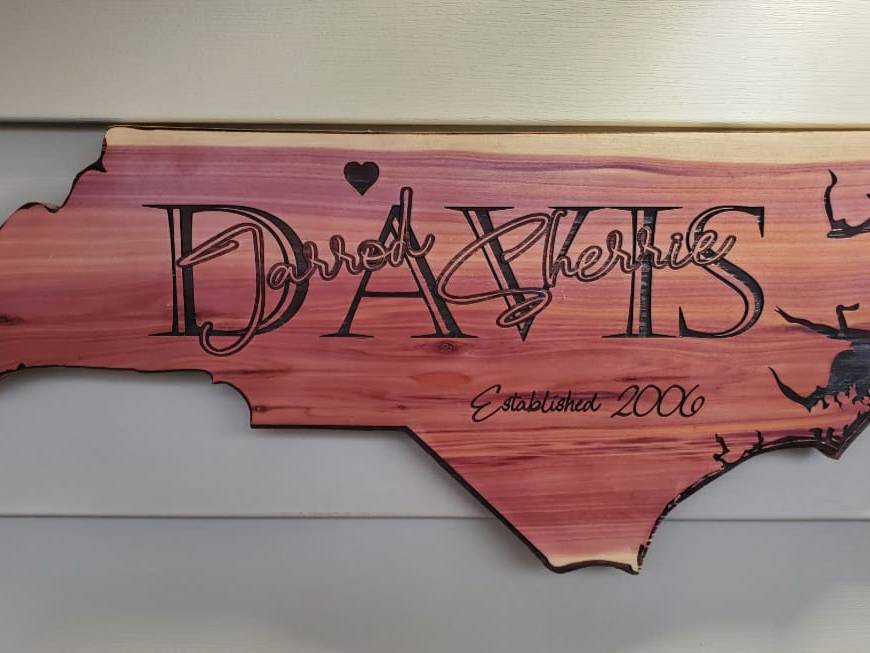
Laser Engraving Sign
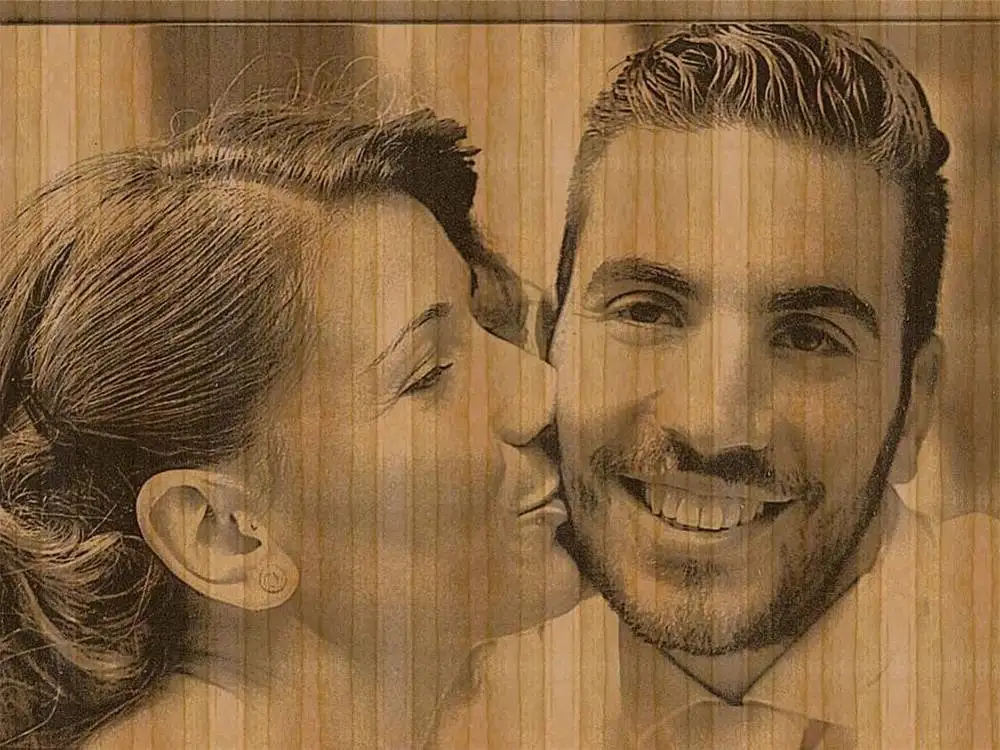
Wood Photo Engraving
More finished samples, project files, material information, and starting settings are available in the Thunder Laser Inspiration Library.
Choosing the right wood laser machine is essential for achieving the required engraving detail, cutting capacity, working area, and production efficiency. Different systems vary in laser source, power, beam quality, motion speed, work area, airflow, cooling, and compatible applications.
Common laser options include diode, fiber, RF CO2, and DC glass CO2 lasers. Each laser source has different strengths, but CO2 systems are generally the most practical choice for untreated wood engraving and cutting. For a more complete purchasing comparison, see the Laser Engraver for Wood Buying Guide.
CO2 lasers are generally the most versatile choice for professional wood engraving and cutting. Diode lasers can engrave and cut selected wood materials and are commonly used for entry-level, desktop, and lighter-duty projects. Fiber lasers are mainly designed for metals and selected plastics, so they are not normally recommended as a general-purpose solution for untreated wood.
| Laser Type | Wood Suitability | Best For | Main Limitations |
|---|---|---|---|
| CO2 Laser | Excellent | Detailed engraving, photo engraving, cutting, signs, gifts, furniture components, and professional production | Requires suitable exhaust, Air Assist, cooling, and more workspace than many diode systems |
| Diode Laser | Good for selected wood projects | Entry-level engraving, hobby projects, small products, and lighter cutting applications | Cutting capacity, speed, enclosure, work area, and material compatibility vary significantly by system |
| Fiber Laser | Limited for untreated wood | Metals, selected plastics, and specially tested coated or treated surfaces | Not the standard choice for general wood engraving or cutting |
CO2, diode, and fiber laser suitability for wood engraving and cutting.
CO2 lasers are widely used for wood because their wavelength is effectively absorbed by many organic and non-metal materials. They can create surface marks, photographs, detailed text, recessed engraving, and cut profiles on compatible solid wood, plywood, MDF, cork, and bamboo.
CO2 systems are also available with different laser-source configurations. RF CO2 lasers are well suited to detailed, high-speed, and repeatable engraving, while DC glass CO2 lasers are widely used for general engraving and cutting.
Diode lasers can engrave many natural and engineered wood products and can cut selected thin materials, depending on optical power, wavelength, focus, airflow, and machine design. Their compact size and lower entry cost make them common among hobby users, home studios, and small-project workflows.
Diode systems vary considerably in enclosure, extraction, working area, speed, optical power, and cutting performance. A diode laser may be suitable for occasional engraving and lighter projects, while users requiring faster production, larger work areas, deeper cutting, or broader non-metal compatibility may prefer a CO2 system.
Fiber lasers are primarily optimized for metals and selected plastics. They may create marks on certain coated, treated, or composite wood surfaces, but the result depends heavily on the exact surface and laser configuration.
For untreated wood, fiber lasers are not normally the preferred option because they do not provide the same general engraving and cutting workflow as CO2 or diode systems. Any fiber-laser wood application should be verified through material testing before production.
For most professional wood engraving and cutting applications, choose a CO2 laser. Consider a diode laser for entry-level or lighter-duty wood projects. Choose a fiber laser when metals and selected plastics are the main materials rather than untreated wood.
For a detailed comparison of laser power, working area, production speed, Air Assist, exhaust, cameras, pass-through capability, and machine cost, read the Laser Engraver for Wood Buying Guide.
Wood laser cutting machines vary according to the required material thickness, laser power, working area, production volume, and project size. They can generally be divided into smaller machines for home studios, schools, makerspaces, workshops, and personalized production, and larger machines for growing businesses and higher-volume production.
Small wood laser cutters are suitable for personalized signs, gifts, models, classroom projects, samples, and small-batch production. Their compact size makes them easier to install in home studios, schools, makerspaces, and smaller professional workshops.
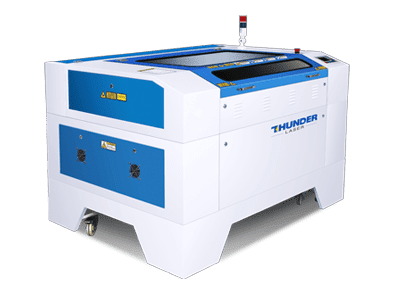
Nova Laser Cutter
The Nova Series combines DC glass CO2 laser power, practical working areas, stable motion control, and Dual Air Assist for general wood engraving and cutting.
Smaller wood laser cutters can support home studios, schools, makerspaces, workshops, and small production environments. Diode lasers are commonly used for lighter work, while compact CO2 laser systems can provide faster engraving, larger enclosed work areas, and greater cutting capability, depending on their power and configuration.
Large wood laser cutters are suitable for growing workshops and production teams processing larger signs, furniture components, layered décor, packaging, architectural models, displays, and repeated batches of wooden products.

Nova Plus Laser Cutter
The Nova Plus Series combines an RF CO2 laser source, large-format working areas, high engraving speed, Dual Air Assist, integrated cooling, and standard camera positioning for professional engraving and cutting.
Nova Plus models range from a compact 600 × 400 mm platform to a 1,600 × 1,000 mm large-format work area. This allows workshops to select a machine according to product size, batch volume, available floor space, engraving requirements, and cutting applications.
The RF CO2 source supports fine engraving and stable production, while the larger work areas are suited to signs, layered wood products, furniture parts, displays, and repeated production jobs. Actual cutting capability still depends on the wood species, density, thickness, glue, lens, focus, airflow, speed, and number of passes.
Compare additional systems and applications on the Wood Laser Engraving and Cutting Machines page.
Laser power, speed, Air Assist, focus, lens selection, and material properties all affect the final wood engraving or cutting result. The following factors should be reviewed before processing the final product.
Laser power controls how much energy reaches the wood. Increasing power can produce a darker or deeper result, but excessive power may cause heavy carbonization, smoke stains, loss of detail, or fire.
Power should always be tested together with speed, line interval, focus, airflow, and passes.

Laser power affects engraving color, depth, and heat input.
Speed controls how long the laser interacts with each part of the wood. Faster movement normally produces a lighter and shallower effect, while slower movement increases energy exposure and can create darker or deeper engraving.
Moving too slowly may overheat the wood, blur small details, increase residue, and raise the fire risk.

Laser speed affects engraving depth, contrast, and processing time.
Air Assist helps protect the lens, reduce flare-ups, move smoke away from the processing area, and remove debris from the cutting kerf.
For fine wood engraving, low or controlled airflow is often preferred because it can reduce overheating and protect the optics without unnecessarily disturbing the engraving effect.
For wood cutting, stronger airflow is generally used to remove smoke and debris from the kerf and reduce excessive charring. Thunder Laser machines equipped with Dual Air Assist can use different airflow stages for engraving and cutting workflows.

Air Assist should be adjusted according to the engraving or cutting process.
Correct focus helps maintain a small laser spot and improves engraving clarity. The most suitable lens depends on whether the priority is fine engraving, general-purpose processing, thicker cutting, or a greater depth of focus.
Common CO2 laser lenses include 1.5-inch, 2.0-inch, 2.5-inch, and 4.0-inch options. A shorter-focus lens can support smaller details, while a longer-focus lens provides a greater depth of focus. See the CO2 Laser Lens Selection Guide for a more detailed comparison.
The small gap measured with a focus gauge is the working distance used during focusing. It should not be described as the optical focal length of the lens. The difference is explained in the Focal Length vs. Focal Distance Guide.

Follow the focusing procedure for the exact machine, laser head, and lens.
Whether you are creating a personal project or producing professional engraved products, the following factors can improve engraving quality, reduce failed attempts, and make the results more consistent.
Before choosing wood for an engraving project, study its structure and surface condition. A suitable and consistent material can improve the result, reduce waste, and save setup time.
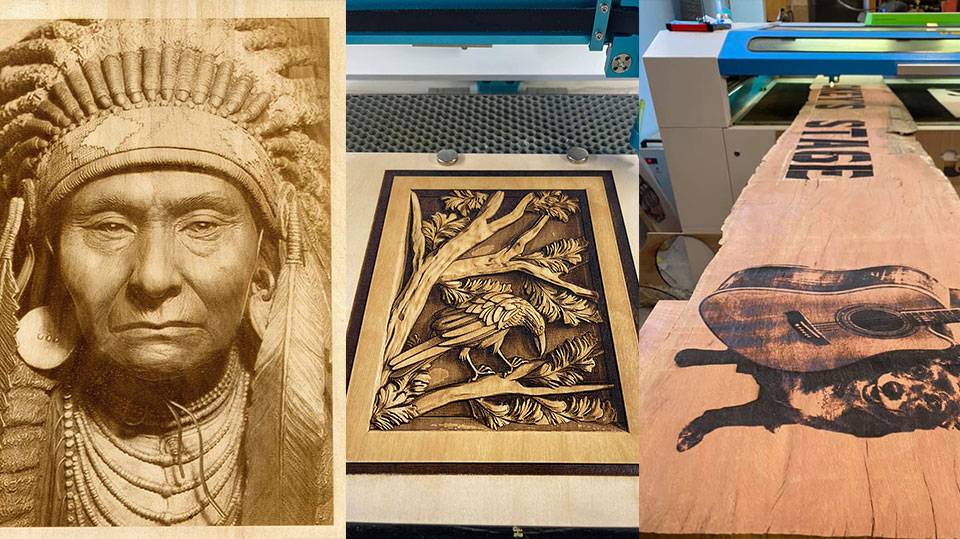
Wood Engraving Sample
Do not place an unidentified wood product under a laser without checking its composition. Wet, treated, coated, laminated, or adhesive-based products may produce poor results or introduce additional safety concerns.
For a broader comparison of species, grain, color, resin, engraving contrast, and project suitability, read the Best Wood for Laser Engraving Guide.
Density, growth rings, knots, resin, moisture, surface finish, and board flatness all affect how easily wood can be engraved.
Choose flat wood with consistent color and as few irregularities as possible. When using plywood, select sheets with a uniform face veneer, minimal warping, suitable adhesive, and as few internal voids as possible.
The Plywood Laser Cutting and Engraving Guide explains how veneer, core construction, glue, internal voids, and sheet quality affect laser processing.
Edge burn refers to darkening caused by heat during engraving or cutting. Some thermal color change is a natural part of laser processing, but excessive burning can be reduced.
Use an appropriate combination of speed and power, maintain correct focus, improve exhaust, select suitable airflow, keep the optics clean, use masking when appropriate, and choose wood with consistent moisture and resin content.
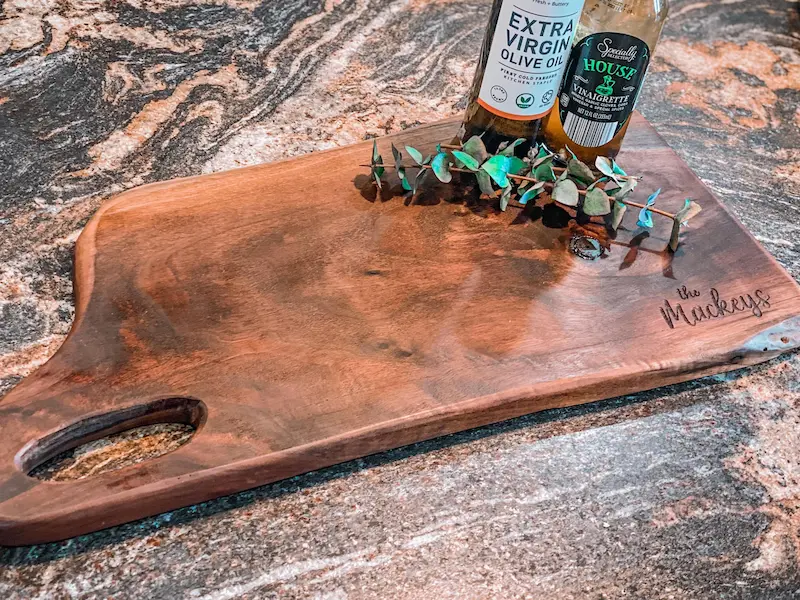
Walnut Wood
Wood thickness and density vary by species, product, supplier, and material batch. Each laser machine has different cutting capabilities, and dense wood generally requires more energy than lightweight wood.
When a material is close to the maximum cutting capacity of the machine, multiple passes may be required. Adjust settings according to the exact wood type, density, thickness, lens, airflow, and desired edge quality.
Finishing can make engraved wood look cleaner, improve contrast, and protect the final product.
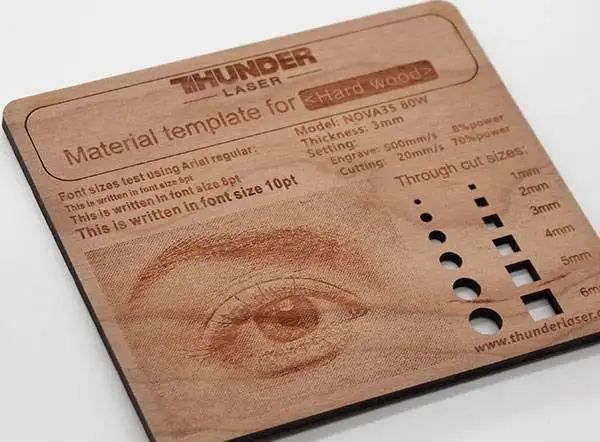
Adjust laser power, speed, line interval, Air Assist, focus, and passes according to the wood type, density, thickness, surface condition, and desired result.
Settings from another machine or material should only be treated as starting references. Test the exact material batch before processing the final product. The Laser Material Settings Test Guide explains how to build a systematic speed-and-power test instead of relying on one universal parameter.
Before engraving, prepare the photograph so that important details, highlights, shadows, and midtones can be reproduced on the selected wood. Depending on the desired result, the image may be converted into grayscale, a sketch, a bitmap, a dithered image, or another suitable processing mode.
How to Laser Engrave a Photo on Wood
For additional image-processing methods and software guidance, see How to Laser Engrave a Photo.
Choose a clear, high-resolution photograph and open it in suitable image-editing software such as Adobe Photoshop.
Use the selection tools to remove or simplify distracting background elements. Review the brightness, contrast, highlights, shadows, and local details before converting the image into the final engraving format.
In the original workflow, the image was converted through Image > Mode > Bitmap, kept at 1-bit depth, saved as a BMP file, and adjusted into a sketch-style image.

A Color Photograph

A Sketch Picture Processed by Software
Import the prepared photograph into the laser software. Position and rotate the image according to the wood grain and project shape.
In the original example, the wood fibers were positioned parallel to the X-axis. This orientation can affect how the natural grain interacts with facial details and tonal transitions.
The original project recorded the following settings:
These settings should be treated as values from the original example rather than universal recommendations because the complete machine model, rated laser power, lens, exact wood construction, and full processing conditions were not recorded in the article.

Settings used in the original photo engraving workflow.
After confirming the position, focus, framing area, and settings, run a small sample before engraving the complete photograph.
In the original source example, the BMP resolution was set to 1500 and the frequency value was set to 70. These values should remain associated with that specific workflow and should not be interpreted as universal settings for all wood, software, or laser machines.

Bitmap resolution settings from the original workflow.
Allow the engraved wood to cool before handling it. Remove loose smoke residue carefully and avoid aggressive sanding that could erase shallow photographic details.
Apply an appropriate finish when necessary to protect the wood or improve the final appearance. Test stain, oil, wax, paint, or protective coating on scrap material because finishing may change the visible contrast of the photograph.

Laser-Engraved Photo on Wood
A separate Wood Photo Engraving Case Study provides an additional real project example and tested starting settings.
Some wood products require additional verification because their species, coatings, adhesives, treatments, or composite layers may affect processing quality and safety.
Confirm the material composition with the supplier whenever possible. The Materials Not Suitable for Laser Processing Guide explains how coatings, plastics, adhesives, composites, and unknown materials can affect operator safety and machine protection.
Use effective extraction and filtration, follow all machine safety instructions, and never leave combustible wood unattended during laser processing. Where external ventilation is not practical, a suitable laser fume extraction system can help manage smoke, particles, odors, and airborne contaminants.
Wood laser engraving and cutting can support personal projects, commercial customization, classroom activities, and repeatable production.
Explore the Thunder Laser Inspiration Library for wood project tutorials, finished samples, design files, materials, software steps, and tested starting settings.
Laser wood engraving and cutting can be used to create signs, photographs, gifts, décor, models, furniture details, packaging, and many other creative or commercial products.
Cleaner and more consistent results depend on selecting the right CO2 laser machine for wood, choosing a suitable material, maintaining correct focus, controlling Air Assist and exhaust, and testing the final material batch before production.
Always review the machine manual, monitor the process continuously, and avoid processing wood products with unknown treatments, coatings, adhesives, or chemical composition.
Need Help Choosing a Wood Laser Machine?
Compare Thunder Laser CO2 systems for wood engraving, cutting, signs, gifts, furniture components, and professional production, or send your exact material to our Applications Lab for testing.
Explore Wood Laser Machines Request Material Testing Contact UsTalk To Our Experts Now!
Please leave your contact information so that we can serve you better.
LASER WOOD ENGRAVING FAQS
TAKE THE NEXT STEP WITH THUNDER LASER

 Stable & Consistent MachinesUnlimited ApplicationRobust After-sales SupportFactory Direct Supply


