Step 1. Stabilize the machine's foot
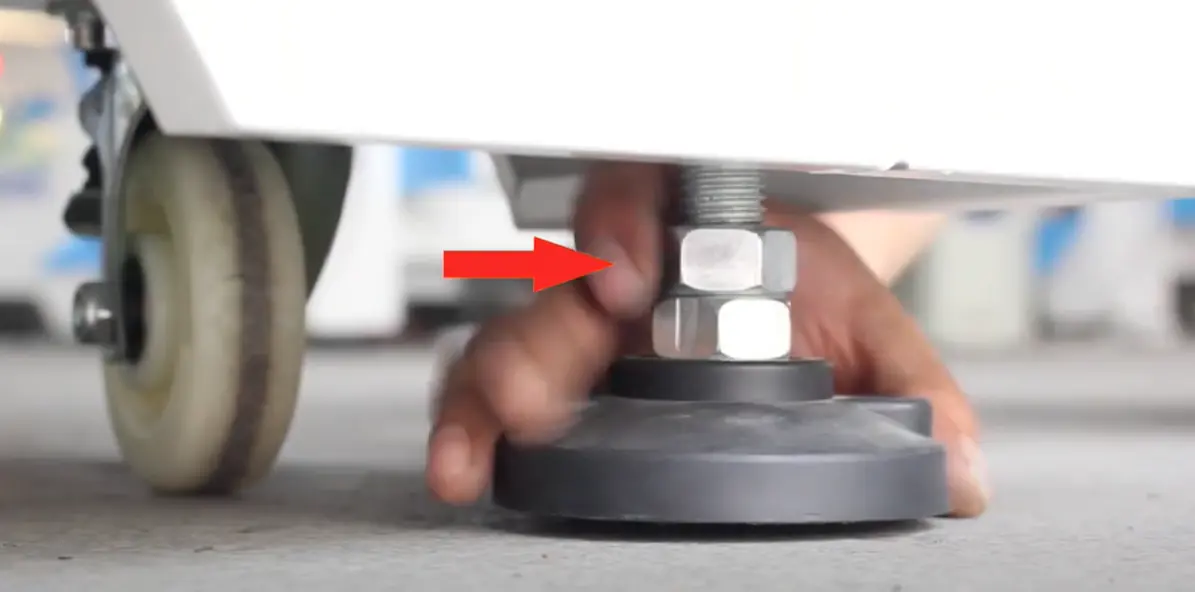
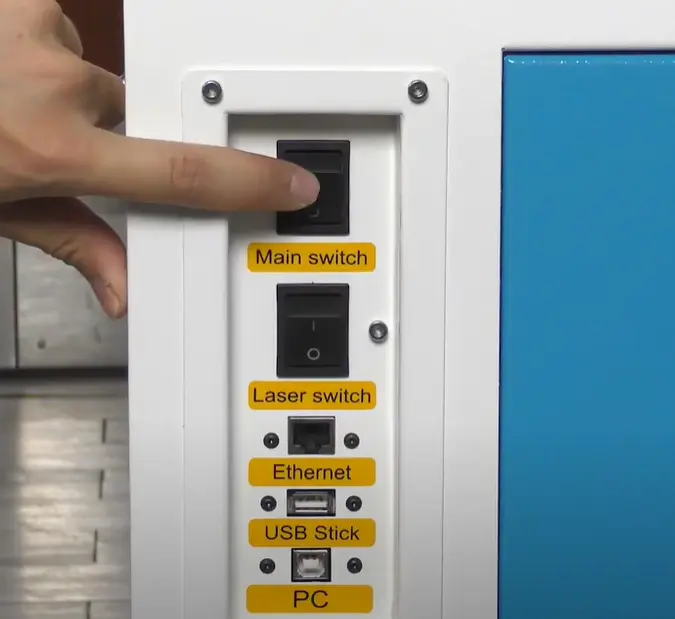
Adjusting foot stands or relocate if necessary to stabilize them
![step 1 of installing Thunder Nova](https://www.thunderlaser.com/wp-content/uploads/2024/05/step-1-of-installing-Thunder-Nova.webp)
Step 2. Ensure the machine is level
You may need to adjust the foot stands or relocate the machine, when it is not horizontal.
![step 2 of installing Thunder Nova](https://www.thunderlaser.com/wp-content/uploads/2024/05/step-2-of-installing-Thunder-Nova.webp)
Step 3. Set up the water chiller
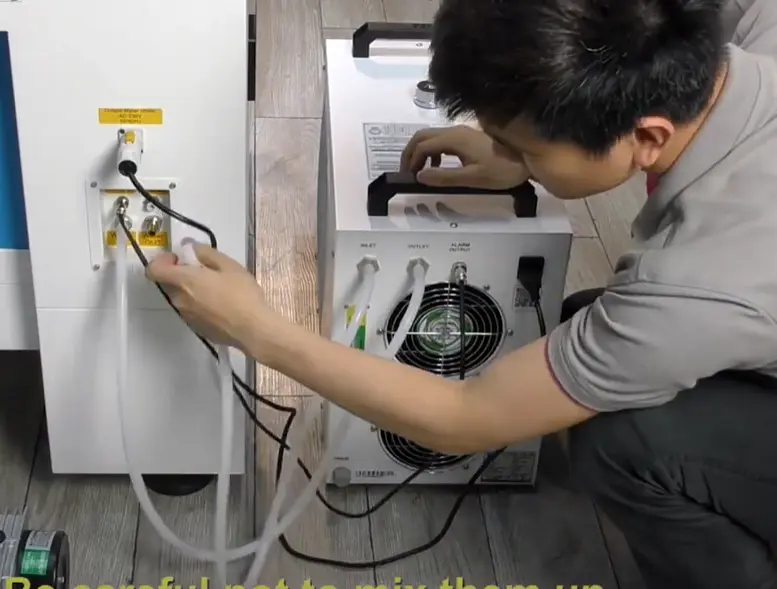
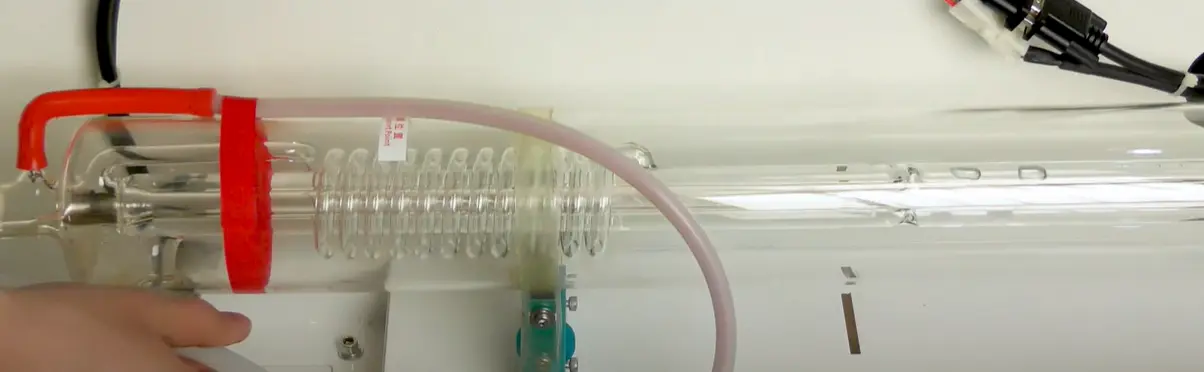
Filling it with about 6L of purified water to the normal range.
![step 3 of installing Thunder Nova](https://www.thunderlaser.com/wp-content/uploads/2024/05/step-3-of-installing-Thunder-Nova.webp)
![step 4 of installing Thunder Nova](https://www.thunderlaser.com/wp-content/uploads/2024/05/step-4-of-installing-Thunder-Nova.webp)
Step 4. Connect the water chiller correctly
(OUTLET-WATER IN, INLET-WATER OUT).
Turn on the chiller. It will get power from machine when the laser switch is turned on.
![step 5 of installing Thunder Nova](https://www.thunderlaser.com/wp-content/uploads/2024/05/step-5-of-installing-Thunder-Nova.webp)
![step 6 of installing Thunder Nova](https://www.thunderlaser.com/wp-content/uploads/2024/05/step-6-of-installing-Thunder-Nova.webp)
Step 5. Connect the air compressor
![step 7 of installing Thunder Nova](https://www.thunderlaser.com/wp-content/uploads/2024/05/step-7-of-installing-Thunder-Nova.webp)
Step 6. Connect the exhaust fan
![step 8 of installing Thunder Nova](https://www.thunderlaser.com/wp-content/uploads/2024/05/step-8-of-installing-Thunder-Nova.webp)
Step 7. Connect the power cable
![step 9 of installing Thunder Nova](https://www.thunderlaser.com/wp-content/uploads/2024/05/step-9-of-installing-Thunder-Nova.webp)
Step 8. Release the E-stop
![step 10 of installing Thunder Nova](https://www.thunderlaser.com/wp-content/uploads/2024/05/step-10-of-installing-Thunder-Nova.webp)
Step 9. Turn on the main switch
![step 11 of installing Thunder Nova](https://www.thunderlaser.com/wp-content/uploads/2024/05/step-11-of-installing-Thunder-Nova.webp)
Step 10. Verify movement of all X, Y, Z axes.
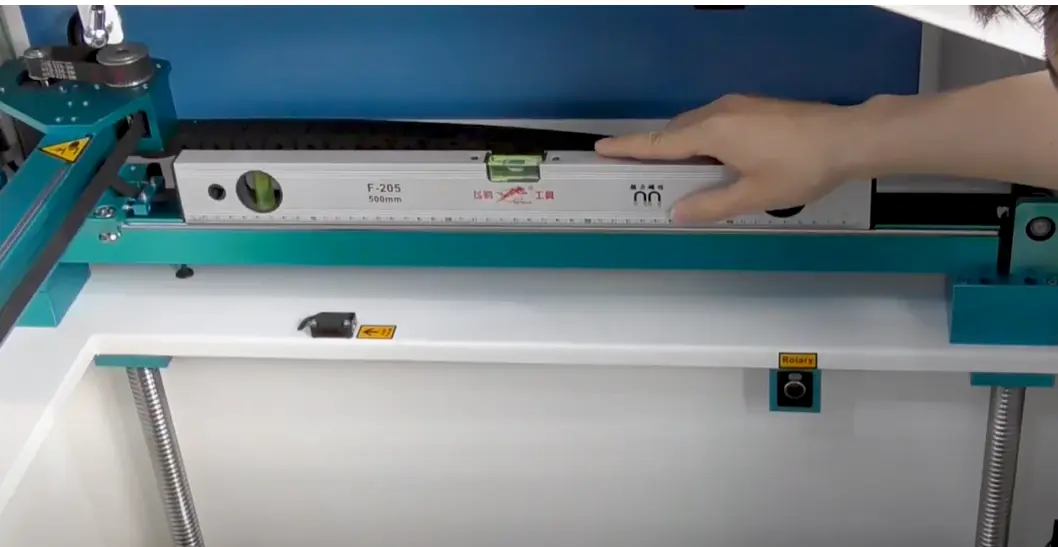
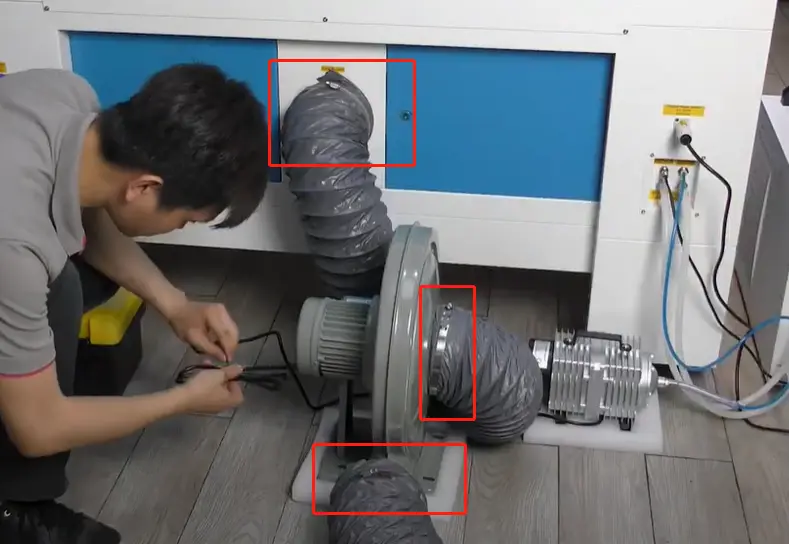
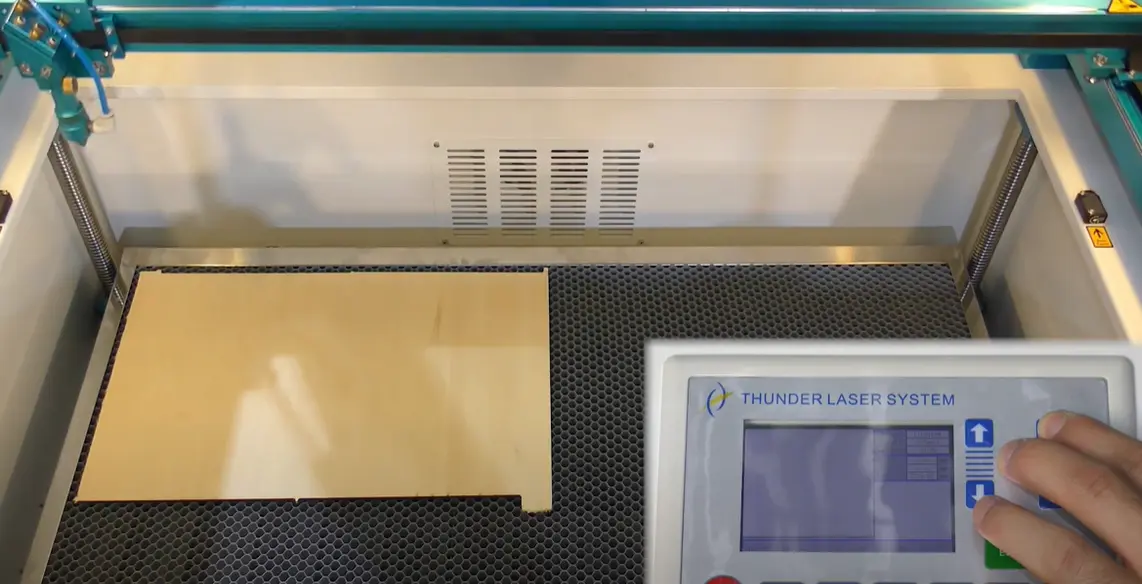
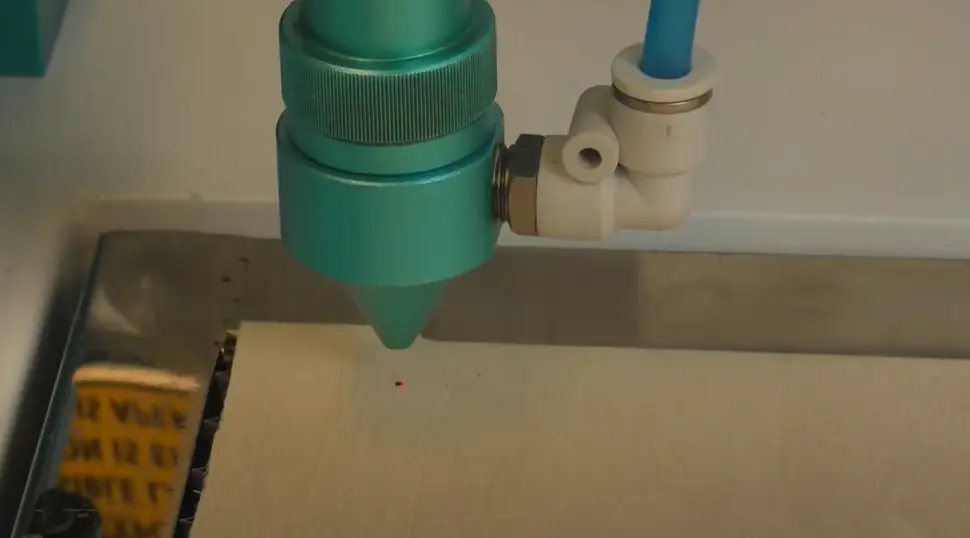
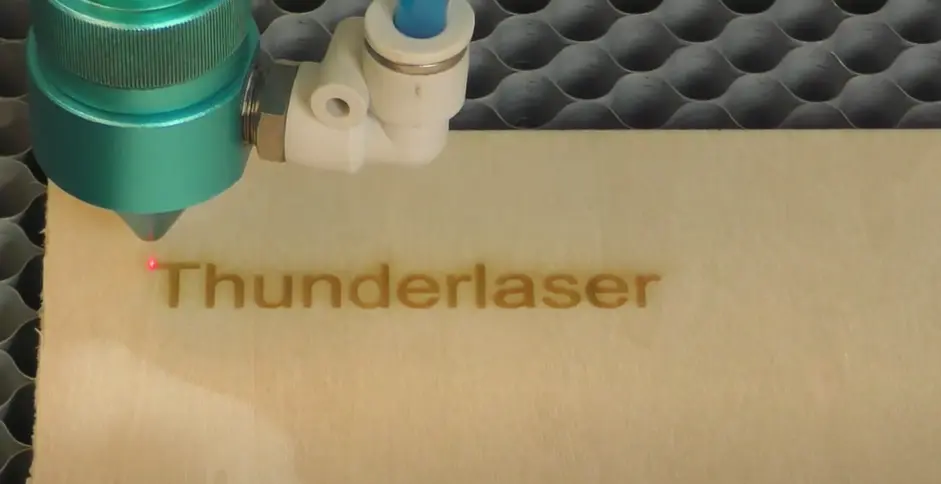
Move laser head and honeycomb board accordingly.
![step 12 of installing Thunder Nova](https://www.thunderlaser.com/wp-content/uploads/2024/05/step-12-of-installing-Thunder-Nova.webp)
Step 11. Activate the laser switch
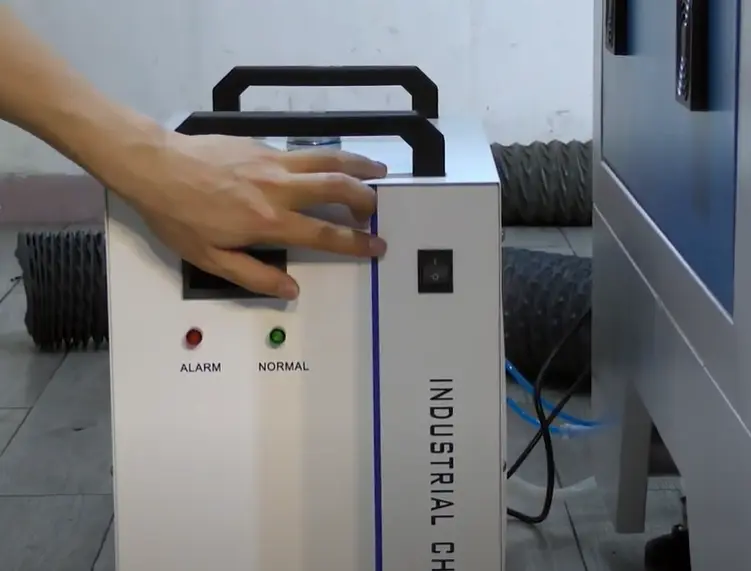
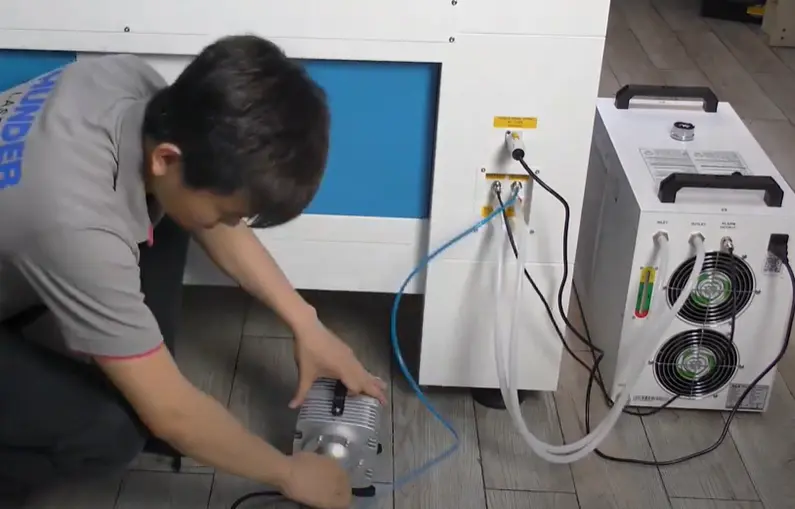
Chiller will turn on automatically.
![step 13 of installing Thunder Nova](https://www.thunderlaser.com/wp-content/uploads/2024/05/step-13-of-installing-Thunder-Nova.webp)
Step 12. Check laser tube for air bubbles
Remove if present.
![step 14 of installing Thunder Nova](https://www.thunderlaser.com/wp-content/uploads/2024/05/step-14-of-installing-Thunder-Nova.webp)
Step 13. Verify laser pulse
![step 15 of installing Thunder Nova](https://www.thunderlaser.com/wp-content/uploads/2024/05/step-15-of-installing-Thunder-Nova.webp)
Step 14. Establish connection with PC via USB/Ethernet cable
Remove if present.
![step 16 of installing Thunder Nova](https://www.thunderlaser.com/wp-content/uploads/2024/05/step-16-of-installing-Thunder-Nova.webp)
Start to work!
![step 17 of installing Thunder Nova](https://www.thunderlaser.com/wp-content/uploads/2024/05/step-17-of-installing-Thunder-Nova.webp)