Introduction
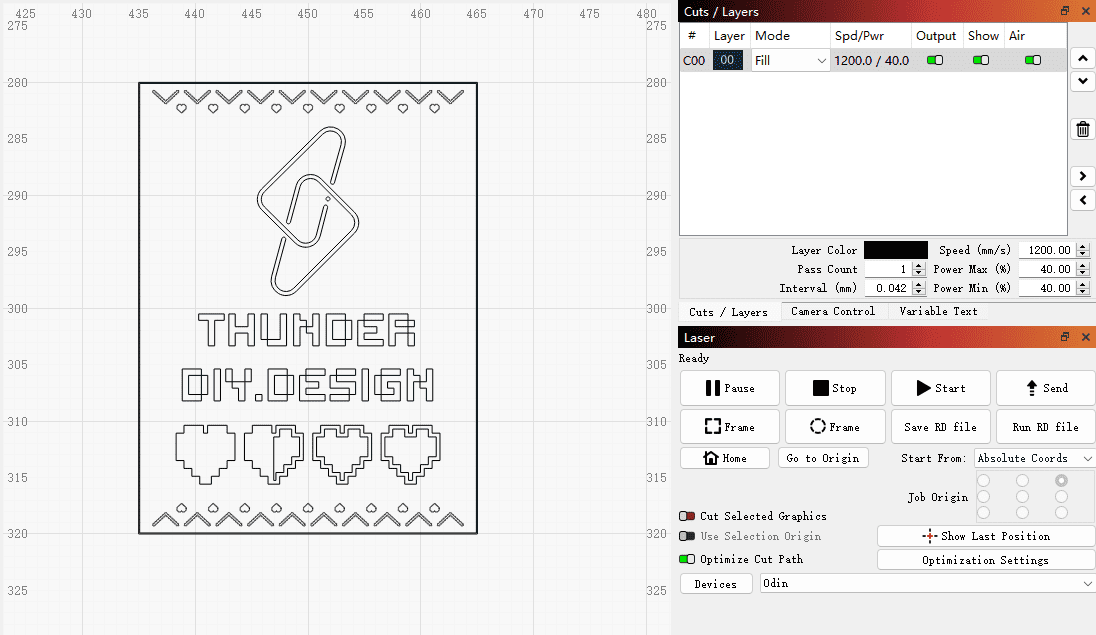
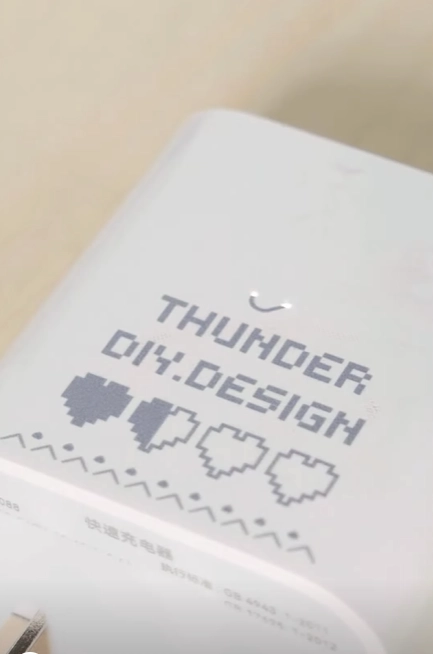
Let’s customize a charging brick with laser engraving! Our phones are daily essentials, and the charging process is an unavoidable routine. We’ve designed a pixelated pattern, with the hearts below filling up like life flowing in – mimicking phone charging in a fun, unique way that adds delight to this mundane task.
Machine Used
Aurora 20w
Material Needed
A plastic charging plug
Settings
- Marking Speed:1200mm/s
- Marking Frequency: 30kHz
- Engraving Power:40%
- Pulse Width: 68ns
- DPI:0.04DPI
Step 1
Import the file into LightBurn, adjust the size, position, and settings. Check out to ensure everything is in order.

Step 2

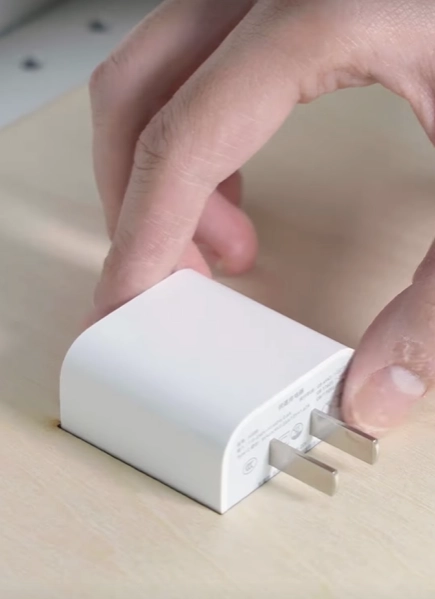
Cut out a hole in the wooden board the size of the charging plug to secure it, and insert it into the hole.
Step 3

Once everything is set, click ‘Print’ to initiate your laser machine’s operation.
Come and Try!
Picture plugging in your laser-etched charger, watching the hearts animate from empty outlines to vibrant fills as your device’s battery level climbs. The simplistic pixel art style evokes nostalgia and whimsy. As the engravings glow softly from the brick’s surface, you’ll feel charmed witnessing your phone “reviving” before your eyes.
More than mere functionality, this customized charging block becomes an entertaining experience and desk decoration. Reimagine basic electronics as creative canvases using laser precision. With some personalized panache, obligatory phone charging transitions from chore to moment of charmed rejuvenation!


.png) International
International
 United States
 Brasil
 Canada
 Costa Rica
 Česká
Česká
 Ελλάδα
 Polska
 Ireland
 Portugal
 Lietuva
 Россия
 Deutschland
 Britain
 Україна
 France
 Sverige
 Italia
 Norway
 Denmark
 Romania
 한국
한국
 中国
中国
 ประเทศไทย
 中国香港
中国香港
 Israel
 中國臺灣
中國臺灣
 India
India
 پاکستان
 پශ්රී ලංකා
 ジャパン
ジャパン
 Australia
 New Zealand
 South Africa