Introduction
Looking for a creative way to display your café menu or event drink list? Here’s a simple and elegant laser project that combines the natural warmth of cork with the modern clarity of acrylic. In this tutorial, you’ll learn how to engrave text onto a 2 mm cork sheet and mount it on a 3 mm acrylic base to create a sleek, professional-looking menu board — perfect for any dining or event setting.
Setting
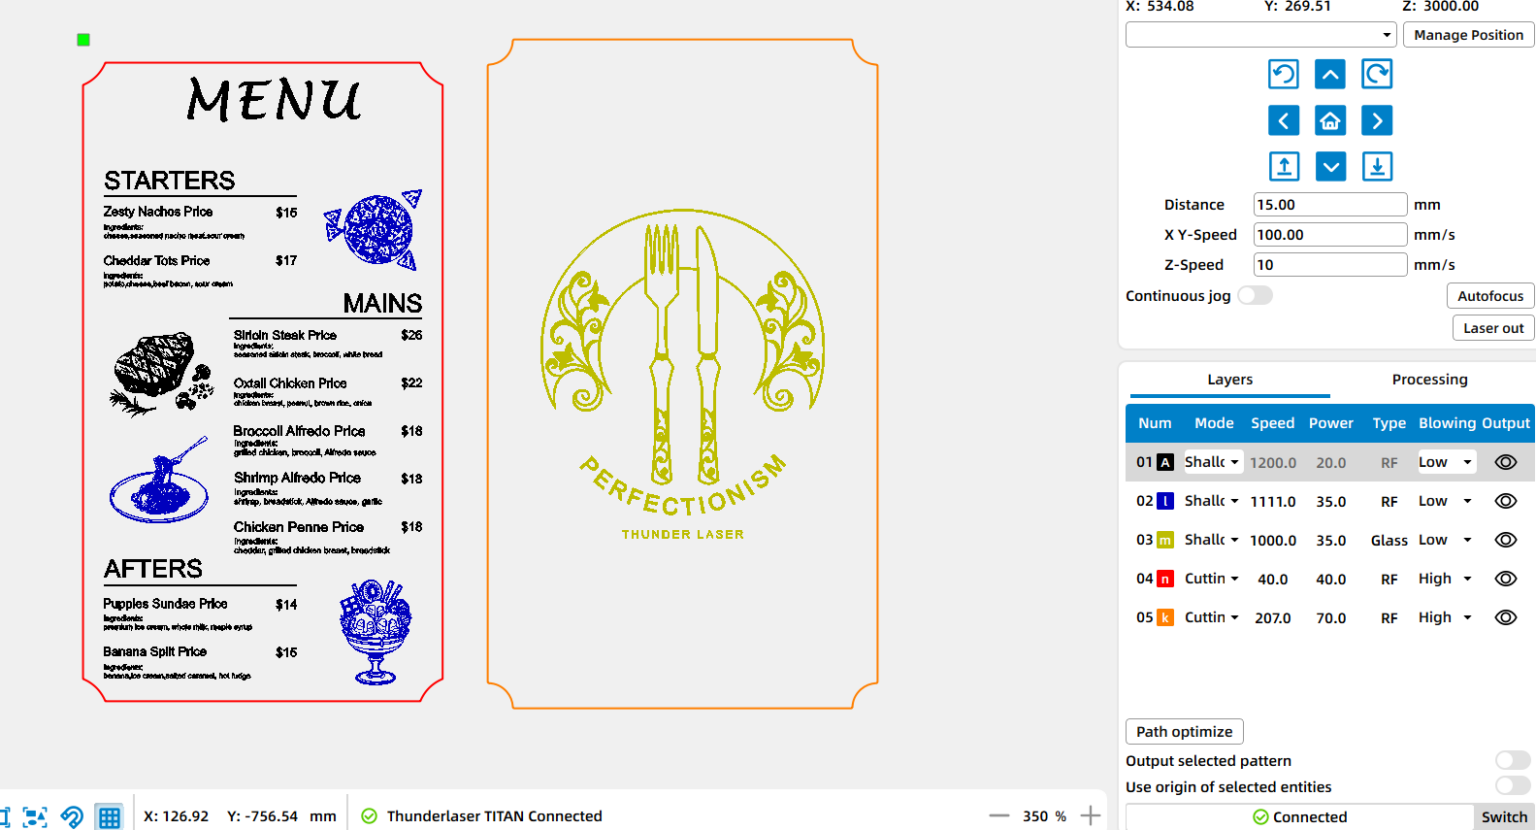
| Layers | Black Layer | Blue Layer | Yellow Layer | Red Layer | Orange Layer |
|---|---|---|---|---|---|
| Processing | Engraving | Engraving | Engraving | Cutting | Cutting |
| Laser Source | RF CO2 | RF CO2 | Fiber | RF CO2 | RF CO2 |
| Speed | 1200mm/s | 1111mm/s | 1000mm/s | 40mm/s | 207mm/s |
| Power | 20% | 35% | 35% | Max: 40% Min: 30% |
Max: 70% Min: 30% |
| DPI | 300 | 300 | 300 | / | / |
| Air assist | Off | Off | Off | On | On |
Machine Used
- Thunder Titan Pro 35 60W
Material Needed
3mm Acrylic
2mm Cork
Before your work begins
- Verify the lens is clean or there's no problem in the laser.
- Make sure the exhaust fan is working well.
- Ensure the air assist is on.
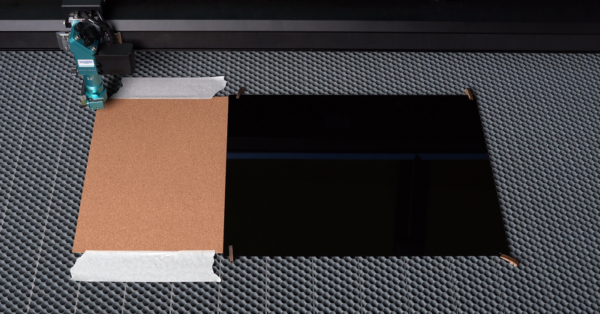
Step 1: Place Your Materials on the Laser Bed
Place a sheet of cork flat on the honeycomb table and smooth it out so there are no wrinkles. Tape the cork down around the edges with masking tape so it can’t shift during processing. Next, peel the protective film of the acrylic off and put it beside the cork.
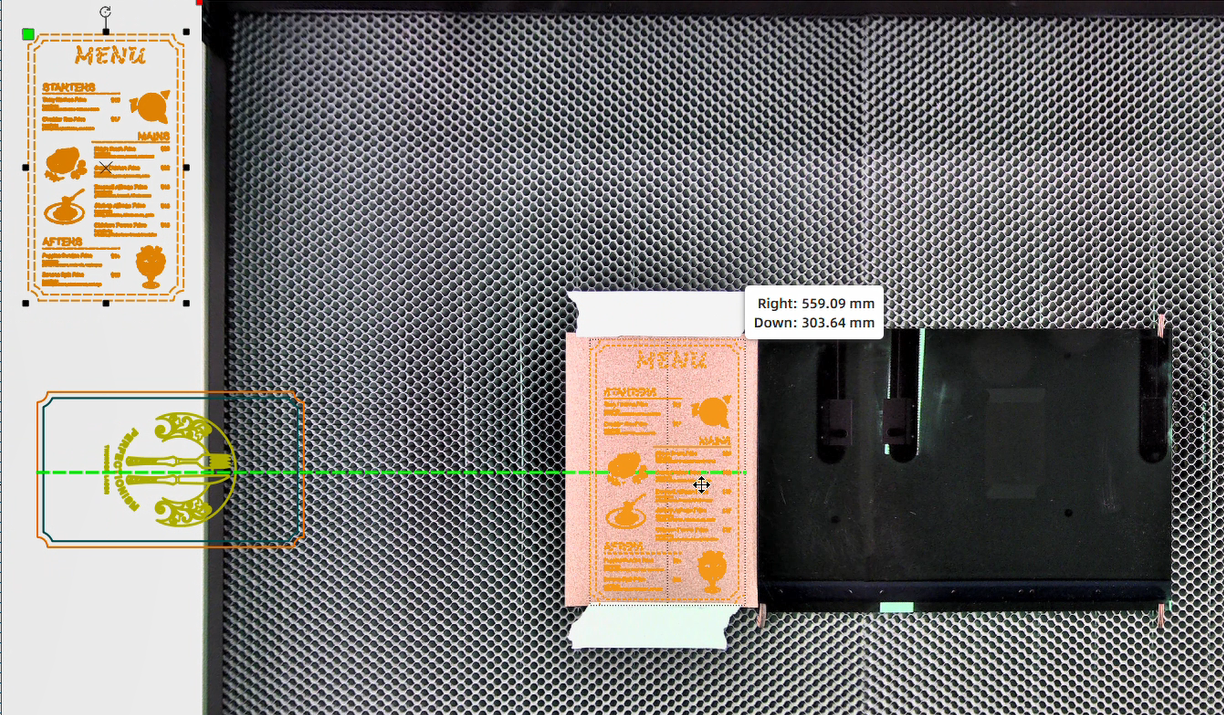
Step 2: Import and Position Your Design in LaserMaker
Open LaserMaker and import your design file. Use the Titan Pro camera’s capture/preview feature to see the actual bed and materials in the software. Drag your design directly onto the live camera view and place it exactly where you want the cuts and engraving to appear on the stacked cork + acrylic.
Step 3: Adjust Your Laser Settings
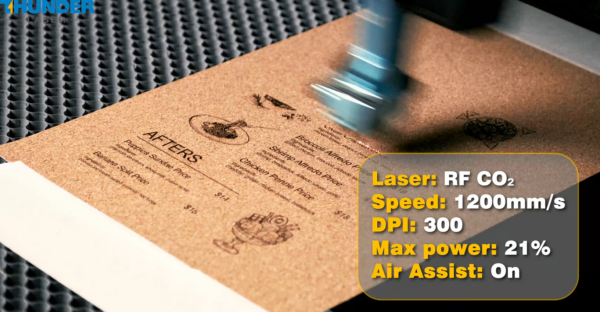
Before you start, set the correct power, speed, and frequency for both engraving and cutting.
● For cork engraving: Use low power and moderate speed to achieve clear, dark contrast without burning too deep.
● For acrylic cutting: Increase power and lower the speed for a smooth, flame-polished edge.
● Air assist: Keep it on to reduce smoke marks, especially when engraving cork.
Make sure the parameters in LaserMaker match your material thickness and laser wattage.
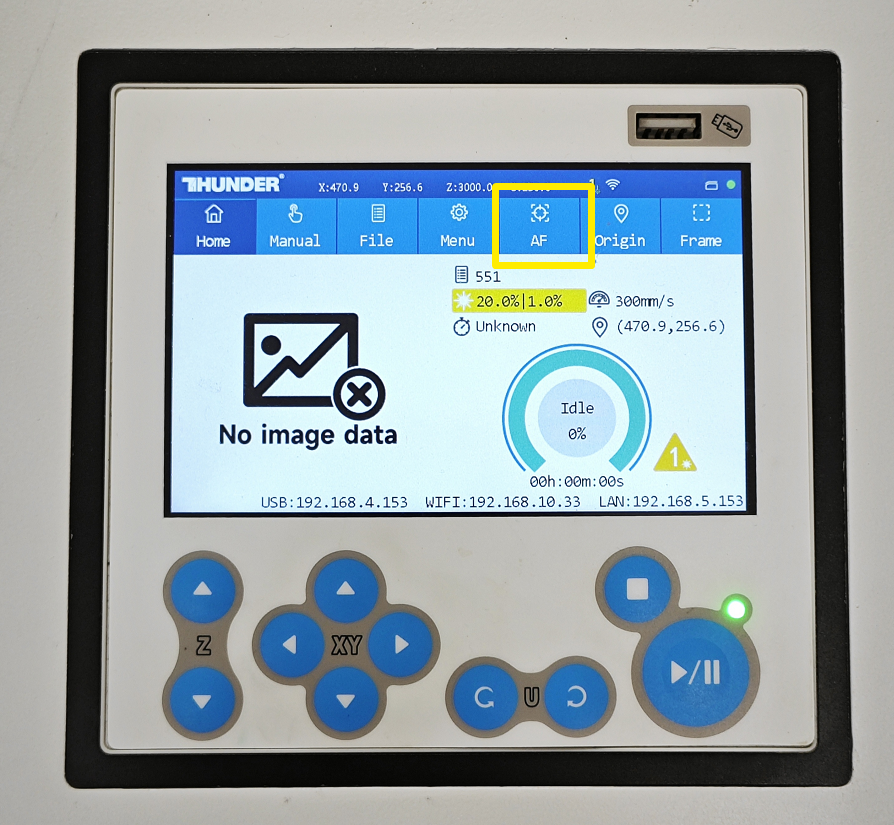
Step 4: Focus Your Laser Machine
Set the proper focus for the top surface. If you’re using the auto-focus feature, a single click will adjust the laser head to the optimal height. For manual focus, use the focus stick and adjust until it’s perfectly upright against the acrylic surface.
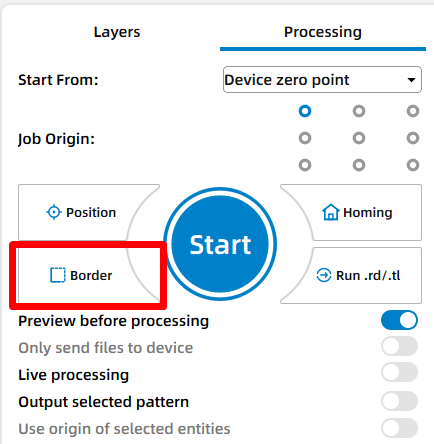
Step 5: Frame the Design and Start Laser Engraving
Run the Frame (Border) function to preview the laser path. Watch the camera view as the laser head traces the outer boundary. Confirm that the design fits exactly on your materials and that no part of the outline runs off the edges or hits the tape.
Step 6: Monitor the Laser Engraving Process
Watch the process closely, especially since you’re working with two materials at once. Cork produces smoke and acrylic reacts to heat—so make sure both stay flat and stable throughout the job. Keep an eye out for excessive smoke, small flame-ups, or any movement of the material that could affect the outcome. Make sure your workspace is well-ventilated, and rely on air assist if available to achieve cleaner edges on the acrylic.
Step 7: Attach the Cork Layer to the Acrylic Base
Once both materials are cut and engraved, gently peel off the adhesive backing from your cork sheet. Carefully align it with the engraved acrylic base, then press it down slowly from one side to the other to avoid air bubbles. The self-adhesive backing makes the process quick and clean—no glue, no mess, just a perfect fit.

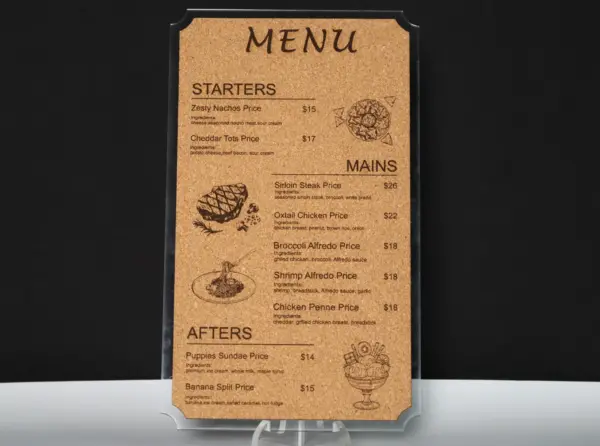
Step 8: Finish and display
Once the adhesive is fully dry, clean the surface with a soft cloth to remove fingerprints or dust. Your cork-on-acrylic menu board is now complete—ready to hang, display, or use at your café, restaurant, or event booth.
Come and Try!
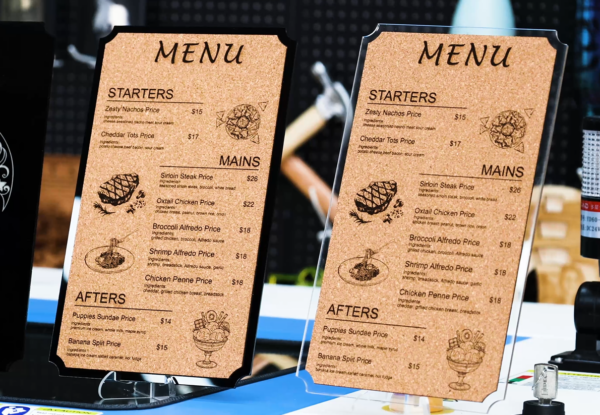
Now it’s your turn to bring a little creativity into your daily space. This cork-and-acrylic menu board isn’t just for restaurants — it can become a coffee corner display, a home reminder board, or even a personalized sign for your studio.
With your Titan laser, every cut and engraving tells a small story of care and craftsmanship. So open LaserMaker, choose your favorite design, and give this project a try. You’ll be surprised how something so simple can add so much warmth and personality to your space.
.png "laser cutter Globle") International
International
 United States
 Brasil
 Canada
 Costa Rica
 Mexico
 Česká
Česká
 Romania
 Polska
 Ireland
 Portugal
 Lietuva
 Россия
 Deutschland
 Britain
 Україна
 France
 Sverige
 Italia
 Norway
 Denmark
 Ελλάδα
 한국
한국
 中国
中国
 ประเทศไทย
 中国香港
中国香港
 Israel
 中國臺灣
中國臺灣
 India
India
 پاکستان
 پශ්රී ලංකා
 ジャパン
ジャパン
 Australia
 New Zealand
 South Africa