Let’s create an exciting laser cutting world map puzzle! This project is not only fun but also educational, making it perfect for use at home, in schools, or as a personal learning tool.
This wooden laser cutting world map puzzle is designed to engage children, students, and geography enthusiasts alike. It provides a hands-on way to learn about world geography while having fun putting the puzzle together.
So, grab your materials, and let’s dive into an enjoyable and educational laser cutting experience!
Check if the lens is clean and that there are no issues with the laser.
Ensure the exhaust fan is functioning properly.
Make sure the air assist is turned on.
2. Steps for Laser Cutting World Map Puzzle
Before diving into the detailed steps for cutting your world map puzzle, it’s important to ensure that all settings and preparations are correctly in place. The following steps will guide you through the entire process, from setting up the plywood to completing the final cut. Let’s get started!
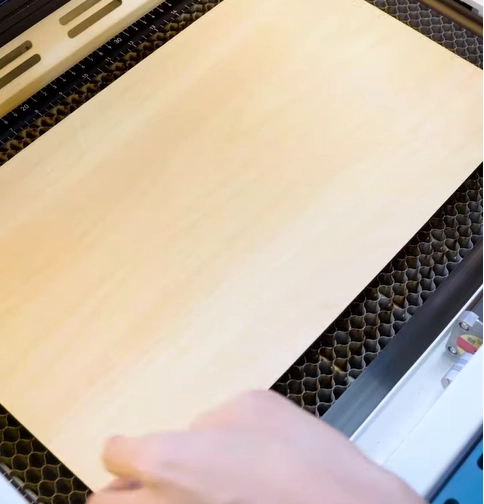
2.1. Step 1: Ensure Your Plywood is Flat and Secure
Plywood Boards:Plywood can be flexible, and misalignment may impact the cutting quality. When using the Thunder Laser Bolt 30W, make sure the plywood is flat and securely positioned before starting. If it’s not, adjust it to ensure a smooth cutting process.
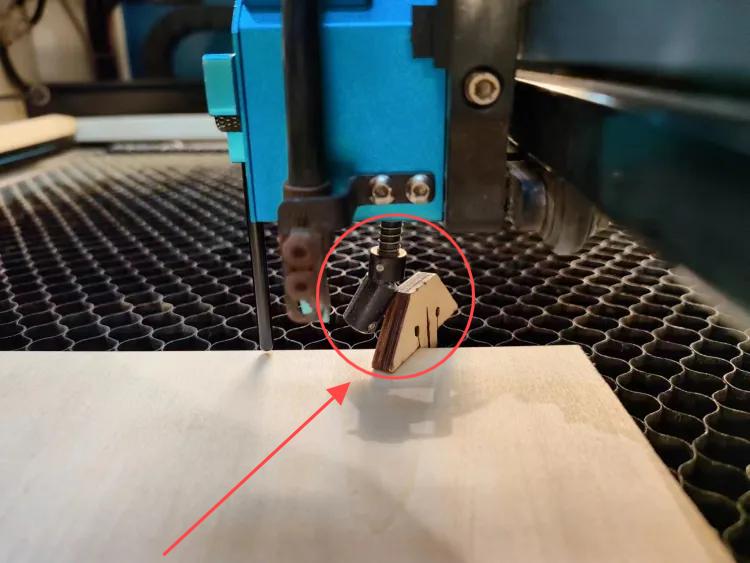
Securing the Plywood: Common methods to secure plywood include using magnets or pins. The height of magnets and pins should be checked—if they are too tall, they might obstruct the laser sensor during the process.
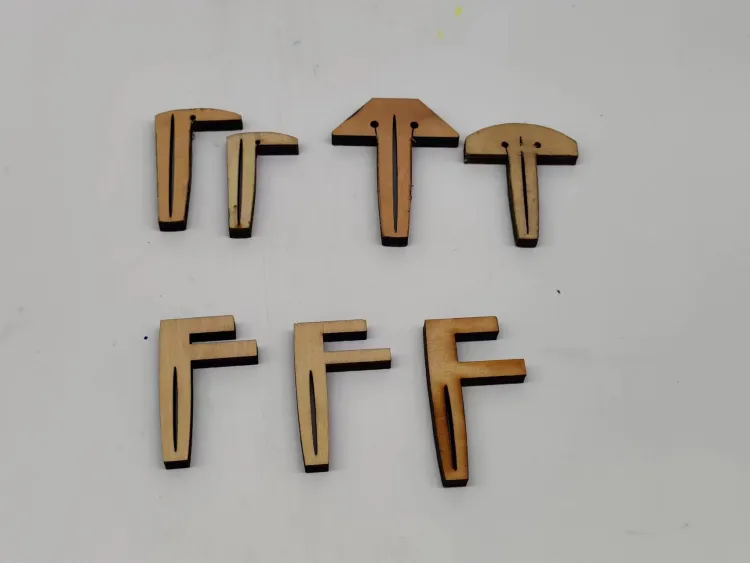
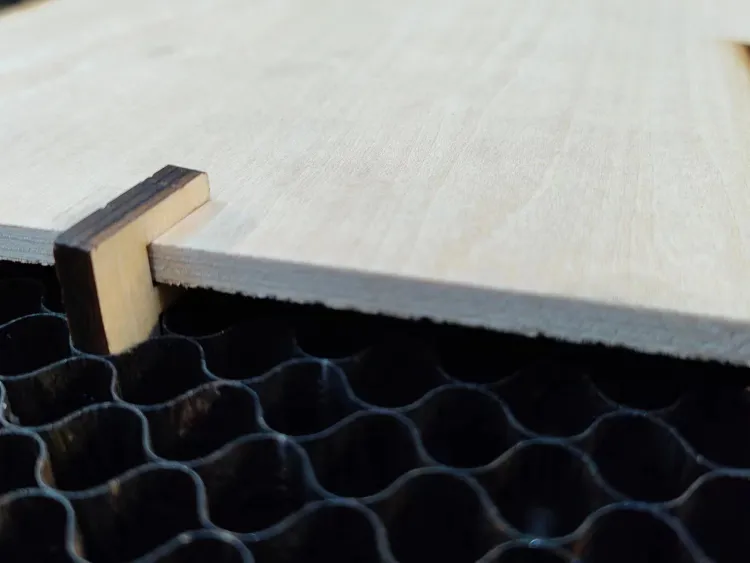
Tips: There are three common types of pins: T-shaped, L-shaped, and F-shaped. A special use for F-shaped pins is clamping up the plywood to prevent burn marks.
Be mindful of the height of the magnets and pins. If they are too tall, the sensor might hit them and become damaged during processing.
3 Common Types of Pins
The Usage of F-Shaped Pin
Sensor Hits High Pin
2.2. Step 2: Open the World Map Puzzle File
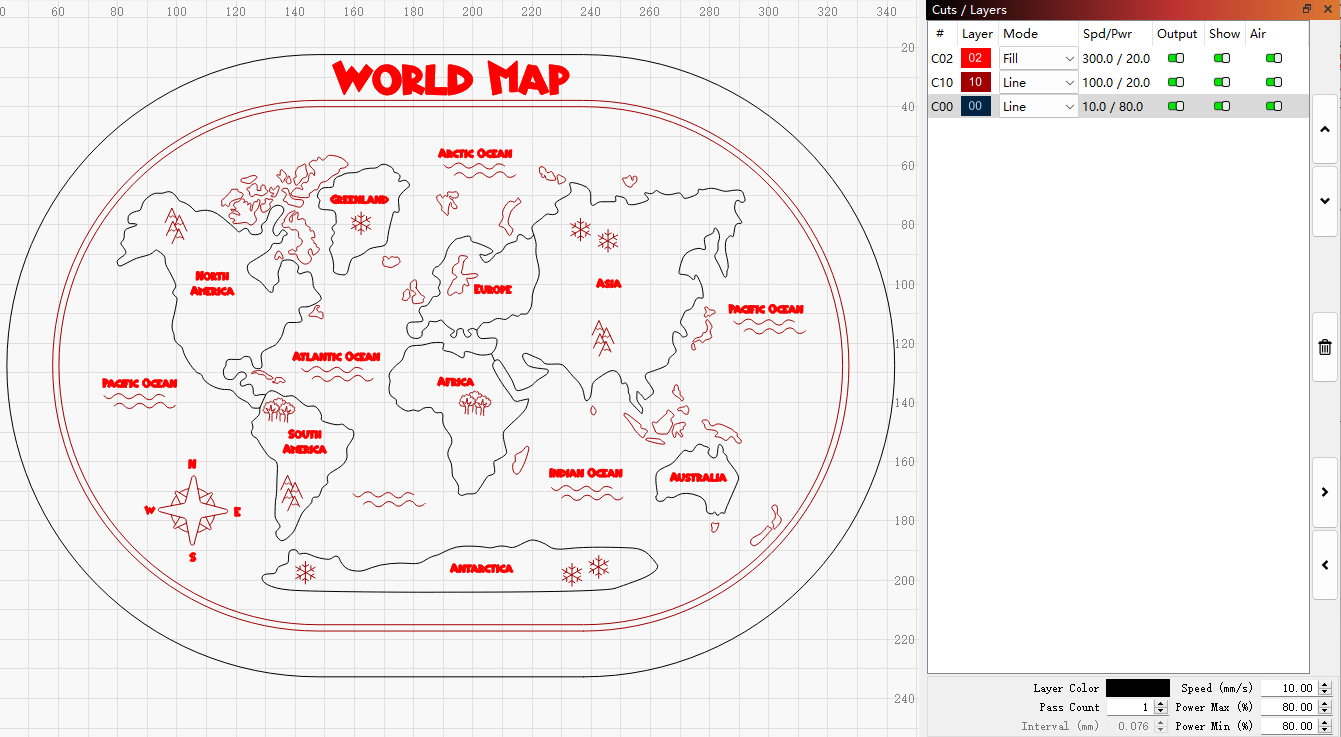
Import your puzzle design into LightBurn and check if the plywood is large enough to accommodate the full map.
For designs with many elements, make sure there are no misalignments or overlaps in the file. Adjust as necessary based on your preferences.
2.3. Step 3: Check the Laser Map Puzzle Settings
Recommended Settings:
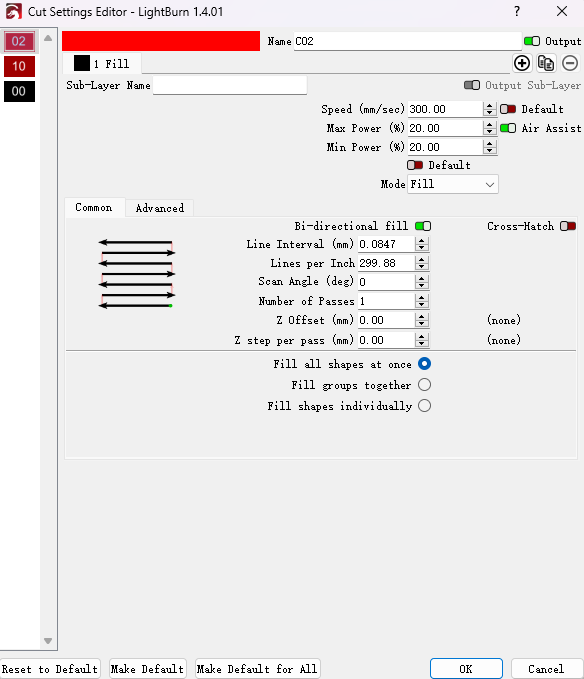
Engraving:
Speed: 300mm/s
Power: 20%
DPI: 300
Stroking:
Speed: 100mm/s
Max Power: 20%
Min Power: 5%
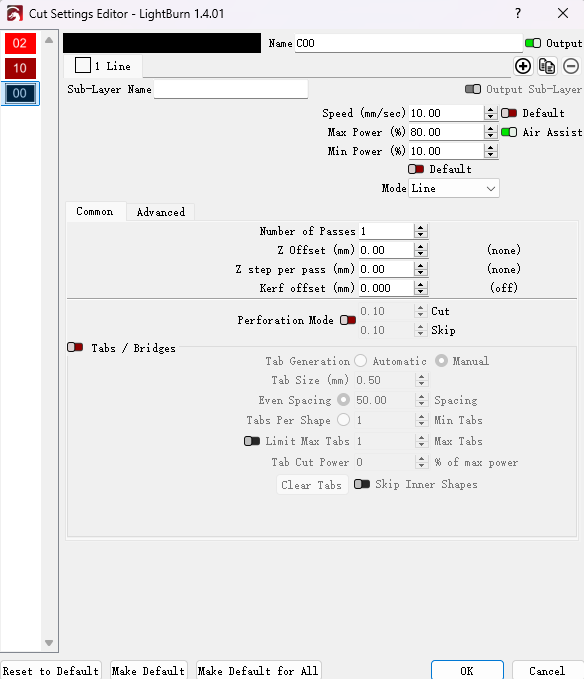
Cutting:
Speed: 10mm/s
Max Power: 80%
Min Power: 10%
Bi-directional Scanning: Ensure bi-directional scanning is enabled or disabled depending on your preference. Bi-directional scanning can save time but may affect the quality of the engraving, so adjust accordingly.
Engraving Settings: Set a DPI of 300 for engraving layers. Pay more attention to the minimum power setting for stroking and cutting layers. If the minimum power is too low, corners may appear shallow or not cut properly. If the minimum power is too high, it can cause overcutting and poor results at the corners.
Engraving
Stroking
Laser Cutting
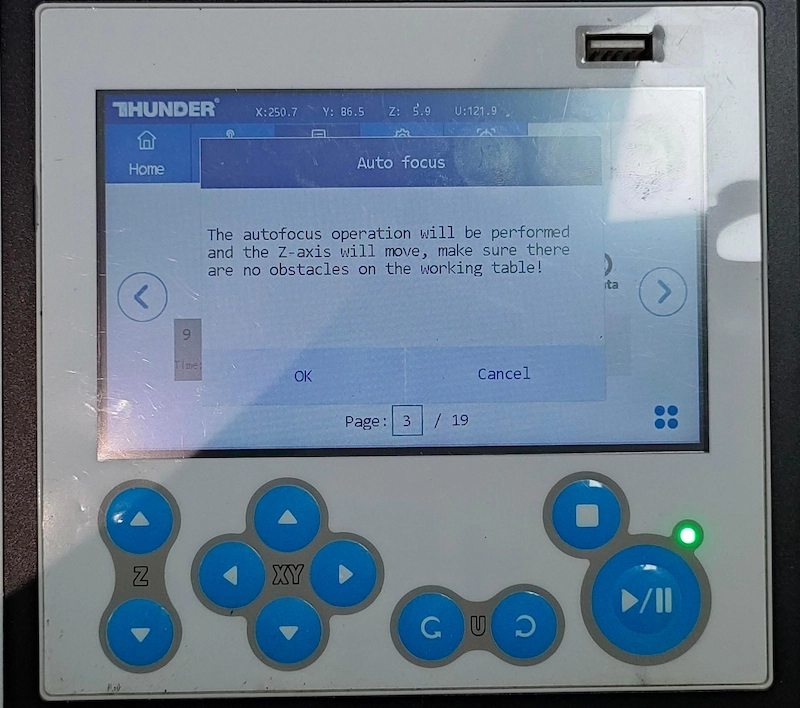
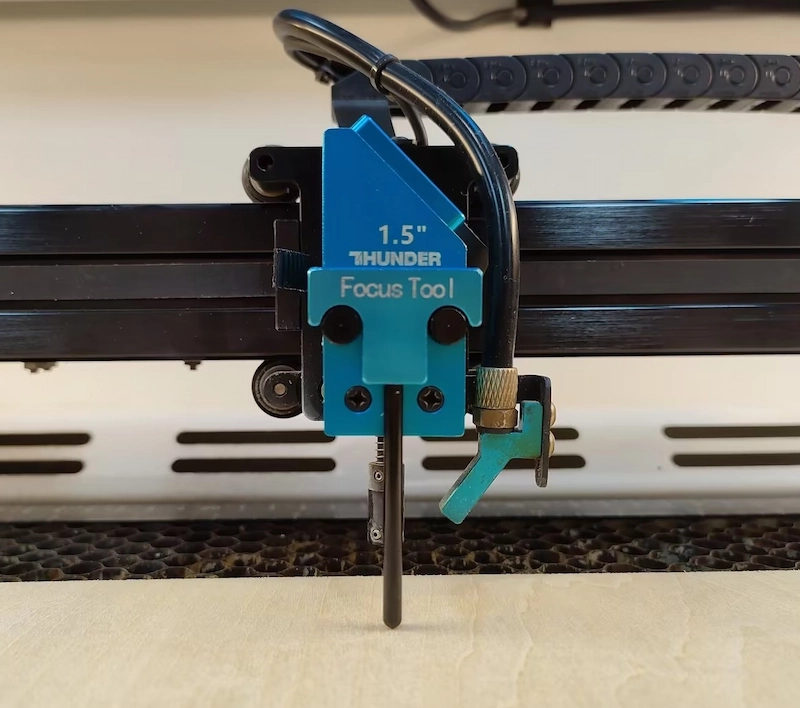
2.4. Step 4: Focus on the Plywood
Before beginning, it is crucial to ensure that the focus is set correctly. Without proper focus, the laser engraving and cutting results may not meet expectations. There are two methods for achieving proper focus:
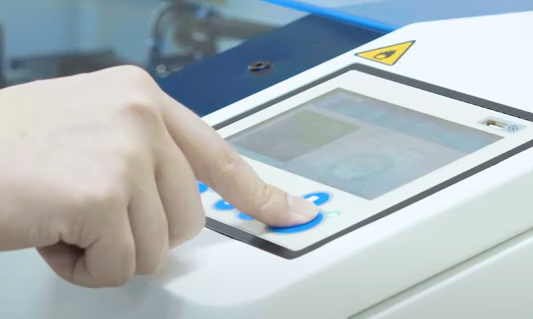
Auto Focus: Simply press the AF button on the Thunder Bolt screen to automatically set the focus.
Manual Focus: Adjust the z-axis height manually to ensure that the focal stick touches the plywood surface.
Auto focus
Manual focus
2.5. Step 5: Frame the World Map Design and Start Laser Cutting
Click “Frame” to outline the laser cutting area. This helps ensure proper alignment with the plywood.
Once aligned, press “Start” to begin cutting.
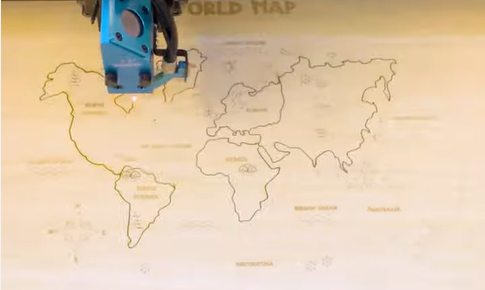
2.6. Step 6: Monitor the Laser Cutting Process
Keep an eye on the process, especially if unusual alarms or conditions arise.
Safety Tip: Avoid staring directly at the laser during the cutting process, even with the laser door closed.
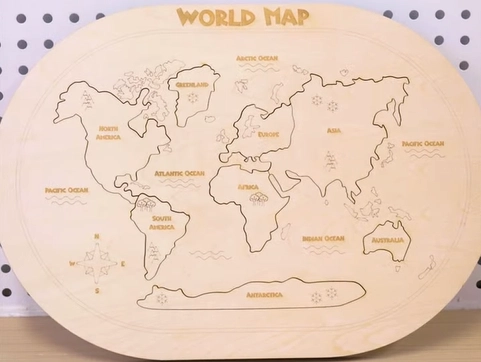
2.7. Step 7: Complete the World Map Puzzle Cutting
After cutting is finished, remove the puzzle and lightly wipe the dust off the surface.
Maintenance Tip: After cutting basswood boards, clean the lens and autofocus sensor to maintain the laser engraver.
Conclusion
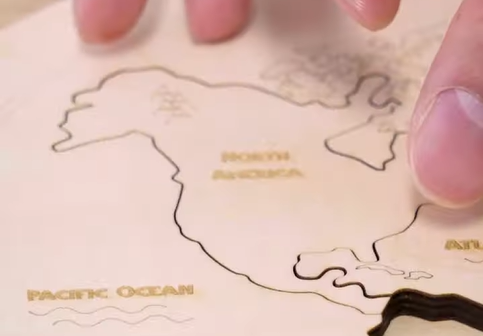
Imagine the joy of children assembling the world map puzzle while discovering the continents and countries they are learning about. Every piece of the puzzle is designed to highlight the unique features of each region, sparking curiosity and making geography more engaging.
This puzzle is perfect for all ages and is an excellent activity for family bonding, classroom projects, or educational play. Beyond being a fun learning tool, these laser-cut world map puzzles also make beautiful, meaningful decorations for any space.

.png "laser cutter Globle") International
International
 United States
 Brasil
 Canada
 Costa Rica
 Mexico
 Česká
Česká
 Romania
 Polska
 Ireland
 Italia
 Lietuva
 Россия
 Deutschland
 Britain
 Україна
 France
 Sverige
 Norway
 Denmark
 Ελλάδα
 Portugal
 한국
한국
 中国
中国
 中国香港
中国香港
 Israel
 中國臺灣
中國臺灣
 ジャパン
ジャパン India
India
 پاکستان
 پශ්රී ලංකා
 ประเทศไทย
 Australia
 New Zealand
 South Africa