Have you ever wanted to slap your own artwork onto your bag? With laser cutting hand-drawn acrylic patches, your designs pop with vibrant color, clean edges, and a wonderful look. Just stick them on backpacks, totes, or luggage straps to instantly dial up your style.
Ready to give your accessories a personal spin? Laser cutting makes it super easy to turn your drawings into fashion-forward décor that goes wherever you do!
Verify the lens is clean or there's no problem in the laser.
Make sure the exhaust fan is working well.
Ensure the air assist is on.
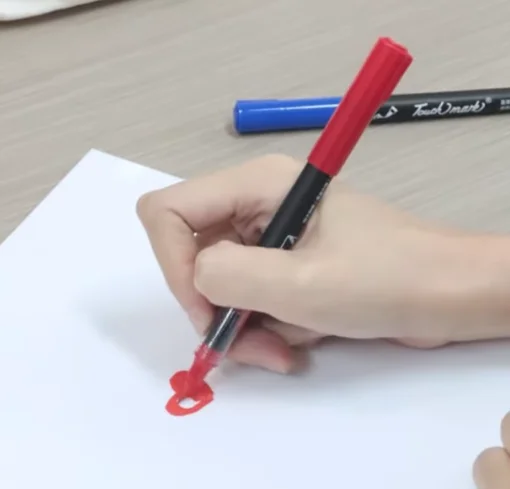
Step 1: Draw and Place Your Acrylic for Laser Cutting
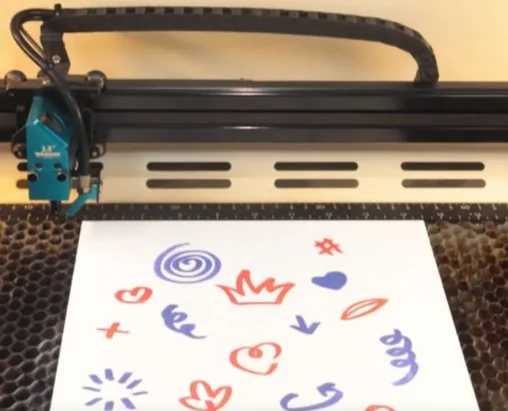
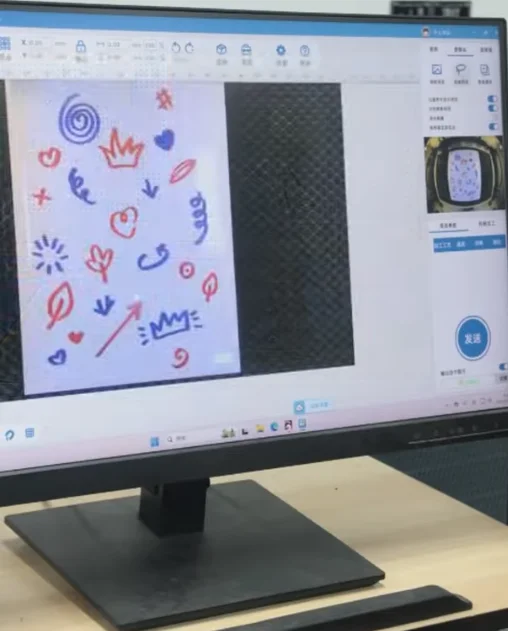
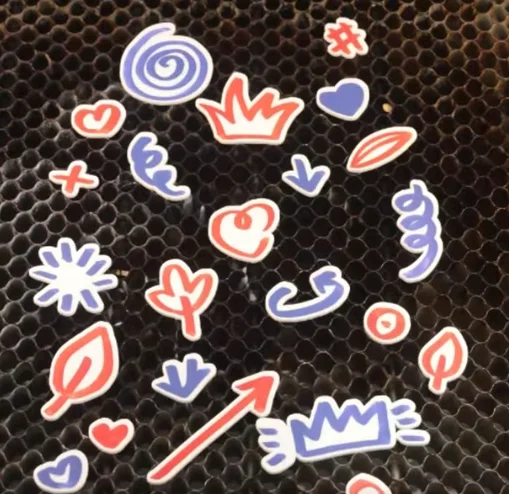
Choose a piece of acrylic and draw on it with permanent markers as you go. We recommend using white acrylic for a strong contrast that will highlight your creation! Then put the drawn acrylic board on laser honeycomb bed.
Step 2: Use the Camera and Trace the Hand-Drawn Patterns
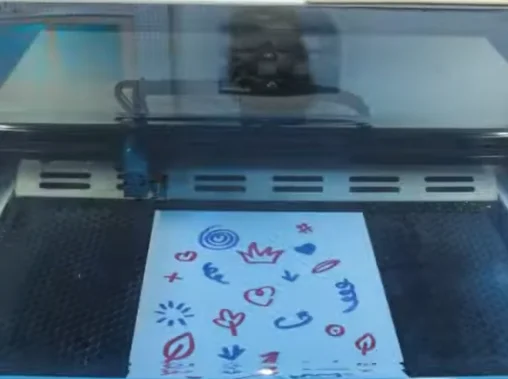
Move the laser head away from the acrylic so that the laser head does not block the pattern to be recognized.
You will need to close the door cover when using the Thunder Bolt’s camera. If you are using a Nova Plus, you will need to use the camera recognition feature with the door cover open.
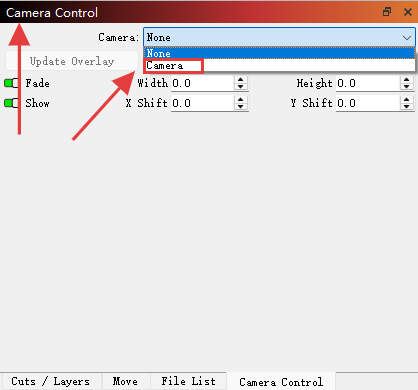
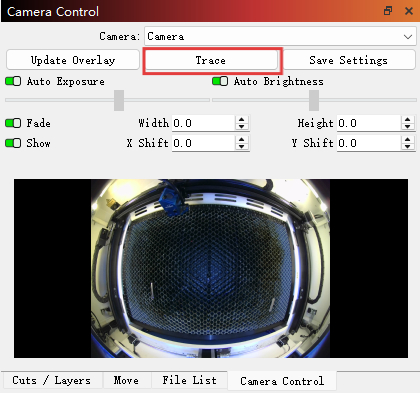
If set up correctly, you will have a view of the laser honeycomb bed on the screen. Both Lightburn and Lasermaker can accomplish this task.
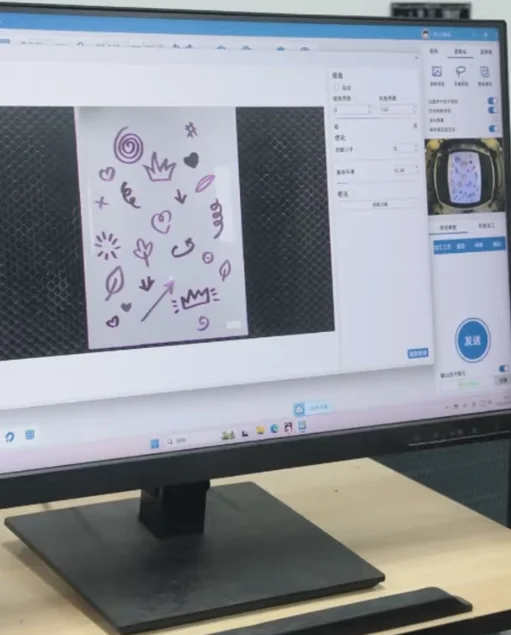
Then Click “Trace”. Adjust the threshold so that the automatically recognized outlines become complete and uninterrupted. Select all the outlines and offset them outward.
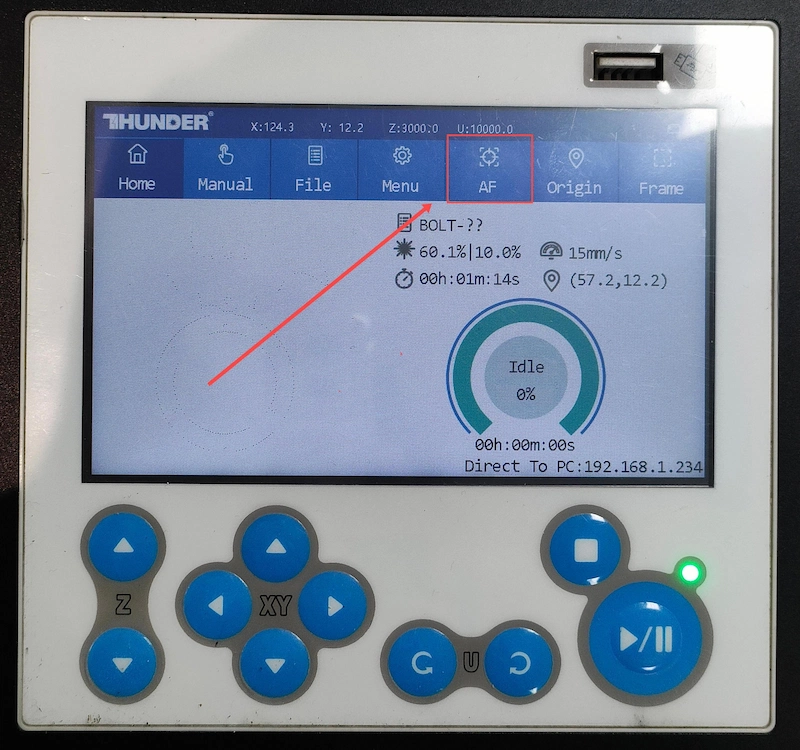
Step 3: Focus on the Acrylic
Without focusing, your outcomes may fall short of expectations. So before starting, make sure you’ve rightly focused.
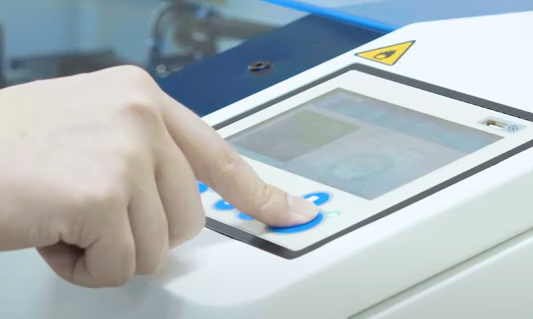
For focusing, you have two options: Auto Focus, which is simple—just press the AF button on the Thunder Bolt screen. Then you’re ready to have a laser cutting.
Step 4: Check the Settings and Start Laser Cutting
Ensure that the parameters are set correctly:
If the min power is too low, the cutting corners will not cut through; if the min power is too high, the laser cutting will be bad at the corners.
Say goodbye to red light positioning, you can now preview the cut position directly in the screen. Your cut profile will be identical to the design previewed in the camera!
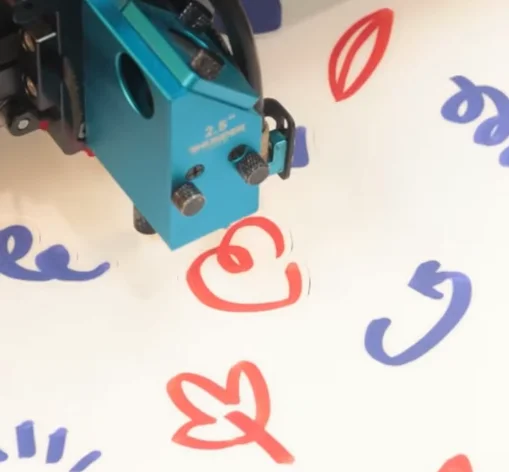
Step 5: Monitor the Laser Cutting Process
To avoid any issues, carefully monitor the laser cutting, especially when unusual conditions like alarms arise.
Considering the laser cutting energy, for safety reasons, we advise against staring directly at the process, even with the laser door closed.
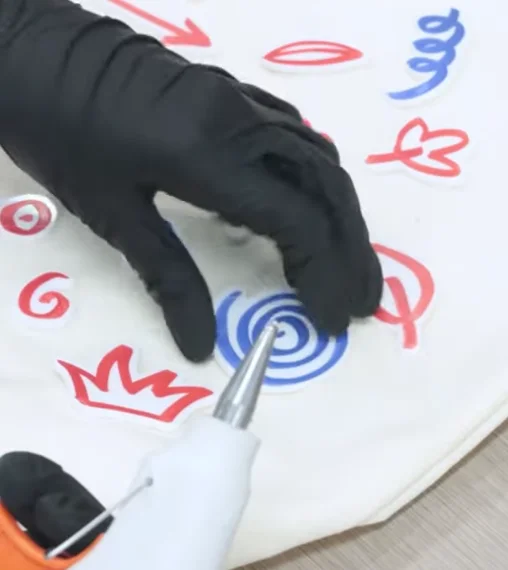
Step 6: Assemble the Hand-Drawn Acrylic Patch
Once the acrylic laser cutting is complete, it’s time to remove the parts. Then use hot-melt glue to affix them onto the surface of canvas bags or accessories!
Come and Try!
Now you can add laser cutting hand-drawn acrylic patches to your everyday accessories! They combine the warmth of hand-painted art with the sharp precision of laser cutting and are perfect for anyone who wants to carry their imagination with them. People love to attach them to canvas bags, backpacks, or purse straps, letting the color and personality jump off the page and spark smiles and compliments.
Whether you’re a fashion enthusiast eager to stand out, a small-batch creator crafting unique items, or a boutique owner designing eye-catching accessories, these patches have you covered.
.png "laser cutter Globle") International
International
 United States
 Brasil
 Canada
 Costa Rica
 Mexico
 Česká
Česká
 Romania
 Polska
 Ireland
 Italia
 Lietuva
 Россия
 Deutschland
 Britain
 Україна
 France
 Sverige
 Norway
 Denmark
 Ελλάδα
 Portugal
 한국
한국
 中国
中国
 中国香港
中国香港
 Israel
 中國臺灣
中國臺灣
 ジャパン
ジャパン India
India
 پاکستان
 پශ්රී ලංකා
 ประเทศไทย
 Australia
 New Zealand
 South Africa