


Laser Engraved Photos on Wood for STEAM Maker Projects
 2024-08-08
WHAT ARE YOU LOOKING FOR?
Search Across Products, Blog Posts, Support Content, And Resources.

Laser Engraved Photos on Wood for STEAM Maker Projects
2024-08-08

In this STEAM maker course, students learn how to turn a digital photo into a laser-engraved image on wood. The lesson combines image editing, material selection, laser parameter testing, digital fabrication, and creative design to help students understand how each variable affects the final engraving.
Quick Answer:
Clear laser-engraved photos on wood usually start with a high-resolution, well-lit image and a smooth, fine-grained wood such as maple, birch, alder, or basswood. The image should be prepared for grayscale or dithering, resized for the project, and tested with suitable DPI, speed, and power settings before the final engraving.
Photo engraving is especially useful for STEAM projects because students can compare image quality, wood grain, laser settings, and material response while creating a finished product such as a portrait, gift, keepsake, or decorative piece.
| Item | Details |
|---|---|
| Project | Laser-engraved photo on wood |
| Main Materials | Maple, birch, alder, basswood, cherry, bamboo, MDF, and other laser-compatible wood materials |
| Laser Process | CO₂ laser photo engraving |
| Main Skills | Photo selection, grayscale and dithering, contrast adjustment, DPI setup, wood preparation, parameter testing, engraving, and cleanup |
| STEAM Focus | Digital design, material science, engineering testing, visual art, and data-based parameter comparison |
| Final Outcome | A finished laser-engraved photograph on wood |
| Classroom Use | STEAM maker projects, digital fabrication lessons, personalized gifts, product-design activities, and introductory laser engraving exercises |
An overview of the materials, skills, learning goals, and classroom applications in this wood photo engraving project.
Students will learn how to convert a digital photograph into a clear wooden engraving. They will select an appropriate image, prepare it for laser processing, choose a suitable wood surface, compare engraving settings, run test samples, engrave the final image, and evaluate the finished result.
Students should only engrave materials approved by their teacher or lab supervisor. Wood should be clean, dry, and suitable for laser processing. Proper ventilation, air assist, machine supervision, and safe cleanup practices should be maintained throughout the project. For additional material-safety guidance, see materials that should not be laser processed.
Laser-engraved photos on wood can be based on personal photographs, artwork, school projects, or product-design ideas. Students can select a subject according to the learning goal and the amount of detail the chosen wood can reproduce.
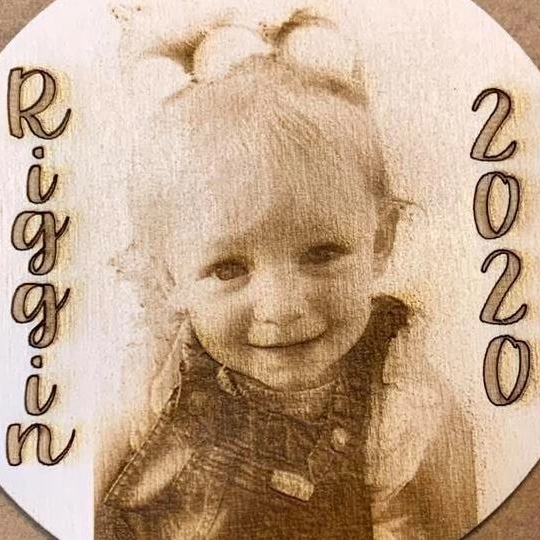
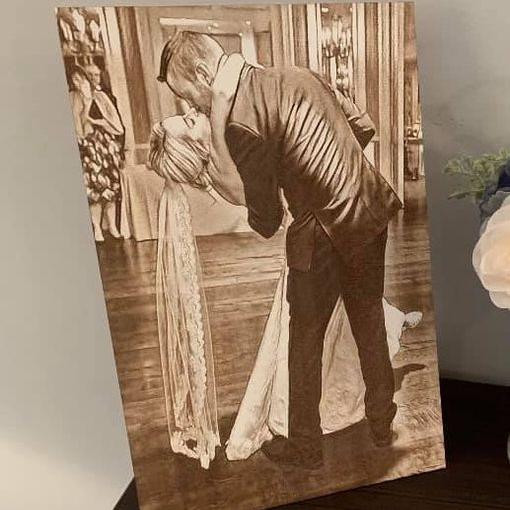
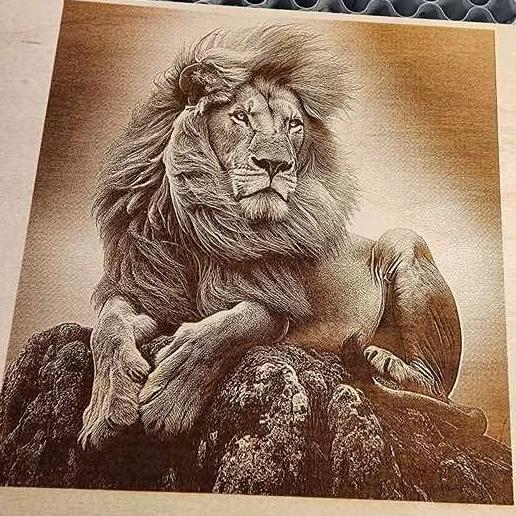
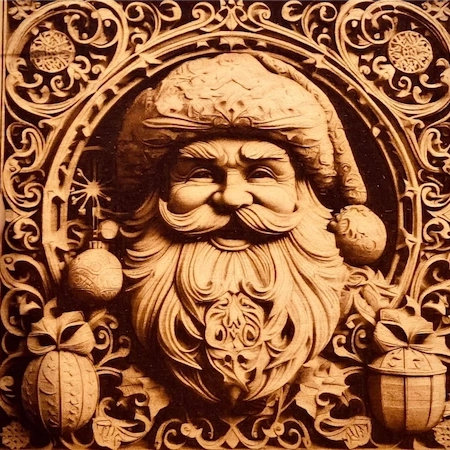
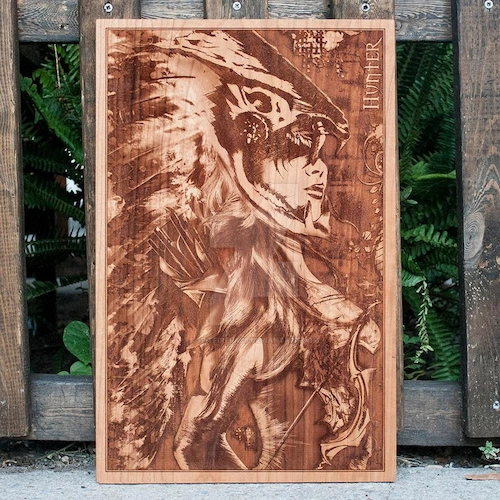
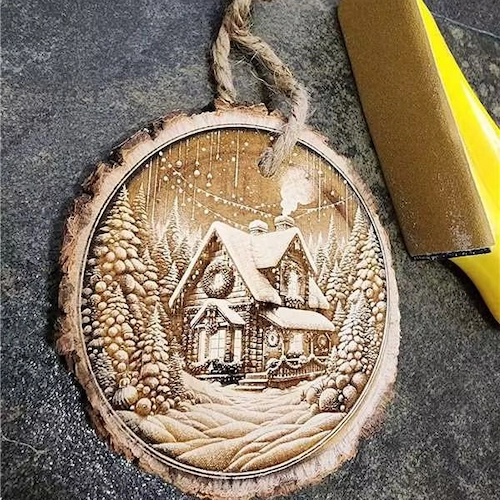
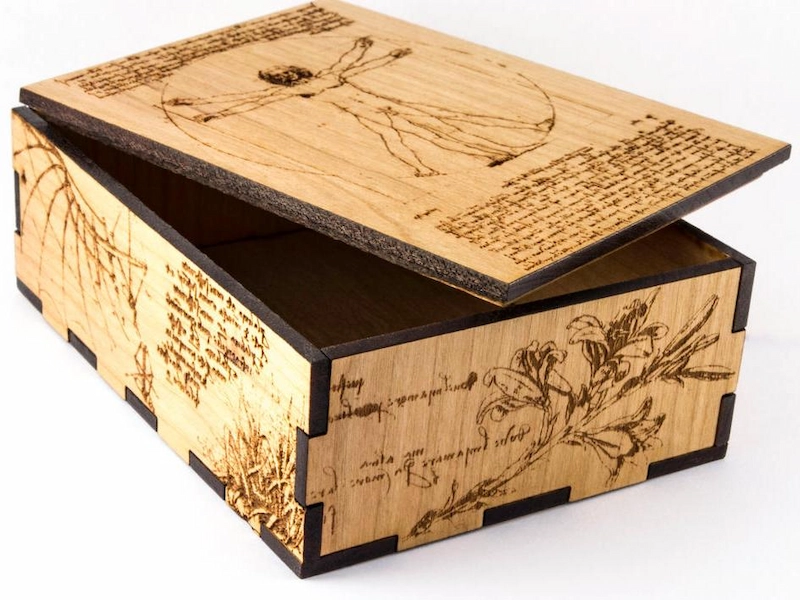
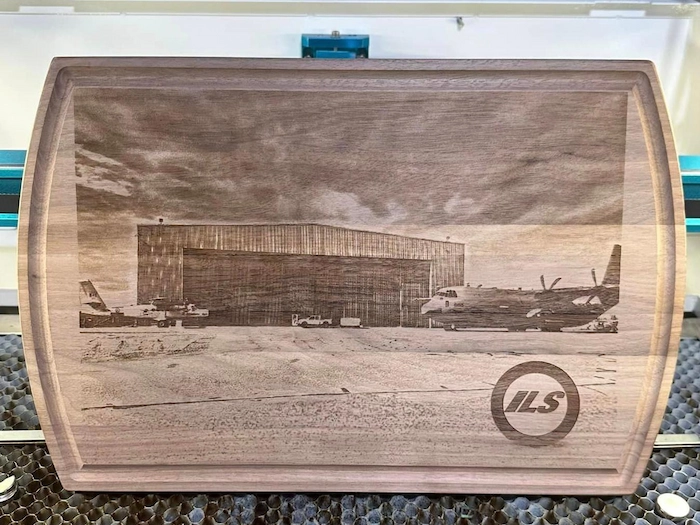
Teachers looking for additional project ideas can explore the Thunder Laser Inspiration Library and adapt suitable files for classroom projects.
Photo preparation has a major effect on the final engraving. A high-resolution photograph cannot automatically guarantee a good result; the image must also be prepared for the limited tonal range and physical texture of the wood.
Start with a high-resolution image that has clear subject boundaries and balanced lighting. Faces and other important details should remain visible when the image is viewed in grayscale.

Clear, well-lit photographs with defined subjects are generally easier to prepare for wood photo engraving.
Use image-editing software such as Adobe Photoshop, GIMP, or another classroom-approved tool to adjust the photograph before engraving. Brightness, contrast, sharpness, and background detail can all influence how easily the subject is reproduced on wood.
Converting the image to grayscale is useful for evaluating tonal separation. Background removal or simplification can also improve subject clarity when the original photograph contains distracting details.
A laser cannot reproduce continuous photographic tones in the same way as a screen or printer. Photo engraving workflows often translate grayscale information into patterns of laser marks using dithering or another image-processing method.
Different dithering methods distribute dots differently and can change perceived detail, contrast, highlights, shadows, and smooth tonal transitions. Students can compare two processing methods on the same piece of wood and evaluate which produces the clearest result.
Resize the photograph to match the final engraving area before processing. Photo engraving commonly uses settings in the 300–600 DPI range, while approximately 300 DPI can provide a practical starting point for many tests.
DPI Reminder: DPI means dots per inch. Increasing DPI places engraving lines or image information more densely, but more DPI does not automatically mean a better photograph. Excessive density can increase processing time and heat accumulation or make the image appear darker on some woods.

DPI affects how densely image information is reproduced across each inch of the engraving.
For a broader explanation of power, speed, focus, DPI, and other controls, see the laser parameter guide for beginners.
Complete the image adjustments before opening the final job in the laser software. Confirm the image size, tonal balance, important facial or object details, and selected engraving or dithering mode.
Select a flat wood surface with grain and color that will not overpower the photograph. Sand the surface when necessary, remove dust, and place the material flat on the laser bed.
The Thunder Laser wood material guide provides additional information about how different woods respond to laser engraving and cutting.
Focus the laser according to the machine and lens being used. Consistent focus across the entire engraving area is important because focus variation can change line width, darkness, and fine detail.
Before engraving the final photo, create a small test using the same wood and similar image content. Compare several suitable combinations of speed and power while keeping the other variables consistent.
| Test | Speed | Power | Shadow Detail | Highlight Detail | Contrast | Observation |
|---|---|---|---|---|---|---|
| A | Record setting | Record setting | Evaluate | Evaluate | Evaluate | Record result |
| B | Record setting | Record setting | Evaluate | Evaluate | Evaluate | Record result |
| C | Record setting | Record setting | Evaluate | Evaluate | Evaluate | Record result |
A simple test record for comparing how speed and power affect photo contrast, highlights, and shadow detail.
This experiment helps students understand that photo engraving is an optimization process rather than a single fixed laser setting. The laser material settings testing guide explains how to build and evaluate controlled parameter tests.
After selecting the best test result, run the final engraving while monitoring the machine and extraction system. Avoid leaving a laser engraving job unattended.
Remove loose dust or residue after engraving and inspect the highlights, dark areas, facial details, background, and overall contrast. Students can compare the final result with their test samples and identify which adjustments had the greatest effect.
For another practical example, see the laser engraved photos on wood case study.
Woods with relatively smooth surfaces and less distracting grain are often easier to use for photographic engraving. The best choice still depends on the individual board, natural color, grain pattern, resin content, and desired contrast.
| Wood | Photo Detail | Typical Character | Key Consideration |
|---|---|---|---|
| Maple | High | Light color and fine grain | Strong starting material for detailed photo engraving |
| Birch | High | Light and relatively consistent surface | Useful for student tests and detailed images |
| Alder | High | Uniform texture and light tone | Can support smooth photographic detail |
| Basswood | Good | Light and relatively soft | Useful for beginner engraving experiments |
| Cherry | Good | Warmer and darker natural tone | Test contrast because the base wood is darker |
| Bamboo | Good but variable | Distinct laminated structure | Color and grain variation can affect consistency |
A comparison of common woods for photographic detail, surface character, and engraving consistency.
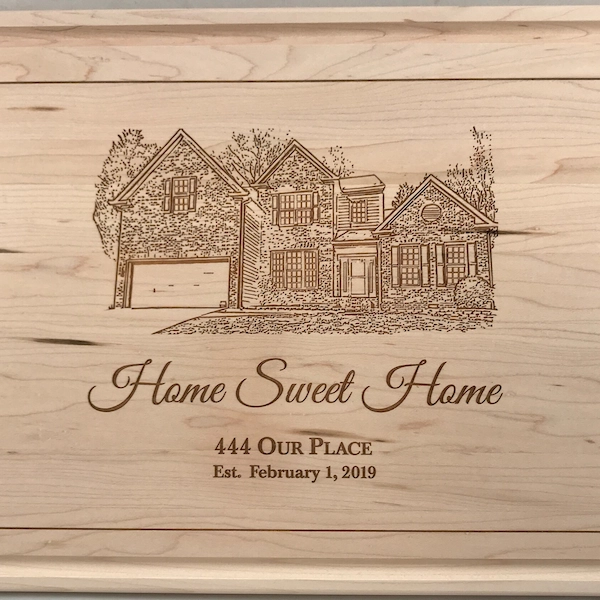
Maple has a light color and relatively fine grain that can support detailed photographic engraving.
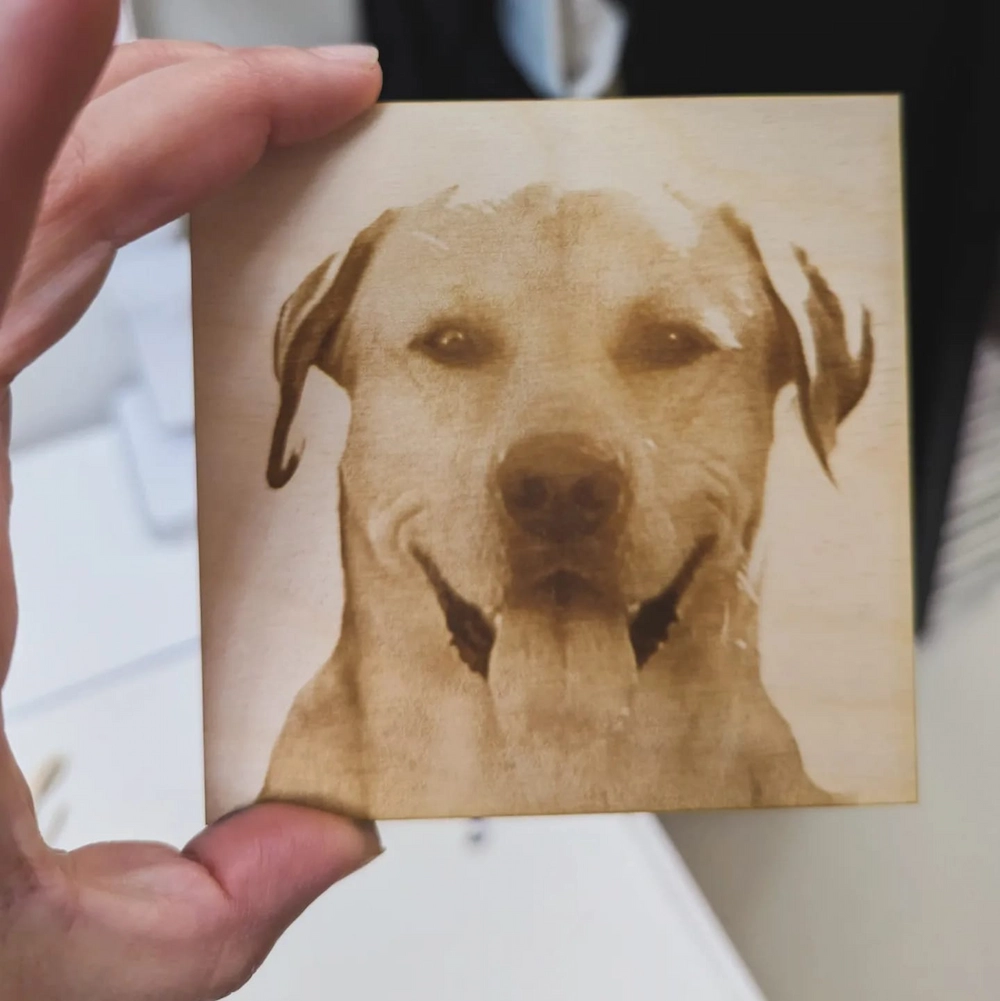
Birch provides a light surface and relatively consistent grain for many photo projects.
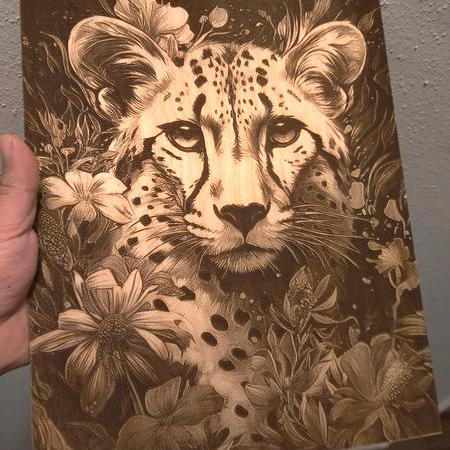
Alder has a relatively uniform texture that can help preserve photographic detail.
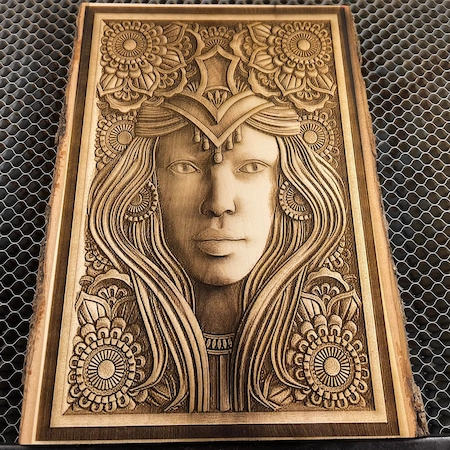
Basswood is light and relatively soft, making it useful for beginner engraving tests.
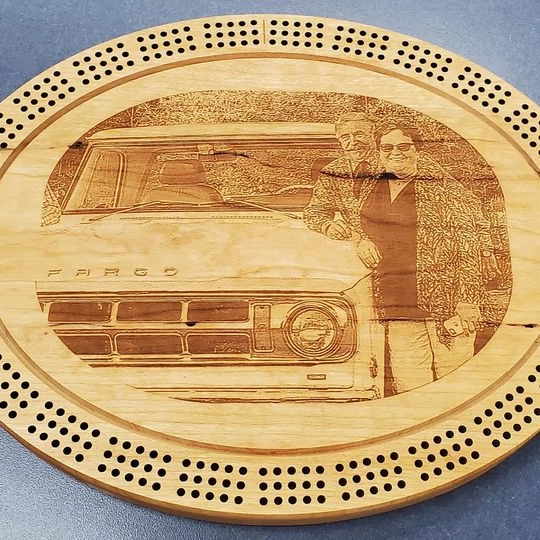
Cherry offers a warmer tone and can hold detail well, although its darker natural color changes the visible contrast.
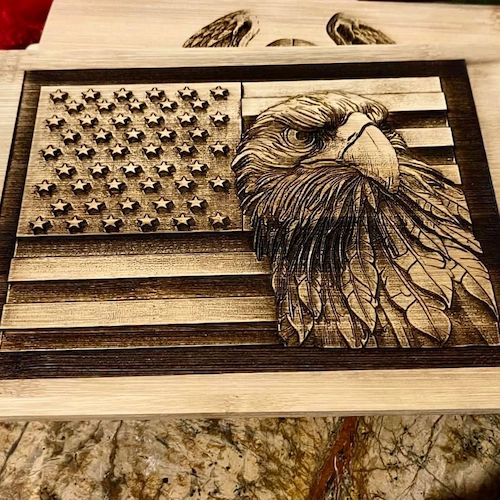
Bamboo can produce clear engraving, but its laminated structure and natural color variation should be considered during testing.
For a broader comparison of wood species and their laser-processing characteristics, see Best Wood for Laser Engraving and Cutting.
Wood grain can interfere with fine photographic detail. Run small samples in different scanning directions and compare visible banding, facial details, highlights, and shadow transitions.
A complex background can compete with the main subject after engraving. Removing or simplifying unnecessary background details can improve visual separation and make the primary subject easier to recognize.
A flat surface helps maintain consistent focus across the engraving area. If the wood is warped or lifted, focus variation can change engraving darkness and fine detail.
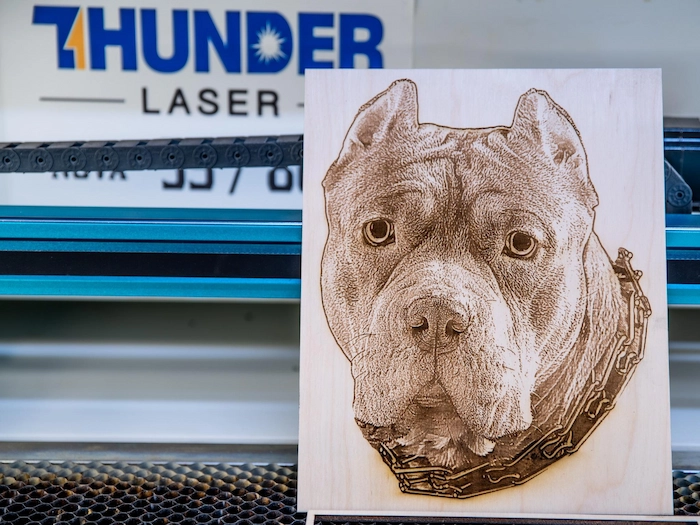
Keeping the wood flat helps maintain more consistent focus across the photo engraving.
Excessive power, slow speed, or overly dense engraving can cause dark areas to merge together and reduce highlight or facial detail. Use test samples to find a balance between contrast and tonal separation.
If the laser software provides multiple photo-processing or dithering options, engrave small samples using the same wood and settings. Compare edge definition, skin tones, shadows, hair detail, and smooth tonal transitions before choosing the final processing method.
After engraving, remove loose residue with a soft brush or suitable compressed air. Gently wipe the surface with a clean, lint-free cloth when appropriate for the wood.
If the project requires additional protection or a richer appearance, a suitable wood finish may be applied after testing. Any coating should be compatible with the intended use of the final project.
For detailed wood photo engraving in schools, makerspaces, and STEAM labs, the Thunder Laser Bolt Series is a strong professional RF CO₂ option for engraving-focused classroom projects and repeated student work.
Key Features for This Application
These capabilities make Bolt particularly relevant for photo engraving lessons where students repeatedly position wooden samples, compare engraving parameters, and work with detailed raster images.
For projects that require a larger work area or higher RF CO₂ power configurations, the Thunder Laser Nova Plus Series can be considered as an alternative.
Machine selection should be based on material size, required engraving detail, available ventilation, project frequency, supervision requirements, and the wider needs of the classroom or makerspace. The Thunder Laser machine selection guide provides a broader comparison for different application requirements.
By the end of this project, students should understand that a clear laser-engraved photograph depends on the interaction between the source image, grayscale or dithering preparation, DPI, wood type, grain, focus, speed, power, material flatness, and cleanup.
More importantly, students should be able to test variables systematically, compare results, explain why one setup performed better than another, and apply those observations to future digital-fabrication projects.
Talk To Our Experts Now!
Please leave your contact information so that we can serve you better.
FIND THE RIGHT LASER FOR YOUR NEXT PROJECT
Explore Thunder Laser solutions designed for different materials, workflows, and production needs.


 Stable & Consistent MachinesUnlimited ApplicationsRobust After-sales SupportFactory Direct Supply


