How to Laser Engrave Hat Patches
 25-04-18
WHAT ARE YOU LOOKING FOR?
Search Across Products, Blog Posts, Support Content, And Resources.

How to Laser Engrave Hat Patches
25-04-18

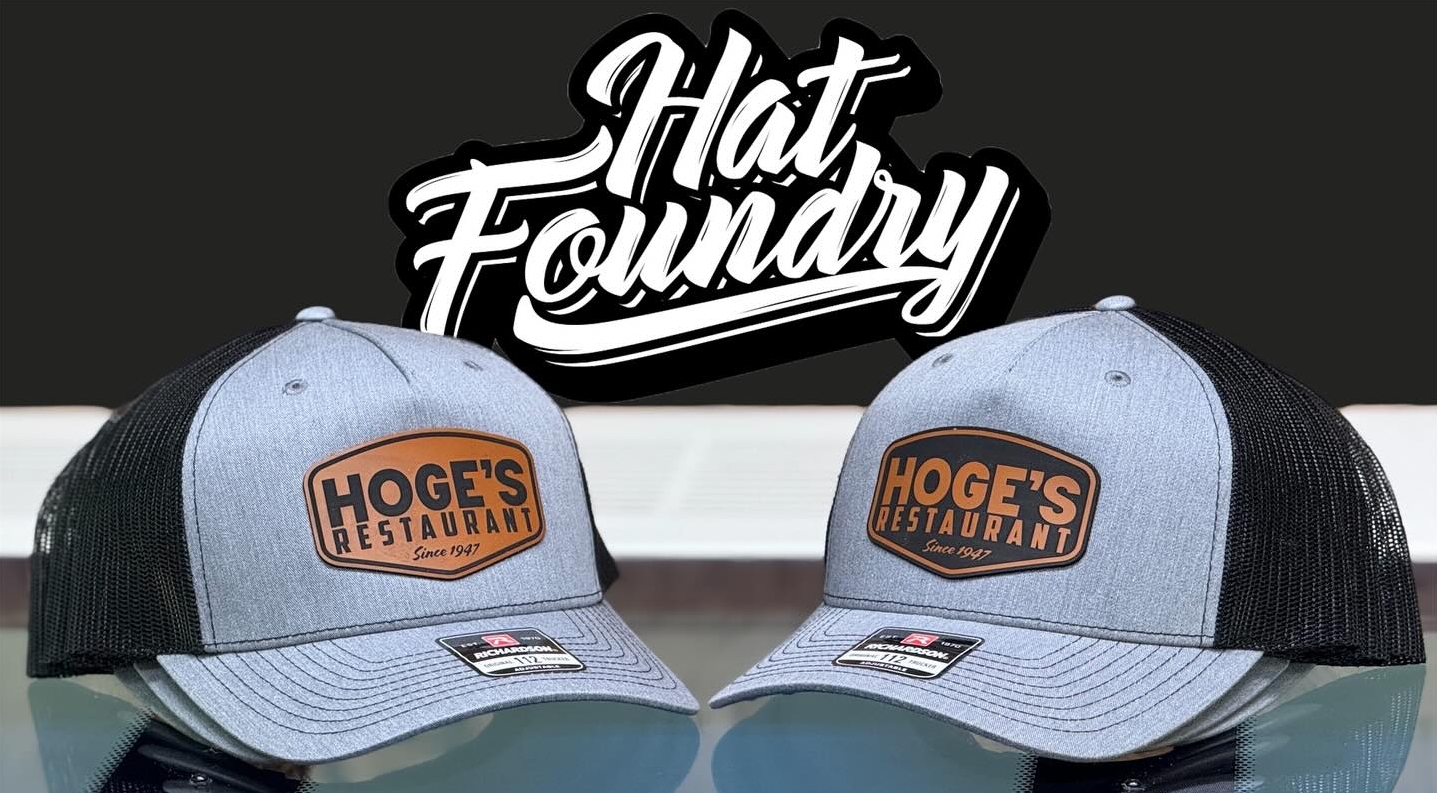
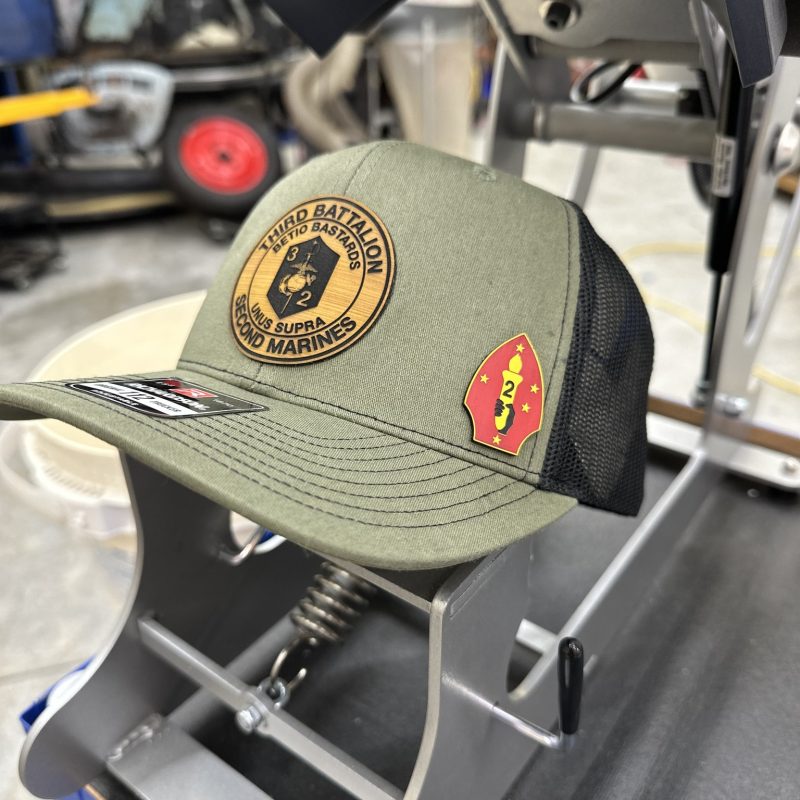
Custom hat patches have become a powerful way to express personal style and build brand identity. From streetwear labels to sports teams and corporate merchandise, engraved patches offer a clean, durable, and highly customizable finish. Laser engraving makes it possible to achieve fine detail on different patch materials while keeping production efficient and repeatable.
Whether you are starting a side business or upgrading your maker workflow, a compact and powerful Thunder Laser engraving machine can help you produce professional-quality patches in your own workspace. This guide walks through material selection, setup, engraving steps, and machine choices for laser-engraved hat patches.
Laser-engraved hat patches are increasingly popular in the customization market. Compared with embroidered or screen-printed alternatives, laser engraving offers several practical advantages:
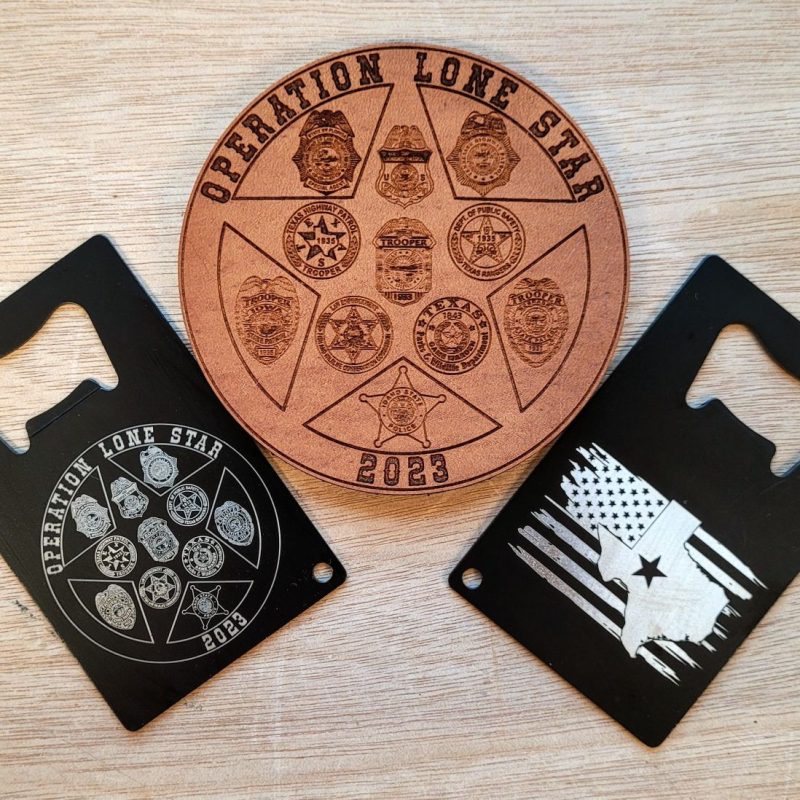
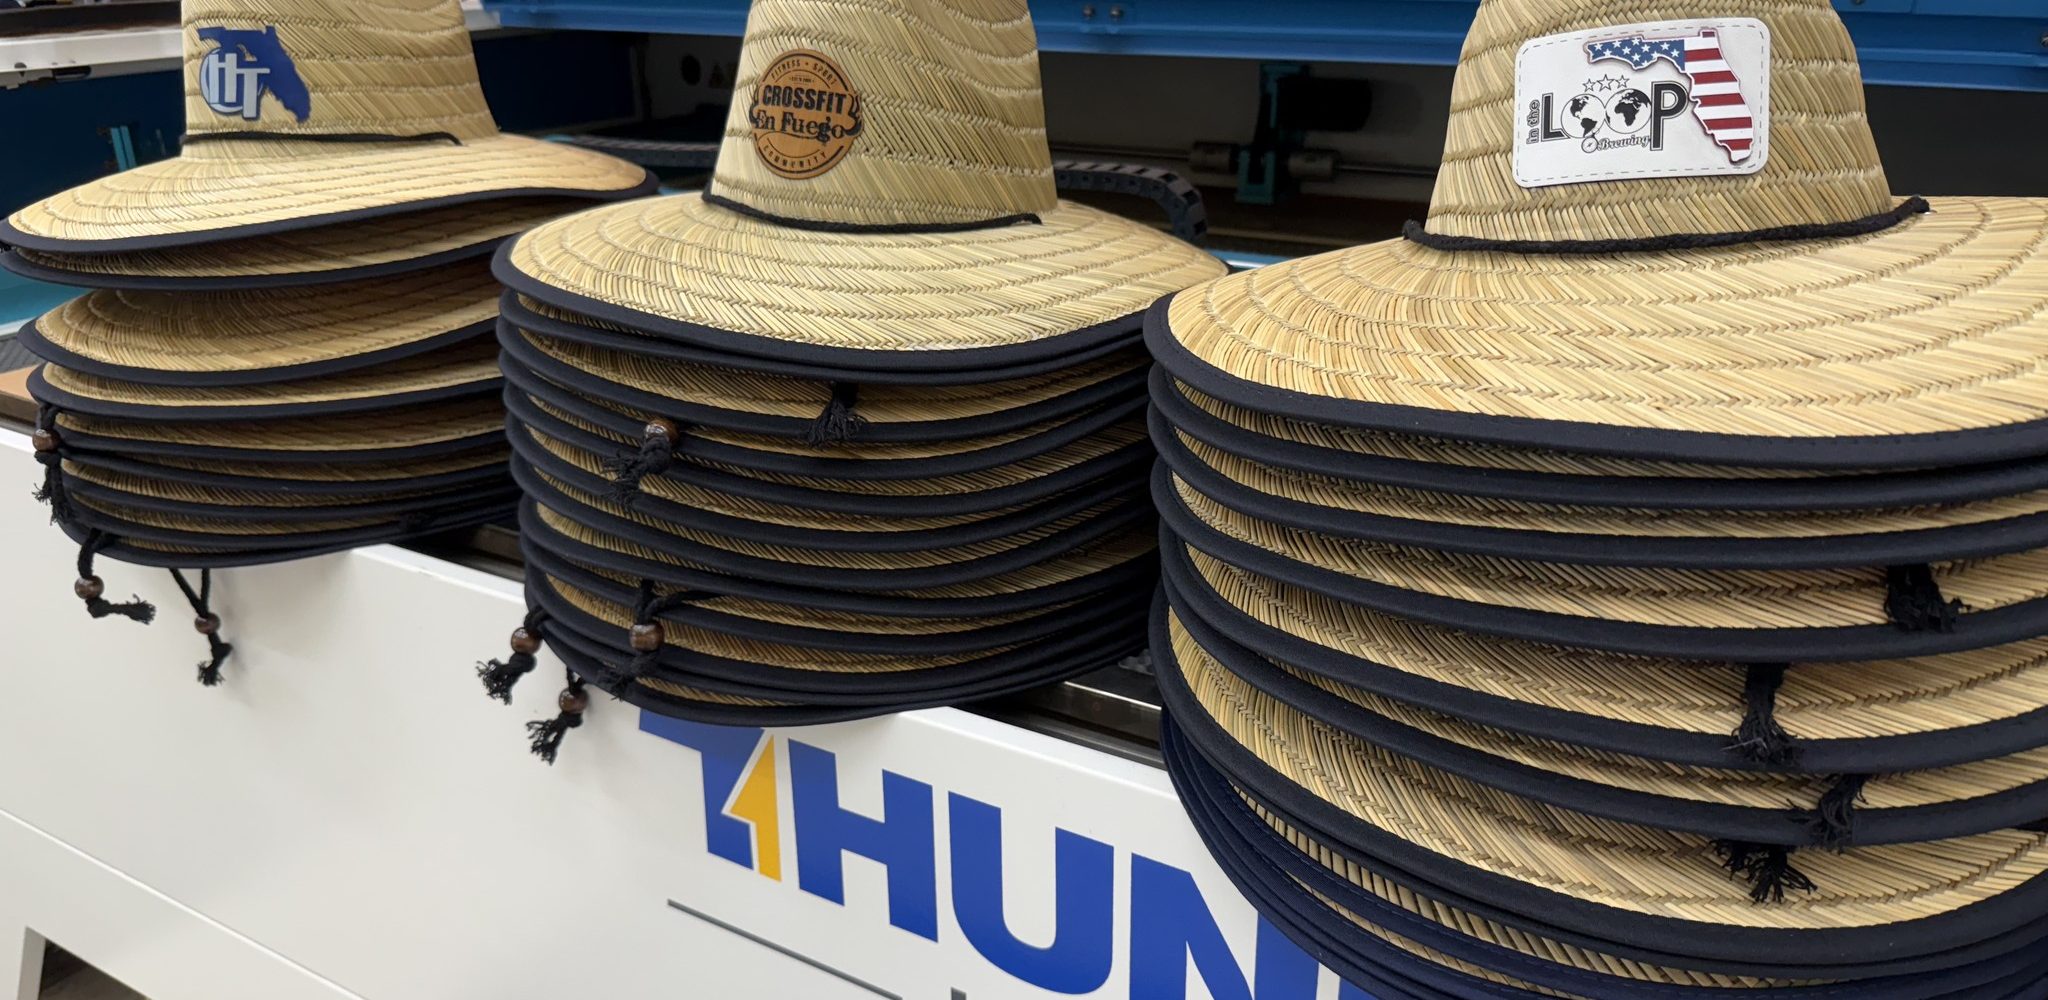
As a result, laser-engraved patches are widely used for small business branding, club apparel, military-inspired gear, sports merchandise, and creative fashion accessories.
The patch material plays a key role in engraving quality, contrast, durability, and safety. Below are common materials used for laser-engraved hat patches.
The table below compares common materials for laser-engraved hat patches.
| Material | Engraving Quality | Contrast | Durability | Cutting Feasibility | Laser Safety Notes | Best Use Case |
|---|---|---|---|---|---|---|
| PU Leather (PVC-free) | Excellent | High | High | Easy | Must confirm it is PVC-free | Fashion patches and high-contrast designs |
| Genuine Leather | Excellent | Medium-High | Very High | Moderate | Produces odor; use good ventilation | Premium hats and rugged or vintage styles |
| Cork | Good | Medium | Medium | Easy | Minimal smoke and low odor | Eco-friendly and novelty patch designs |
| Felt | Moderate | Low-Medium | Medium | Possible with low power | Use low power to avoid melting | Soft patches and children’s wear |
| Canvas | Moderate | Low-Medium | Medium-High | Not ideal for vector cutting | May scorch or fray if too much power is used | Minimalist or rustic patch aesthetics |
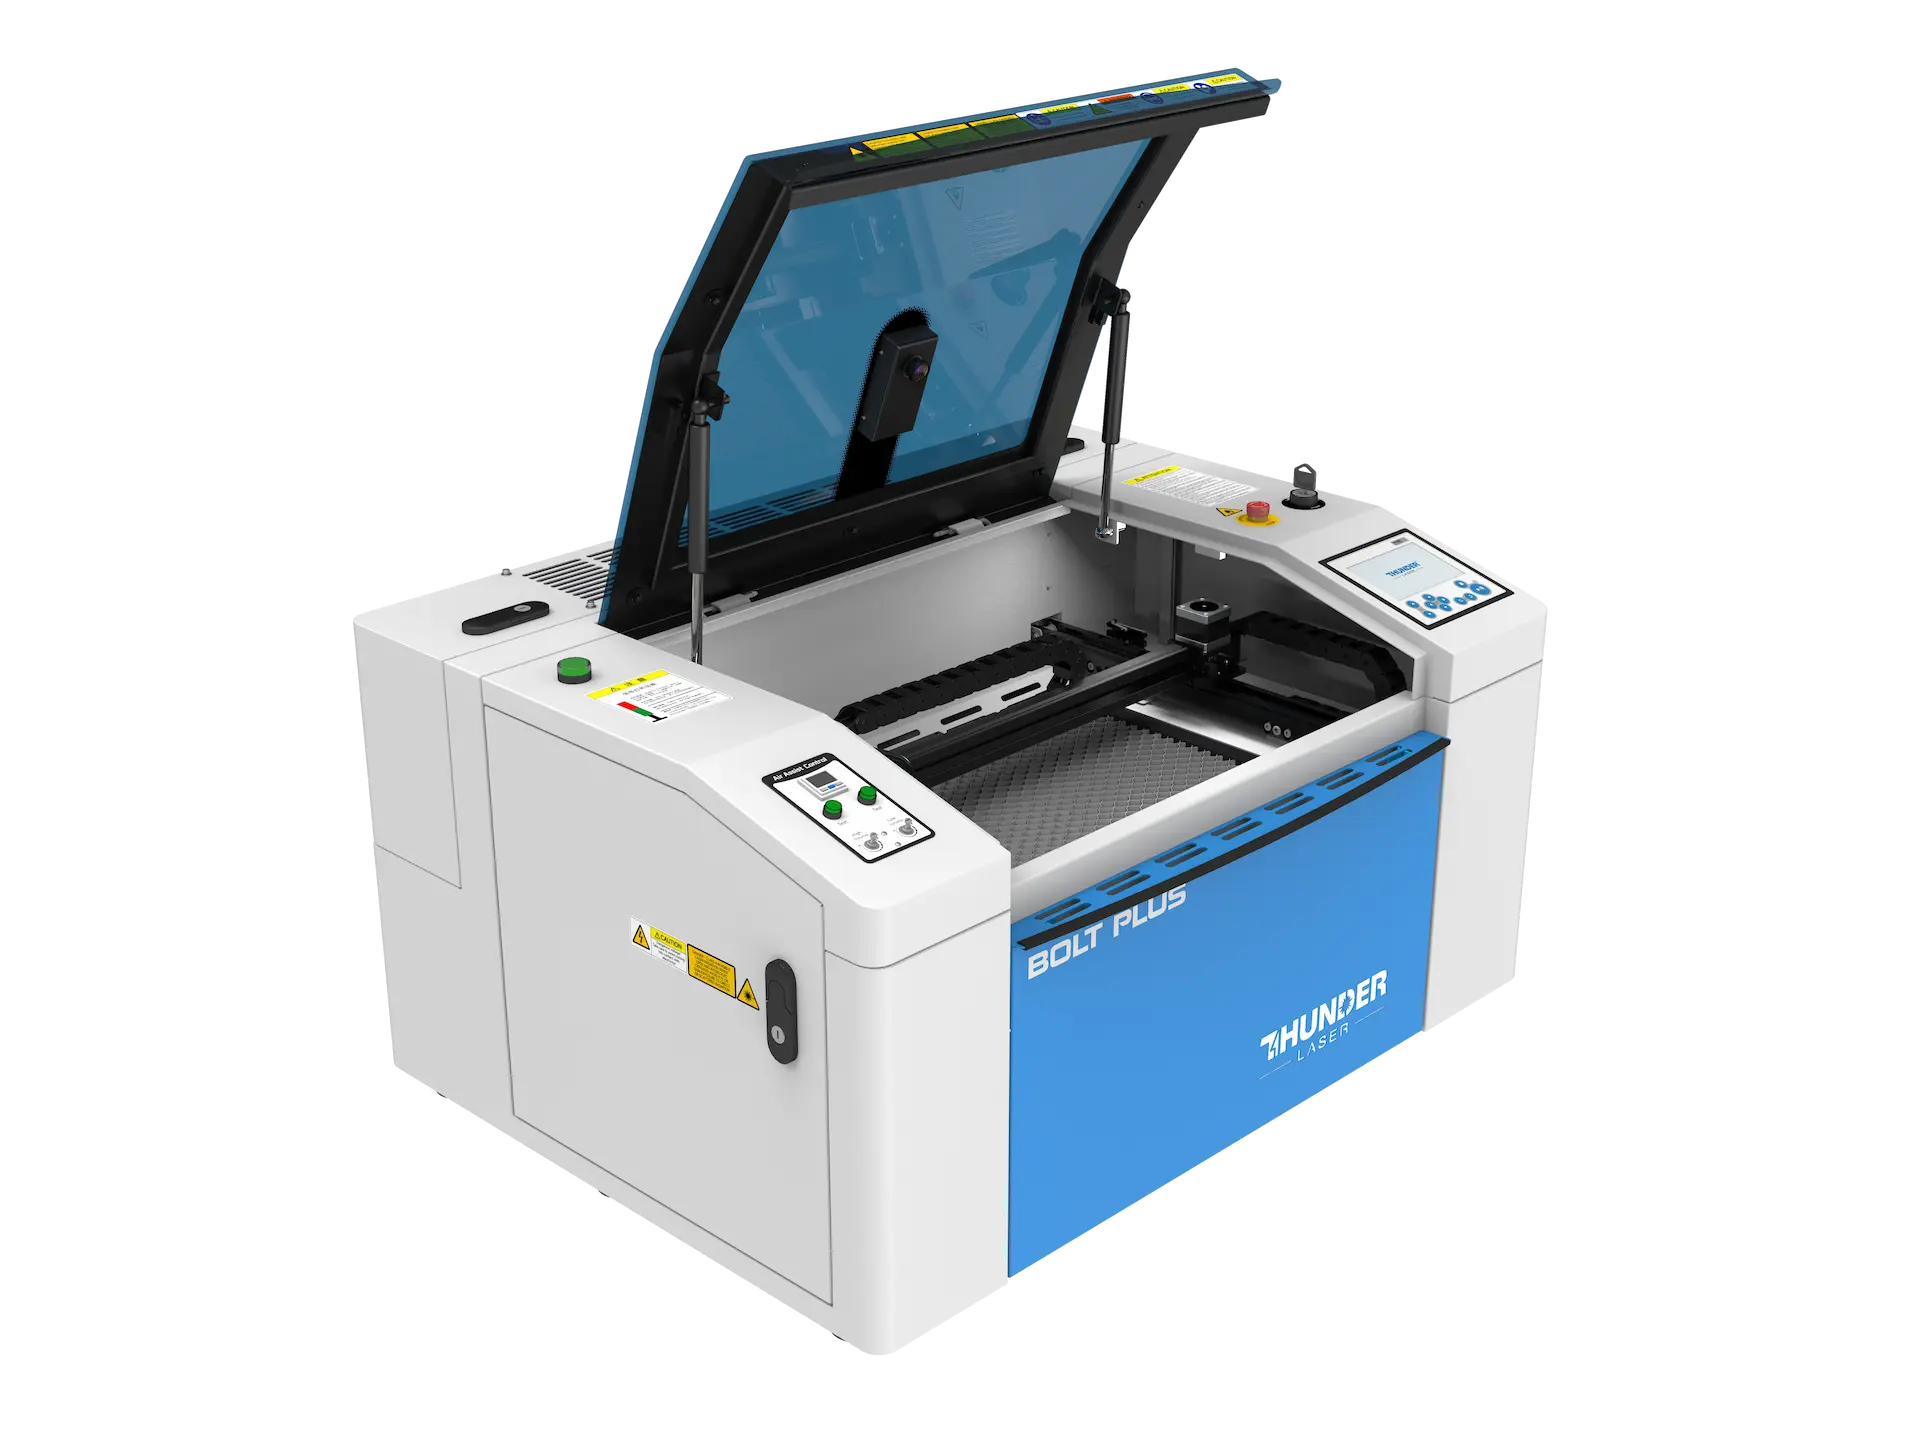
Laser engraving hat patches is straightforward when you have the right tools and a clean setup. The following workflow uses the Thunder Laser Bolt system as an example.
Laser engraving hat patches workflow video
Import your patch artwork into LightBurn and adjust the dimensions to match the patch size. Use vector graphics for cutting outlines and raster images or filled areas for engraved details. Align the design to the material position using the grid or camera system, if equipped.
For lighter-colored patches, apply a layer of masking tape over the engraving area. This helps reduce smoke staining and creates a cleaner final result. Make sure the tape is smooth and free of bubbles.
Use Thunder Laser’s autofocus feature or manually focus the laser head according to the material thickness. Run a small test pattern to confirm the power and speed settings. For PU leather, you can start with the following reference values:
Adjust these settings based on the darkness, depth, and finish you want. You can also review more parameters to engrave and cut different materials.
Once the design is aligned and the settings are ready, send the job to the laser. Monitor the process closely, especially when working with synthetic materials. Make sure the exhaust fan is active and air assist is working properly.
After engraving, finish the patch with a simple cleaning process:
Your patch is now ready to attach to a hat and become part of a custom product line, team uniform, or personal design project.
Thunder Laser offers professional-grade laser engraving machines for hobby creators, small studios, and patch production businesses. Whether you are making custom patches in a compact workspace or scaling up for bulk orders, Thunder Laser machines support precise, repeatable work across leather, PU leather, cork, and other suitable materials.
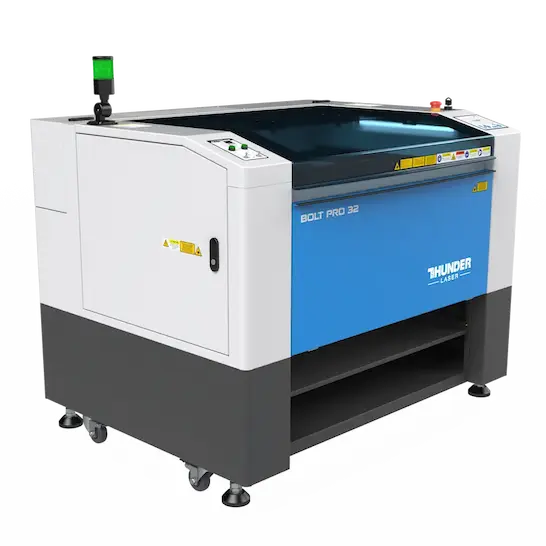
For users who want high speed and engraving precision in a desktop form, the Thunder Bolt Pro is a strong choice. With speeds reaching 2000 mm/s, it delivers industrial-grade engraving accuracy in a compact frame. It is suitable for creators who need production efficiency, fine detail, and scalable output for custom orders or a growing patch business.
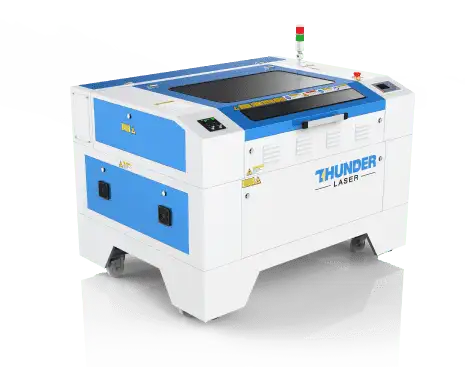
For creators working from a home studio or small workshop, the Thunder Bolt is a practical desktop option. It has a maximum processing speed of 1500 mm/s and can produce detailed patch engraving for single-piece work and short-run customization. It is a suitable choice for Etsy sellers and small-scale entrepreneurs.
For higher-volume hat patch production, the Thunder Nova Series is a good fit. The Nova 35 offers a spacious working area and speeds up to 1000 mm/s, making it suitable for batch engraving and cutting. Its pass-through door design can accommodate oversized sheets, helping businesses cut multiple patches in one run.
Laser-engraved hat patches are in demand across several customization markets. Here are practical ways to monetize your designs:
You can also offer personalized services where customers submit their own logos, initials, or artwork for engraving.
Laser engraving hat patches combines creative flexibility with commercial potential. With the right material and a reliable laser system such as the Thunder Laser Bolt, you can create detailed, durable patches with a repeatable workflow. The process works for single custom hats, short runs, and scalable patch production.
Thunder Laser machines make it easier to bring custom patch ideas to life with precision and confidence. Explore the Bolt or Nova Series to start creating your own line of laser-engraved hat patches.
Start Creating Custom Hat Patches
Need help choosing the right laser engraver for patch production? Contact Thunder Laser for machine recommendations and project support.
Contact UsTalk To Our Experts Now!
Please leave your contact information so that we can serve you better.
FAQS
TAKE THE NEXT STEP WITH THUNDER LASER

 Stable & Consistent MachinesUnlimited ApplicationRobust After-sales SupportFactory Direct Supply