Introduction
Keeping track of your weekly tasks doesn’t have to be boring. With a laser-engraved acrylic weekly planner, you can create a stylish, reusable board that’s both practical and beautiful on your desk or wall. Unlike paper planners, this one lets you write, erase, and start fresh every week—perfect for busy schedules, family reminders, or creative planning.
In this tutorial, we’ll walk through each step of making your own acrylic weekly planner. Whether you want a minimal planner for work or a fun family board for the kitchen, this project is a great way to combine function with creativity.
Machine Used
- Thunder Bolt 30W
Material Needed
3mm Acrylic
Settings
Engraving
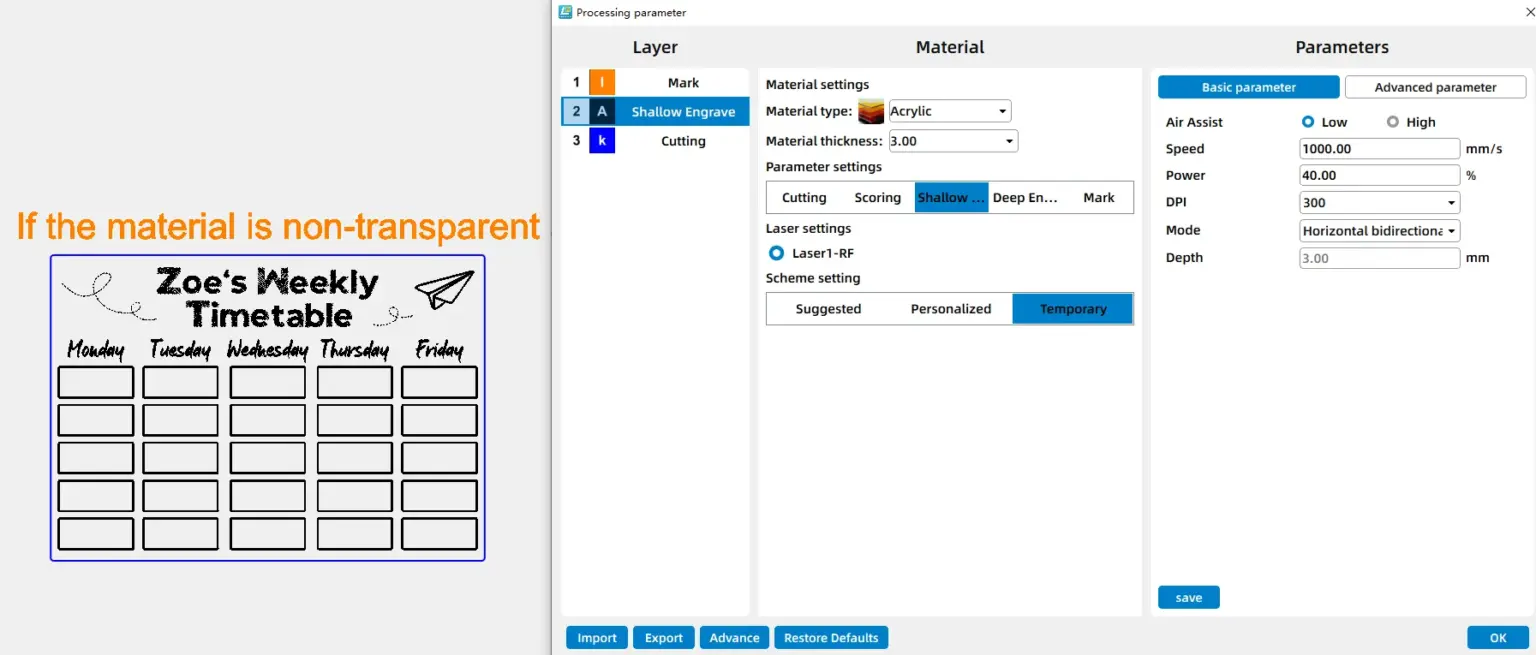
- Speed:1000mm/s
- Max Power:40%
- Min Power:40%
- DPI:300
Cutting
- Speed:8mm/s
- Max Power:90%
- Min Power:10%
Before your work begins
- Verify the lens is clean or there's no problem in the laser.
- Make sure the exhaust fan is working well.
- Ensure the air assist is on.
Step 1: Place Your Materials for Laser Engraving
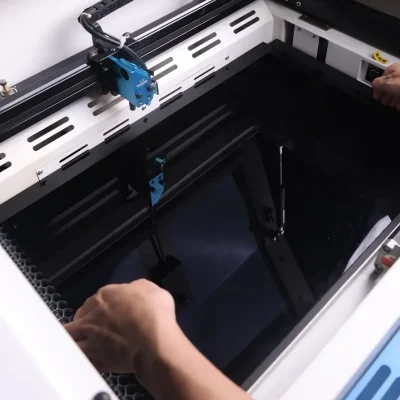
Peel off the protective film from the top surface of the acrylic sheet. Leave the back film on to reduce scratches while cutting. Place the sheet flat on the work bed and secure it with pins or magnets so it doesn’t shift during engraving.
Step 2: Open the File with Your Laser Sofeware
Load your weekly planner design into your laser software ((I used Lasermaker). Adjust the size and positioning so it matches the area of your acrylic sheet. Before you begin, double-check your engraving and cutting parameters. For acrylic, ensure the speed, power, and line interval are appropriate for the thickness of your sheet. Engraving settings should be optimized for clear, sharp text and lines, while cutting settings should provide a clean edge without excessive melting. Running a small test on scrap acrylic is always a good idea.
Step 3: Focus Your Laser Machine
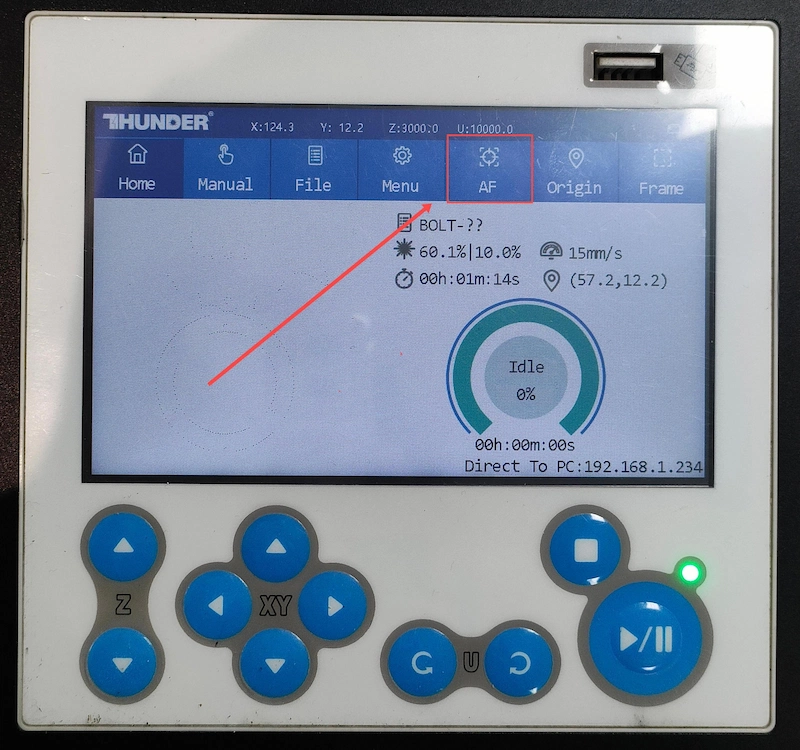
Proper focusing is essential for achieving crisp engravings and smooth cuts. If your machine supports auto focus, a single click will set the correct distance for flat acrylic sheet. If you prefer manual focus, use the focus stick to adjust the laser head until it just touches the surface of the acrylic at a perfect vertical angle. Spending an extra moment on accurate focusing will pay off with professional-looking results.
Step 4: Frame the Design and Start Laser Engraving
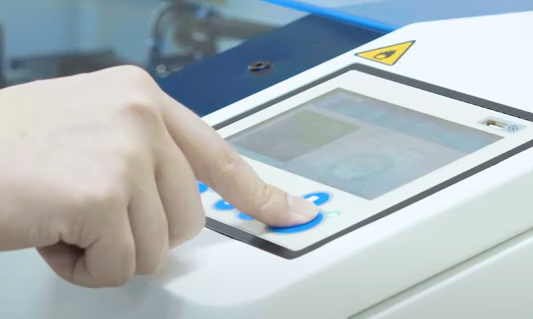
Run the framing outline to double-check that the design fits perfectly on the acrylic sheet. The red-light outline gave me confidence that everything was aligned. Once satisfied, I clicked Start, and the laser began cutting the planet puzzle pieces with smooth precision.
Step 5: Monitor the Laser Engraving Process
- Stay near the machine while it’s running and watch the cutting and engraving progress. Keep an eye out for excessive smoke, small flame-ups, or any movement of the material that could affect the outcome. Make sure your workspace is well-ventilated, and rely on air assist if available to achieve cleaner edges on the acrylic.
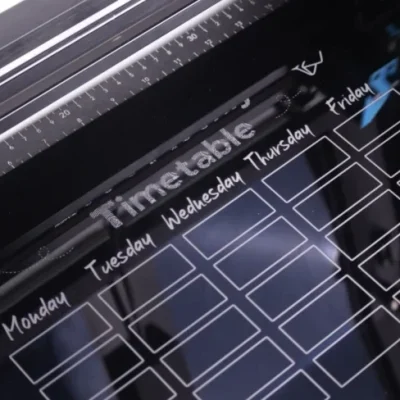
Step 6: Clean the Acrylic and Complete the Job
Once the job is complete, wait a few seconds for fumes to clear before opening the lid. Carefully remove the acrylic piece. Peel off any remaining protective film and wipe the surface with a soft cloth. For a spotless finish, rinse lightly with mild soap and water. If your planner comes with a stand, assemble it by aligning the laser-cut parts. Once set up, you can write on the surface with dry-erase markers and wipe it clean for reuse week after week.
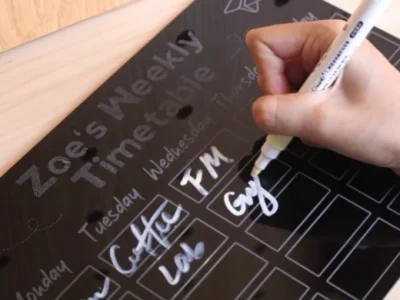
Come and Try!
My weekly planner is already on my desk, keeping me on track—what about yours? Making one is simpler than you might think, and the result is a planner that feels personal, reusable, and a little special every time you write on it.
Why not give it a try? I bet you’ll come up with a version even better than mine—and I’d love to see what you design!



.png) International
International
 United States
 Brasil
 Canada
 Costa Rica
 Mexico
 Česká
Česká
 Romania
 Polska
 Ireland
 Portugal
 Lietuva
 Россия
 Deutschland
 Britain
 Україна
 France
 Sverige
 Italia
 Norway
 Denmark
 Ελλάδα
 한국
한국
 中国
中国
 ประเทศไทย
 中国香港
中国香港
 Israel
 中國臺灣
中國臺灣
 India
India
 پاکستان
 پශ්රී ලංකා
 ジャパン
ジャパン
 Australia
 New Zealand
 South Africa