


Laser Engraved Photos on Wood for STEAM Maker Projects
 24-08-08
WHAT ARE YOU LOOKING FOR?
Search Across Products, Blog Posts, Support Content, And Resources.

Laser Engraved Photos on Wood for STEAM Maker Projects
24-08-08

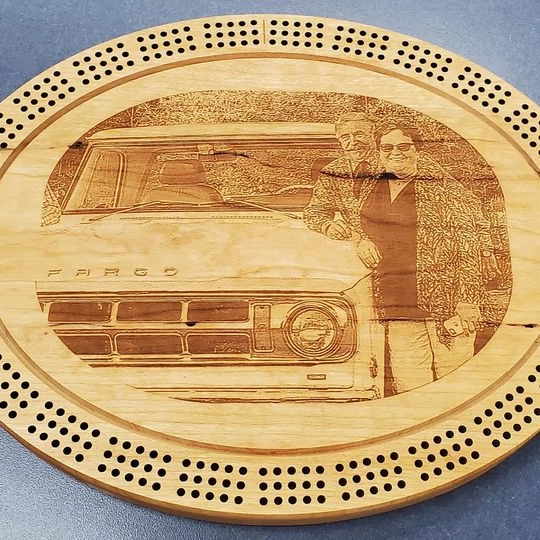
In this STEAM maker course, students and teachers learn how to create laser-engraved photos on wood. The lesson covers photo selection, image preparation, wood choice, DPI, engraving settings, cleanup, and practical ways to improve photo clarity on wooden surfaces.
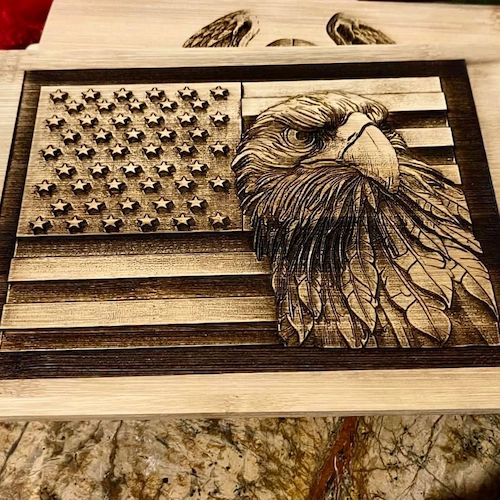
Photo engraving on wood is useful for classroom art projects, personalized gifts, home decor, mementos, product samples, and student-led maker activities. The best results come from combining a clear photo, suitable wood, careful image editing, and tested laser settings.
| Item | Details |
|---|---|
| Topic | Laser engraving photos on wood |
| Main Materials | Maple, birch, alder, basswood, cherry, bamboo, MDF, and other suitable wood materials |
| Main Skills | Photo selection, grayscale conversion, contrast adjustment, DPI setup, wood preparation, test engraving, parameter comparison, and cleanup |
| Classroom Fit | STEAM maker projects, personalized gifts, photo engraving, digital fabrication, wood engraving, product design, and creative classroom projects |
Students will learn how to turn a digital photo into a clear wooden engraving. They will choose a suitable photo, prepare the image for laser engraving, select an appropriate wood surface, adjust machine settings, run a test, engrave the final image, and clean the finished piece.
For teachers: Use this lesson to connect digital image editing, material testing, laser engraving, and creative product design.
For students: Use the activity to create meaningful photo gifts while learning how image quality, wood grain, and laser settings affect the final result.
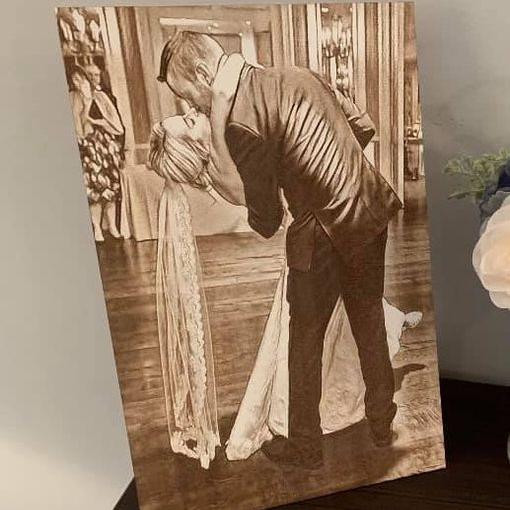
For makerspaces: Use it as a practical onboarding lesson for learners who want to engrave portraits, event photos, pet photos, or artwork on wood.
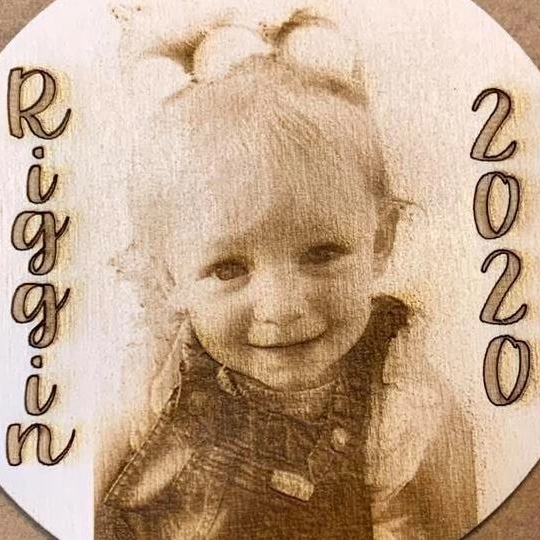
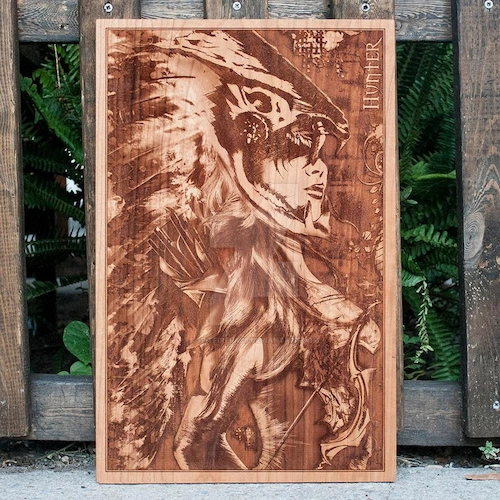
Choose photos that are suitable for laser engraving, such as clear, well-lit images with strong subject outlines.
Edit a photo by adjusting brightness, contrast, sharpness, background, grayscale, image size, and DPI.
Select wood that supports clear photo detail, good contrast, and consistent engraving results.
Understand how power, speed, DPI, focus, and material behavior affect engraving depth and image clarity.
Clean and finish a laser-engraved photo so the final piece looks professional and lasts longer.
Design thinking: Match the image, material, and final use case so the engraved photo feels meaningful and visually clear.
Computational thinking: Compare image resolution, grayscale values, DPI, speed, power, and material tests to improve repeatability.
Engineering thinking: Control focus, wood flatness, grain direction, engraving depth, and cleanup to improve the final output.
Students should only engrave materials approved by their teacher or lab supervisor. Wood should be clean, dry, and safe for laser processing. Proper ventilation, air assist, supervised machine operation, and careful cleanup are important for all wood engraving activities.
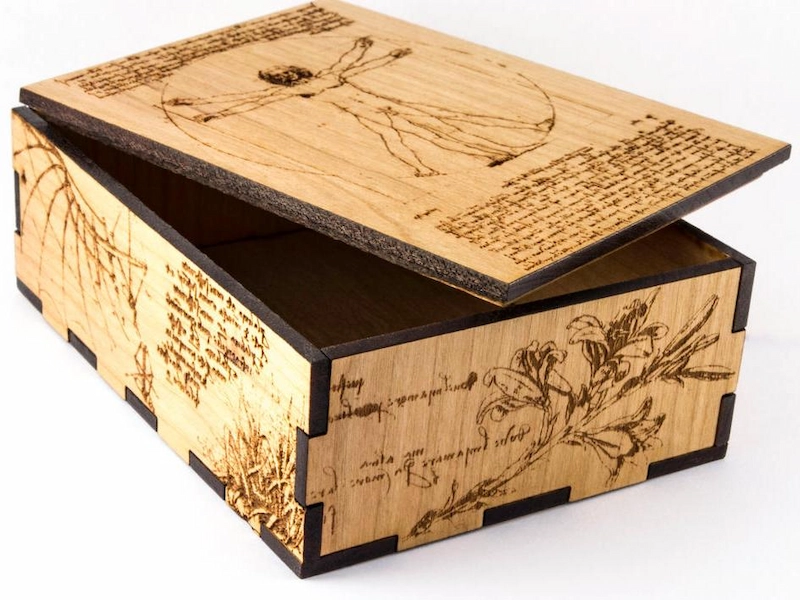
Laser-etched photos on wood can be organized by photo type or by final application. This makes the lesson flexible for personal projects, classroom assignments, school events, and small product-design activities.
For additional project ideas, teachers can review free laser design resources and adapt them for classroom photo engraving activities.
Photo preparation is one of the most important steps. A good photo engraving depends on the quality of the original image and how well it is adjusted before being sent to the laser.
Choose a high-resolution image with good contrast. Low-quality or blurry images may lose important details during engraving.
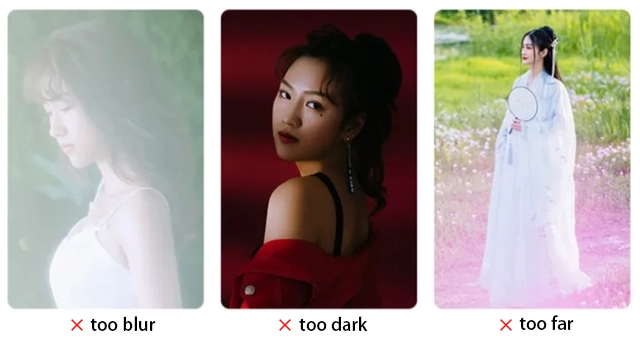
Avoid: Blurry photos, backlit photos, very dark images, and subjects that are too far from the camera.
Choose: Close-up faces, evenly lit subjects, clear outlines, and photos with strong contrast between the subject and background.
Use image editing software such as Adobe Photoshop, GIMP, or another classroom-approved tool to improve the image before engraving. Adjust contrast, brightness, and sharpness so the main subject is easier for the laser to reproduce.
For many photo engraving workflows, converting the image to grayscale helps the laser software translate tones into engraving depth or mark density. Removing or simplifying the background can also make the final result cleaner.
Resize the photo to match the wood piece and final project size. The source workflow notes that photo engraving commonly uses 300–600 DPI, with 300 DPI often being a practical starting point.
DPI Reminder: DPI means dots per inch. If DPI is too low, details may look rough. If DPI is too high for the material and settings, the engraving may take longer or produce darker results than expected.

Choose the photo and adjust it for engraving. Improve brightness and contrast, sharpen key details, and remove the background if it distracts from the subject.
Select a wood piece that can show fine detail and contrast. Sand the surface smooth, clean off dust, and make sure the wood lies flat on the machine bed.
Avoid wood with very obvious patterns or heavy texture when photo clarity is the priority.
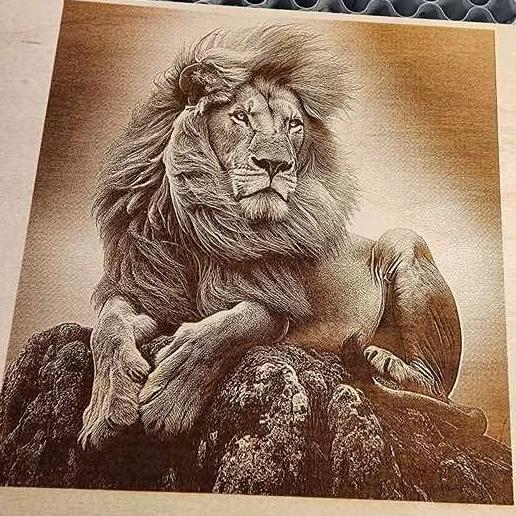
Choose wood that can capture fine detail and create a visible difference between engraved and unengraved areas.
Run a small test engraving to confirm that the wood surface, photo, and settings work well together.
Set the laser focus, speed, power, and DPI based on the wood and desired result. Higher power usually creates deeper or darker engraving, while faster speed can improve efficiency but may produce lighter results.
Teacher Tip: Ask students to create a small parameter matrix in the laser software. Comparing several power and speed combinations helps students find the clearest photo result before engraving the final piece.
Perform a small test engraving first. If the test looks clear, run the full photo engraving while monitoring the machine and ventilation. After engraving, clean the wood surface to remove dust and residue.
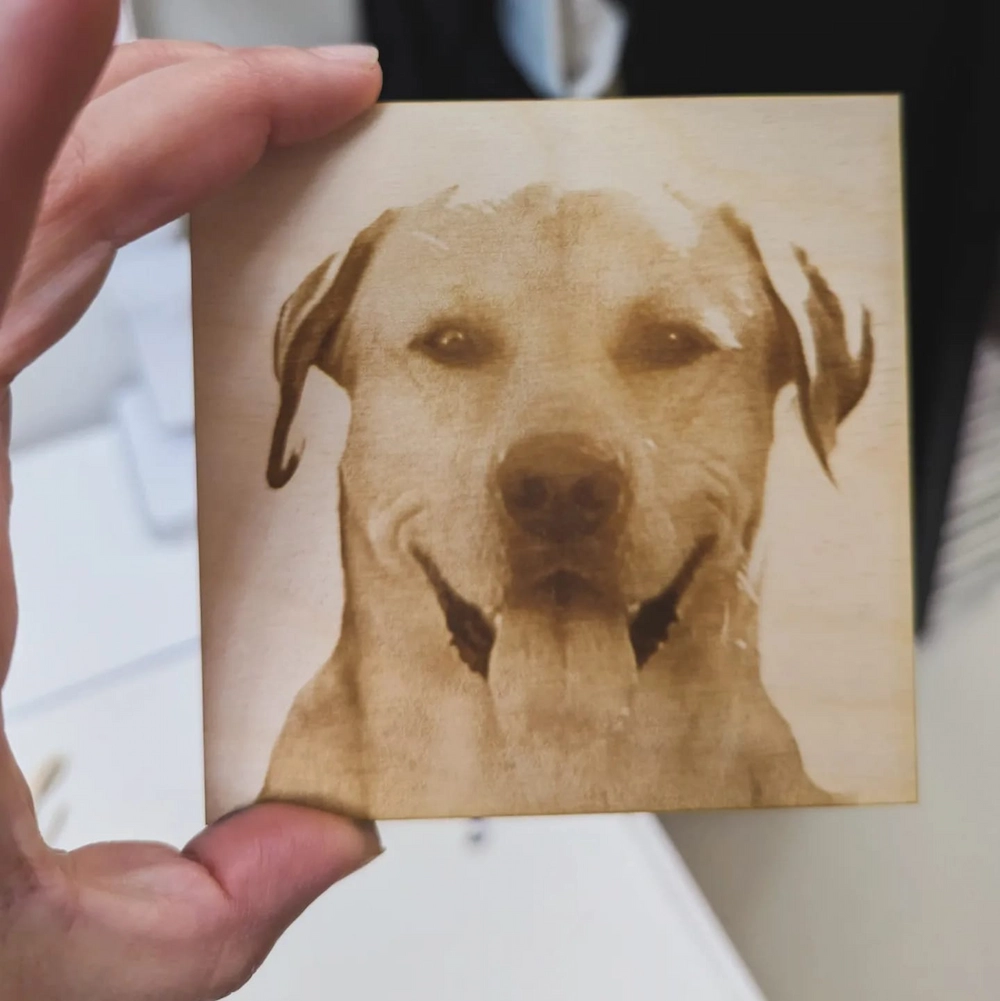
For a deeper example, teachers can review the laser engraved photos on wood case study.
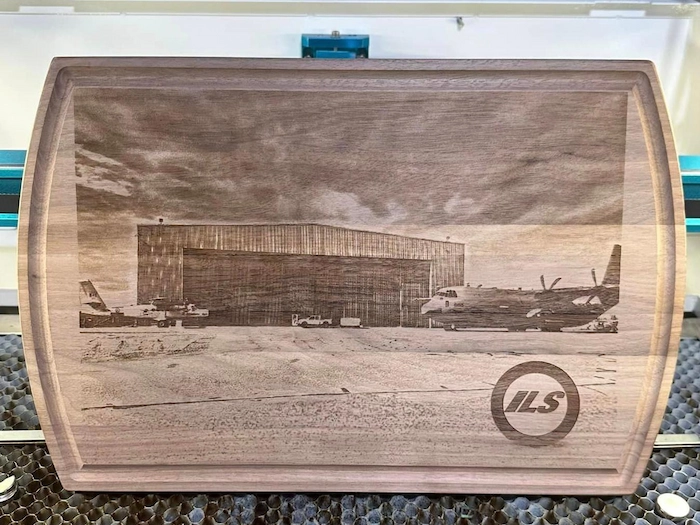
The best wood for photo engraving usually has a clean surface, minimal grain distraction, and enough contrast after engraving. Light-colored, fine-grained woods are often easier for students to work with when the goal is clear photo detail.
Choose clean, minimal grain: Smoother and less prominent grain patterns give the photo a clearer background.
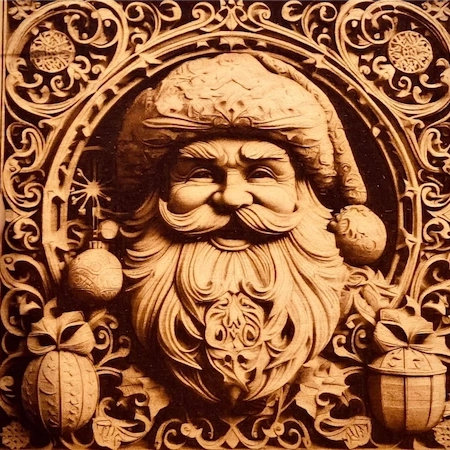
Consider contrast: Some woods produce darker marks, which can improve photo visibility.
Test resin-rich wood carefully: Higher resin content can darken engraving, but it may also create more smoke and residue, so testing is important.

For a broader material guide, teachers and students can review wood options for laser engraving and cutting.
The source workflow suggests engraving against the grain to reduce interference from the wood pattern and help produce sharper image detail. Students should test both directions when possible, because wood behavior can vary.
A busy background can make the final engraving look unclear. Removing or simplifying the background helps the viewer focus on the main subject and often creates a cleaner result.
Flat material helps maintain consistent focus and engraving depth. If the wood corners lift on a honeycomb bed, magnets can help hold the material flat during engraving when they are safe and appropriate for the machine setup.
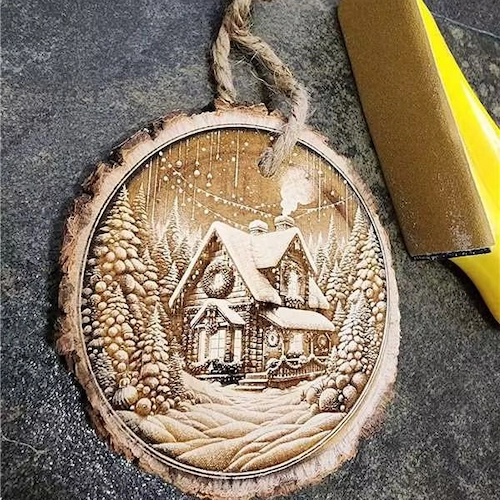
After engraving, remove loose residue with a soft brush or compressed air. Then gently wipe the surface with a damp, lint-free cloth. For small or detailed areas, use a small brush or cotton swab with a mild cleaning solution approved by the teacher or lab supervisor.
Once the surface is clean and dry, students may apply a suitable wood finish or sealant if the project requires protection or a richer appearance. After the finish dries, polish the surface with a soft cloth to highlight the engraved details.
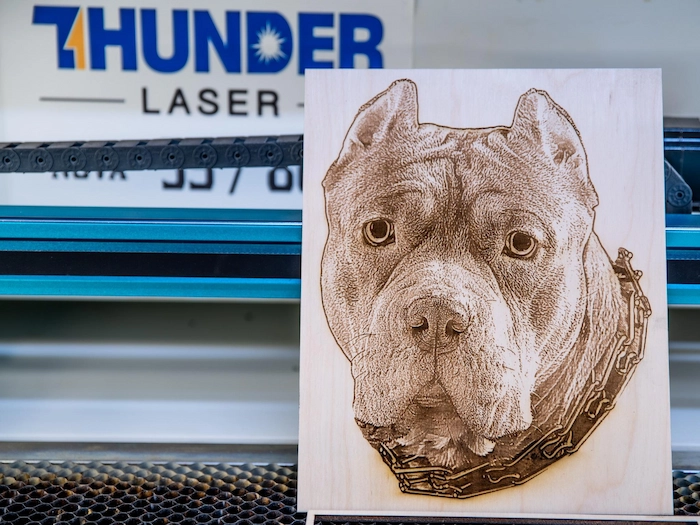
The source material highlights Thunder Bolt Pro and Nova Plus for wood photo engraving and cutting workflows. For schools, makerspaces, and STEAM labs, the Thunder Laser Bolt Series can support compact classroom engraving projects, while the Thunder Laser Nova Plus Series can support larger wood projects and more production-oriented maker workflows.
Machine choice should be based on classroom space, material size, engraving detail, ventilation setup, project frequency, and supervision needs. No matter which machine is used, students should test photo settings on a small sample before engraving the final piece.
By the end of this lesson, students should understand that a strong laser-engraved photo on wood depends on more than the machine. The photo, grayscale preparation, DPI, wood type, grain, focus, speed, power, flatness, and cleanup all work together.
With careful testing and reflection, students can create wooden photo projects that are personal, durable, and visually clear.
Talk To Our Experts Now!
Please leave your contact information so that we can serve you better.
TAKE THE NEXT STEP WITH THUNDER LASER

 Stable & Consistent MachinesUnlimited ApplicationRobust After-sales SupportFactory Direct Supply


