Laser Rotary Attachment Guide: All You Need to Know
 23-03-09
WHAT ARE YOU LOOKING FOR?
Search Across Products, Blog Posts, Support Content, And Resources.

Laser Rotary Attachment Guide: All You Need to Know
23-03-09

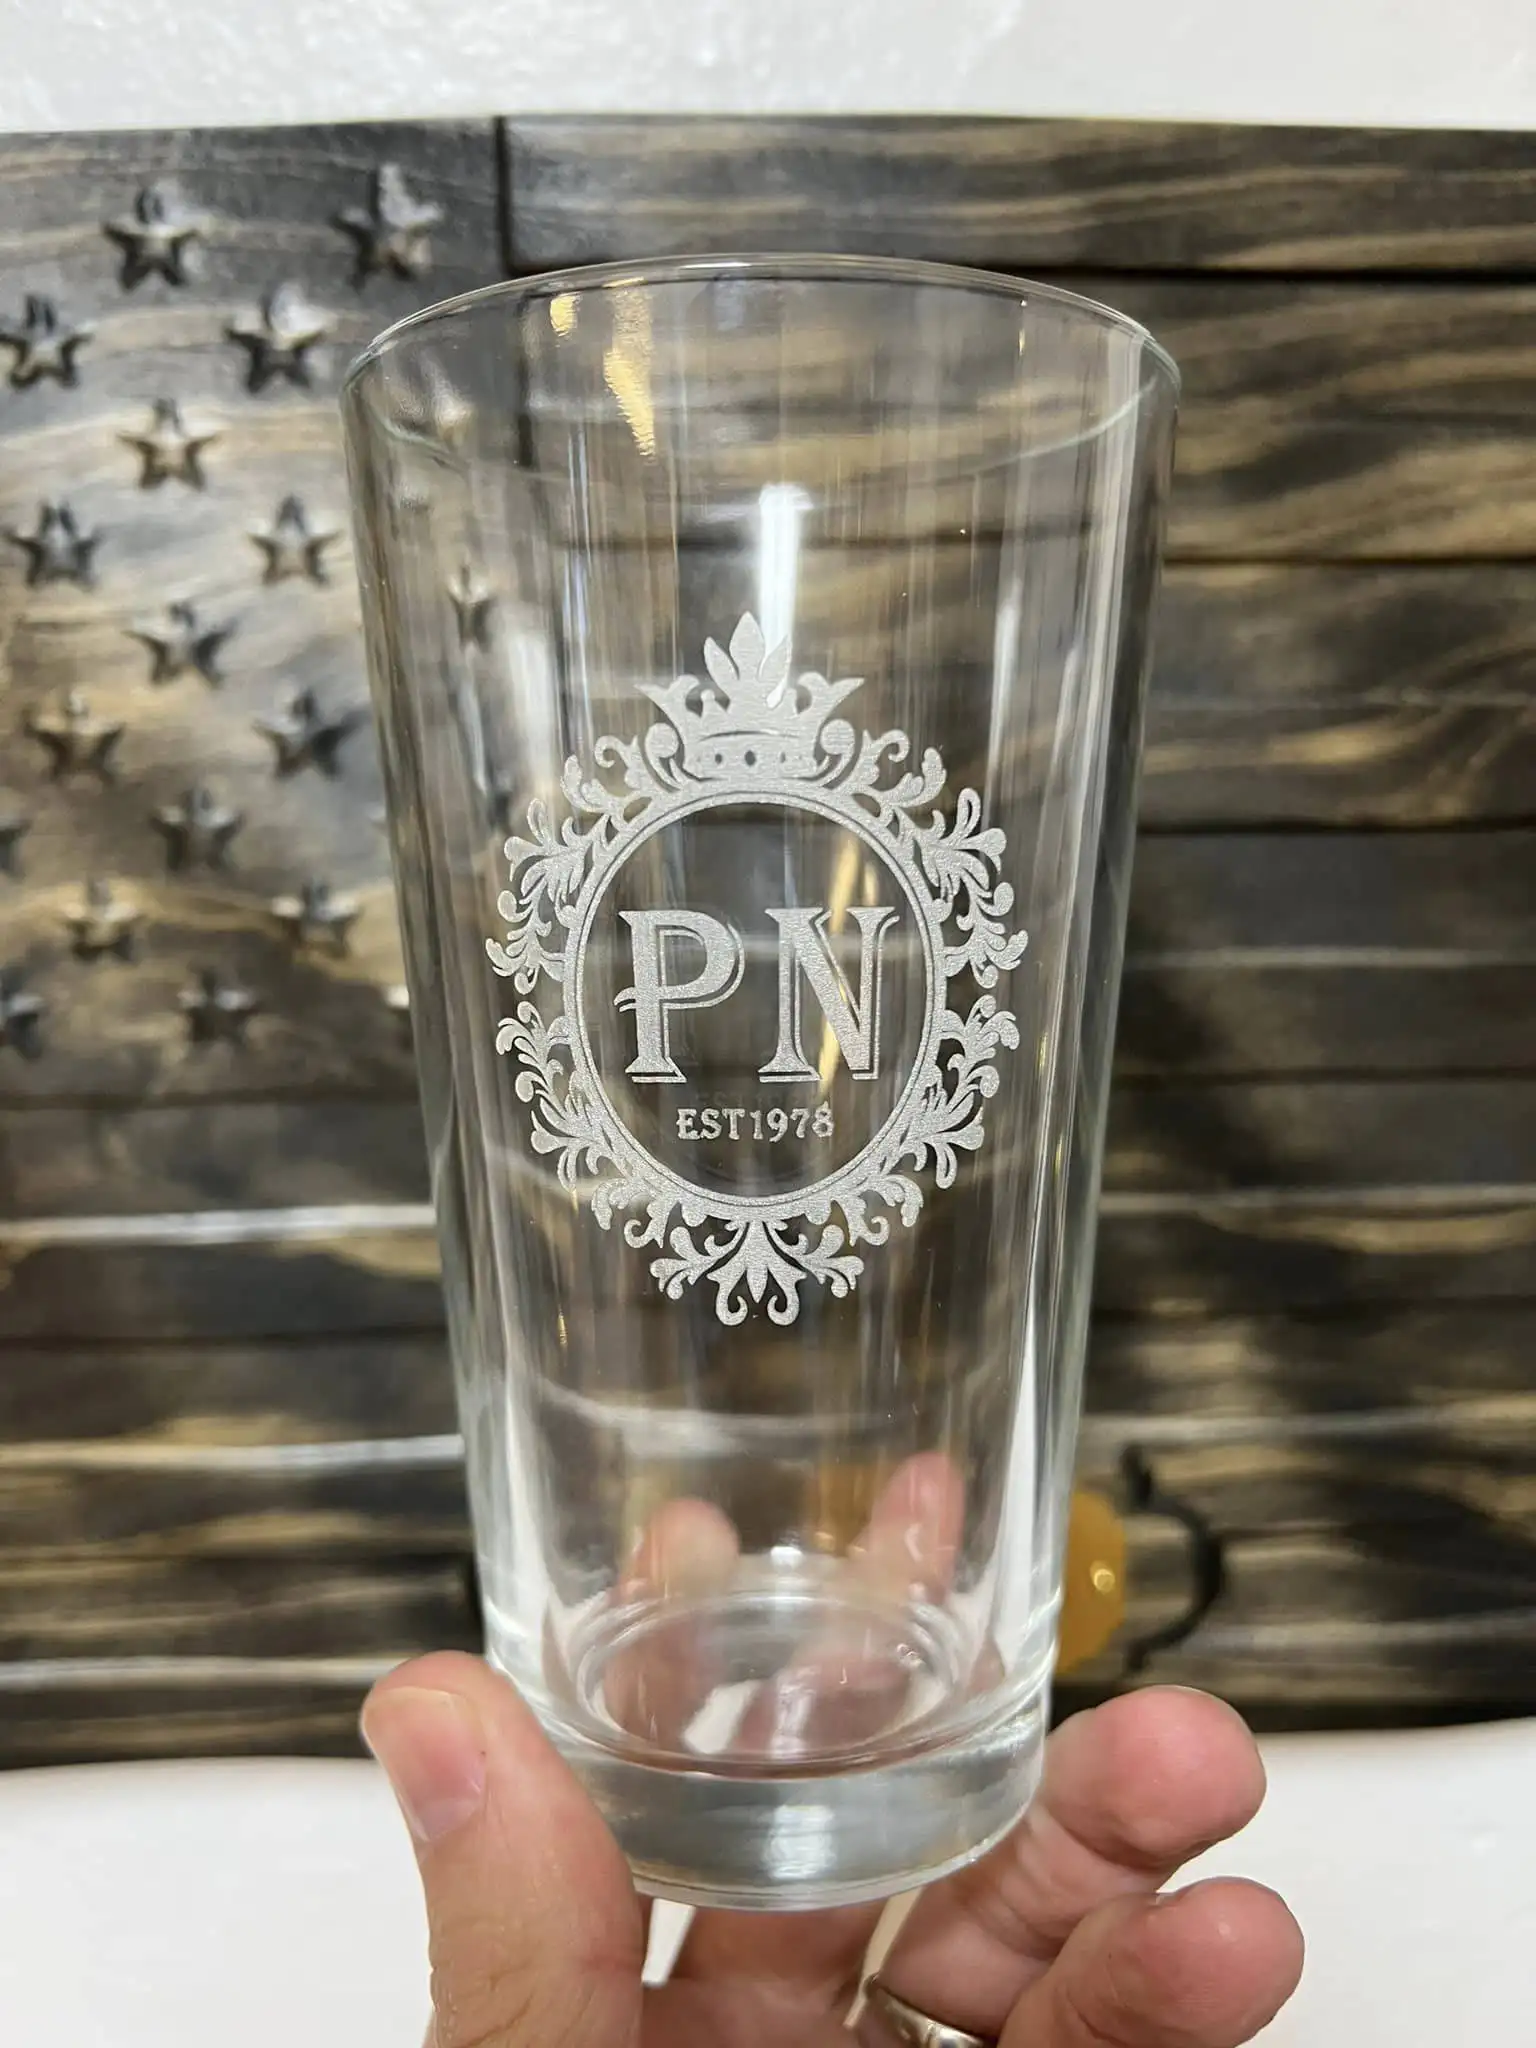
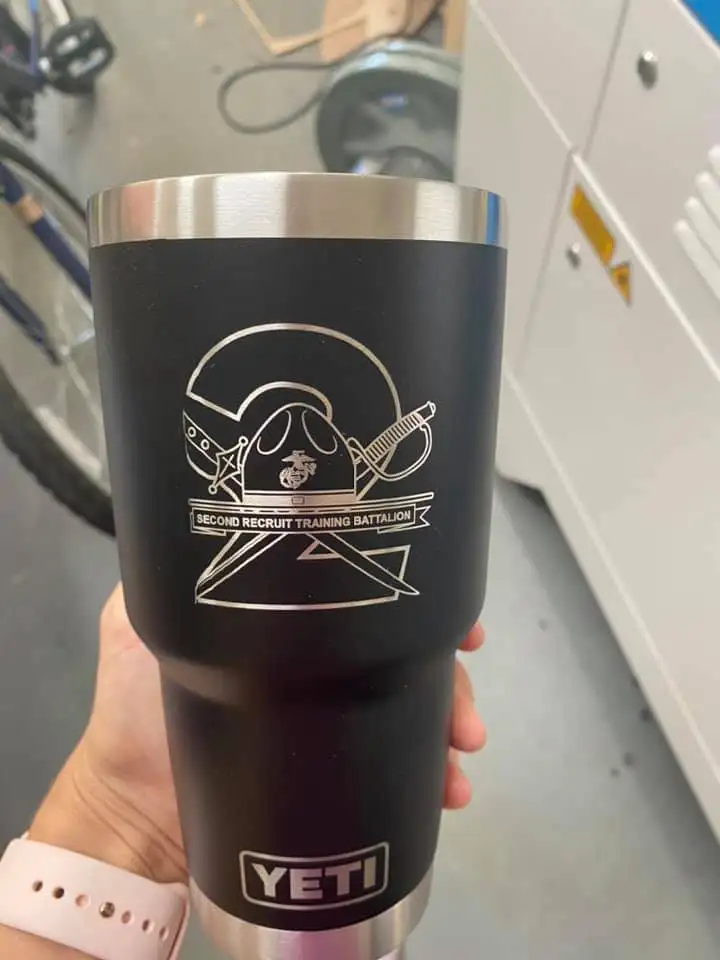
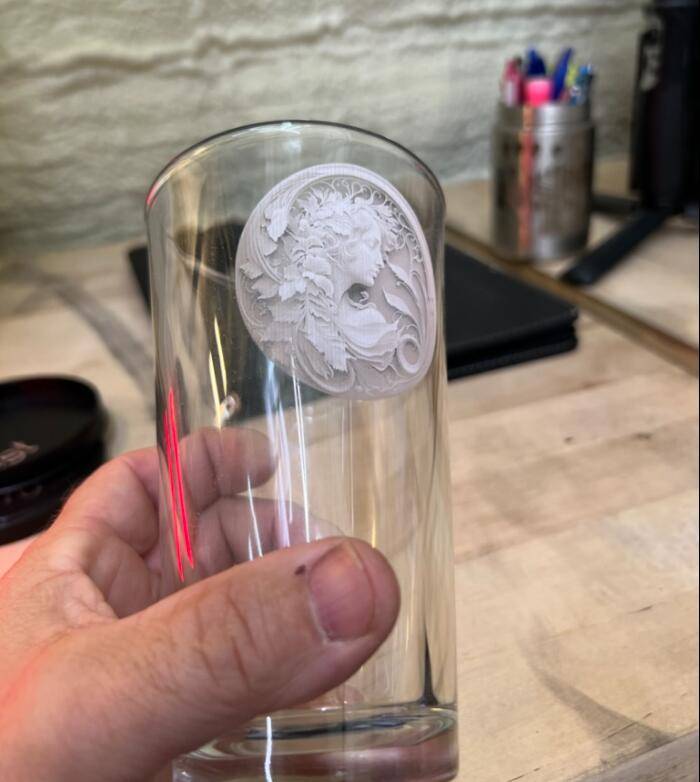
A laser rotary attachment expands what a laser engraving machine can do. Instead of processing only flat sheets, it allows the machine to engrave, mark, or cut cylindrical and conical objects such as tumblers, bottles, glasses, rings, pens, cups, pipes, and baseball bats.
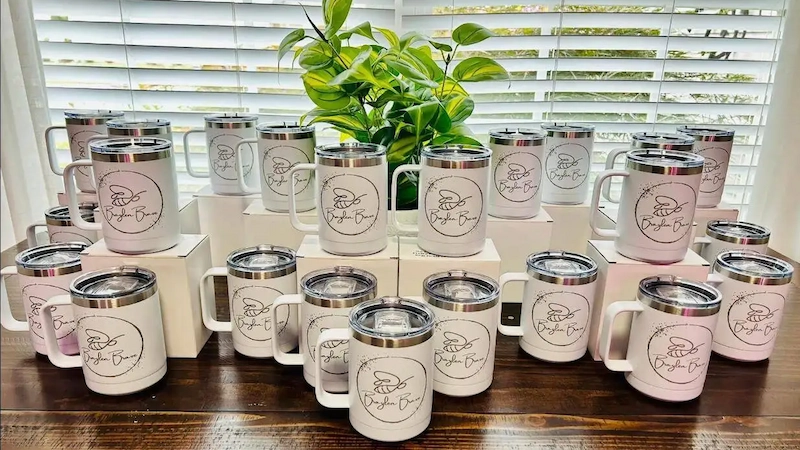
For businesses and makers, rotary engraving is especially valuable because it turns ordinary round objects into personalized products. Drinkware, promotional gifts, jewelry, cylindrical packaging, industrial parts, and custom awards can all become higher-value products when a design wraps cleanly around the surface.
This guide combines practical rotary attachment knowledge with setup advice. It explains how laser rotary attachments work, compares common rotary types, introduces product applications, covers LightBurn and RDWorks setup basics, and provides buying, troubleshooting, and maintenance tips.
A laser rotary attachment is a rotary fixture or rotary axis used with a laser engraving or cutting machine. It holds a round or tapered workpiece and rotates it while the laser processes the surface.
During rotary engraving, the laser beam usually stays in a controlled engraving path while the object rotates underneath it. This coordinated motion allows the laser to apply text, graphics, logos, patterns, or serial numbers around the circumference of the object.
A standard flatbed laser setup is ideal for flat materials such as sheets, plaques, panels, cards, acrylic, wood boards, and flat leather pieces. However, a flatbed alone is not ideal for round objects because the laser focus, engraving position, and surface distance can change across a curved surface.
A rotary attachment solves this problem by rotating the object so the engraving area stays more consistent relative to the laser. This makes it possible to engrave round surfaces more evenly and create designs that wrap around tumblers, bottles, cups, and similar products.
A typical rotary laser device includes several key components. The exact design depends on whether it is a chuck rotary, roller rotary, ring rotary, or another specialized fixture, but most rotary systems share the same basic functions.
A laser rotary device significantly improves the versatility of a laser engraving machine. It is especially effective for cylindrical or tapered objects that are difficult to process accurately on a flatbed alone.
Without a rotary attachment, engraving a curved item often means only a narrow area can stay close to the correct focus. With a rotary device, the surface rotates through the engraving position, allowing the laser to process the design around the object more evenly.
Rotary engraving helps maintain more consistent positioning as the object turns. This is important for products where text, logos, and graphics must look clean and professional from one side of the object to the other.
For custom gift shops, drinkware businesses, promotional product suppliers, and small-batch manufacturers, a rotary attachment adds more product possibilities. It allows one laser machine to handle flat projects and curved product customization.
Different rotary attachments are designed for different object shapes, weights, diameters, and production workflows. The most common options include chuck rotary attachments, roller rotary attachments, ring rotary fixtures, roll-axis rotary devices, and rotary tables for narrow cylindrical items.
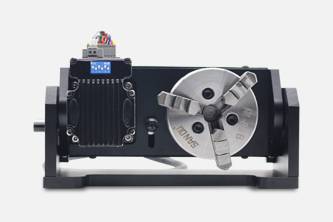
A chuck rotary attachment uses a chuck to clamp the object and rotate it. It is often suitable for small to medium-sized cylindrical objects, such as pens, wine glasses, narrow cups, and similar products.
Because the chuck holds the object directly, it can provide strong positioning for compatible shapes. However, some larger or unusually shaped objects may not fit well, so users should check object diameter, length, and clamping stability before production.
A roller rotary attachment uses rollers to support and rotate the object. The rollers are driven by a motor and can often be adjusted for different object sizes. This type is commonly used for larger or heavier cylindrical objects such as tumblers, bottles, and vases.
For batch processing, a roller rotary can be convenient because operators do not need to tighten a chuck for each item. This makes it useful for repeat production of drinkware and similar products.
A general cylindrical rotary attachment usually includes a rotary fixture, a step motor, and an adjustable base. Some models may also support an optional tailstock for longer cylindrical objects.
This type of rotary fixture is designed to handle cylindrical or tapered workpieces and support 360-degree rotation for precise engraving. It is often used for tumblers, cups, bottles, flanges, and similar products.
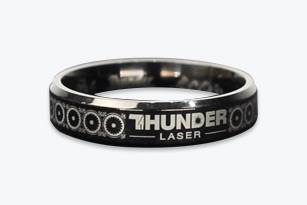
A ring rotary attachment is designed for precise engraving on rings and bracelets. It may include a self-locking spring, different collet sizes, and angle-adjusting screws to help position jewelry pieces accurately.
This rotary type can support engraving on both the inner and outer surfaces of rings, making it useful for jewelry customization, name engraving, dates, messages, patterns, and brand marks.
A roll-axis rotary device can support cylindrical, cuboid, or DIY parts depending on the machine and fixture setup. It is commonly used for marking and engraving objects that can rest on rollers.
A rotary table for pen marking has multiple grooves on the surface. These grooves help hold pens, pencils, injection kits, test tubes, and other narrow cylindrical items, making it easier to mark multiple similar products efficiently.
| Rotary Type | Best For | Main Advantage | Key Consideration |
|---|---|---|---|
| Chuck Rotary | Pens, wine glasses, narrow cups, small cylindrical parts | Secure clamping for compatible objects | Large or irregular objects may not fit easily |
| Roller Rotary | Tumblers, bottles, vases, larger drinkware | Convenient for larger objects and batch work | Object stability and surface contact must be checked |
| Ring Rotary | Rings, bracelets, jewelry items | Precise jewelry positioning | Requires suitable collet or fixture size |
| Pen Marking Table | Pens, pencils, test tubes, narrow cylindrical items | Efficient positioning for repeat marking | Best suited for narrow objects, not large drinkware |
How a Laser Rotary Attachment Works
A laser rotary attachment works together with the laser machine’s control system. The rotary device rotates the object while the laser machine engraves the design. For accurate results, the machine must understand the relationship between rotary movement and the object’s diameter.
Rotary engraving depends on accurate rotation. If the software diameter or pulse setting does not match the real object and rotary device, the design may appear stretched, compressed, misaligned, or wrapped incorrectly.
Before production, measure the object carefully and run a simple test. A square test pattern is useful because it quickly shows whether the rotary movement is scaled correctly.
Software setup is one of the most important parts of rotary engraving. Even if the rotary attachment is physically installed correctly, poor software settings can lead to stretched artwork, incorrect orientation, slipping, or misplaced engraving.
Note: The following values are baseline examples from the source content. Your actual settings may vary depending on the machine, rotary attachment, object diameter, software version, and material.
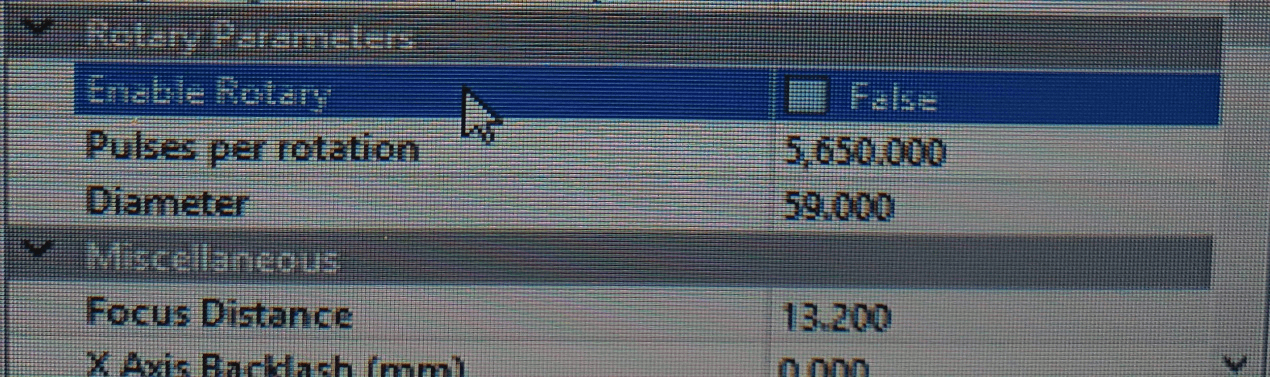
In LightBurn, turn on the laser and connect it to your computer. Then open the Edit tab, go to Machine Settings, scroll to Rotary Setup, and enter the rotary values according to your machine and rotary attachment.
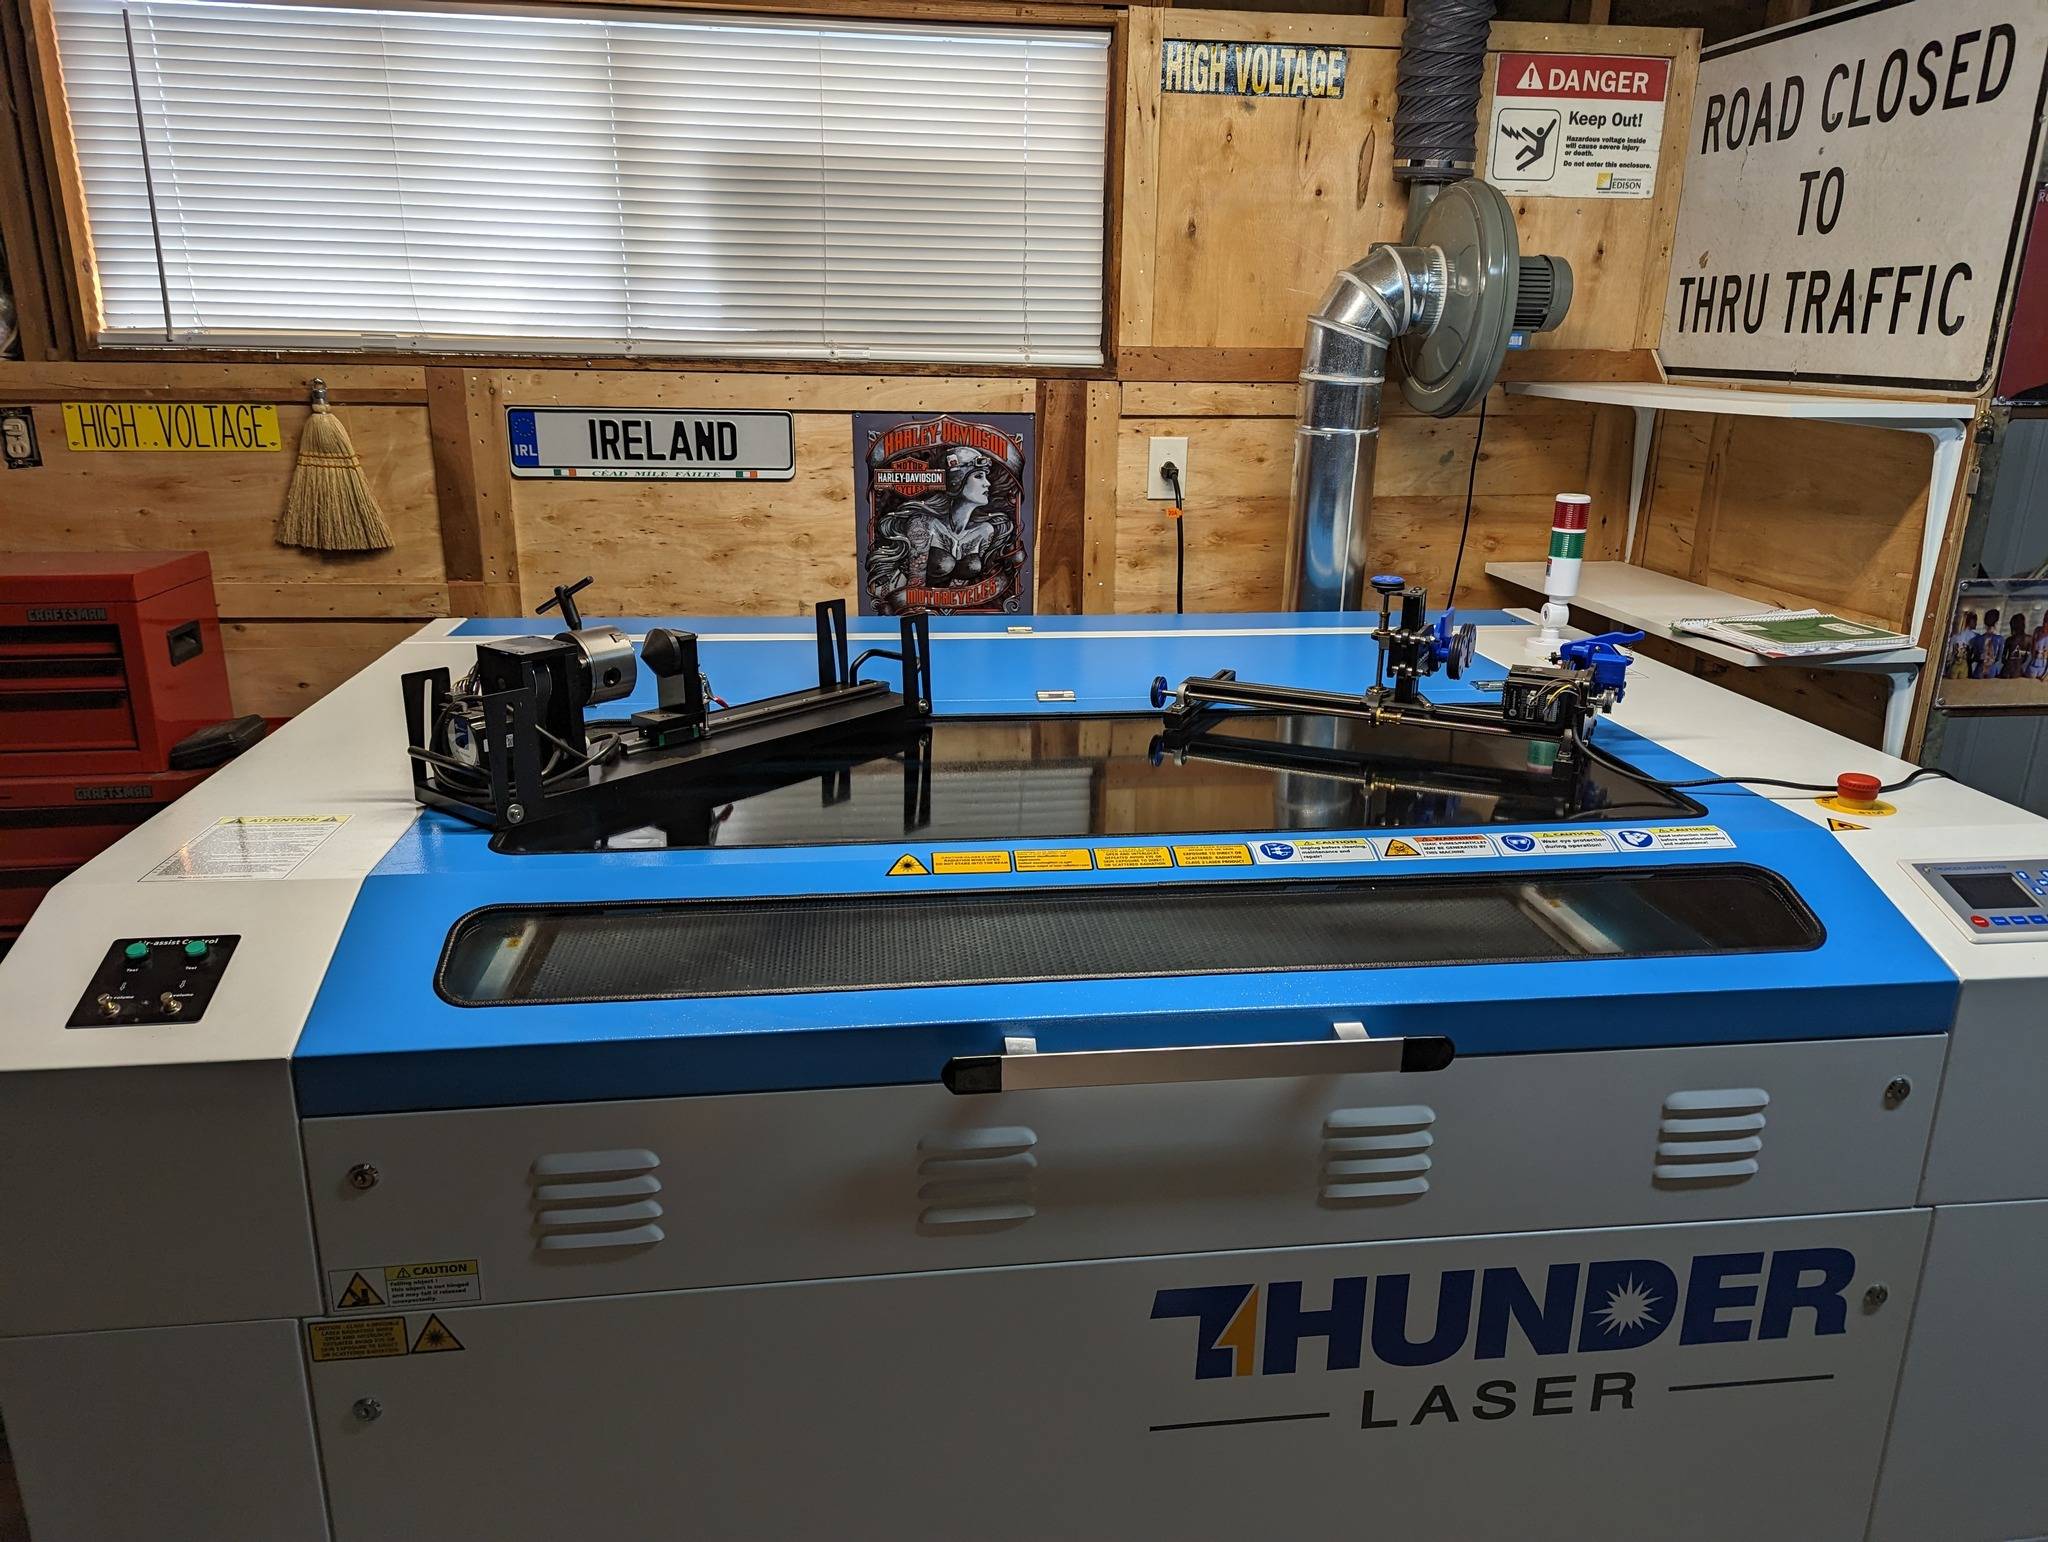
The source content gives a starting example of circular pulse set to 4400 and diameter set to 59 mm for a Thunder Laser setup. Use these only as baseline reference values, then test and adjust for your specific rotary and object.
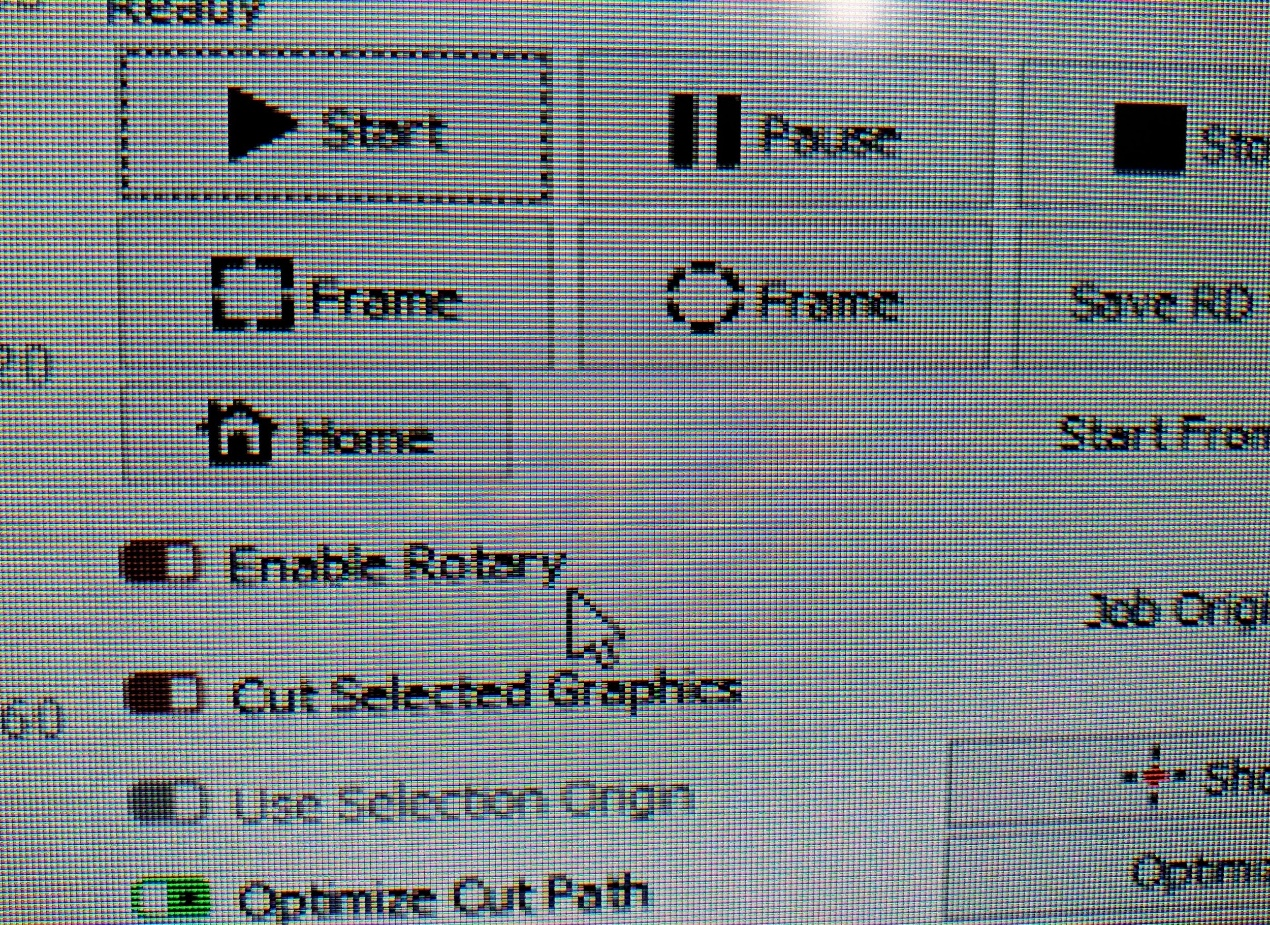
If the Rotary Enable switch does not appear on the main LightBurn screen, open Edit, go to Settings, find the Rotary Enable option, and turn it on. After confirming the setting, return to the main screen and check whether the Enable Rotary button appears under the laser tab.
Before running a final job, create a 25.4 x 25.4 mm test box and engrave it on a test object or scrap-compatible surface. If the image is stretched, reduce the circular pulses per revolution. If the image is too small, increase the circular pulses per revolution.
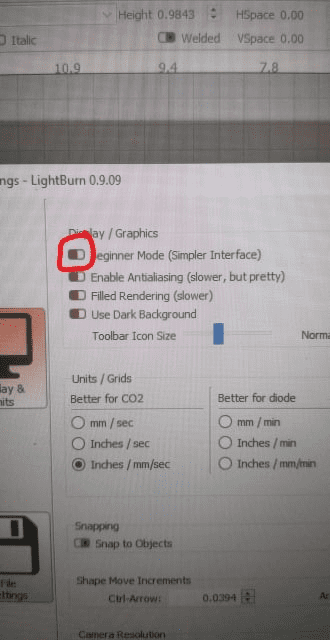
When enabling rotary functions on the main screen, also check Beginner Mode and make sure it is disabled if required by your setup.
Artwork orientation matters because rotary engraving uses rotational movement instead of normal flatbed movement. The source setup recommends rotating artwork differently depending on the software.
For more detailed setup guidance, you can review the detailed chuck rotary video tutorial and the detailed roller rotary tumbler engraving tutorial.
Choosing a rotary attachment is not only about price. The right choice depends on your laser machine, object shape, object size, production volume, material, engraving accuracy, and support needs.
Make sure the rotary attachment is compatible with your laser machine model and controller system. Not every rotary device fits every machine, so confirm the interface, table space, machine clearance, cable connection, and software support before purchasing.
If you mostly engrave tumblers, bottles, and large drinkware, a roller rotary may be more convenient. If you work with pens, narrow cups, and smaller cylindrical parts, a chuck rotary may provide better holding control. For rings and jewelry, choose a dedicated ring rotary attachment.
A rotary attachment should rotate smoothly and hold the workpiece securely. Good build quality helps reduce slipping, wobbling, misalignment, and repeated calibration problems. Look for stable construction, smooth motion, reliable rollers or chucks, and precise adjustment options.
Useful rotary features may include motorized rotation, adjustable roller spacing, alignment aids, adjustable base height, tailstock support, different collet sizes, and stable cable connections. Choose the features that match your product line instead of paying for functions you will not use.
Budget is important, but rotary engraving depends heavily on stability and correct setup. A low-cost rotary device that slips or is difficult to align may cost more time in testing and rework. Also check whether the supplier provides technical support, setup guidance, maintenance help, and warranty coverage.
Rotary engraving usually becomes easier after the first few tests, but several issues may appear during setup. Most problems are related to diameter settings, pulse settings, object slipping, focus, artwork direction, or unstable positioning.
| Problem | Possible Cause | What to Check |
|---|---|---|
| Design is stretched | Pulse or diameter setting does not match the object | Reduce circular pulses per revolution and run a test box again |
| Design is too small | Rotary scaling is too low | Increase circular pulses per revolution and retest |
| Engraving is skewed | Object is not level or aligned | Check fixture alignment, object position, and support points |
| Object slips during engraving | Poor roller contact or loose clamping | Clean rollers or chuck, improve contact, and secure the object |
| Engraving looks uneven | Focus distance changes across the object | Level the workpiece and check the engraving area height |
Laser rotary attachment maintenance is usually simple, but regular inspection helps prevent avoidable engraving errors. Dust, debris, loose cables, and dirty rollers can all affect rotary performance.
A laser rotary attachment is one of the most useful accessories for expanding a laser machine beyond flat materials. It enables precise engraving on tumblers, bottles, glasses, rings, pens, pipes, and many other cylindrical or conical objects.
The best rotary setup depends on your product type and workflow. Chuck rotaries are often suitable for smaller objects, roller rotaries are convenient for larger drinkware and batch work, and ring rotaries are designed for jewelry applications. For the best results, confirm compatibility, choose the correct rotary type, test pulse and diameter settings, align the workpiece carefully, and maintain the rotary fixture regularly.
Need Help Choosing a Laser Rotary Attachment?
Contact Thunder Laser for guidance on rotary attachments, tumbler engraving, bottle engraving, ring marking, LightBurn rotary setup, and laser machine configuration.
Contact UsTalk To Our Experts Now!
Please leave your contact information so that we can serve you better.
LASER ROTARY ATTACHMENT FAQS
TAKE THE NEXT STEP WITH THUNDER LASER

 Stable & Consistent MachinesUnlimited ApplicationRobust After-sales SupportFactory Direct Supply