





How to Laser Engrave a Mirror: All You Need to Know
 26-08-03
WHAT ARE YOU LOOKING FOR?
Search Across Products, Blog Posts, Support Content, And Resources.

How to Laser Engrave a Mirror: All You Need to Know
26-08-03
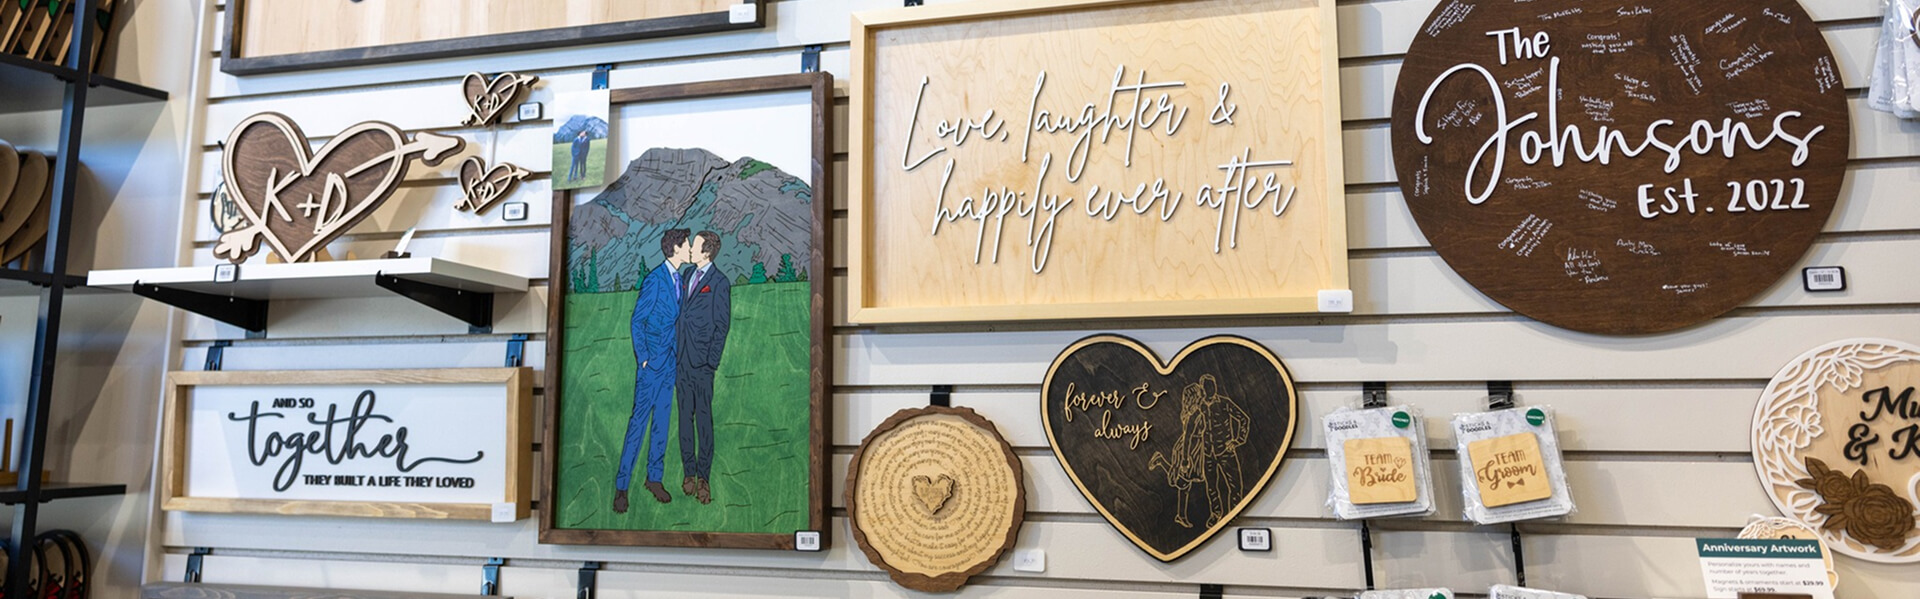
Laser engraving a mirror is not a single process. Depending on the laser source and the effect you want to create, the laser may engrave the front glass surface, remove selected layers from the back of the mirror, or selectively modify the reflective coating while leaving the visible glass surface largely unchanged.
For decorative mirror engraving, two methods are especially important. Front-side CO₂ engraving creates a frosted mark directly on the glass surface. Reverse engraving works from the back of the mirror and removes selected backing or reflective layers so the finished design can be viewed through the glass from the front.
The correct method depends on the mirror construction, laser wavelength, backing materials, artwork, desired contrast, and final application. A wedding mirror with frosted lettering, for example, may require a different process from a back-painted illuminated mirror, a technical mirror panel, or a mirror with the reflective coating selectively removed.
This guide explains how glass mirrors respond to different laser sources, how front-side and reverse engraving differ, how to prepare artwork and mirror surfaces, how to control chipping and thermal stress, and how to improve coating removal, finishing, and repeatability.
Important material note: This guide focuses on glass mirrors. Mirror acrylic is a different material with a plastic substrate and different reflective coatings, cutting behavior, heat response, and laser settings. Do not apply glass-mirror processing methods directly to mirror acrylic.
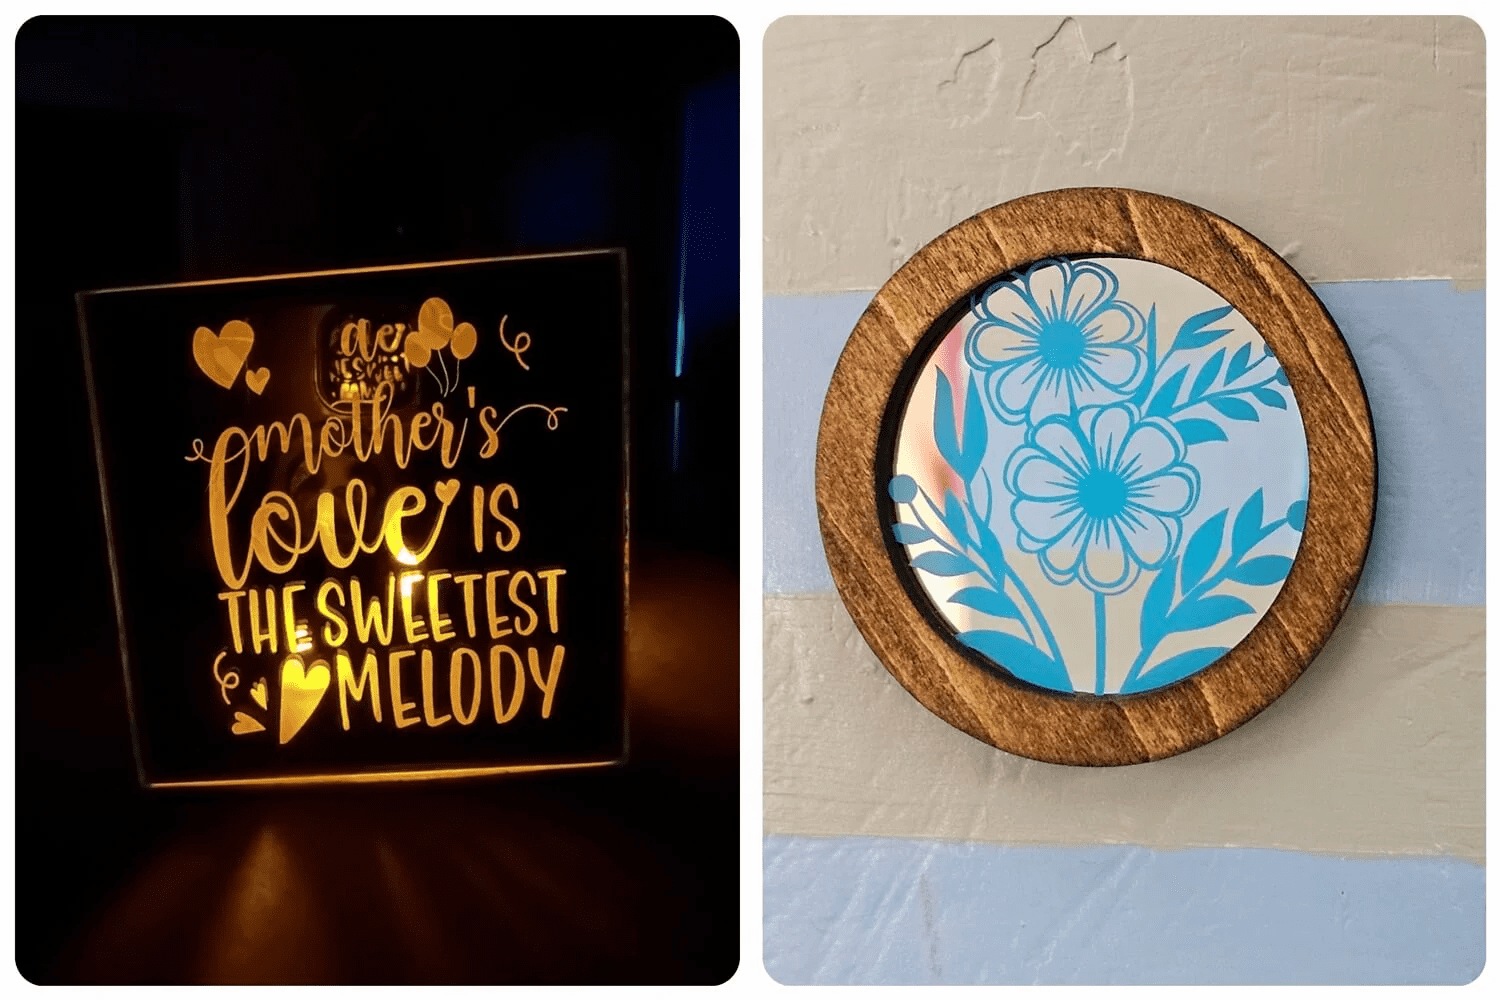
Understanding the mirror structure is one of the most important steps before laser processing. A mirror is not simply a sheet of reflective glass. Standard commercial mirrors normally contain several functional layers, and the laser may interact with different layers depending on which side is processed.
A typical glass mirror may contain:
These layers matter because front-surface engraving and reverse engraving affect completely different parts of the mirror.
When a CO₂ laser engraves the front, the laser energy is absorbed primarily at the glass surface and creates a frosted texture. When the mirror is processed from the back, the objective may instead be to remove paint, protective coatings, or the reflective layer without creating unnecessary damage to the glass itself.
Two mirrors that look identical from the front may therefore respond very differently when engraved from the back. Their reflective metals, paint systems, coating thicknesses, and protective layers may not be the same.
For this reason, mirror selection should be based on the complete material construction rather than glass thickness alone.
The first decision is whether the design should be engraved on the visible glass surface or created behind the glass by removing the backing.
| Processing Method | What the Laser Processes | Typical Appearance | Common Applications | Main Technical Concern |
| Front-Side CO₂ Engraving | Glass surface | White or light frosted engraving | Wedding mirrors, decorative text, logos, borders, signs | Chipping, roughness, and localized thermal stress |
| Reverse Engraving | Paint, protective coating, and/or reflective backing | Transparent or partially transparent design viewed through the glass | Color-filled mirrors, illuminated mirrors, decorative panels, signage | Backing composition, residue, fumes, and incomplete coating removal |
| Fiber Backing Removal | Selected compatible metallic or coated backing layers | Fine, sharply defined areas where the reflective coating is removed | Fine graphics, logos, symbols, technical designs | Wavelength compatibility and coating response |
| Diode Laser Processing | Highly dependent on wavelength and mirror construction | Machine- and coating-specific | Only applications explicitly supported by the equipment manufacturer | Reflected laser energy and unpredictable interaction with reflective surfaces |
Front-side mirror engraving modifies the glass surface, while reverse engraving removes selected backing layers to create a design visible through the mirror.
Front-side engraving is similar to conventional CO₂ laser engraving on flat glass. The laser creates thousands of small surface fractures or micro-textured areas that scatter light and produce a frosted appearance.
This method is useful when the design should remain visibly engraved on the front surface. Typical projects include wedding welcome mirrors, bar menus, salon mirrors, decorative quotations, logos, names, dates, floral borders, and interior signage.
The main challenge is not engraving depth. The objective is to create a uniform frosted effect while limiting excessive thermal stress, rough flakes, large chips, or cracks.
Reverse engraving processes the mirror from the back. Instead of frosting the visible glass surface, the laser removes selected backing layers to create transparent areas behind the glass.
The finished design remains visible when viewed from the front while the front surface stays smooth. This is especially useful for premium decorative mirrors because the artwork is protected behind the glass rather than exposed directly to handling.
Reverse-engraved areas can remain transparent or be combined with:
This makes reverse engraving particularly useful for illuminated logos, decorative mirror signs, hotel and restaurant interiors, branded displays, wedding signage, and personalized home décor.
When text, logos, numbers, or directional artwork are engraved from the back, the artwork normally needs to be flipped horizontally before processing.
Without this step, the design will appear reversed when viewed through the glass from the front.
This is especially important for:
Mirror engraving should not be described simply as a CO₂, fiber, or diode application. Different laser wavelengths interact with the glass and mirror backing in different ways.
CO₂ lasers for glass engraving are commonly used for decorative glass and mirror engraving because their wavelength interacts strongly with the glass surface.
Rather than cutting through the mirror, the CO₂ laser produces a controlled frosted texture on the glass surface. This is the effect commonly seen on engraved drinking glasses, bottles, mirror signs, awards, plaques, and decorative glass products.
CO₂ lasers are especially useful for:
A fiber laser behaves differently from a CO₂ laser. In selected mirror constructions, the glass may transmit much of the fiber wavelength while the metallic reflective layer absorbs enough energy to be modified or removed.
This can make fiber lasers useful for fine reverse engraving, particularly when the objective is controlled removal of a metallic backing rather than frosting the glass.
Suitable applications may include:
The result is highly dependent on the actual mirror. A parameter that works well on one reflective coating may remove another coating incompletely or create excessive residue.
Highly reflective materials require particular caution with diode laser systems. Depending on the wavelength and mirror construction, visible laser energy may pass through transparent glass, interact with the reflective layer, or be redirected by the mirror.
The ability to create a visible mark does not automatically mean that the process is safe.
Mirror processing with a diode laser should therefore only be performed when the equipment manufacturer specifically supports the application and provides an appropriate setup for the material.
Laser engraving can reproduce text, logos, decorative borders, line art, photographs, geometric patterns, and detailed graphics directly from a digital design.
This makes it possible to create both one-off personalized mirrors and repeatable production designs without manufacturing a new mechanical stencil or engraving tool for every variation.
Mirror engraving is more versatile than a single frosted effect. Front engraving can create visible surface frosting, while reverse engraving can expose transparent areas that can be painted, illuminated, or combined with other decorative materials.
This gives designers more control over contrast, depth perception, color, and lighting than conventional surface printing alone.
When artwork is engraved from the back, the visible front surface of the mirror can remain smooth. The design is viewed through the glass rather than sitting directly on the viewing surface.
This can be useful for signs, hospitality installations, decorative panels, and frequently handled products where keeping the front surface visually clean is important.
Names, dates, logos, messages, graphics, QR codes, decorative patterns, and customer-specific artwork can be changed directly in the digital file.
This makes mirror engraving well suited to short runs, custom orders, wedding products, branded interiors, personalized gifts, and variable-data projects. For additional project directions, see these glass laser engraving ideas.
Once the mirror type, artwork preparation, focus, power, speed, resolution, and finishing method have been validated, the same workflow can be reused for future batches.
Repeatability is particularly valuable for event businesses, hospitality signage, branded installations, personalized product shops, and commercial mirror engraving.
A mirror that looks suitable visually may still produce poor engraving results. Material consistency, backing construction, glass condition, and coating composition are more important than appearance alone.
Before reverse engraving, identify as much information as possible about the mirror backing.
Important factors include:
These materials influence how quickly the backing is removed, how much residue is generated, whether multiple parameter stages are required, and what type of extraction is appropriate.
Uniform commercial mirror glass is generally easier to test and reproduce than handmade or highly decorative glass.
Avoid blanks with:
Defects do not always cause failure, but they can make the result less predictable when the glass is exposed to localized laser heating.
Thicker mirror glass does not automatically require more laser power for engraving.
In front-side CO₂ engraving, the laser modifies the glass surface rather than cutting through the full thickness. In reverse engraving, the laser primarily interacts with the backing layers rather than the entire glass sheet.
Mirror thickness may still affect handling, focus geometry, and installation, but it should not be used as the main indicator for engraving power.

Mirror laser engraving requires attention to both laser safety and material safety. Glass itself is only one part of the material system. Reverse engraving may also expose paints, metallic layers, coatings, films, and adhesives to concentrated laser energy.
Do not assume that all mirror coatings are suitable for laser processing.
If the manufacturer provides material specifications or a Safety Data Sheet, review them before processing. If the backing contains an unidentified plastic film, adhesive, coating, or other unknown material, additional verification is required before placing it in the laser.
Reverse engraving can produce smoke, particles, odors, vaporized coating material, and residue from paints and backing layers.
Source extraction and filtration should remove contaminants directly from the processing area rather than relying only on general room ventilation.
Clean extraction paths are also important because residue generated during coating removal can accumulate inside the laser enclosure and exhaust system over time. A dedicated system such as the Thunder Air Fume Extractor can support fume and particle management when it is appropriate for the verified material and process.
Operate enclosed laser systems according to the manufacturer’s instructions and keep the enclosure closed and safety interlocks active during normal processing.
Do not open an enclosed machine during active laser emission in an attempt to inspect the engraving more closely.
Open-beam laser systems require wavelength-specific safety controls. Eye protection must match the laser wavelength and required optical density.
Generic protective glasses should not be assumed to provide adequate protection for every CO₂, fiber, UV, or diode laser.
A mirror should remain flat and stable during processing. Movement can shift the artwork, change focus, or cause the workpiece to interfere with the laser head.
For larger mirrors, confirm that the entire processing area is adequately supported and does not flex or rock on the work table.
Mirror engraving should be supervised throughout the job.
Stop processing if you notice:
Dust, oil, fingerprints, polishing residue, and adhesive contamination can affect consistency.
Clean the area that will be processed using a method compatible with the glass or backing layer. Allow the surface to dry before placing the mirror in the machine.
Decide whether you are creating a frosted front-surface engraving or removing material from the back.
This decision affects:
Front-surface designs can normally remain in their standard orientation. Backside designs containing text or directional graphics should normally be mirrored horizontally.
Before processing, confirm:
Glass is sensitive to concentrated heat. Large solid black areas, dense photographs, and closely spaced engraving lines can deliver much more energy to one area than fine outline artwork.
If a test produces excessive chipping or roughness, consider changing the artwork before simply reducing power.
Possible adjustments include:
Laser-compatible masking can be useful when the finished mirror will be paint-filled or when you want to simplify residue cleanup around the engraving.
Masking does not make a reflective laser setup safe and should not be treated as a substitute for the machine enclosure or appropriate laser safety controls.
Do not begin a customer mirror with untested settings. If the mirror construction or coating is unfamiliar, use a material testing workflow before production.
Use a spare mirror, offcut, hidden corner, or sample from the same supplier and batch whenever possible.
A useful test should compare several combinations of:
A parameter is not successful simply because it creates a visible engraving.
Inspect the test for:
Power and speed determine how much energy is delivered to the engraving area.
Higher power or slower speed generally increases delivered energy, but more energy does not automatically create a better mirror engraving.
Excessive energy can produce:
The goal is to use enough energy to produce the intended effect while avoiding unnecessary thermal stress.
Increasing resolution places laser pulses closer together. On many materials this can increase apparent detail, but on glass it can also increase local heat accumulation.
Excessively high DPI can create a rougher engraving surface or increase flaking because multiple pulses overlap within a small area.
Around 300 DPI is a useful test range for many conventional CO₂ glass engraving applications, but it should be treated as a starting point rather than a universal setting.
Compare lower and higher resolutions on the actual mirror and evaluate the final appearance rather than selecting the largest available DPI value.
Front-surface glass engraving and reverse coating removal do not necessarily use the same focus strategy.
For front engraving, the objective is generally to control the interaction with the glass surface. For backing removal, the target may be a paint, metallic, or coating layer behind the glass.
Follow the focus method recommended for the laser source and process rather than assuming that every mirror job should be focused on the visible front surface.
One of the most common mirror and glass engraving problems is a rough, chipped surface rather than a smooth frosted finish.
The problem usually results from excessive localized thermal stress rather than insufficient engraving power.
If the engraving produces large chips or rough flakes, test a combination of lower power, higher speed, lower resolution, or less dense artwork.
Changing only one parameter may not be enough because heat accumulation depends on the complete parameter combination.
Large filled areas repeatedly heat adjacent points on the glass.
If possible, convert heavy fills into:
This can reduce the amount of heat concentrated in one region while preserving the overall visual design.
For selected front-side CO₂ glass engraving workflows, a single layer of damp paper towel can help distribute heat and reduce coarse surface chipping.
Apply the paper smoothly over the engraving area, wet it evenly, and remove wrinkles and trapped air.
Uneven folds or dry areas can produce inconsistent results, so the paper should remain in close contact with the glass during engraving.
Use this technique only when it is compatible with the laser manufacturer’s recommended glass-processing method.
If one mirror cracks while other pieces engrave normally, the cause may be the blank rather than the laser settings.
Internal stress, chips, previous impact damage, manufacturing variation, or scratches can make one piece more sensitive to localized heating.
Reverse engraving has a different set of quality problems from front-surface glass engraving.
Instead of focusing primarily on frosting and chipping, evaluate whether the backing layer has been removed cleanly and consistently.
Avoid using excessive energy simply to guarantee that every backing layer is removed in one pass.
Different layers may absorb the laser differently. A protective paint layer may respond quickly while the reflective metallic layer requires another parameter combination.
Controlled staged processing can sometimes produce cleaner results than applying excessive energy in a single pass.
If transparent areas look cloudy or patchy when viewed from the front, inspect the back for remaining coating or reflective material.
Common symptoms include:
Small text and fine line artwork can lose definition if the heat-affected area becomes wider than the intended engraving path.
When working with fine details, evaluate line width, spacing, power, speed, focus, and pulse characteristics rather than simply increasing power until the coating disappears.
| Problem | Possible Cause | What to Test |
| Large chips or flakes | Excessive localized heat | Lower energy density, reduce DPI, increase speed, reduce artwork density |
| Rough frosted engraving | Too much pulse overlap or excessive energy | Lower resolution and compare different power-speed combinations |
| Glass cracks | Thermal stress, internal stress, damaged blank, or excessive heat | Reduce heat input and test another blank from the same batch |
| Backing remains visible | Insufficient coating removal or multiple backing layers | Identify the layers and test a controlled second processing stage |
| Transparent area looks cloudy | Remaining coating or residue | Inspect and clean the reverse-engraved area before increasing laser energy |
| Fine text loses detail | Excessive heat-affected width or dense artwork | Reduce energy and increase spacing between fine elements |
| Engraving varies across a batch | Mirror supplier, coating, focus, or positioning variation | Check material batch, focus, fixture position, and recorded settings |
| Excessive smoke or odor | Backing paint, adhesive, film, or coating | Stop processing and verify the complete material construction and extraction setup |
A troubleshooting table for common mirror laser engraving problems including chipping, cracking, incomplete backing removal, residue, and inconsistent engraving.
Successful mirror laser engraving depends on understanding what part of the mirror the laser is actually processing. Front-side CO₂ engraving modifies the glass surface to create a frosted appearance, while reverse engraving removes selected backing or reflective layers to produce transparent designs that can be viewed through the glass. Fiber laser processing may also be suitable for selected mirror coatings, whereas diode-laser use requires additional caution because of the risks associated with reflective surfaces.
The most reliable results come from treating the mirror as a multi-layer material rather than simply as a sheet of glass. Verify the glass type, reflective coating, protective paint, films, adhesives, and other backing materials before processing. Then test power, speed, resolution, focus, and artwork density on the exact mirror type you plan to use.
For front-surface engraving, focus on controlling heat, chipping, surface roughness, and engraving consistency. For reverse engraving, evaluate coating removal, transparency, residue, edge definition, and the condition of the remaining backing layers. A visible mark alone is not enough to confirm that the process is optimized.
Talk To Our Experts Now!
Please leave your contact information so that we can serve you better.
MIRROR LASER ENGRAVING FAQS
Yes. Most standard glass mirrors can be engraved from the back by removing selected areas of the protective paint and reflective coating. The artwork must normally be horizontally flipped so it reads correctly from the front.
Some diode lasers can engrave compatible mirror backing or reflective coatings from the rear. Performance depends on the diode wavelength, optical power, coating color, material composition, speed, focus, and number of passes. Test the exact mirror before production.
A standard glass mirror is normally engraved from the painted back side. The reflective front is placed face down on a clean support, and the laser removes selected areas from the backing.
Yes. Horizontally flip the complete design before backside mirror engraving. Text, logos, dates, maps, and other directional elements will then appear correctly when viewed from the front.
Yes, compatible mirror acrylic can normally be engraved from the back and may also be cut with a suitable CO₂ laser. It uses different settings and handling methods from glass mirror, so it should be treated as a separate material.
A standard CO₂ laser engraving machine is generally used to engrave mirror backing, not to cut ordinary glass mirror sheets. Cutting glass requires a different controlled process and specialized equipment. Mirror acrylic is a different material and can often be laser cut.
Yes. After the rear coating is removed and cleaned, the engraved area can be filled with paint, covered with colored film, or combined with a diffuser and LED lighting. Test the finish on a sample first.
Patchy mirror engraving may result from uneven backing paint, variable reflective coating, unsuitable power or speed, incorrect line interval, poor focus, or inconsistent support. A parameter test can help determine the best adjustment.
A CO₂ laser is a versatile option for standard decorative mirror engraving, larger graphics, photographs, and commercial production. Some diode lasers can process selected rear coatings, while specialty mirrors may require another laser source or a separate process.
Reverse mirror engraving is generally durable because the design is created by removing part of the rear coating and is protected by the front glass. The exposed rear design may still need paint, sealing, or a protective backing depending on the application.
TAKE THE NEXT STEP WITH THUNDER LASER


 Stable & Consistent MachinesUnlimited ApplicationsRobust After-sales SupportFactory Direct Supply


