Laser Engraved Goldfish Earrings: A STEAM Jewelry Design Project
 2024-08-21
WHAT ARE YOU LOOKING FOR?
Search Across Products, Blog Posts, Support Content, And Resources.

Laser Engraved Goldfish Earrings: A STEAM Jewelry Design Project
2024-08-21

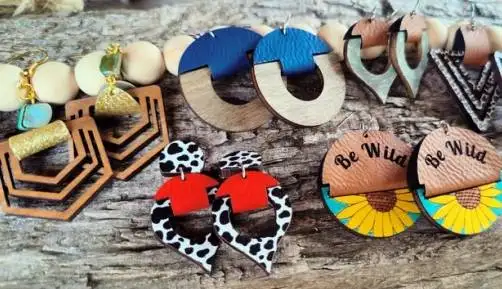
Laser engraving for customized earrings gives students a practical way to explore jewelry design, digital fabrication, material selection, and creative expression. With a laser cutter or engraver, delicate patterns can be engraved or cut on materials such as wood, acrylic, leather, and suitable metals.
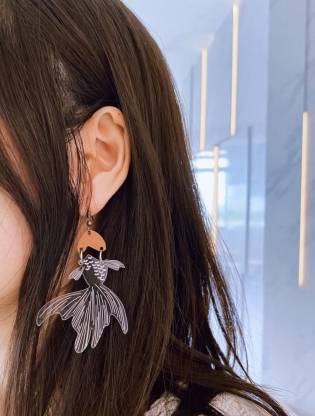
In this STEAM jewelry design project, students will create a pair of personalized goldfish earrings. The goldfish motif symbolizes good luck, while the layered structure gives the final earrings movement, contrast, and a playful handmade character.
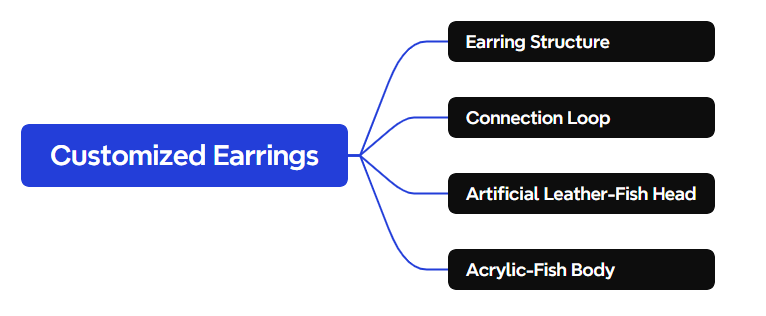
This classroom laser cutting project guides students through the full design-to-production process for custom earrings. Students begin with a simple goldfish image, extract the contour, divide the design into separate material parts, assign laser layers, and then cut and engrave the final pieces.
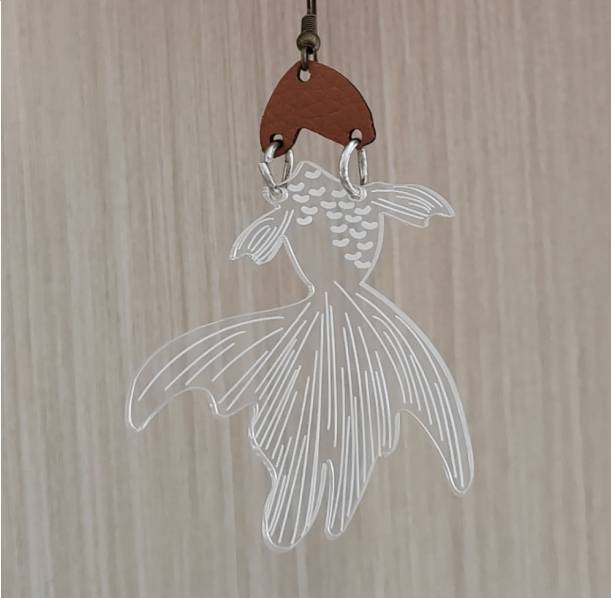
The project combines acrylic and artificial leather. The body of the goldfish is made from acrylic, while the head is made from artificial leather. Connecting rings and earring hooks are then used to turn the laser-cut parts into wearable jewelry.
Teacher note: This lesson is suitable for a STEAM classroom, makerspace, jewelry workshop, or digital fabrication activity because it connects symbolic design, material behaviour, software preparation, and hands-on assembly.
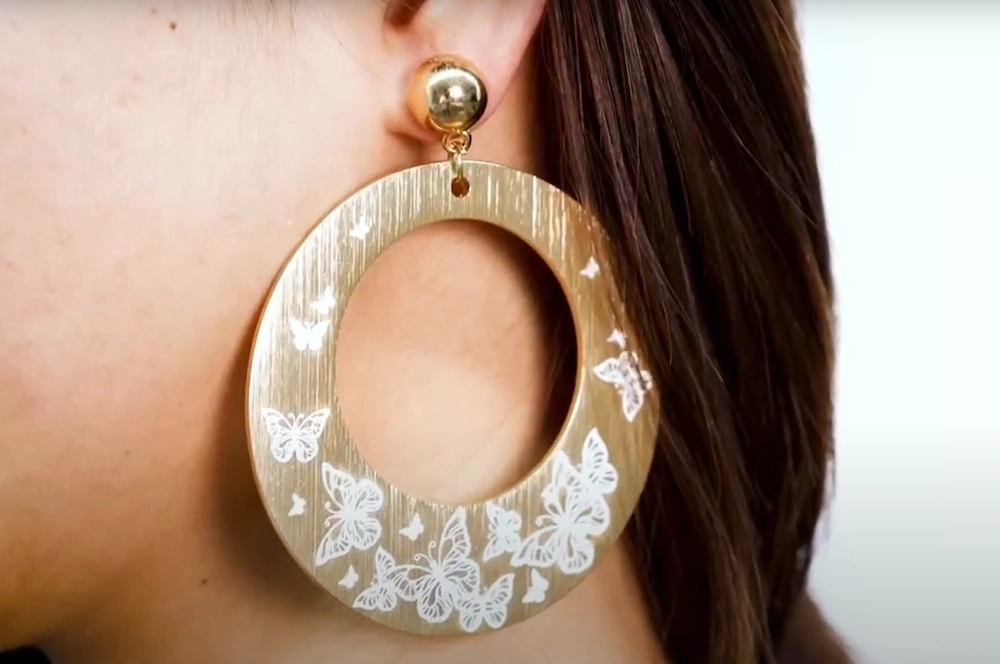
Customized earrings are a good example of how digital fabrication can support fashion, craft design, small business products, and personal expression. Laser engraving allows students to create lightweight, repeatable, and detailed jewelry designs that can be adapted for gifts, school events, craft fairs, or creative portfolios.
In this project, students also learn why designers often combine materials. Acrylic provides colour, shine, and clean cut edges, while artificial leather adds softness, texture, and contrast. The connecting ring between the two goldfish parts gives the earrings movement when worn.
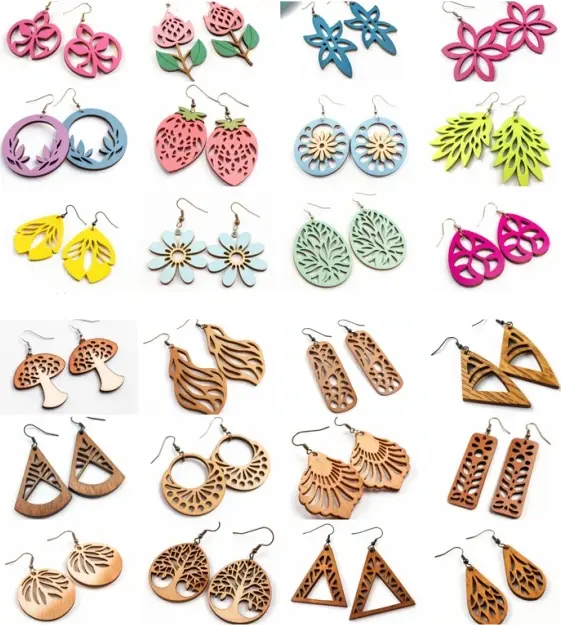
Earrings can be made from many laser-compatible materials. The selected material affects engraving contrast, cutting quality, weight, texture, durability, and the final style of the jewelry.
The focus of this lesson is a pair of goldfish earrings. Before starting production, students need to plan the earring shape, decide which parts will be made from each material, and think about how the parts will connect and move.
In this design, the goldfish head is made from artificial leather and the body is made from acrylic. The two parts are joined with connecting rings, then attached to earring hooks. This structure allows the earrings to swing slightly when worn, making the goldfish feel more lively.
Prepare the jewelry accessories and laser-compatible sheet materials before starting the design and production process.
| Number | Name | Quantity | Project Use |
|---|---|---|---|
| 1 | Earring Hooks | 1 | Attach the finished earrings for wearing |
| 2 | Connecting Rings | 1 | Connect the head, body, and hook components |
| 3 | 1mm Artificial Leather | 1 | Goldfish head |
| 4 | 3mm Acrylic | 1 | Goldfish body and engraved details |
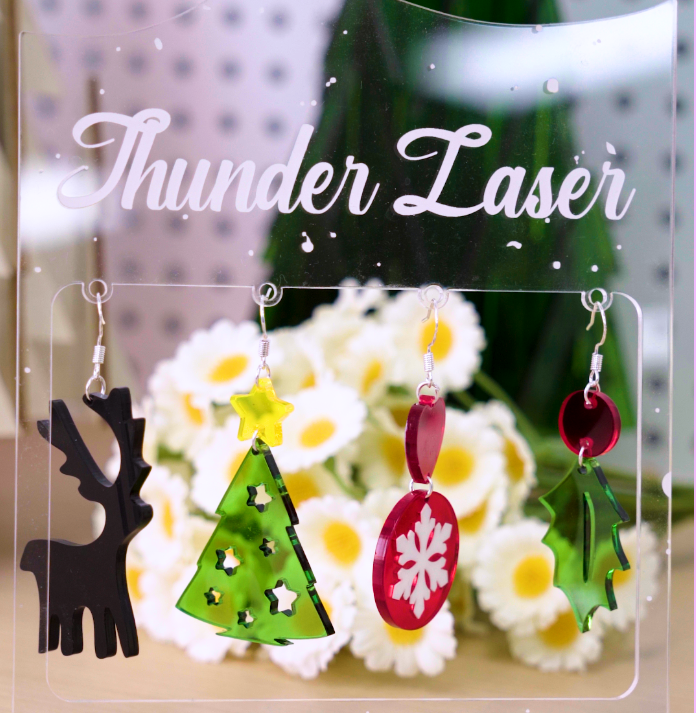
Equipment note for teachers: For small jewelry projects using acrylic, wood, and artificial leather, a compact classroom laser cutter such as the Thunder Laser Bolt Series can be a practical option. Always test materials and follow your school’s laser operating procedures.
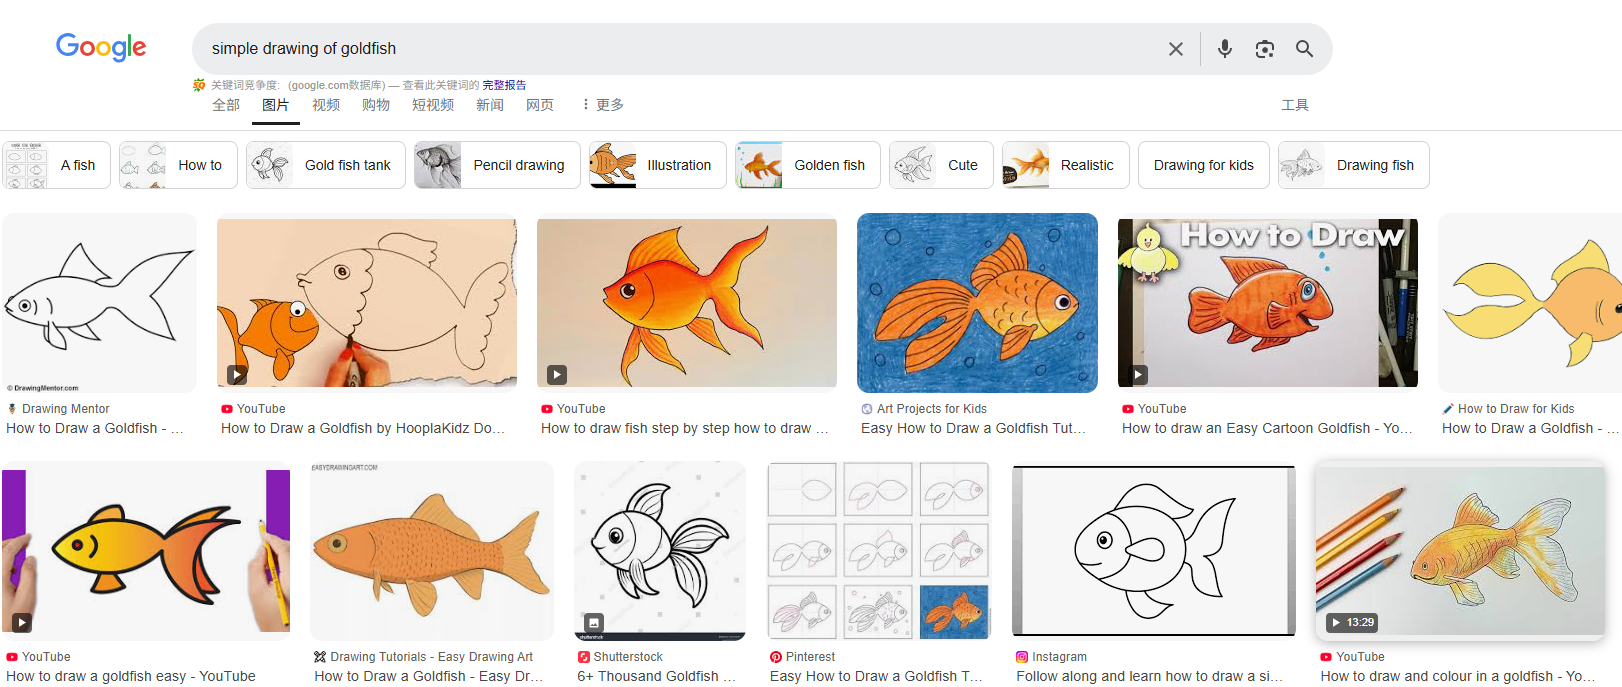
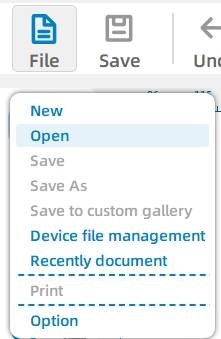
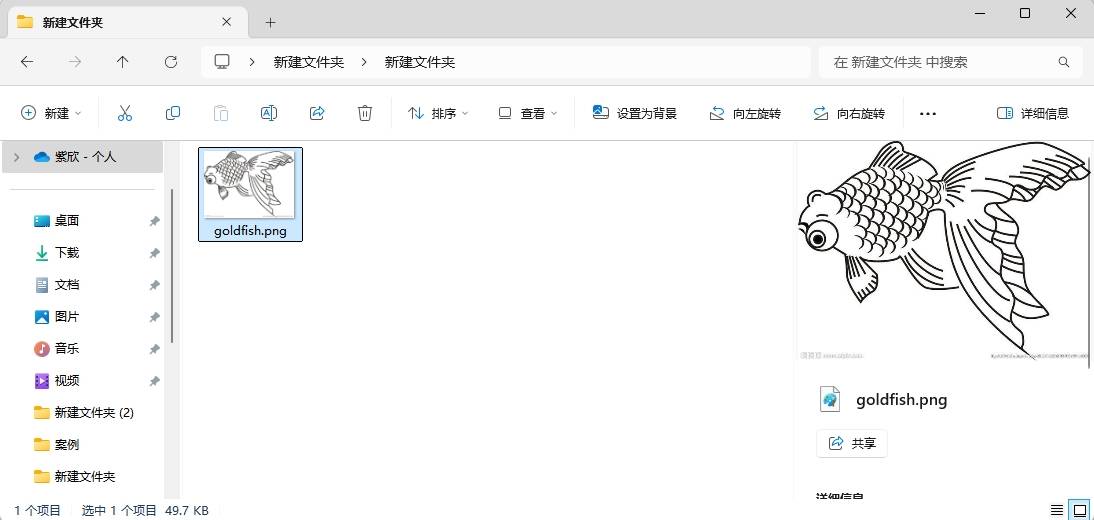
First, search for a simple goldfish drawing and save a reference image. In the software, open the file from the top functional area by clicking File, then Open, and selecting the saved image.
Next, open the additional reference image needed for the design. This reference will help students understand the shape and style before extracting the final contour.
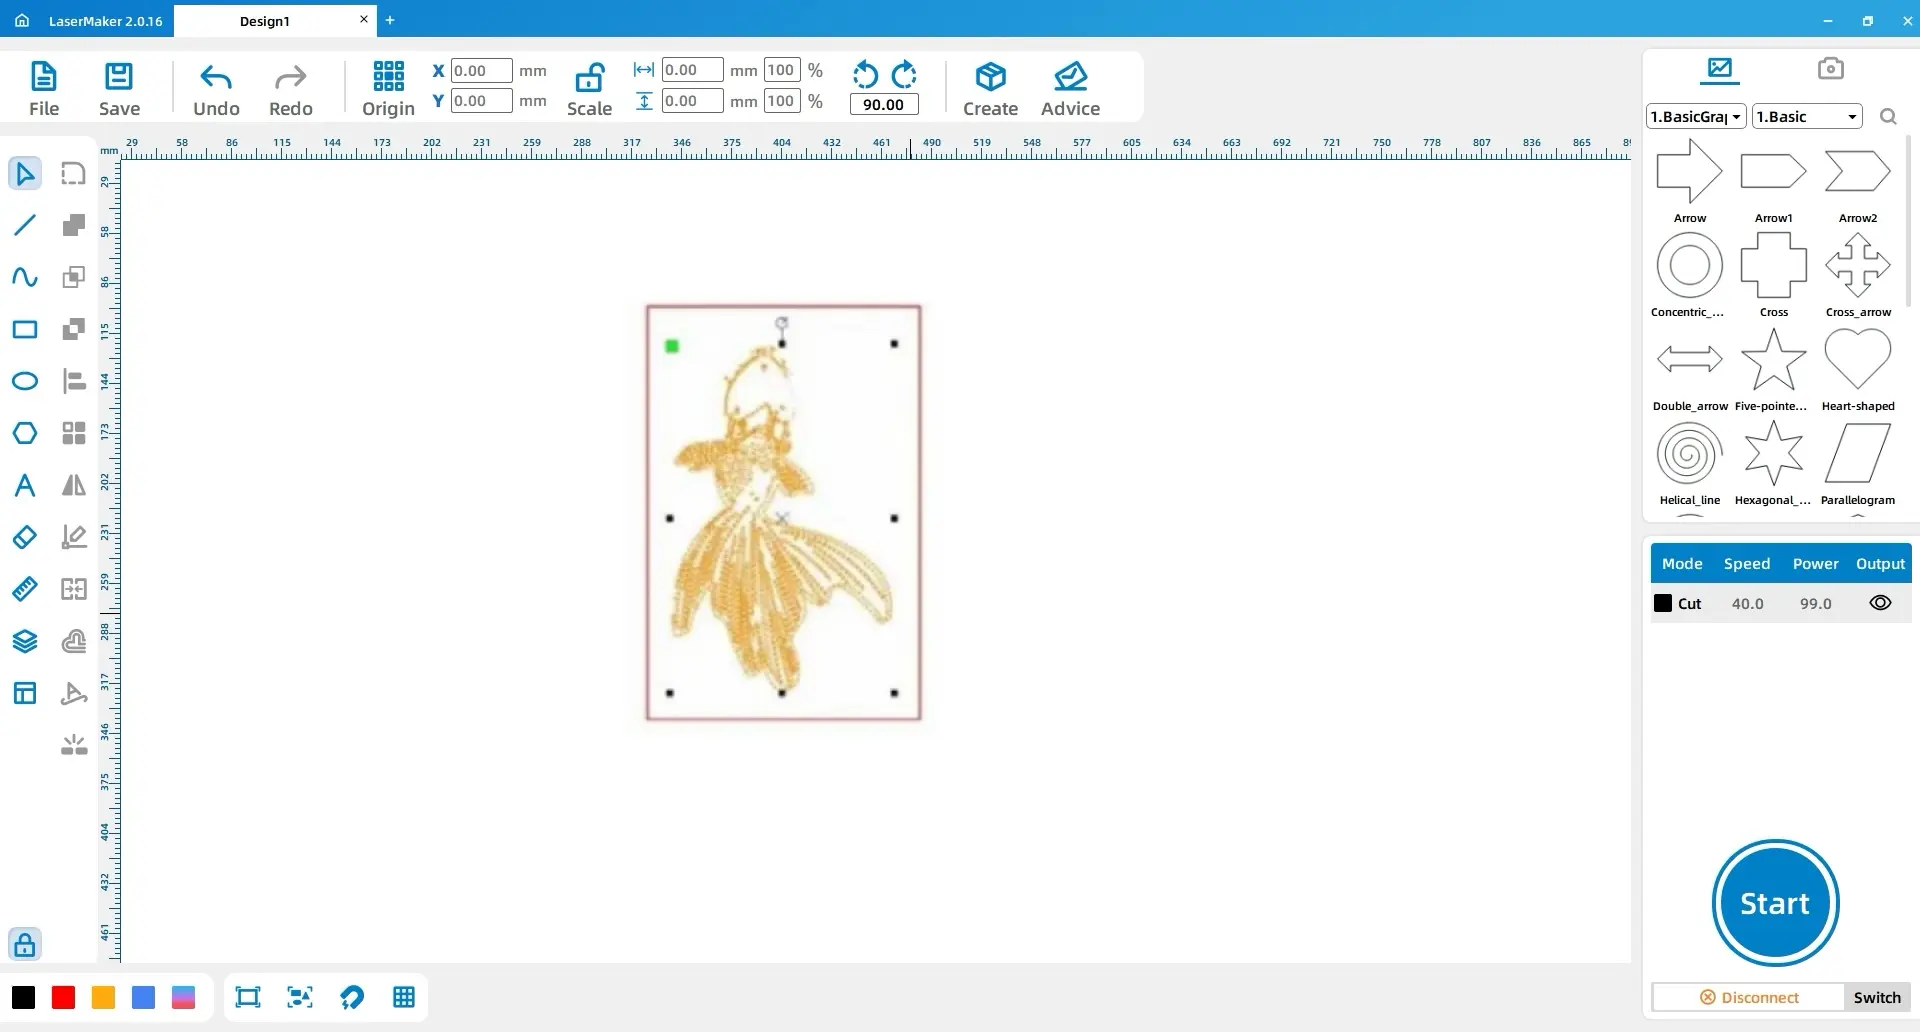
Select the image and use Extract Contour. Delete any extra lines so that only the clean goldfish outline remains.
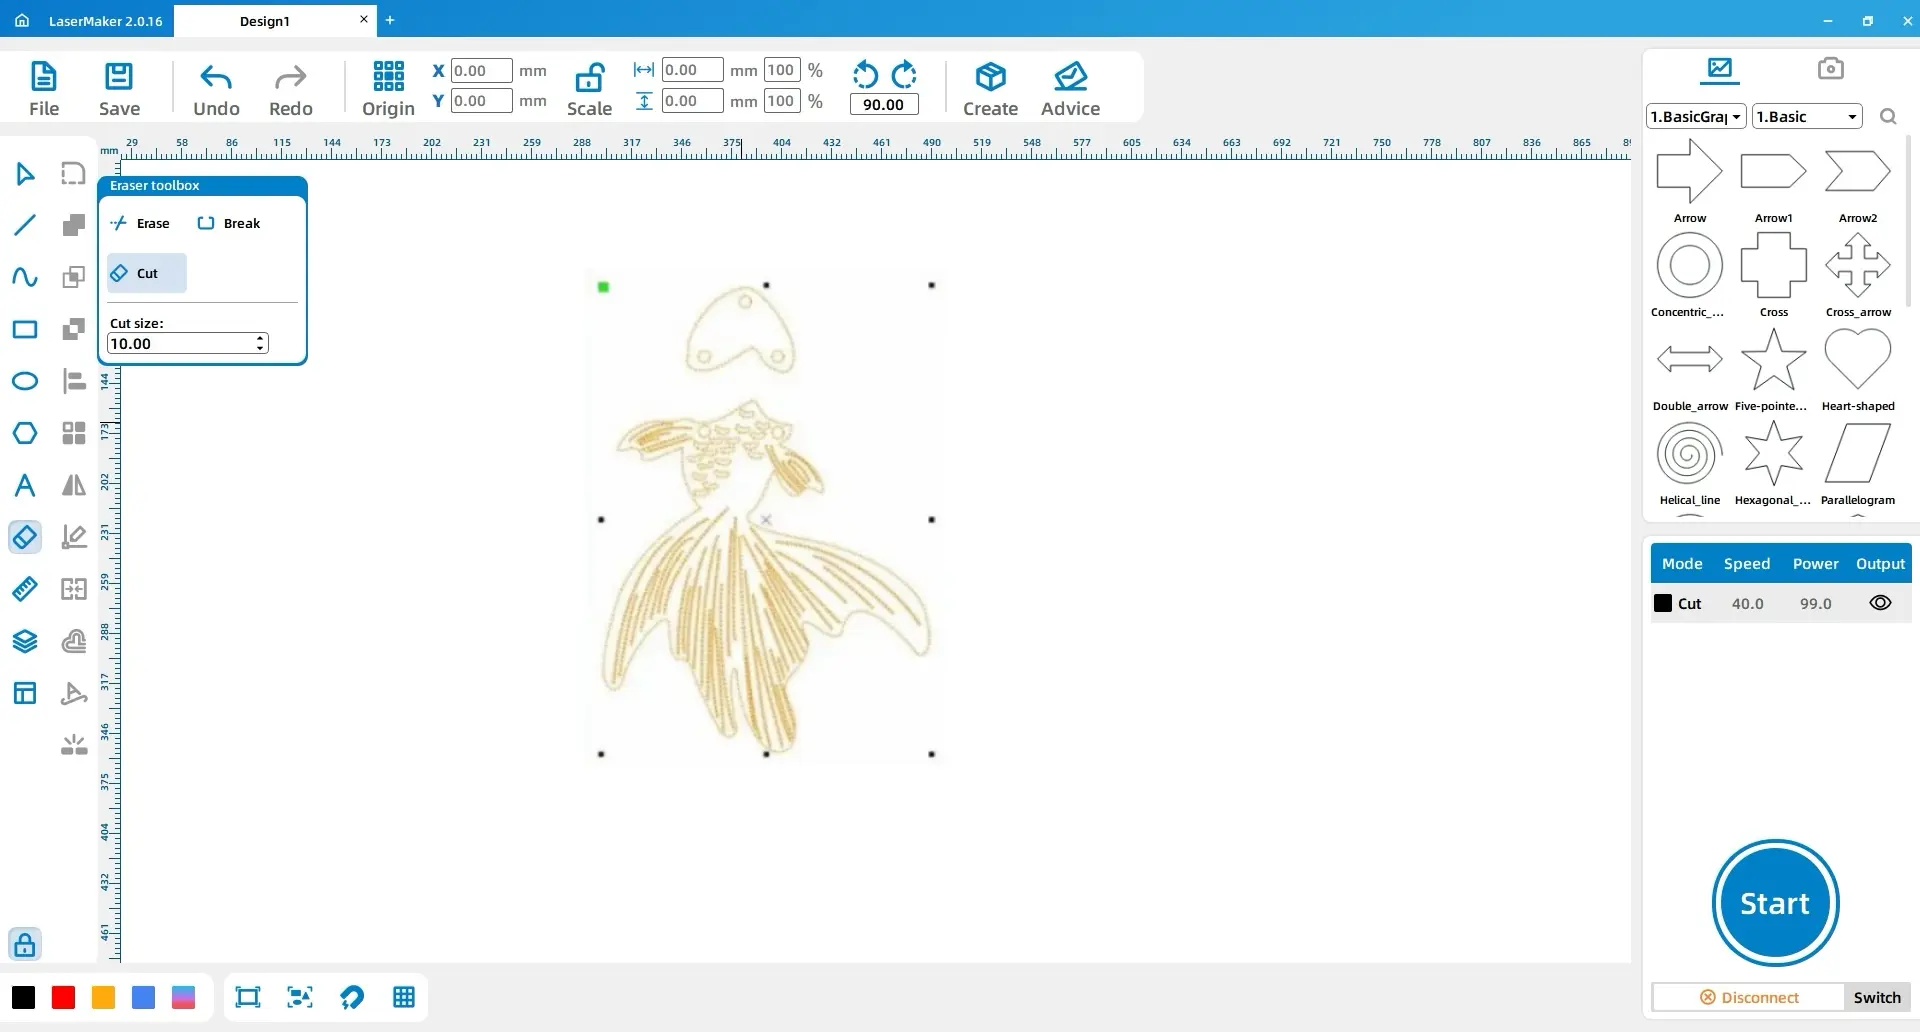
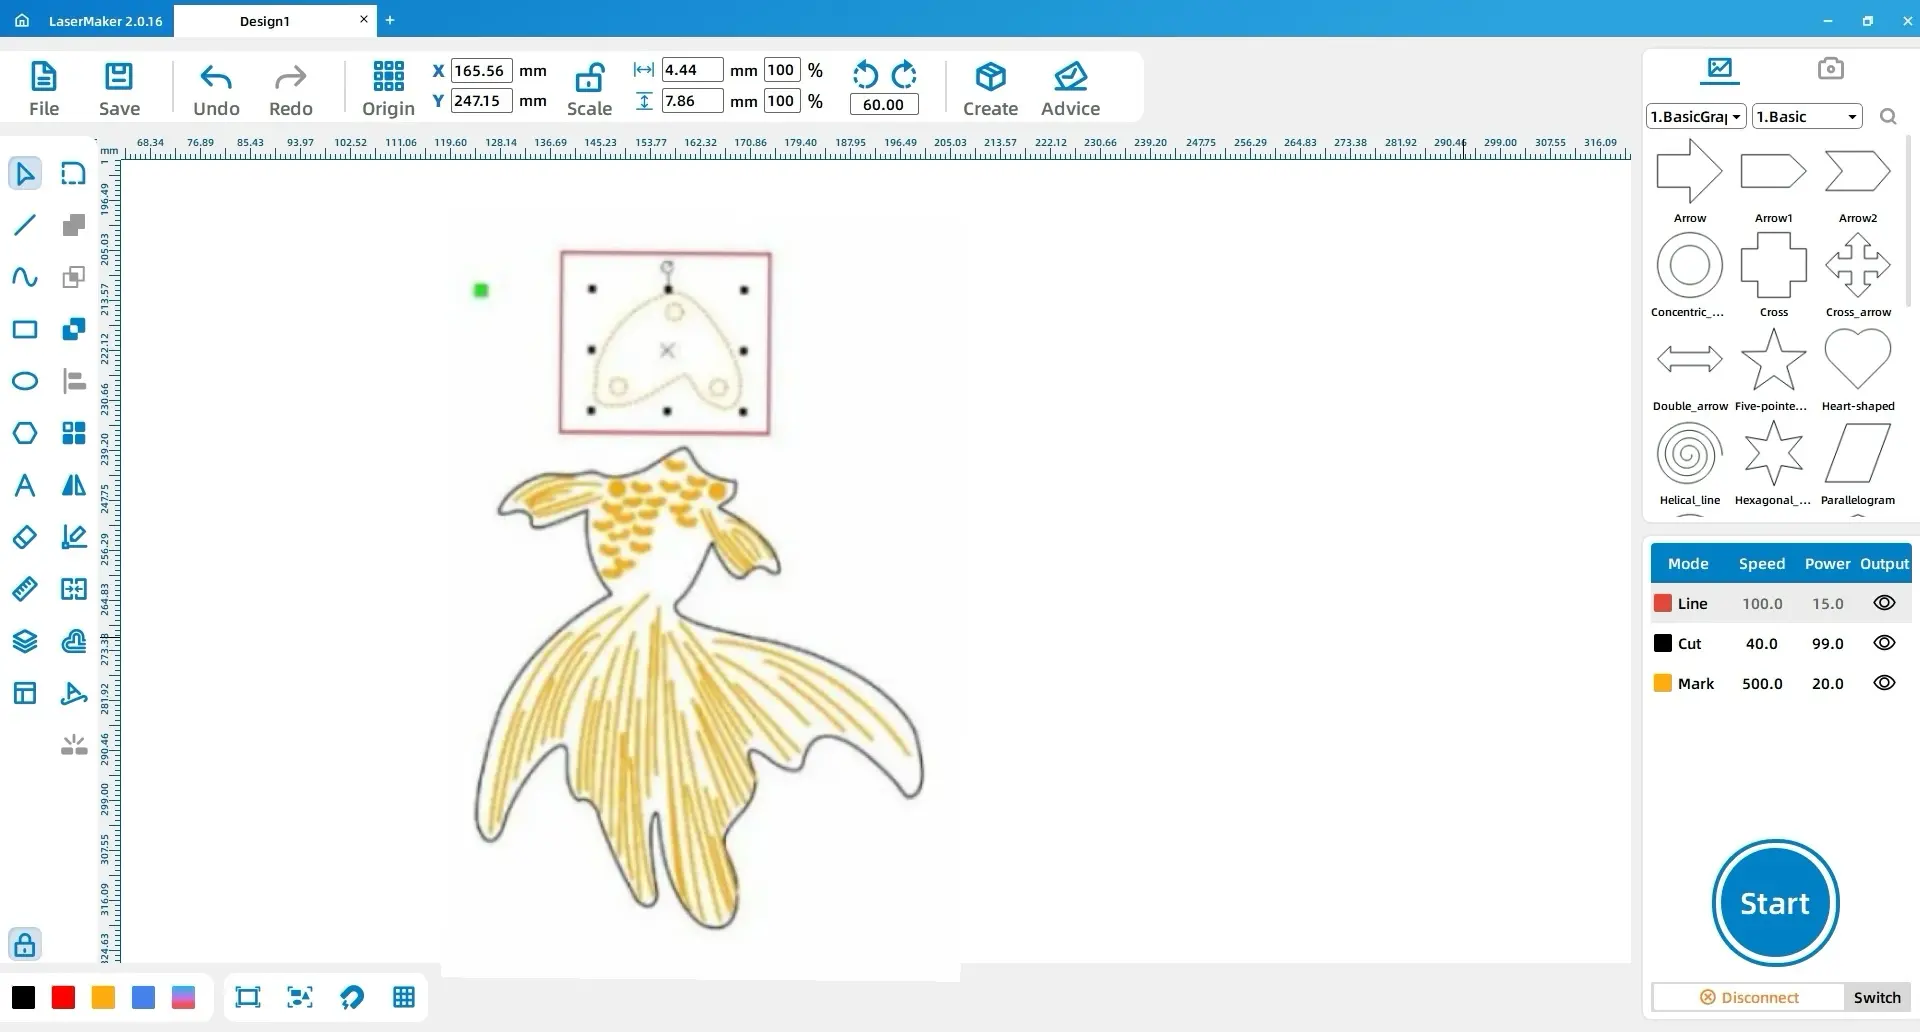
Select the pattern, choose the Eraser tool from the drawing toolbar, and use Break Line Segment to divide the goldfish into two parts. This separation is important because the project uses different materials for the head and body.
Design tip: Dividing the goldfish into two parts supports mixed-material production and creates a small moving joint, making the finished earrings feel more dynamic when worn.
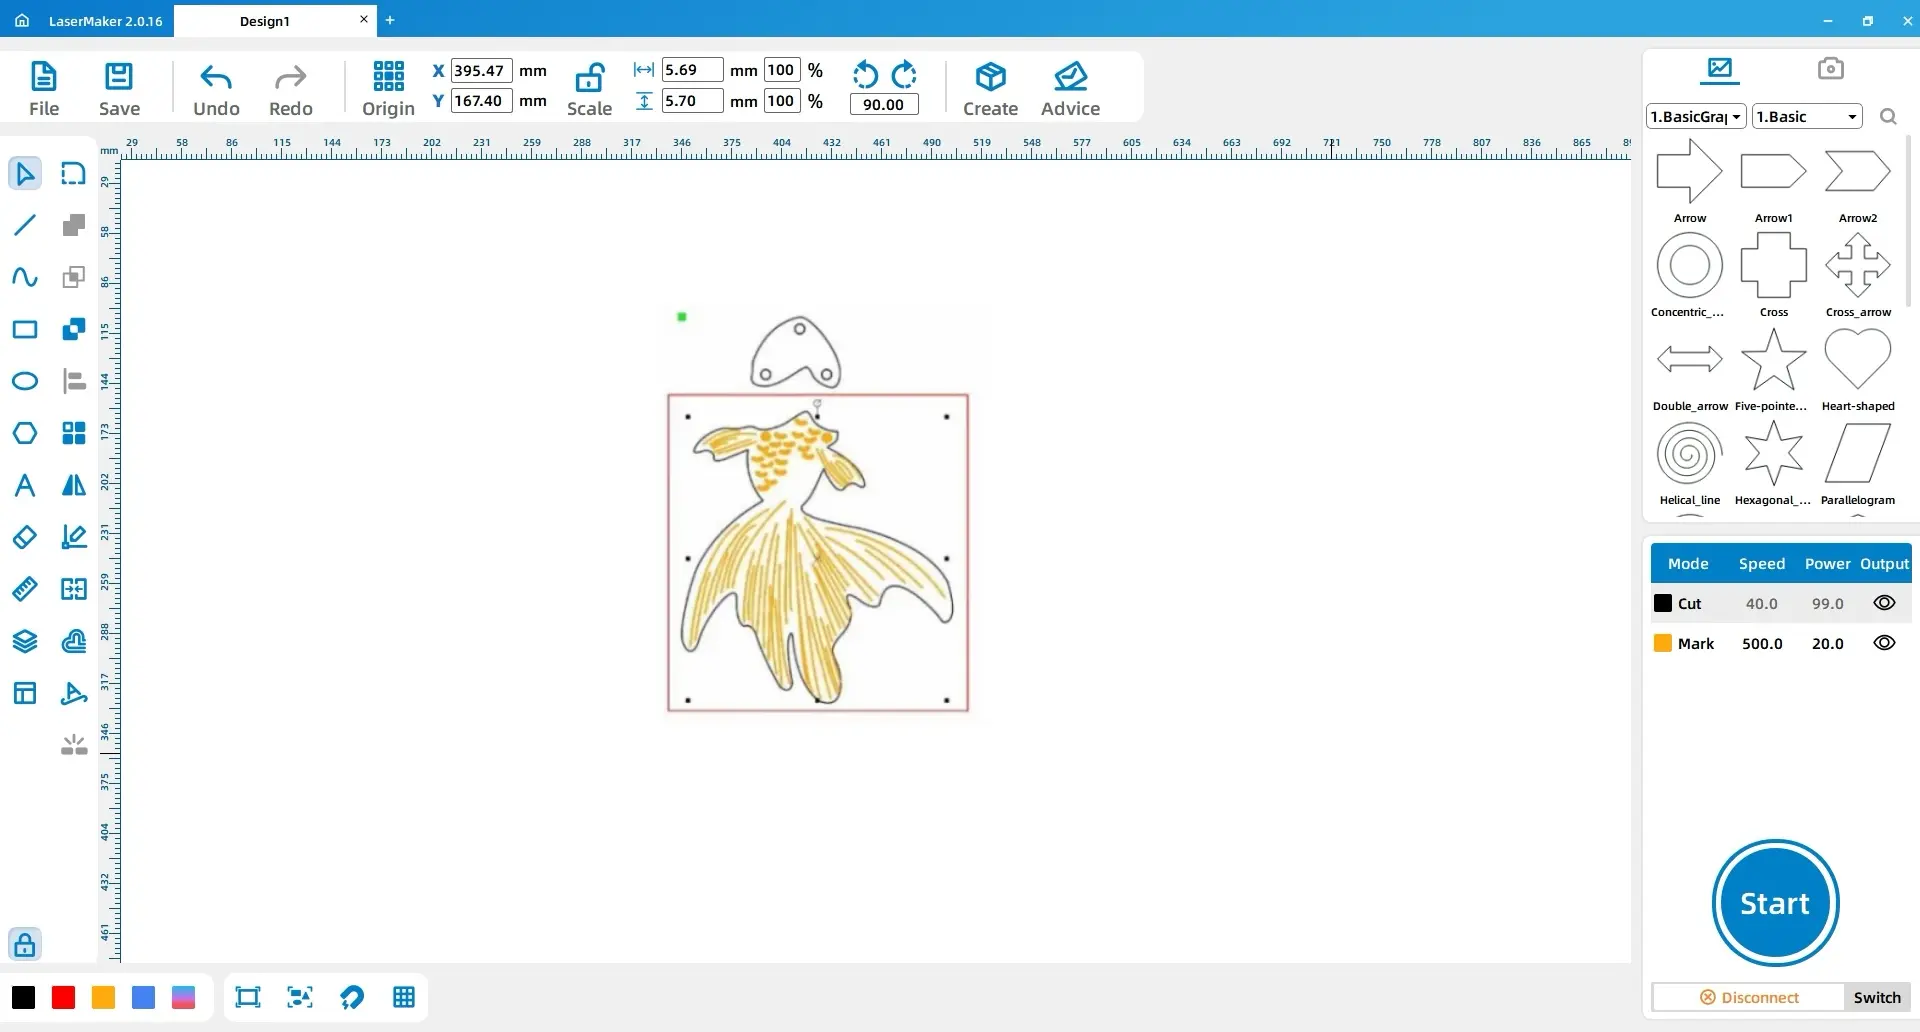
Select the fish scales and body patterns, then use the layer panel in the lower left to change the contour layer to yellow. Select the fish head and change that contour layer to red.
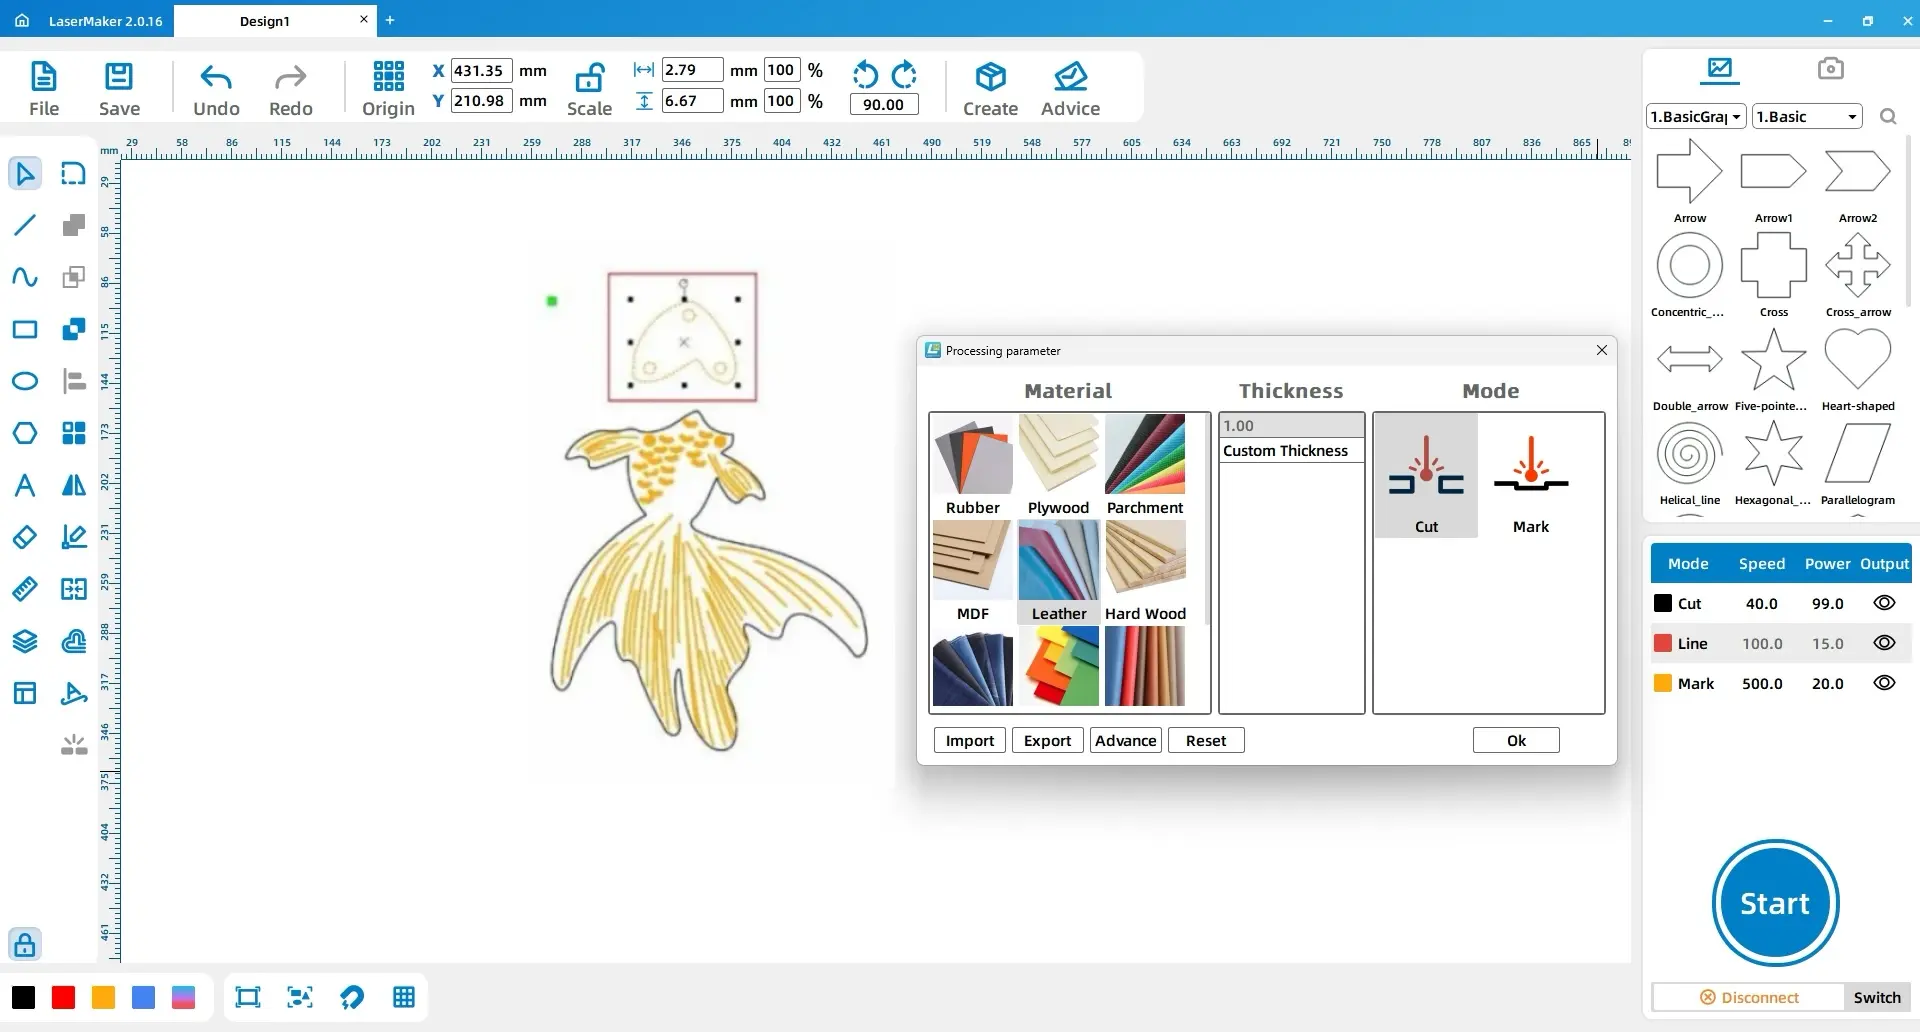
Adjust the layer order so shallow engraving happens before cutting. Then set each layer according to the material and process needed for that part.
| Layer | Material | Thickness | Process | Project Part |
|---|---|---|---|---|
| Yellow | Acrylic | 3mm | Shallow engraving | Fish scales and body pattern |
| Black | Acrylic | 3mm | Cutting | Fish body outline |
| Red | Artificial leather | 1mm | Cutting | Fish head |
After the laser engraving and cutting steps are complete, remove the acrylic body and artificial leather head from the material sheet. Check that the holes and outlines are clean, then connect the parts with connecting rings. Finally, attach the earring hooks to complete the pair.
The acrylic body gives the earrings colour and shine, while the artificial leather head adds a soft texture. The split design allows the two parts of the goldfish to move slightly, creating the feeling of a swimming fish.
Before making the final earrings, students should test the material settings on small sample pieces. Acrylic and artificial leather may require different settings, and the final result can change depending on colour, thickness, and surface finish.
After completing the goldfish earrings, students can compare how different materials, colours, and engraving patterns affect the final look. They can also discuss how symbolic design choices, such as the goldfish motif, help communicate meaning through wearable art.
Extension challenge: Ask students to redesign the earrings using a different animal, cultural symbol, club logo, or seasonal theme. They should keep the two-material structure and explain why each material was selected.
This laser STEAM lesson turns a simple jewelry idea into a complete design and fabrication activity. Students learn how to prepare artwork, separate a design for different materials, set engraving and cutting layers, and assemble a finished wearable product.
By combining acrylic, artificial leather, and jewelry hardware, the goldfish earrings become more than a decoration. They are a small example of how digital design, material science, craft, and personal expression can work together in a classroom laser cutting project.
Explore More Classroom Laser Projects
Use Thunder Laser machines to support STEAM lessons, student maker projects, jewelry design, acrylic crafts, leather projects, and digital fabrication activities.
Explore Bolt SeriesTalk To Our Experts Now!
Please leave your contact information so that we can serve you better.
NEED HELP FINDING THE RIGHT SOLUTION?
Talk to our team for machine recommendations, application advice, and support based on your needs.

 Stable & Consistent MachinesUnlimited ApplicationRobust After-sales SupportFactory Direct Supply