


Car Bobblehead Ornament Laser Cutting Project for STEAM Classrooms
 2024-08-21
WHAT ARE YOU LOOKING FOR?
Search Across Products, Blog Posts, Support Content, And Resources.

Car Bobblehead Ornament Laser Cutting Project for STEAM Classrooms
2024-08-21

In this STEAM maker project, students design and make an acrylic car bobblehead ornament using LaserMaker and a laser cutting machine. The lesson connects image selection, contour extraction, line cleanup, engraving layers, cutting layers, acrylic processing, coloring, and final ornament assembly.
This project helps students understand how a flat cartoon image can become a physical acrylic ornament. The source example uses a Pikachu-style car bobblehead ornament, while teachers can also guide students to use original or classroom-approved character designs.
| Item | Details |
|---|---|
| Project | Car Bobblehead Ornament laser cutting project |
| Software | LaserMaker |
| Main Skills | Image import, contour extraction, line cleanup, duplicate contour creation, engraving layer setup, cutting layer setup, acrylic laser processing, coloring, and ornament assembly |
| Suggested Materials and Parts | 3 mm acrylic, bobblehead ornament base, and battery |
| Classroom Fit | Laser cutting and maker projects, acrylic craft design, classroom ornament projects, beginner LaserMaker practice, image-to-vector activities, and personalized maker projects |
Students will import a cartoon image into LaserMaker, extract the contour, clean and separate the line drawing, prepare engraving and cutting layers, laser process the 3 mm acrylic, color the engraved character carefully, and assemble the finished bobblehead ornament with its base and battery.
For teachers: Use this project to introduce image tracing, contour cleanup, acrylic engraving, and simple product assembly.
For students: Use the activity to make a fun acrylic ornament while learning how a digital image becomes a physical object.
For makerspaces: Use it as a beginner-friendly acrylic project that combines character design, laser processing, and hand finishing.
Understand how a car bobblehead ornament can be divided into a character piece and a base.
Import an image into LaserMaker and use Extract Contour to create a rough vector outline.
Delete unnecessary lines and background elements to make a cleaner laser-ready drawing.
Duplicate outer contours so the same design can include both engraving and cutting paths.
Set acrylic engraving and cutting layers, process the parts, color the character, and assemble the ornament.
Design thinking: Choose a character image, simplify it for laser processing, and turn it into a decorative object with personality.
Computational thinking: Separate engraving and cutting paths, duplicate contours, assign layer colors, and prepare a repeatable laser workflow.
Engineering thinking: Consider acrylic thickness, engraved detail, outline strength, base connection, coloring order, and how the ornament will move after assembly.
Students should operate the laser cutter only under teacher or lab supervisor guidance. Before processing acrylic, check material placement, focus, ventilation, layer settings, and machine parameters. When selecting character images, teachers should guide students to use original, licensed, or classroom-approved artwork.
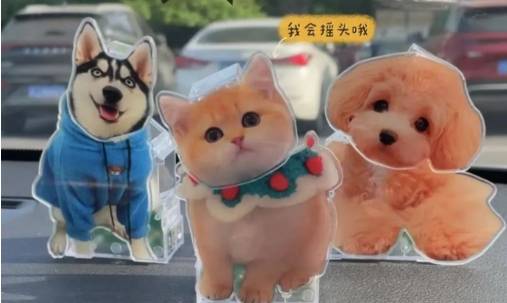
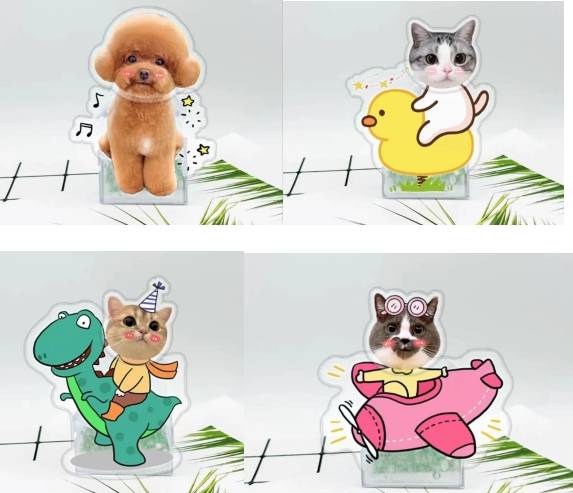
Car ornaments are often used as small decorative objects that express personality, preferences, or good wishes. A bobblehead ornament adds movement, because the character can nod or shake slightly when the car moves.
In this lesson, students focus on the design and fabrication of the acrylic character piece. The source example is a Pikachu-style bobblehead ornament made from 3 mm acrylic and installed on a prepared base.
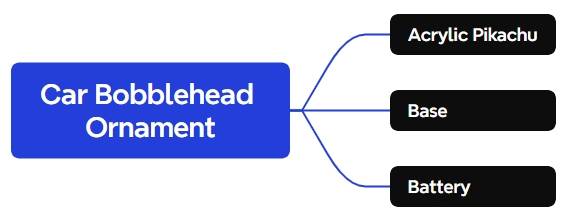
Before opening LaserMaker, students should prepare the acrylic sheet, ornament base, and battery used in the source project.
| No. | Material or Part | Quantity |
|---|---|---|
| 1 | 3 mm acrylic | 1 |
| 2 | Bobblehead ornament base | 1 |
| 3 | Battery | 1 |
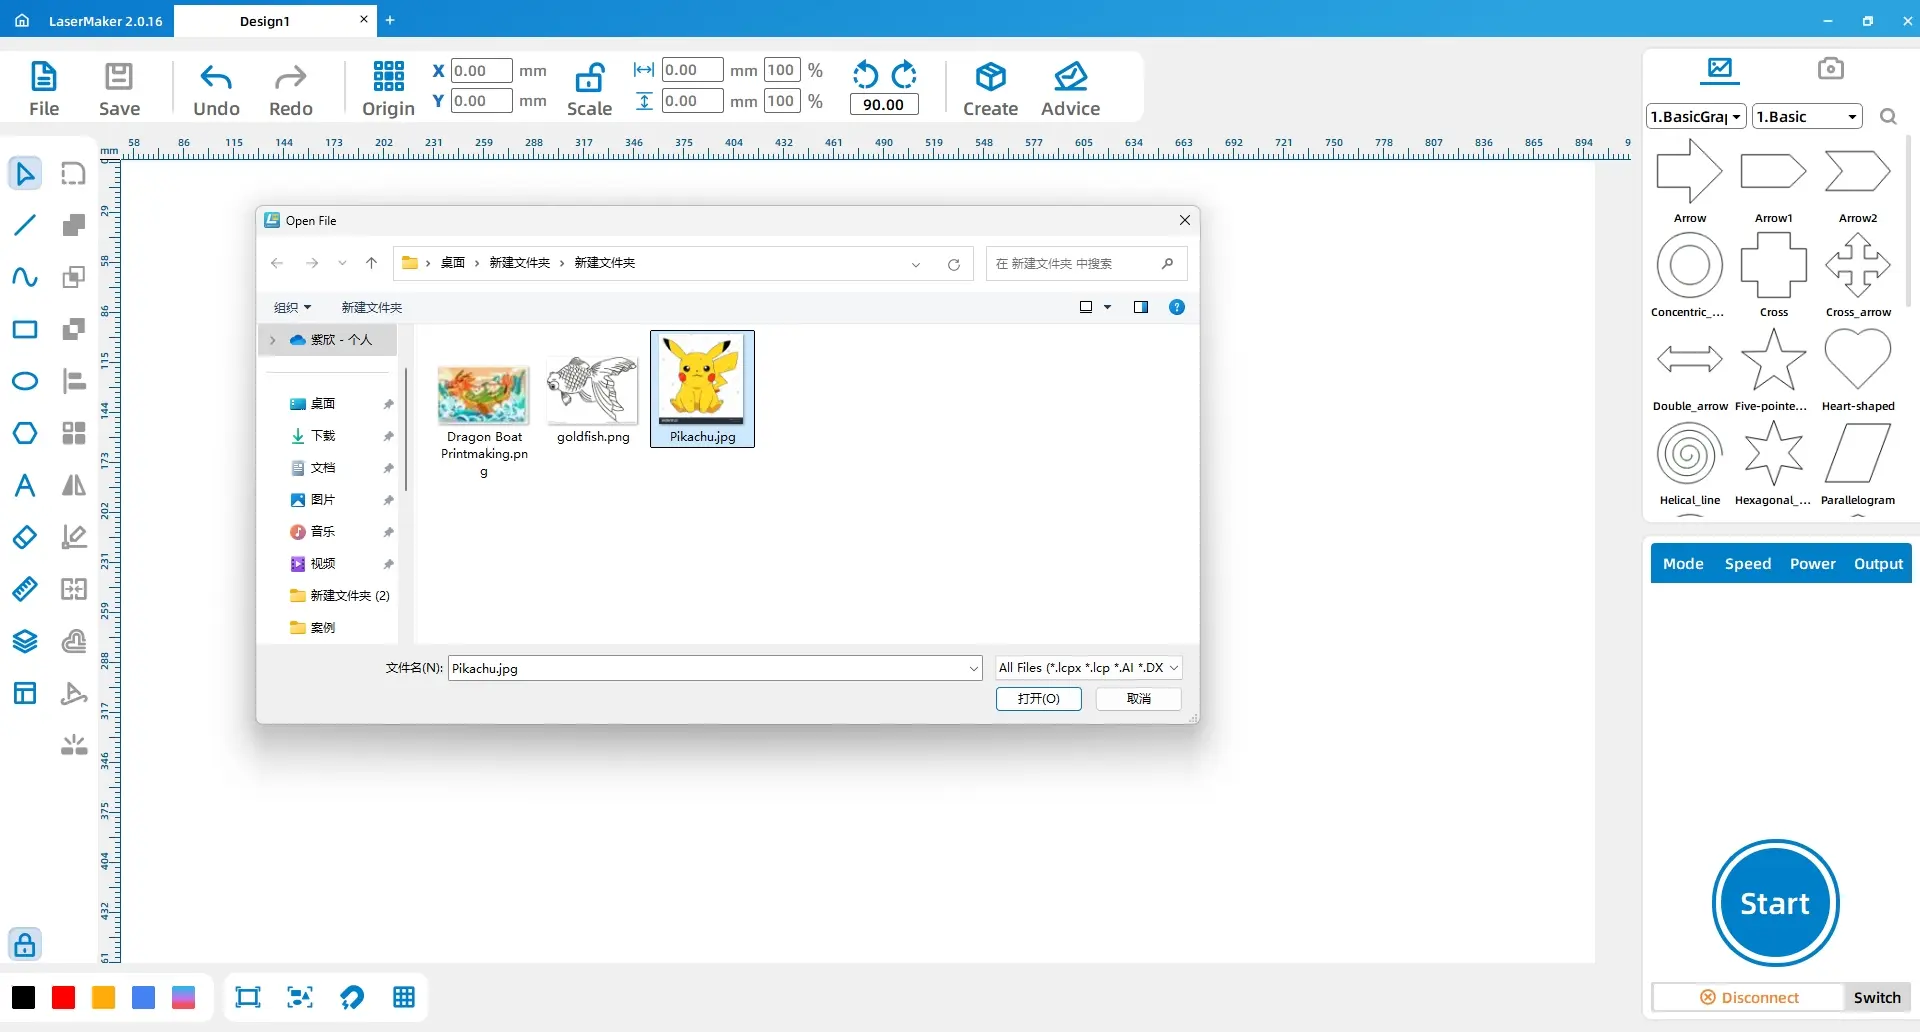
Choose a cartoon sketch image that is suitable for classroom use and clear enough for contour extraction. In LaserMaker, click File in the top function area, choose Open, and import the saved image.
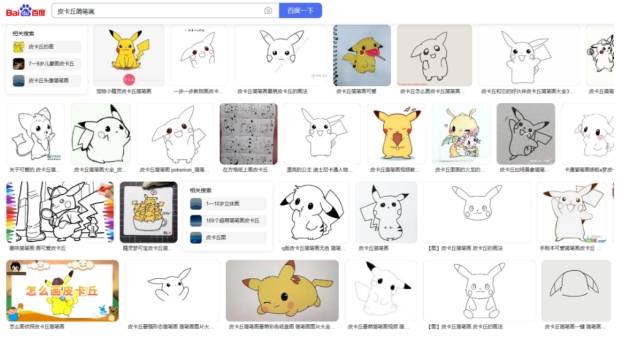
Teacher Tip: Simple line drawings are easier for students to process than complex full-color images. A clean outline reduces cleanup time and helps students focus on learning the LaserMaker workflow.
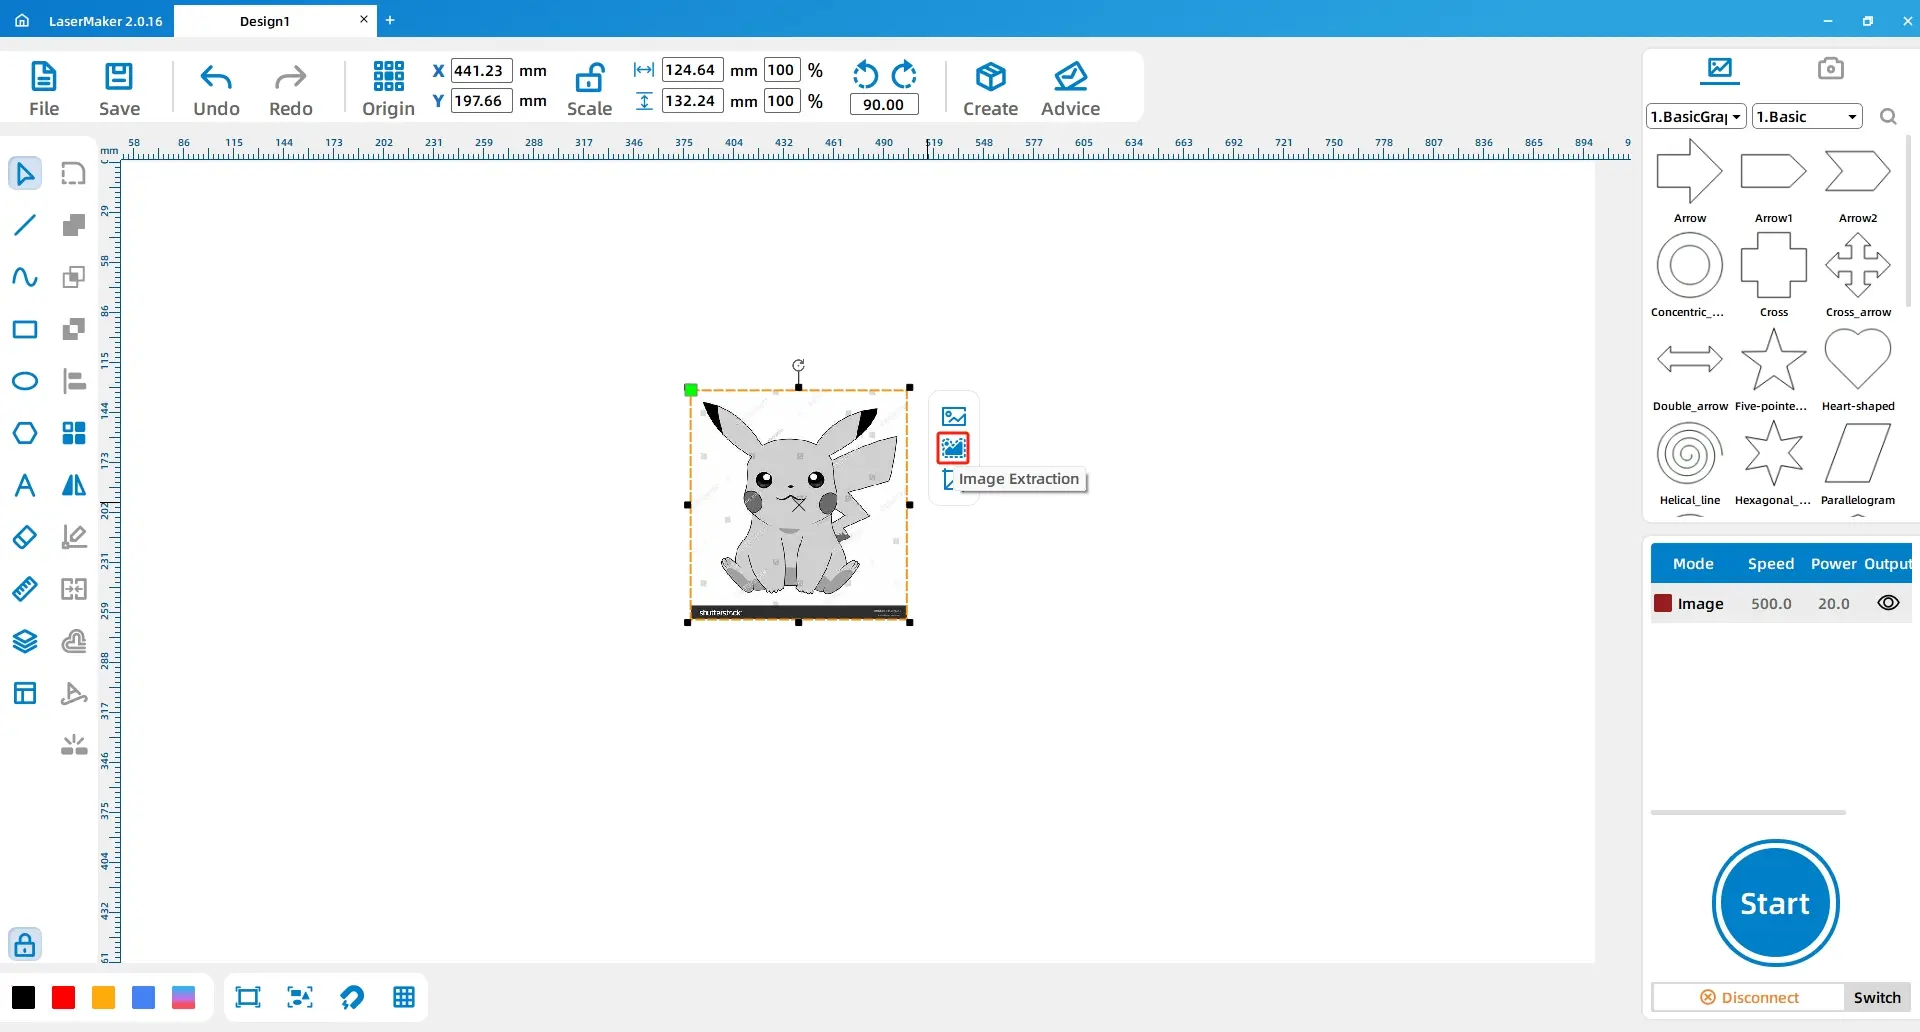
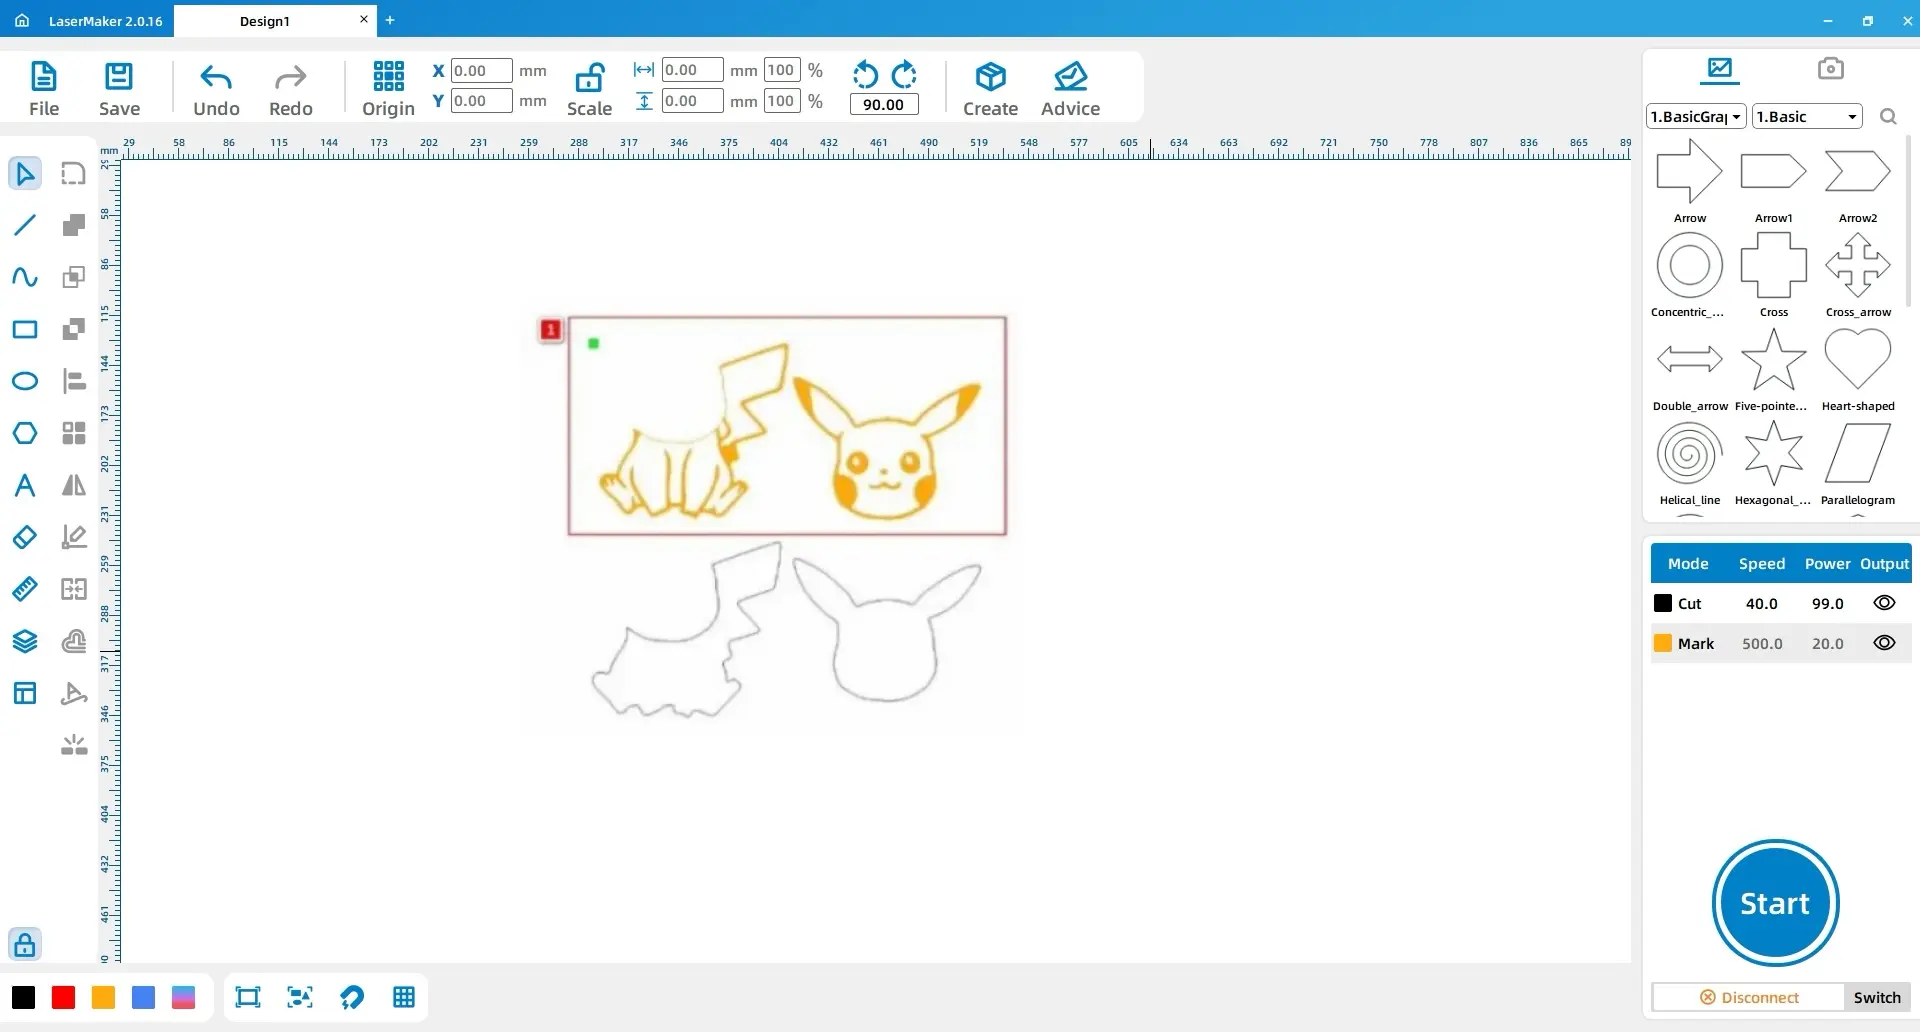
Left-click the image and select Extract Contour. LaserMaker will generate a rough outline from the imported image. Review the result and identify which lines are useful for engraving and which lines should be cleaned up.
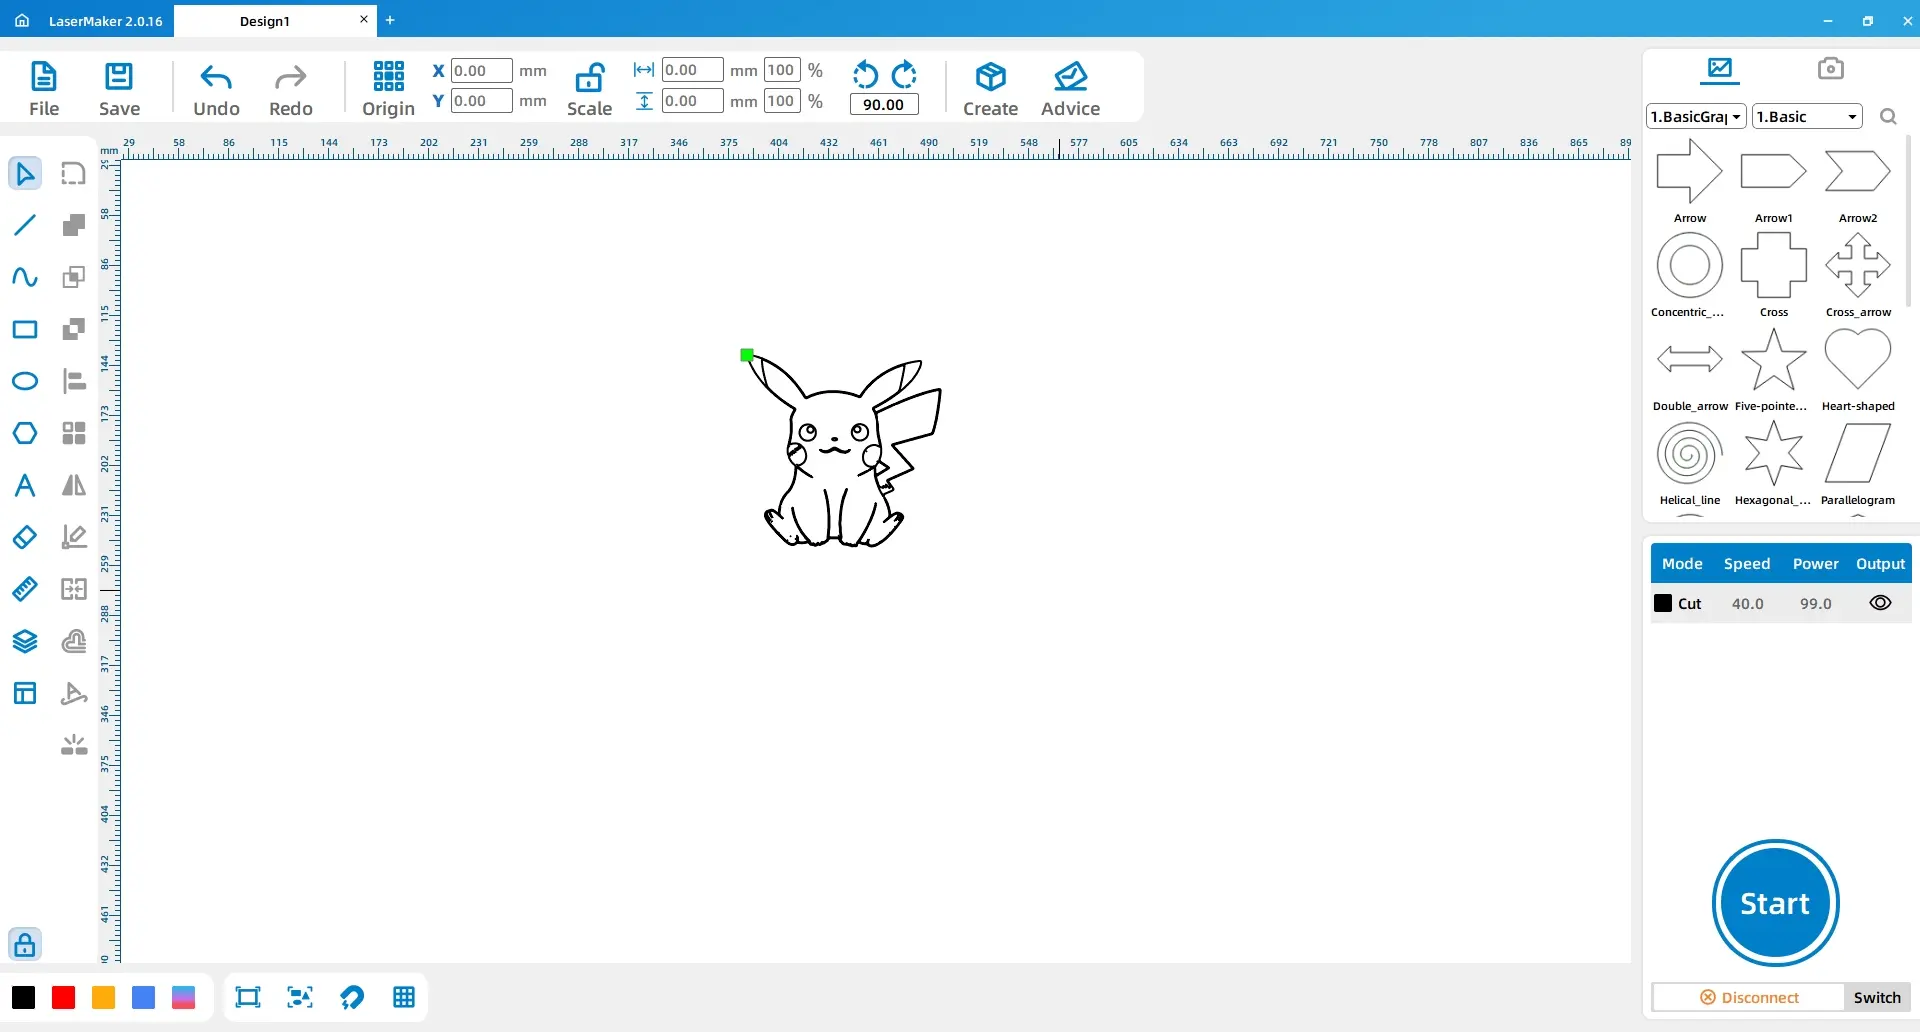
Delete unnecessary background lines and extra details that are not needed for the final acrylic ornament. Add or adjust strokes where needed so the character’s head and body are visually separated into two clear parts.
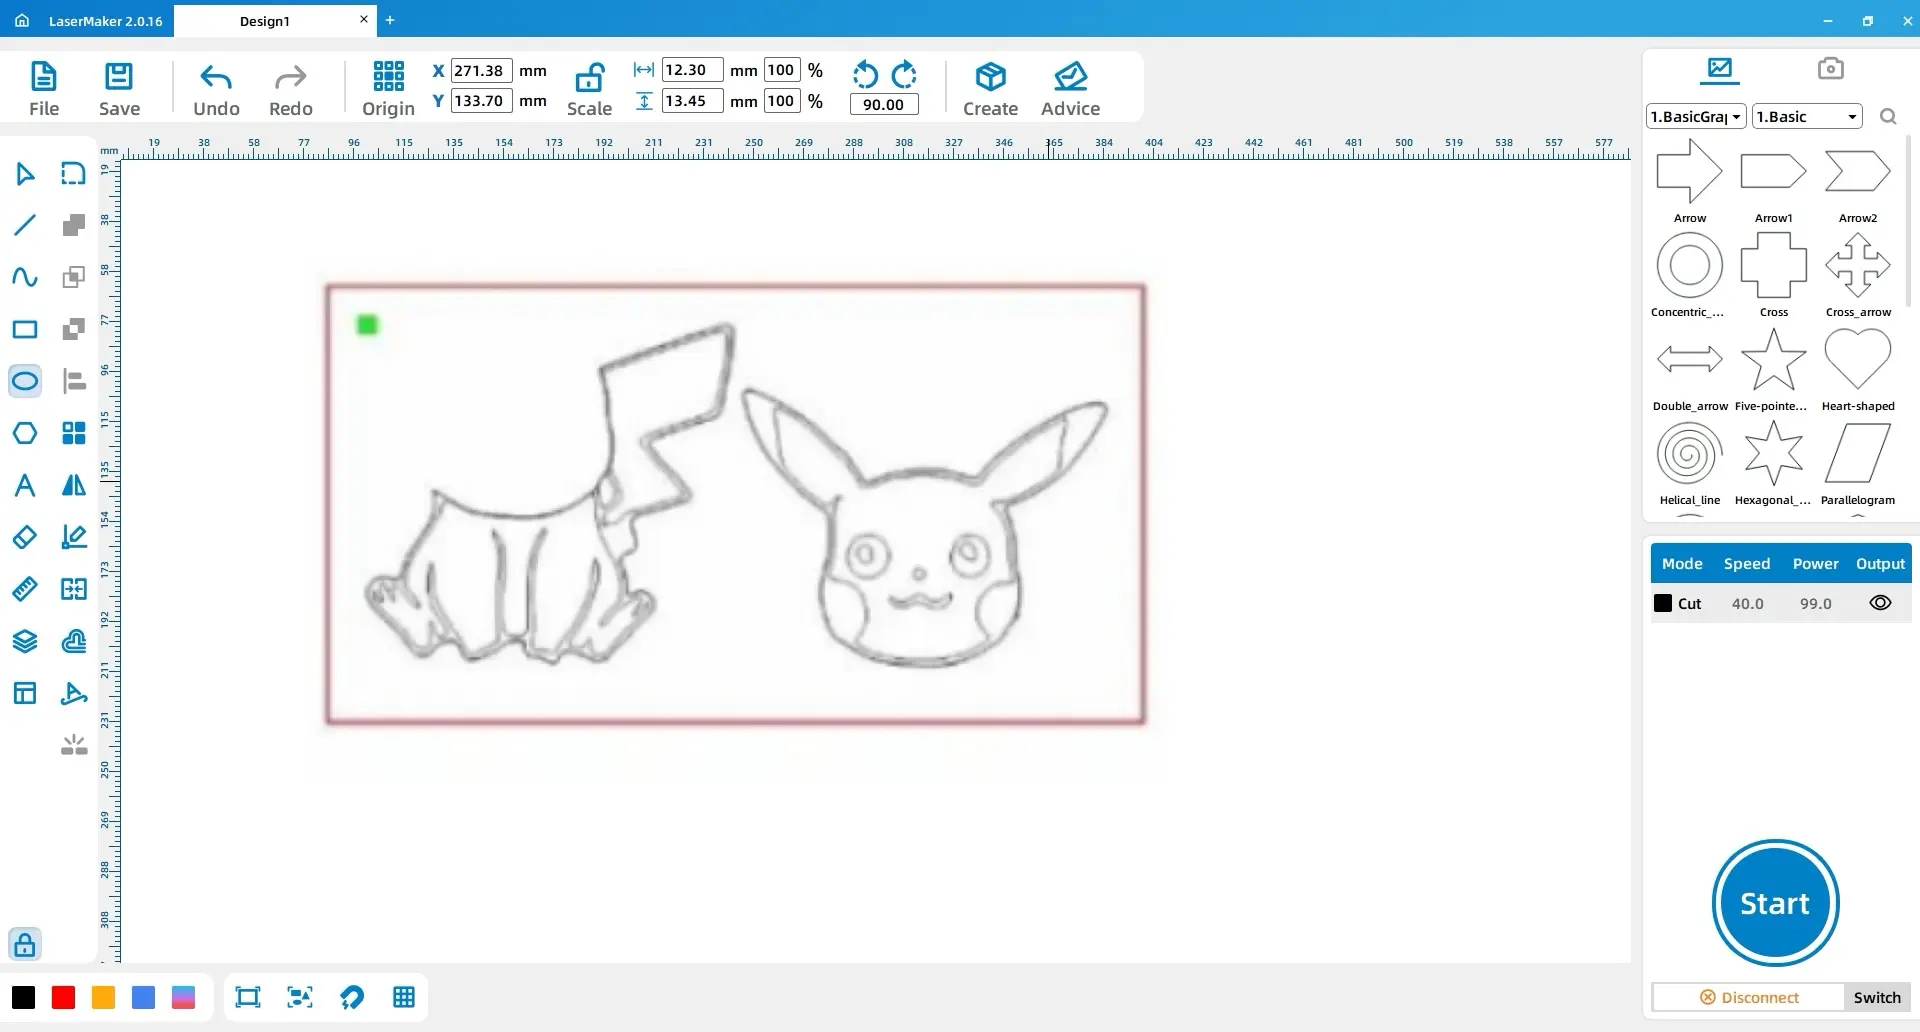
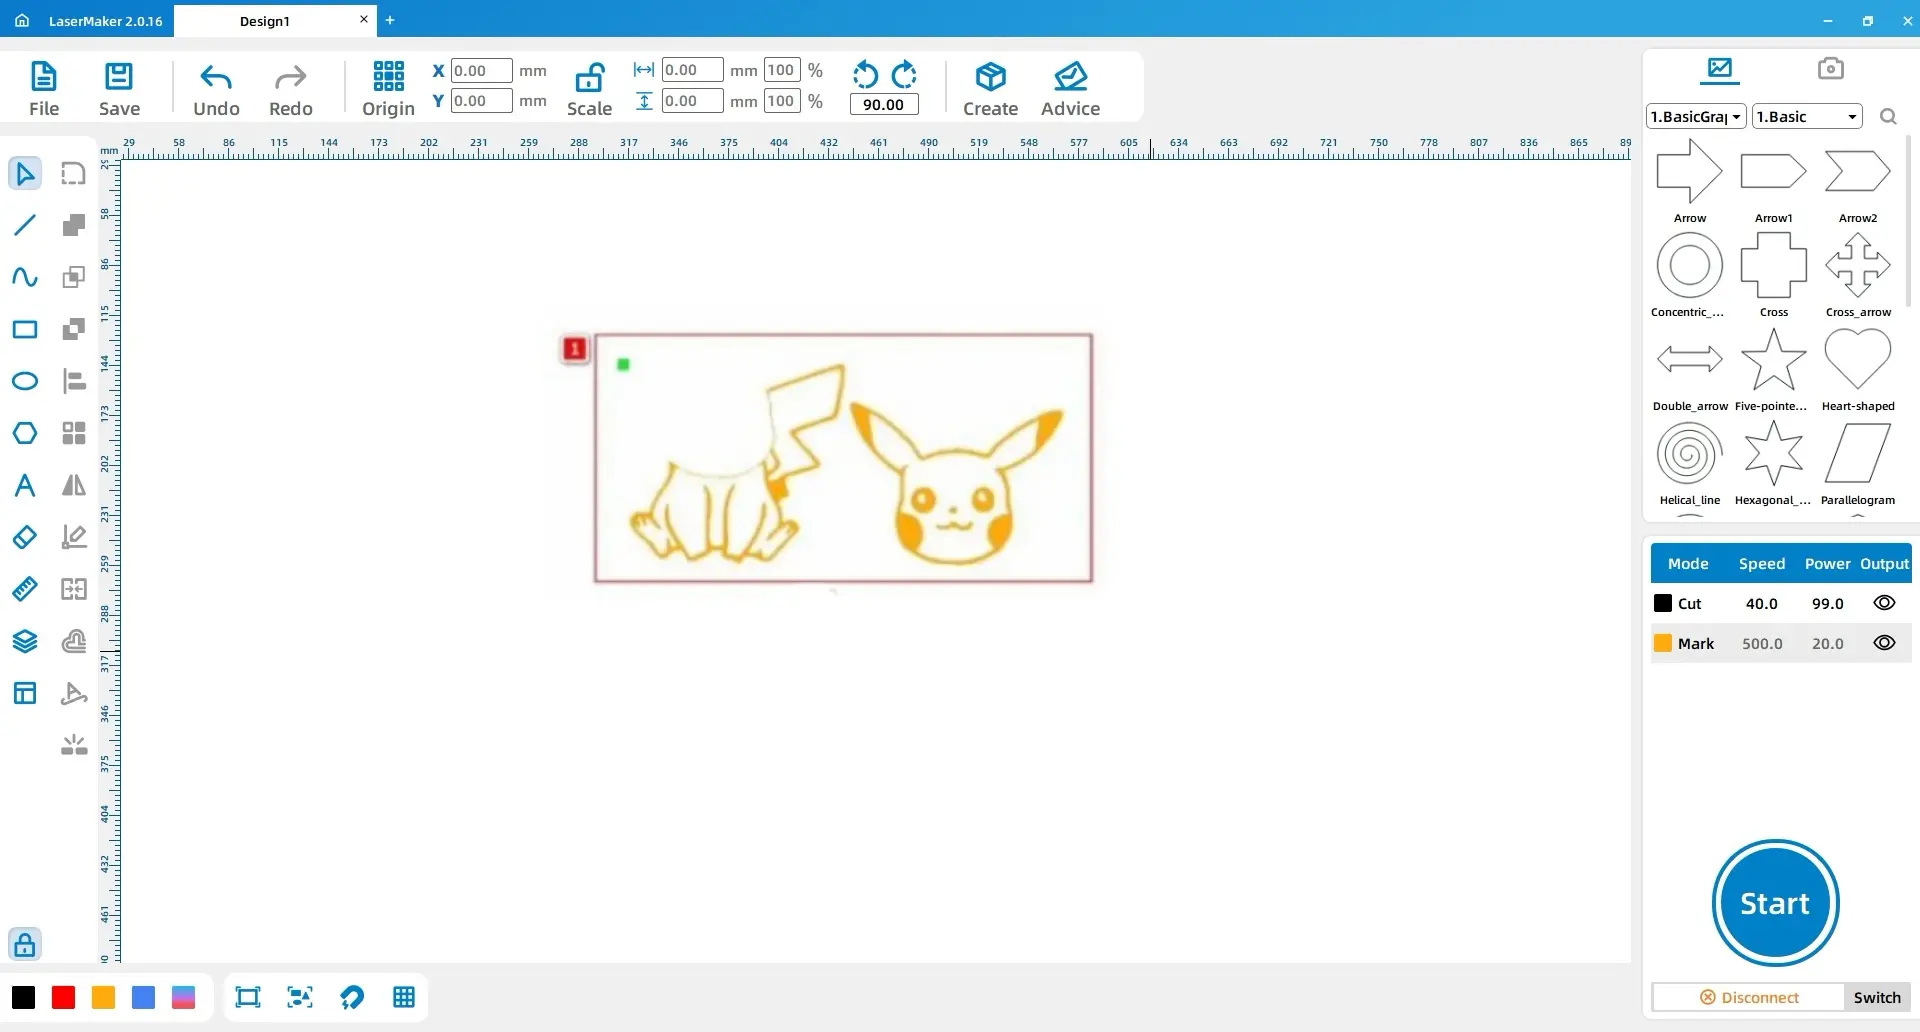
Select the outer contour lines of the character’s head and body separately. Use Ctrl+C to copy and Ctrl+V to paste the contours. Move the duplicated contours so they overlap the original design. These copied contours will later be used to prepare the cutting path.

Select the character’s head and body details and set them to the yellow layer. Then select the outer contour lines and move them to overlap with the original character contours. The yellow layer is used for engraving, while the black layer is used for cutting.
Double-click the yellow layer and set the material, thickness, and process to acrylic, 3 mm, and engraving. Then double-click the black layer and set the material, thickness, and process to acrylic, 3 mm, and cutting.
| Layer | Material | Thickness | Process | Purpose |
|---|---|---|---|---|
| Yellow | Acrylic | 3 mm | Engraving | Character details and internal line work |
| Black | Acrylic | 3 mm | Cutting | Outer character contour |

After checking the layer settings, focus, material placement, and acrylic setup, send the file to the laser cutting machine. Once the acrylic character is engraved and cut, remove it carefully from the machine bed.
The source lesson notes that acrylic can be challenging to color cleanly. Students should work slowly, color small areas step by step, and avoid smearing pigment across the engraved pattern. After coloring, install the character onto the bobblehead base and add the battery according to the base instructions.
Finishing Tip: Acrylic coloring requires patience. Encourage students to test color on scrap acrylic first and build up color gradually so the final character remains clean and readable.
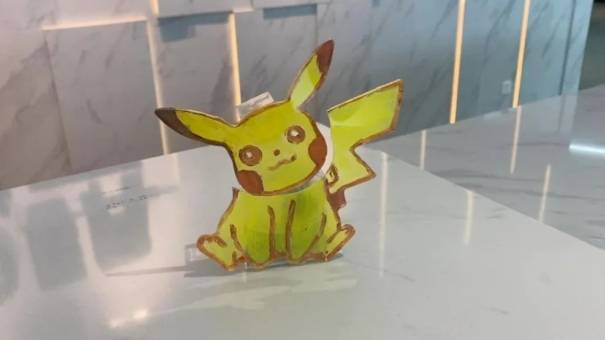
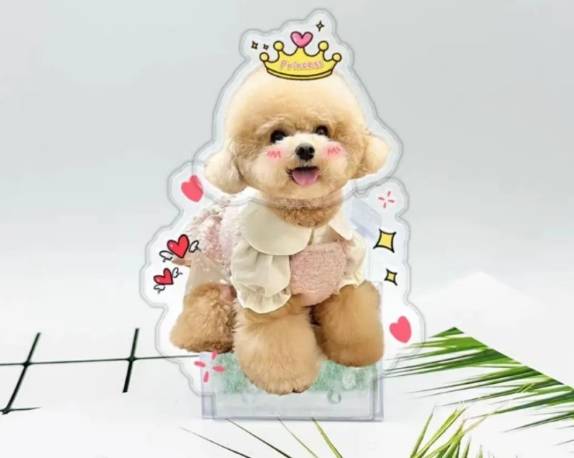
The finished car bobblehead ornament shows how image tracing, line cleanup, engraving, cutting, coloring, and assembly can work together in one beginner-friendly maker project. Students can reflect on how the original image changed as it moved from a digital sketch to a physical acrylic ornament.
Image selection: Students choose a simple, clear, classroom-approved cartoon sketch.
Software design: Students import the image, extract the contour, delete unnecessary lines, and duplicate the outer contours.
Layer setup: Students assign engraving details to the yellow layer and cutting outlines to the black layer.
Machine processing: Students process the acrylic under teacher supervision after checking focus and layer settings.
Finishing: Students color the acrylic carefully and assemble the ornament with the base and battery.
Prepare a sample line drawing before class so students can see what makes an image suitable for contour extraction.
Remind students that not every extracted line needs to stay in the final design.
Check the cutting outline before processing, especially around thin details such as ears, arms, or small decorative shapes.
Encourage students to create their own character or school-themed design instead of copying copyrighted artwork.
Let students compare how different line thicknesses, colors, and acrylic finishes affect the final appearance.
After finishing the basic project, students can explore other car-mounted bobblehead ornament styles. The same workflow can be adapted to different characters, mascots, animals, symbols, or student-created designs.
After completing the acrylic bobblehead ornament, students can redesign the character, simplify the outline, change the engraving style, try a different acrylic color, or create a matching set of ornaments with a shared theme.
For a broader maker challenge, students can create original classroom mascots, club ornaments, or themed display objects while comparing how image complexity affects contour extraction, engraving clarity, cutting strength, and coloring quality.
This project is suitable for classroom laser cutters that support engraving and cutting of 3 mm acrylic for beginner maker projects. For schools and beginner STEAM labs, projects like acrylic ornaments, character cutouts, classroom mascots, and beginner LaserMaker activities can be completed with a classroom laser cutter such as the Thunder Laser Bolt Series.
Teachers can choose the machine and material setup based on classroom space, student supervision needs, acrylic thickness, ventilation setup, and project size. Students should always test settings, check focus, and follow the school’s laser safety rules before final processing.
Talk To Our Experts Now!
Please leave your contact information so that we can serve you better.
NEED HELP FINDING THE RIGHT SOLUTION?
Talk to our team for machine recommendations, application advice, and support based on your needs.

 Stable & Consistent MachinesUnlimited ApplicationRobust After-sales SupportFactory Direct Supply


