


DIY Rose Laser Cutting Project with LaserMaker
 2024-08-22
WHAT ARE YOU LOOKING FOR?
Search Across Products, Blog Posts, Support Content, And Resources.

DIY Rose Laser Cutting Project with LaserMaker
2024-08-22

In this STEAM maker project, students design and make a layered wooden rose using LaserMaker and a laser cutting machine. The lesson connects seasonal craft design, image outline extraction, basic shape editing, offset curves, text placement, layer setup, laser cutting, shallow engraving, gluing, and hand painting.
This project is a practical classroom activity for Valentine’s Day, Chinese Valentine’s Day, Mother’s Day, school craft events, or any lesson about symbolic design. Students learn how a flat digital drawing can become a more dimensional handmade object through layering and finishing.
| Item | Details |
|---|---|
| Project | DIY Rose laser cutting project |
| Software | LaserMaker |
| Main Skills | Image import, outline extraction, basic graphic editing, heart shape placement, Union, Offset Curve, text input, layer setup, laser cutting, shallow engraving, gluing, and acrylic painting |
| Suggested Materials and Parts | 3 mm Tilia or basswood board, acrylic pigment, brush, and glue |
| Classroom Fit | Laser cutting and maker projects, classroom crafts, seasonal gift making, design-and-build activities, beginner LaserMaker practice, and decorative wood projects |
Students will create a wooden rose design in LaserMaker, prepare two rose layers, set different laser processes for cutting and shallow engraving, process the parts on a laser cutter, glue the layers together, and paint the finished rose.
For teachers: Use this project to introduce image tracing, vector editing, layered craft design, and laser processing workflow.
For students: Use the activity to turn a simple rose drawing into a personalized gift or decorative object.
For makerspaces: Use it as a beginner-friendly project that combines software design, laser cutting, painting, and handmade finishing.
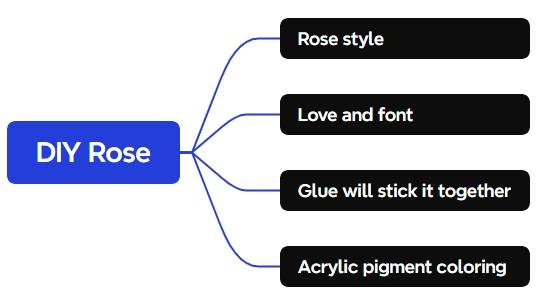
Import a rose line-art image into LaserMaker and extract a usable outline.
Add a heart element, adjust its size and angle, and combine it with the rose outline using Union.
Use Offset Curve and the Font tool to create a decorative “Love” detail.
Create two rose layers: a hollow top layer and a bottom layer that supports the finished design.
Set cutting and shallow engraving layers, then glue and paint the finished rose.
Design thinking: Use color, shape, layering, and symbolic imagery to create a meaningful handmade rose.
Computational thinking: Convert an image into editable outlines, duplicate patterns, assign layers, and organize laser processes logically.
Engineering thinking: Consider material thickness, layer order, glue area, hollow structure, engraving depth, and how the object will hold together after assembly.
Students should operate the laser cutter only under teacher or lab supervisor guidance. Before cutting, check focus, material placement, layer order, cutting settings, and engraving settings. When painting, use classroom-approved pigments and allow the parts to dry fully before handling or displaying.
Roses are often used to express love, care, appreciation, and celebration. The meaning of a rose can also change with its color, making it a useful object for a design lesson about symbolism and personal expression.
In this project, students create a rose for a holiday or gift-giving context. The design starts as a simple digital outline, then becomes a layered wooden object through laser cutting, gluing, and coloring.
Before opening LaserMaker, students should prepare the wood sheet, coloring tools, and assembly materials. The source lesson uses a 3 mm Tilia wood board, acrylic pigment, a brush, and glue.
| No. | Material or Tool | Quantity |
|---|---|---|
| 1 | 3 mm Tilia or basswood board | 1 |
| 2 | Acrylic pigment | 1 set or selected colors |
| 3 | Brush | 1 |
| 4 | Glue | 1 |
Search for a suitable rose line-art or stick-figure reference image. Choose a simple design with clear outlines, save it, and open it in LaserMaker through the File menu.
Teacher Tip: For classroom use, choose images that are appropriate for student projects and permitted by school or classroom rules. A simple outline works better than a complex photo for this beginner project.
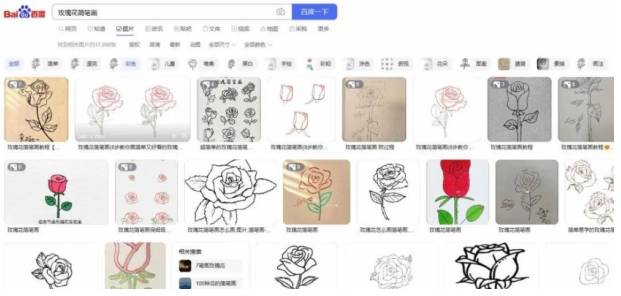
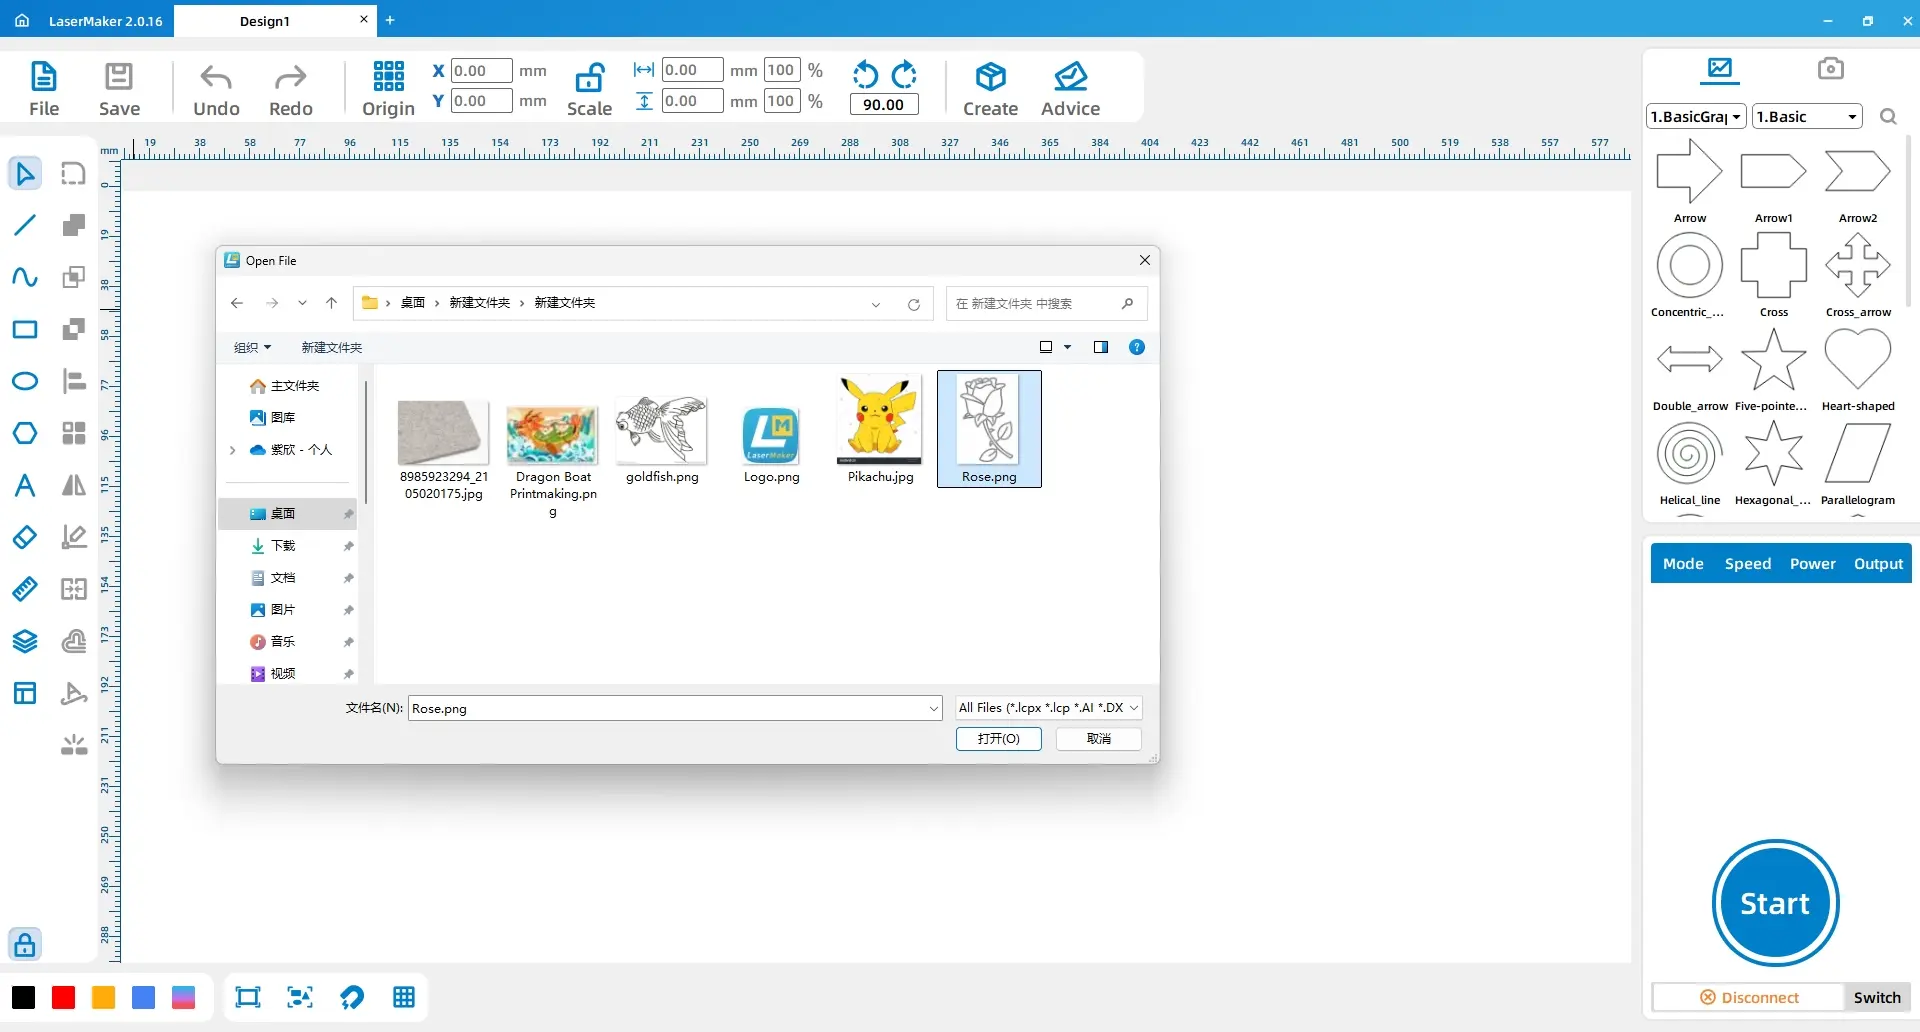
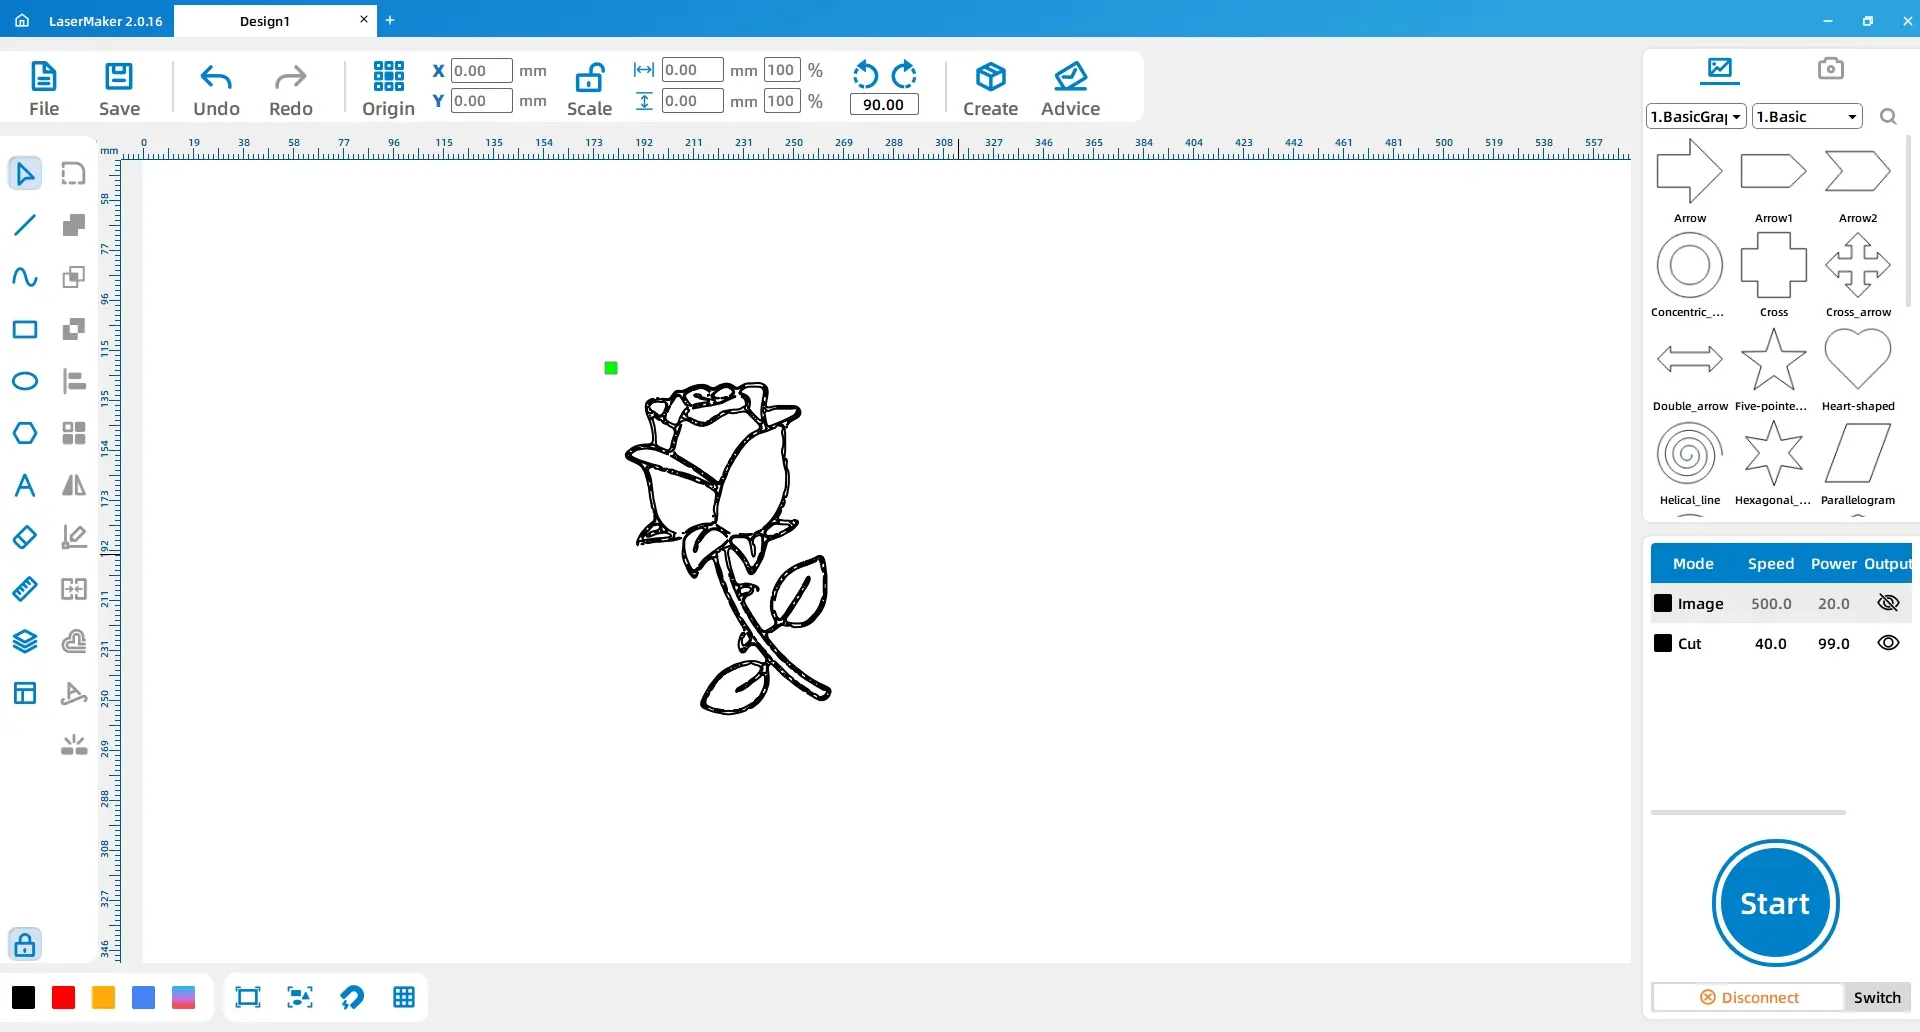
Select the image with the mouse and use the outline extraction function to generate a rough line drawing. Review the extracted outline and make sure the main rose shape is clear enough for laser cutting.
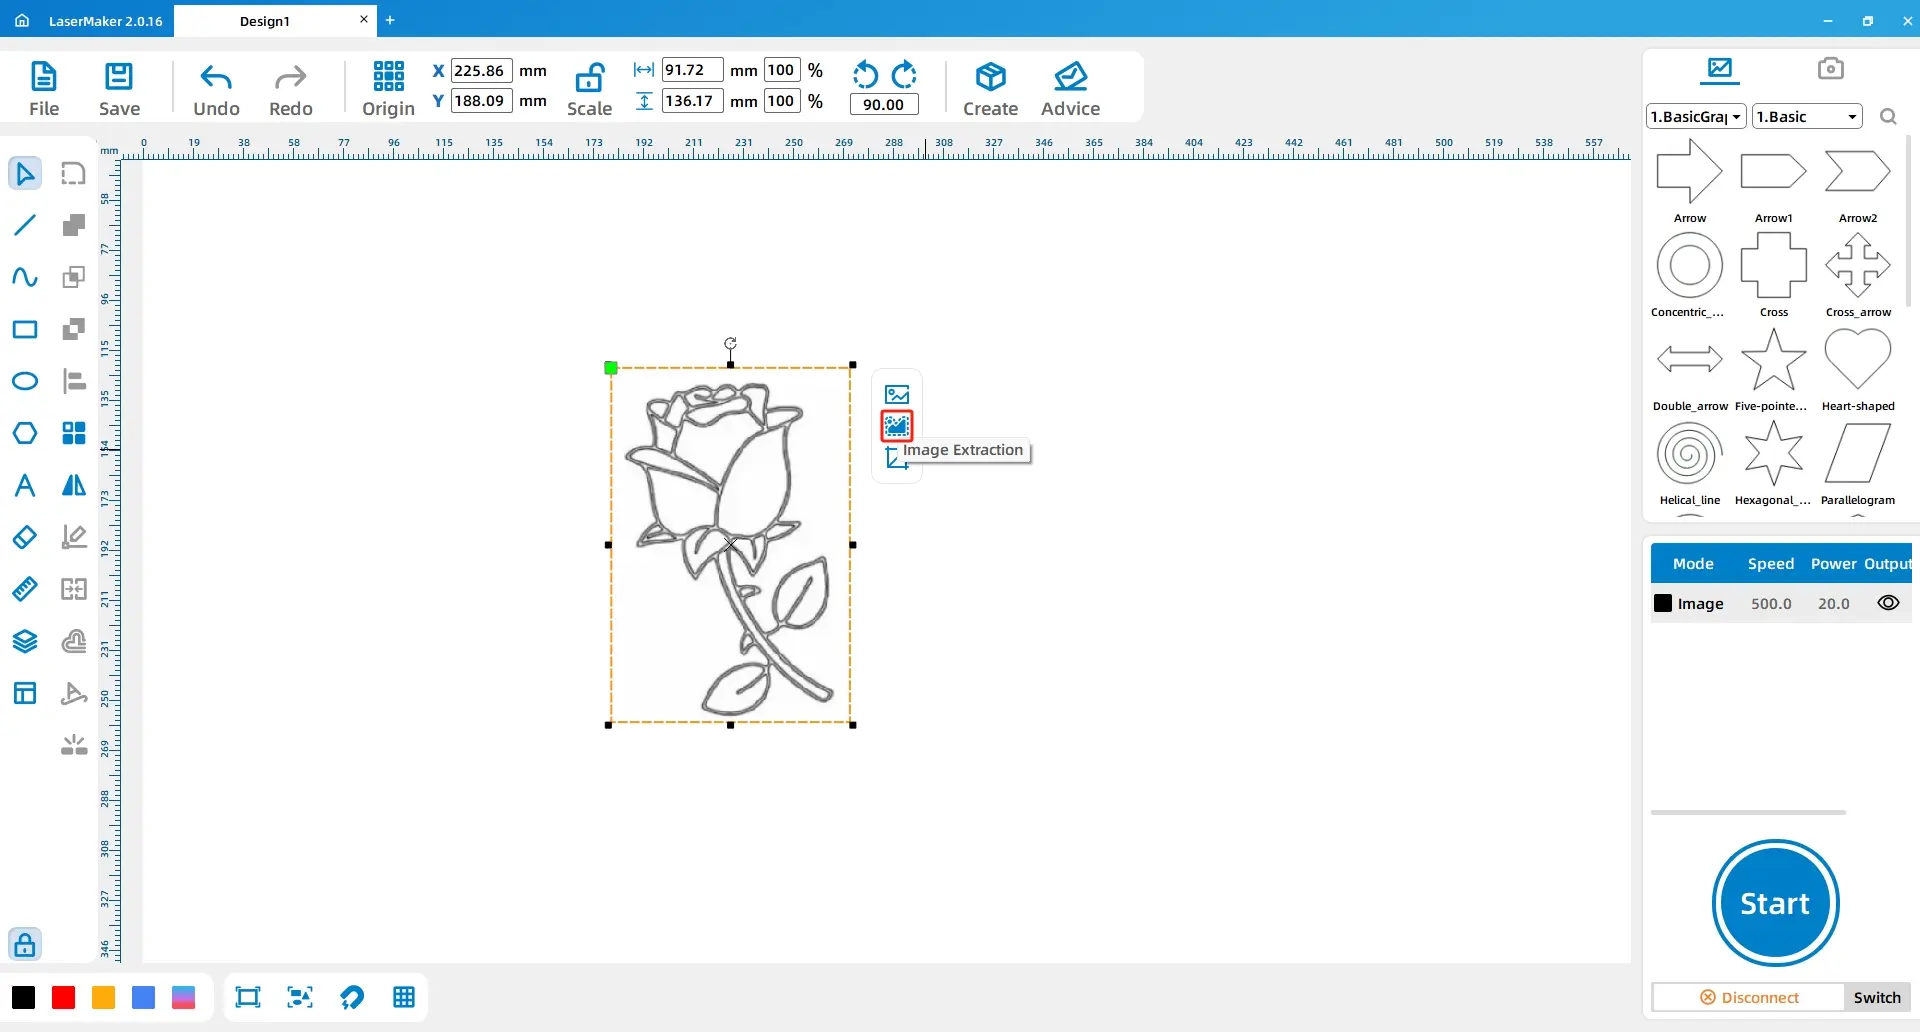
From the Basic Graphics gallery, select a heart shape and drag it onto the canvas. Adjust the heart size to 35 mm wide and 30 mm high, rotate it by -90 degrees, and place it in a suitable position beside the rose.
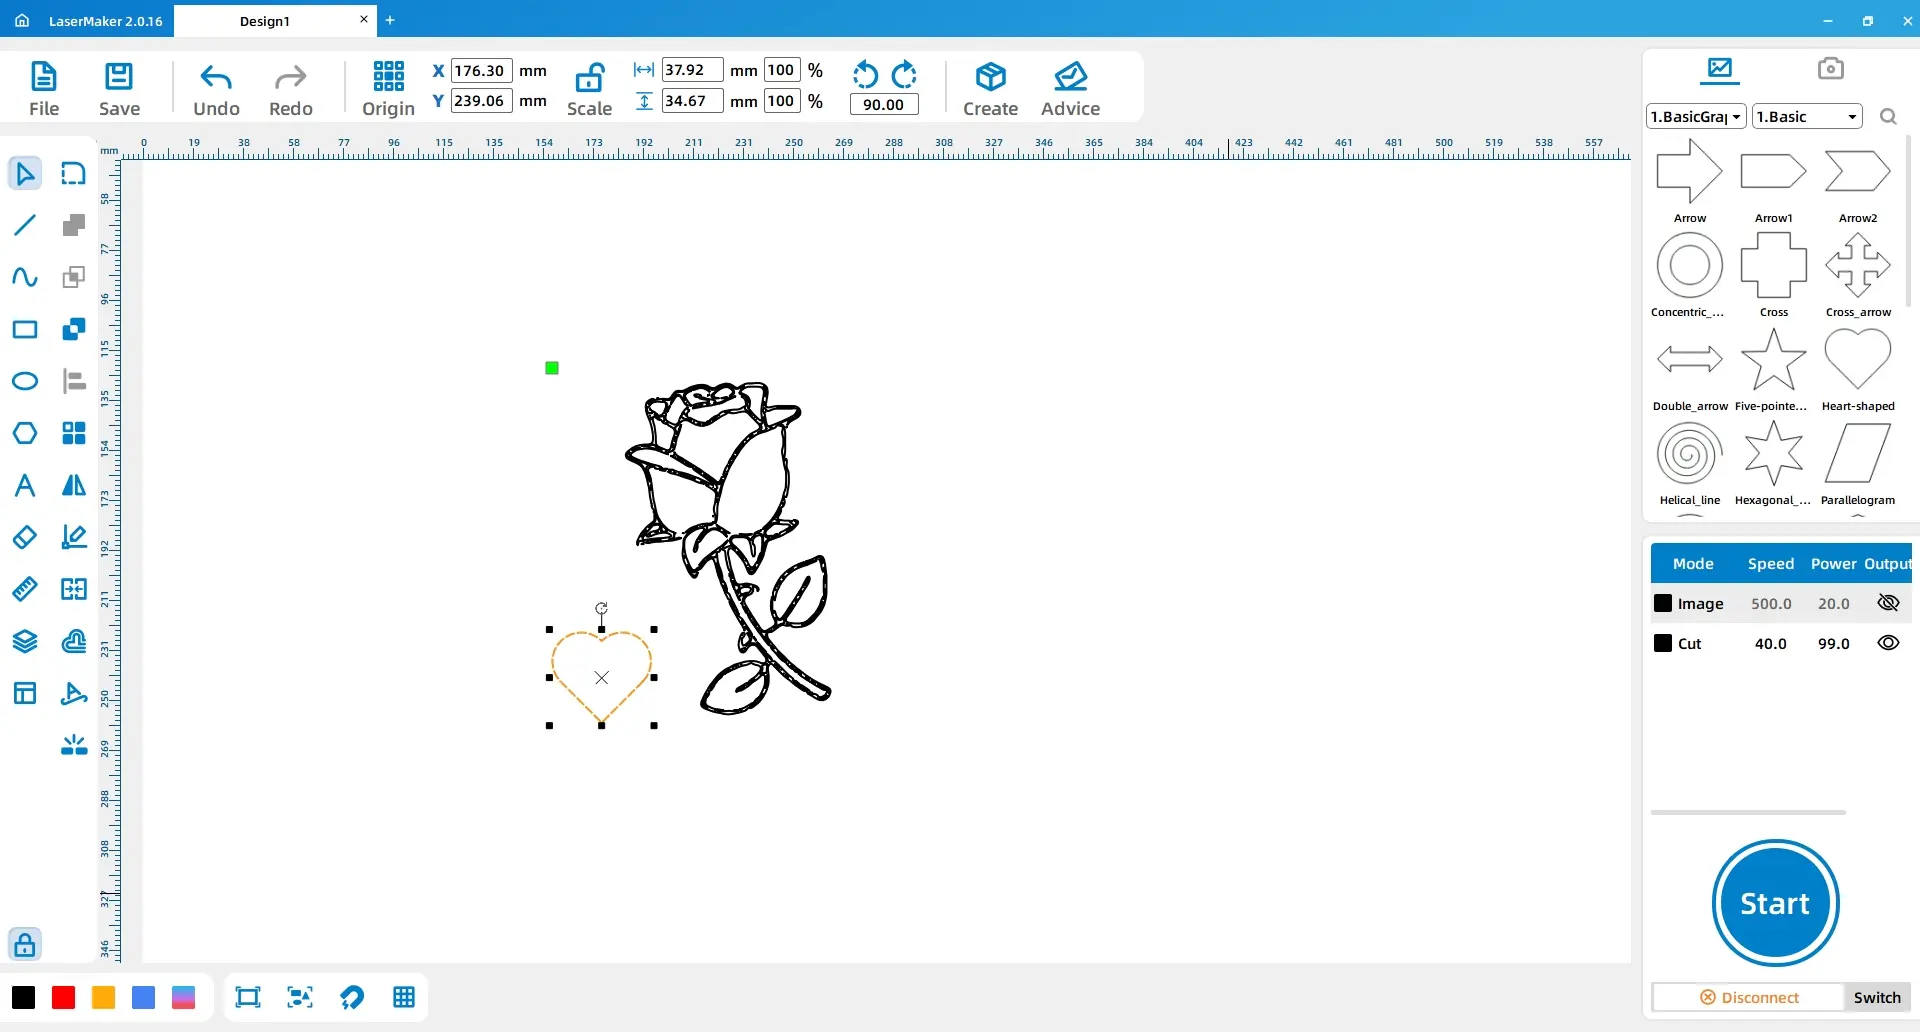
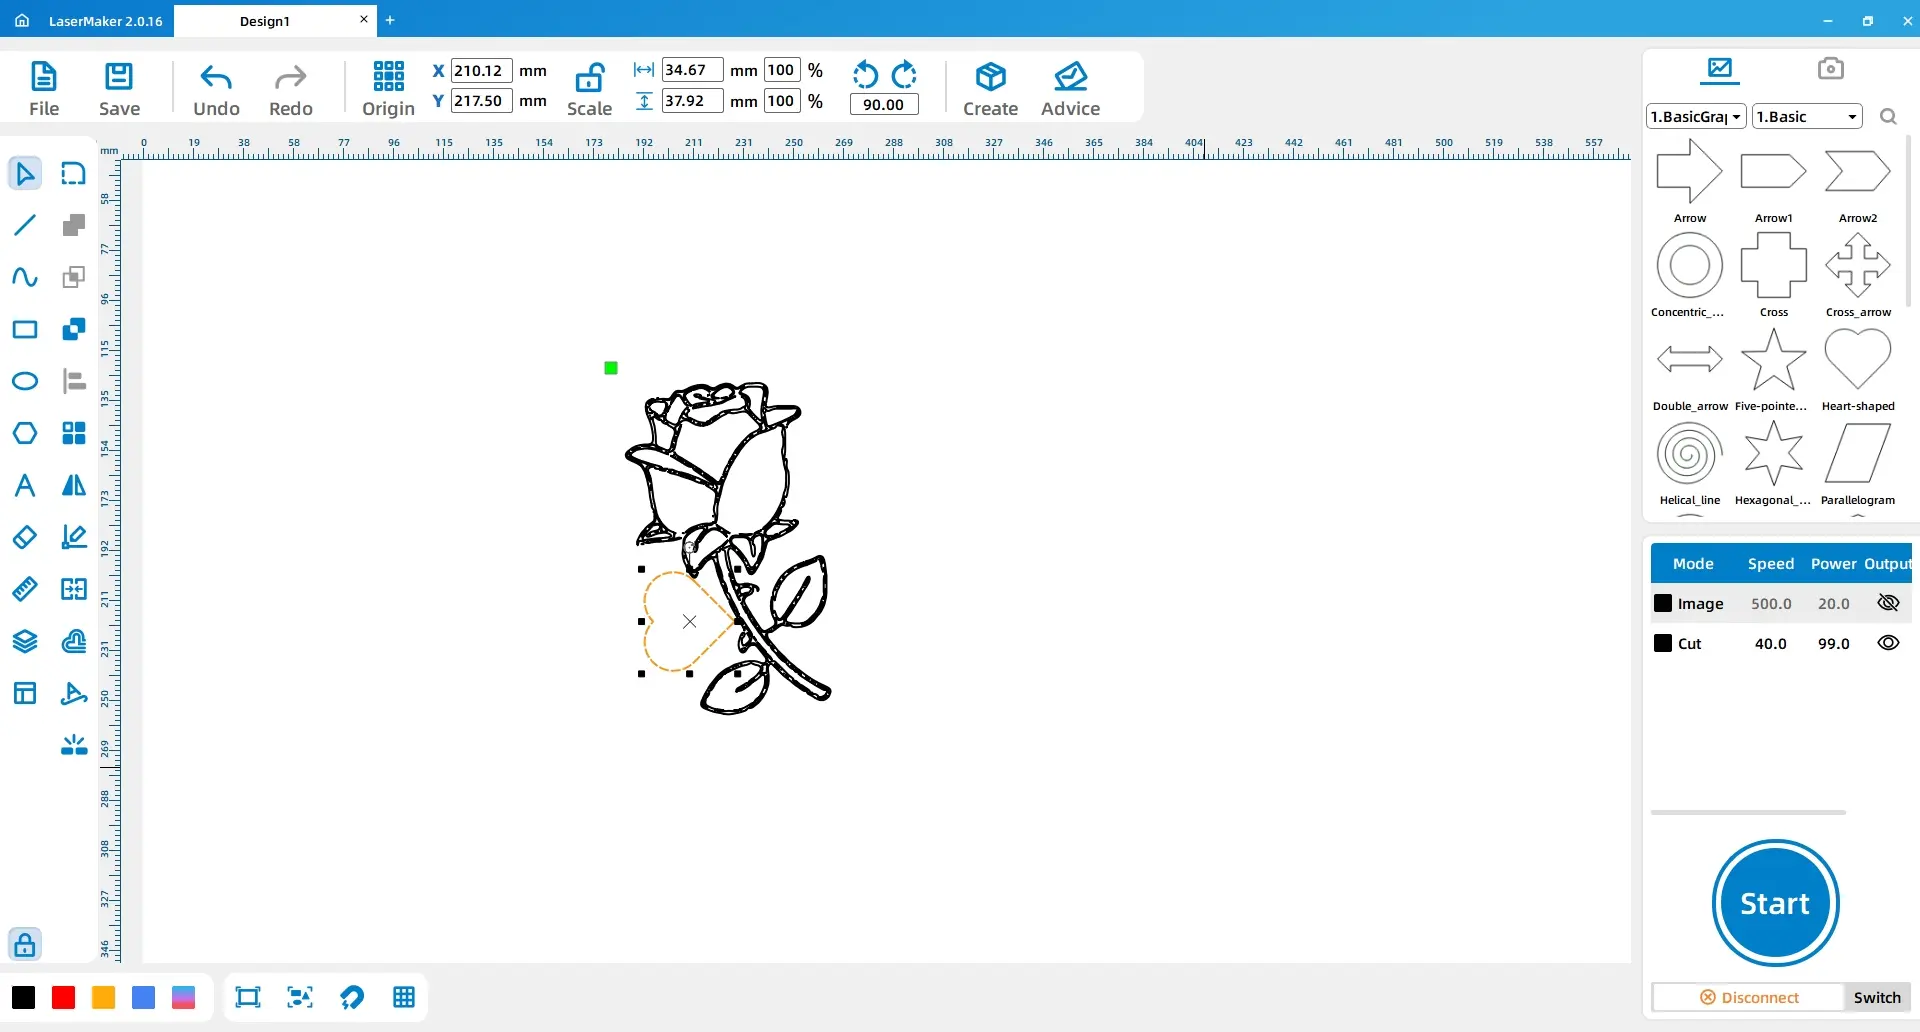
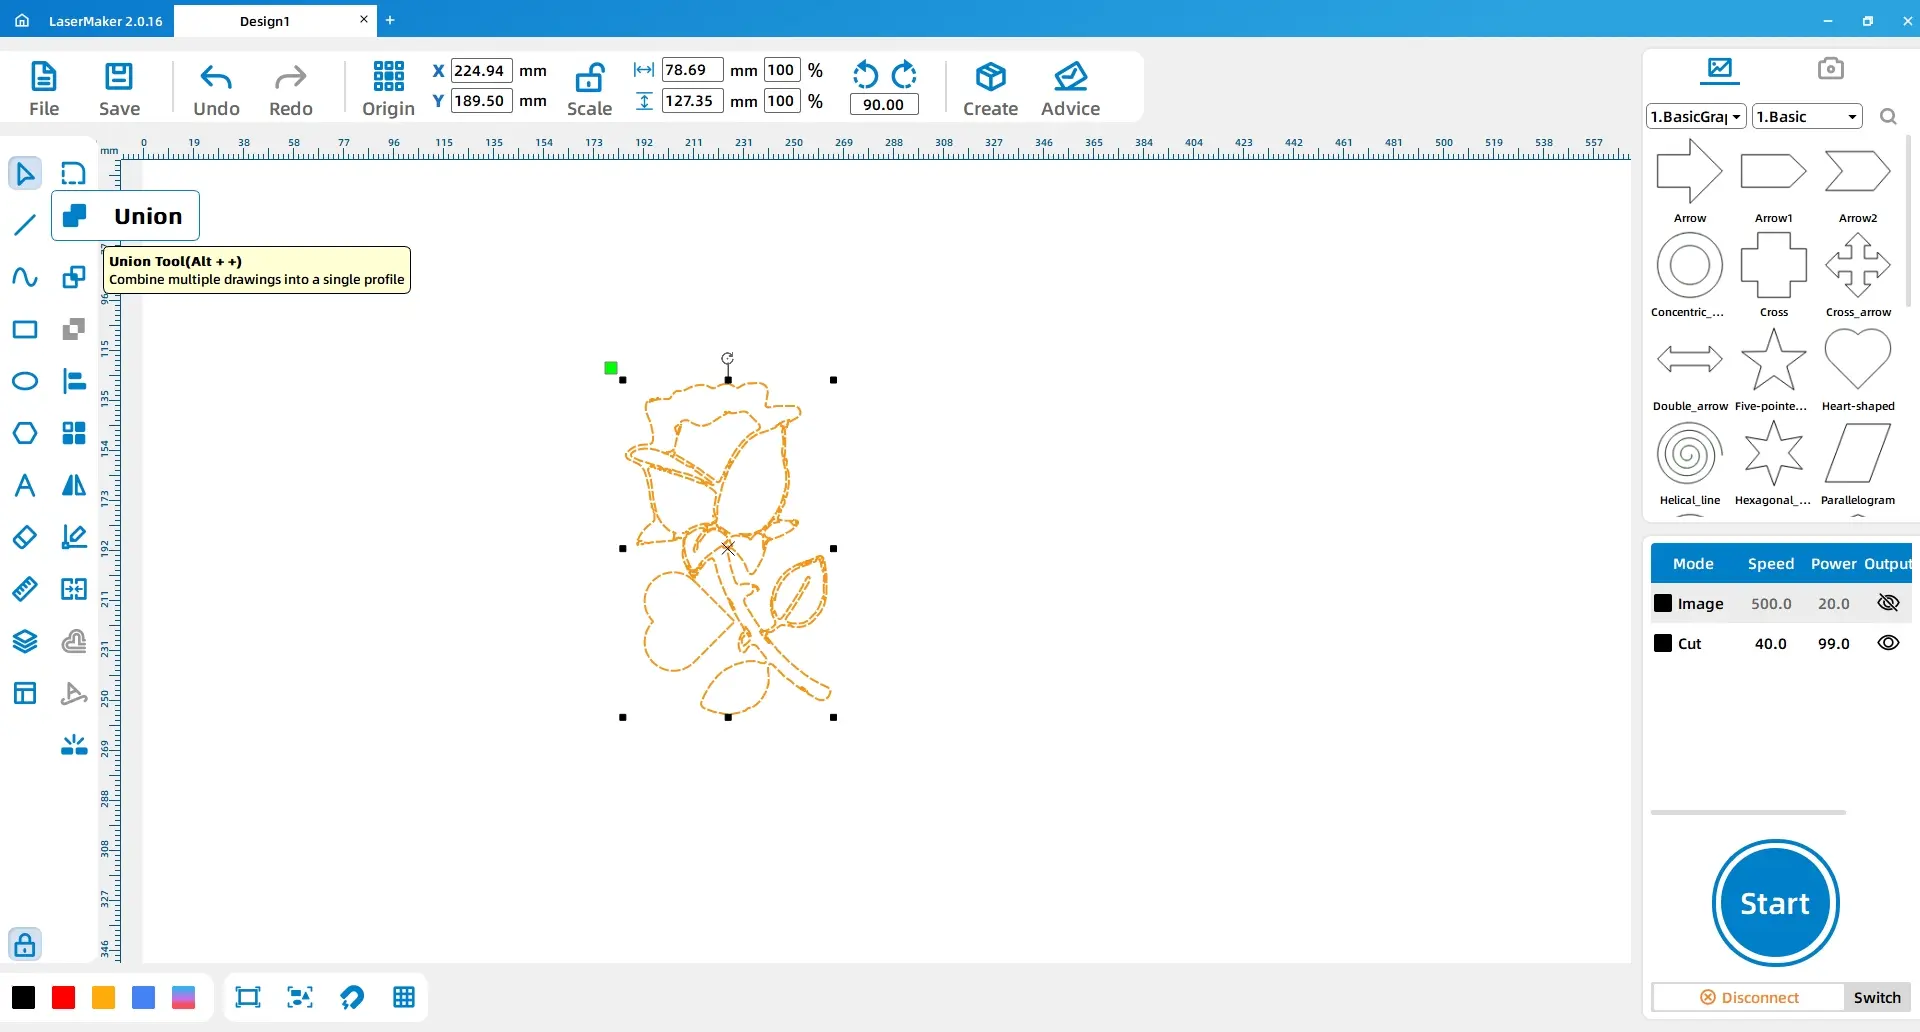
Select the outer outline of the heart and the outer outline of the rose, then use the Union tool to combine them into one connected design.
Select the heart, use the Offset Curve tool, and set a 4 mm inward offset. Then use the Font tool to enter the word “Love.” Rotate and position the text inside the heart so it fits the design.

Select the full design and copy it. Paste a second copy beside the first one. Delete the text from the right-side copy so that the two rose layers have different functions.
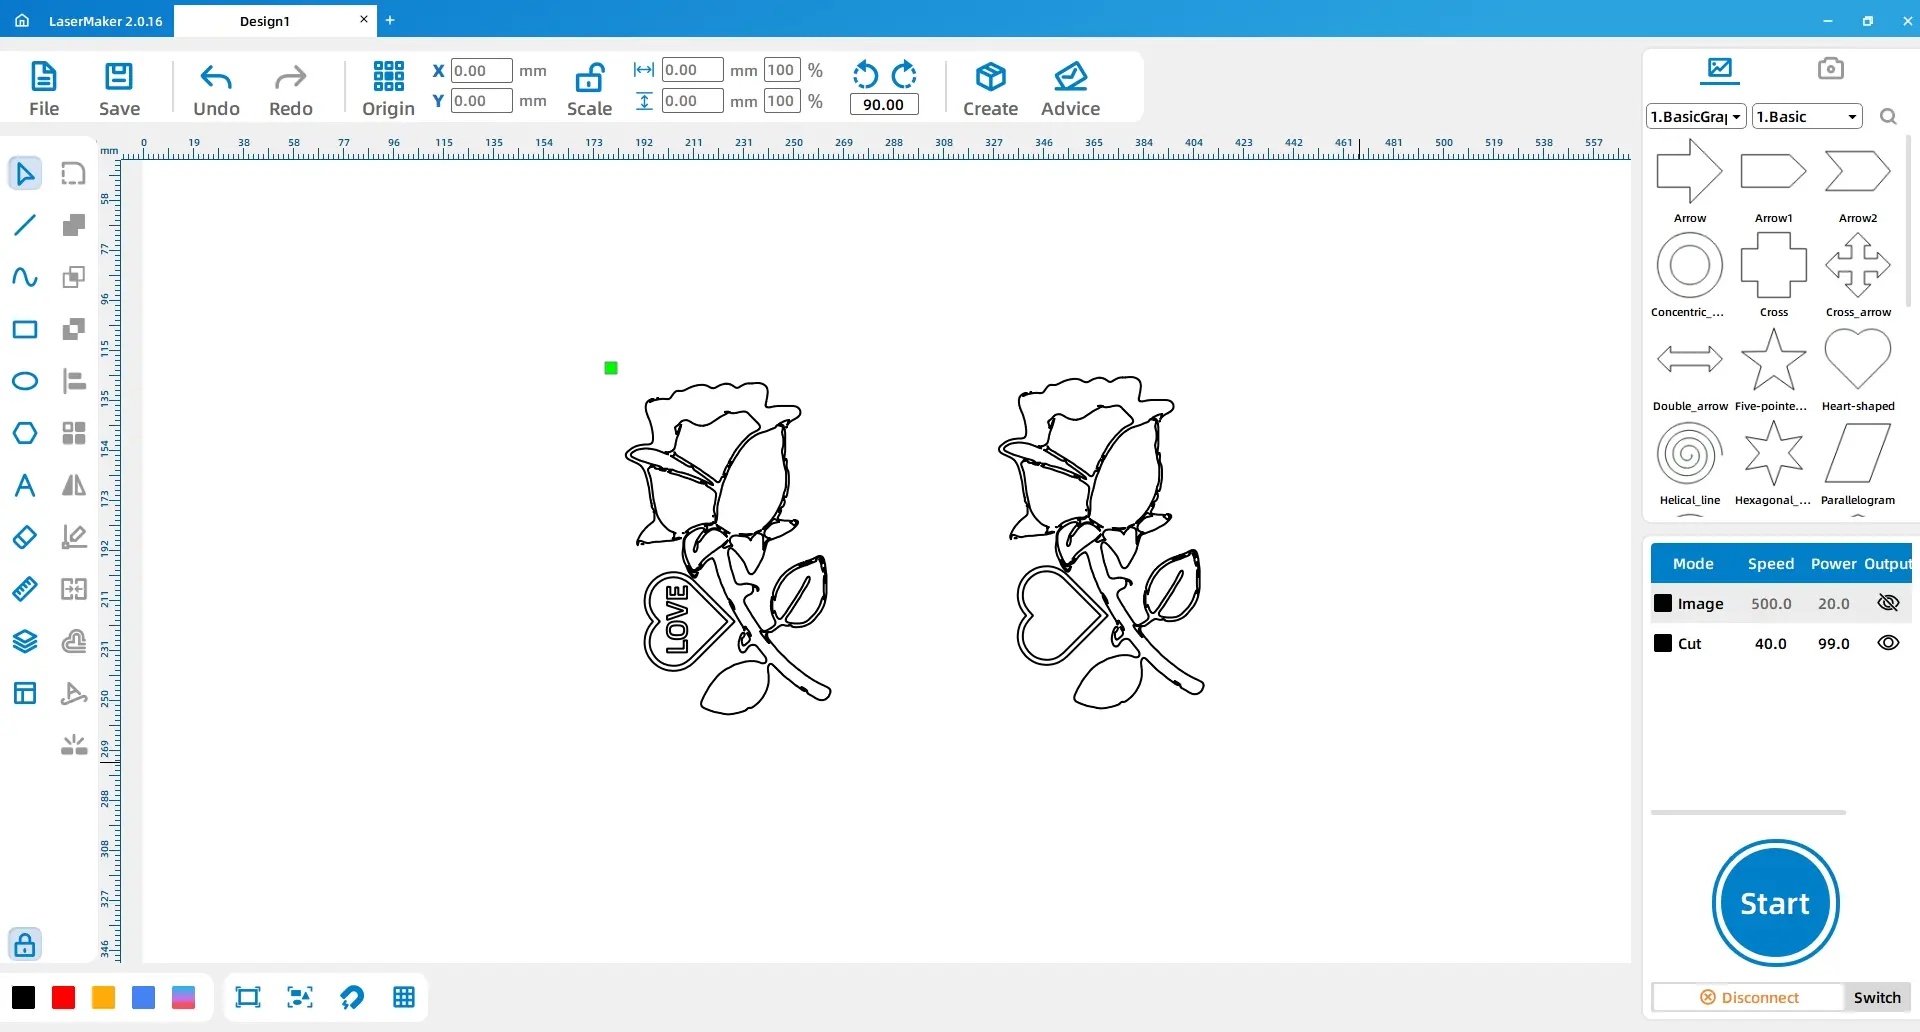
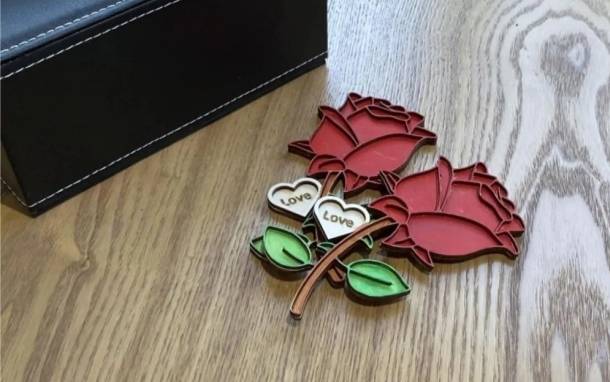
Layering Idea: Two rose pieces are glued together to make the finished project feel more dimensional. The first layer uses a hollow design, while the second layer works as the supporting bottom layer.
Assign each part of the design to the correct laser process. Select all lines except the left outer outline and set them to the red layer. Select the font section on the left and set it to the yellow layer. Select the outer outline of the right pattern and the left pattern and set them to the black layer.
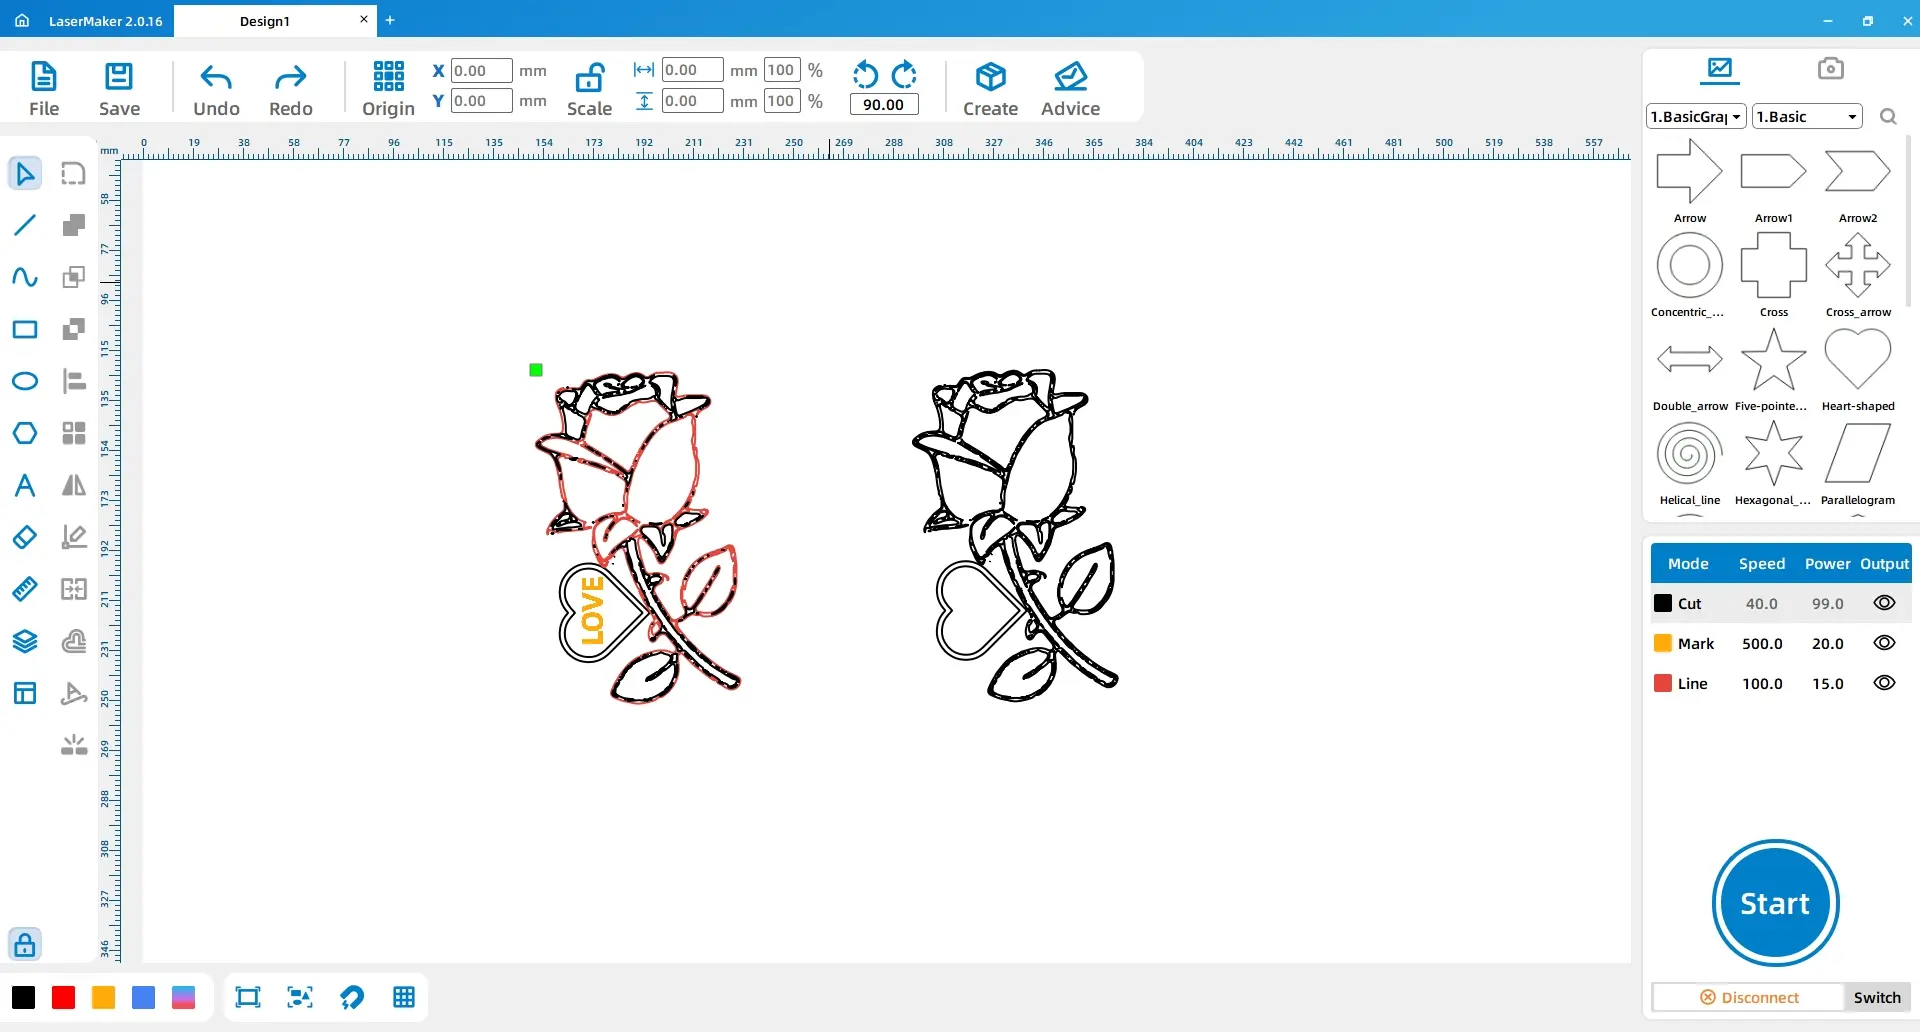
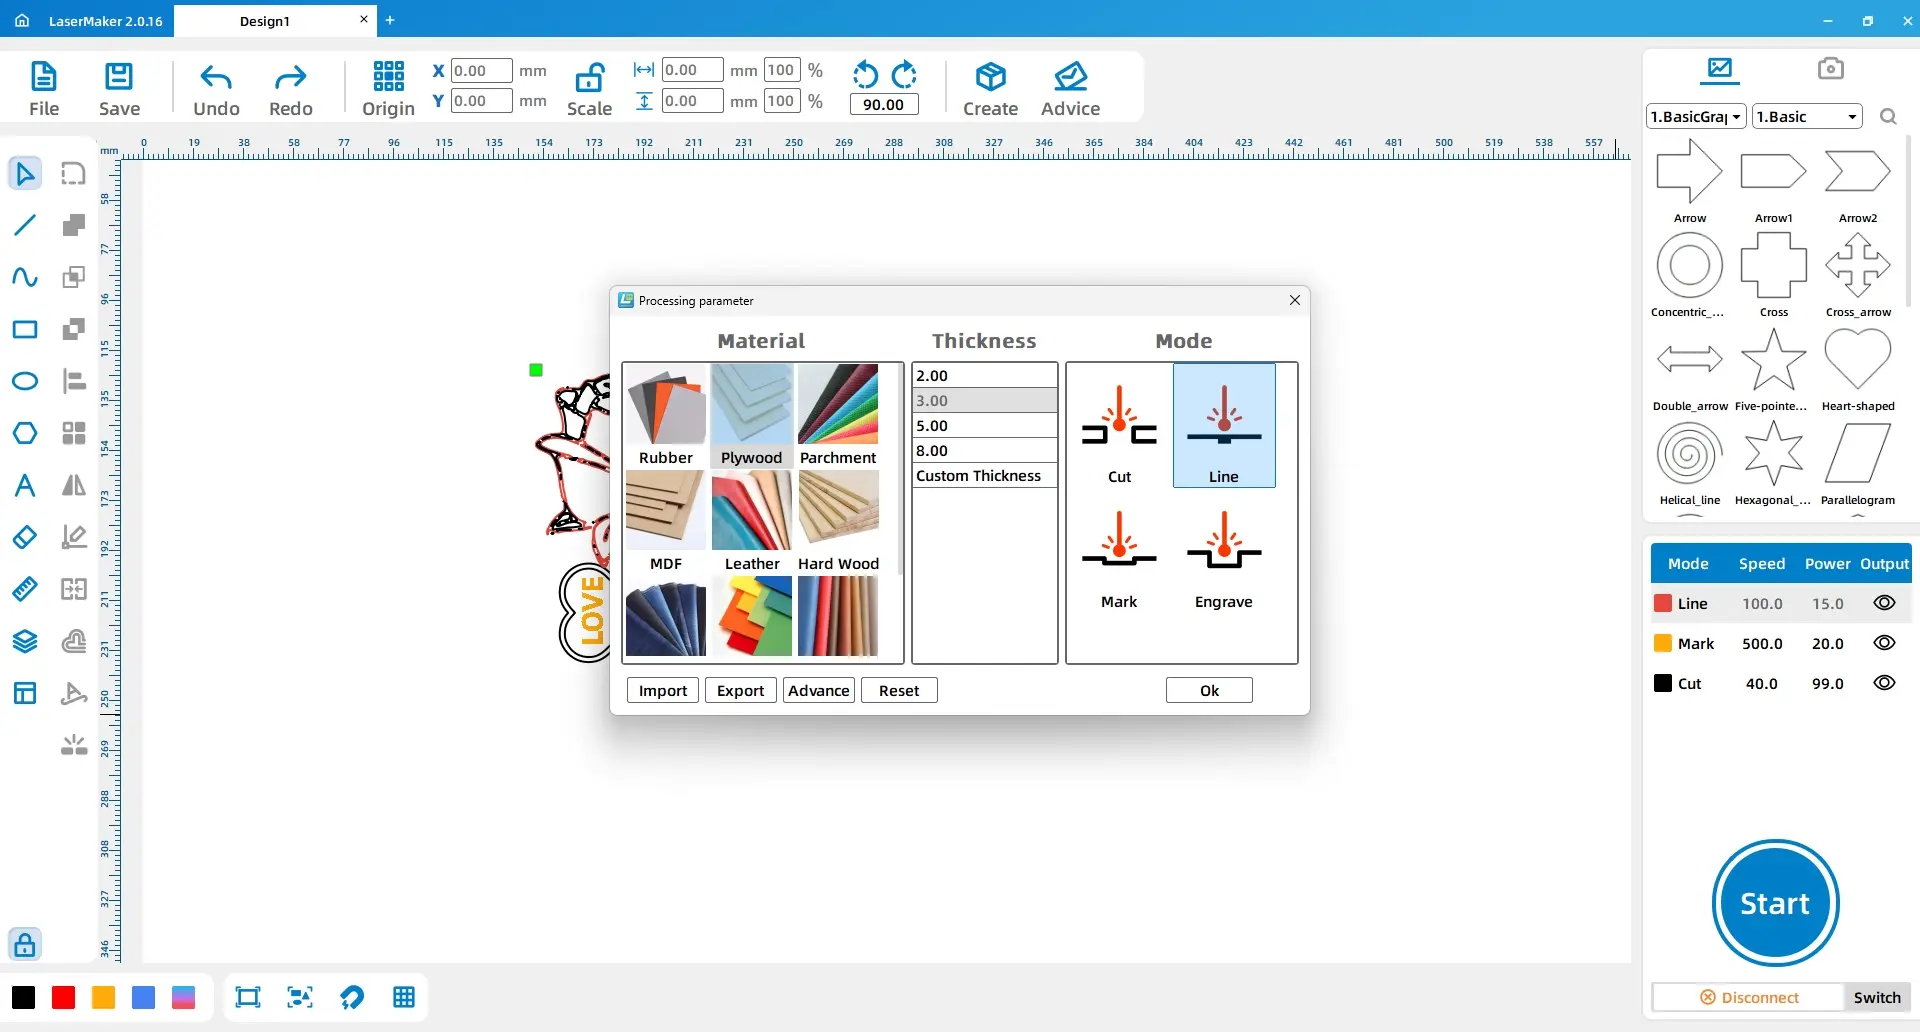
Set the red layer, yellow layer, and black layer based on the source workflow. The red layer and black layer are set for cutting on 3 mm Tilia wood board. The yellow layer is set for shallow engraving on 3 mm Tilia wood board.
| Layer | Material | Thickness | Process | Purpose |
|---|---|---|---|---|
| Red | Tilia wood board | 3 mm | Cutting | Interior line and hollow details |
| Yellow | Tilia wood board | 3 mm | Shallow engraving | Text detail |
| Black | Tilia wood board | 3 mm | Cutting | Outer outlines |
After checking the design, layer order, focus, and material placement, send the file to the laser cutting machine. Process the rose parts according to the layer settings.
After processing, remove the two rose pieces from the laser bed. Glue the plain hollow rose layer on top of the lower text layer so the finished work has more depth.
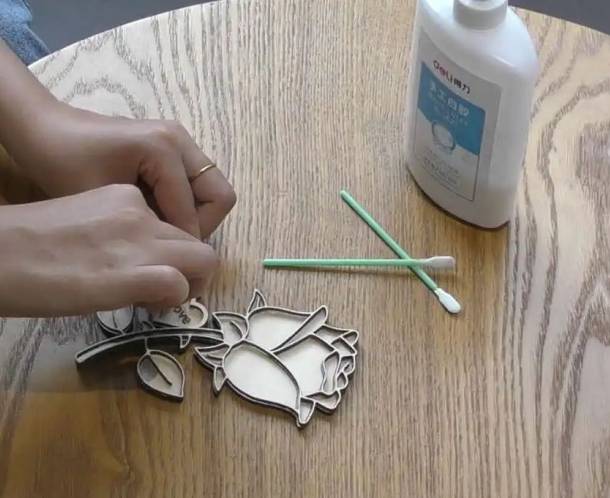
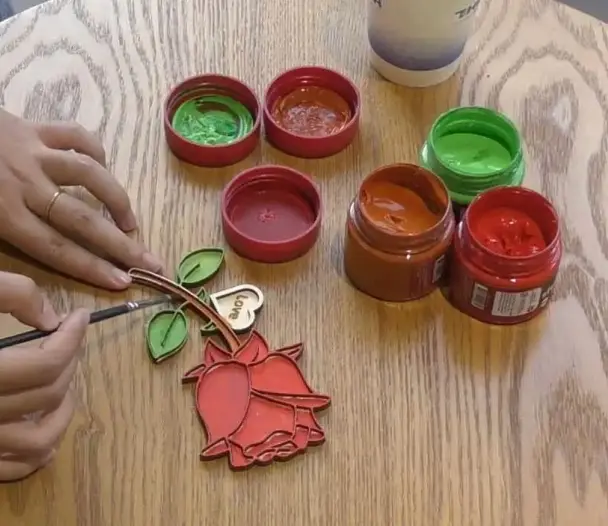
Use a brush and acrylic pigment to color the rose. Students can choose traditional rose colors or create their own symbolic color scheme. Allow the paint to dry before handling or displaying the finished project.
The finished DIY rose shows how laser-cut layers can make a flat graphic feel more dimensional. Students can compare the layered rose with a single flat cutout and discuss how structure, shadow, color, and text change the final effect.
Image selection: Students choose a simple rose line-art image with a clear outline.
Software design: Students extract the outline, add the heart shape, combine outlines, add text, and duplicate the design into two layers.
Layer setup: Students assign red, yellow, and black layers for cutting and shallow engraving.
Machine processing: Students process the file under teacher supervision after checking focus and material placement.
Finishing: Students glue the layers and paint the rose with acrylic pigment.
Prepare a few simple rose outline references before class so students can focus on the LaserMaker workflow.
Demonstrate the difference between cutting, shallow engraving, and outer-outline cutting before students set parameters.
Ask students to test colors on scrap wood before painting the final rose.
Remind students not to add extremely thin details that may break during cutting or gluing.
Use the finished roses for a classroom display about symbolism, digital design, and handmade fabrication.
After finishing the basic DIY rose, students can redesign the project with different flower shapes, text, colors, or layered structures. They can also test how the finished work changes when the top layer is thinner, the bottom layer is larger, or the engraved text is moved to another area.
For a broader maker challenge, students can create a small collection of laser-cut flowers for holidays, appreciation gifts, classroom decorations, or school fundraising projects.
This project is suitable for classroom laser cutters that support cutting and shallow engraving of thin wood sheets for beginner maker projects. For schools and beginner STEAM labs, projects like DIY roses, layered craft objects, simple gift designs, and beginner LaserMaker activities can be completed with a classroom laser cutter such as the Thunder Laser Bolt Series.
Teachers can choose the machine and material setup based on classroom space, student supervision needs, material thickness, project size, and ventilation setup. Students should always test settings, check focus, and follow the school’s laser safety rules before final cutting.
Talk To Our Experts Now!
Please leave your contact information so that we can serve you better.
NEED HELP FINDING THE RIGHT SOLUTION?
Talk to our team for machine recommendations, application advice, and support based on your needs.

 Stable & Consistent MachinesUnlimited ApplicationRobust After-sales SupportFactory Direct Supply


