Custom Ruler Laser Cutting Project with LaserMaker
 2024-06-26
WHAT ARE YOU LOOKING FOR?
Search Across Products, Blog Posts, Support Content, And Resources.

Custom Ruler Laser Cutting Project with LaserMaker
2024-06-26

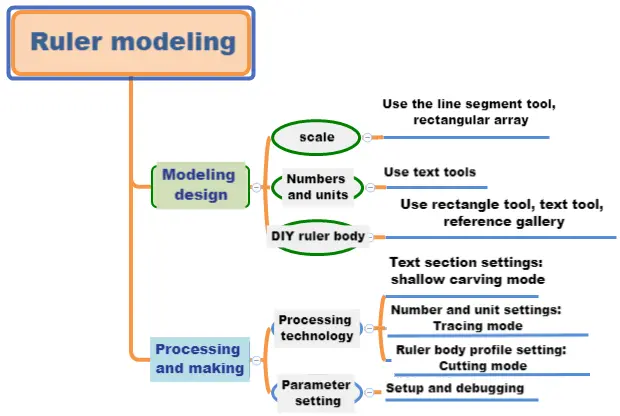
In this STEAM classroom project, students design and make a custom ruler with LaserMaker. The lesson connects measurement, graphic layout, repeated line patterns, text placement, decorative design, tracing, cutting, and practical product design.
This project helps students understand how a useful classroom tool can also become a creative design object. Students build both technical accuracy and visual design skills while creating a ruler they can use or display.
| Item | Details |
|---|---|
| Project | Custom laser-cut ruler |
| Software | LaserMaker |
| Main Skills | Line Segment Tool, Rectangular Array, Text Tool, Gallery graphics, Eraser Tool, Connect Line Segment, process layer setup, tracing, and cutting |
| Suggested Materials | Basswood plywood or acrylic board |
| Classroom Fit | STEAM projects, maker education, measurement activities, digital design lessons, classroom laser cutting, and beginner product design practice |
Students will design a ruler that is both practical and visually appealing. They will create accurate scale marks, add numbers and units, design the ruler body, include a decorative graphic, set processing layers, and test the final laser processing result.
A ruler should be safe to handle. Students should avoid sharp corners or sharp decorative shapes that could scratch or hurt someone. They may study other designs for inspiration, but the final design should include their own improvements and creative choices.
A ruler is a common tool for measuring length and supporting drawing work. Students may see many types of rulers in daily life, including triangle rulers, soft rulers, drawing rulers, and other measuring tools.
In this lesson, students think about the essential elements of a useful ruler, including accurate scale marks, clear numbers, readable units, a comfortable shape, and a design style that fits the intended user.
Before drawing in LaserMaker, students should analyze the ruler as a real product. It needs to be readable, useful, safe, and suitable for the selected material.
Start by deciding the size and design elements of the ruler. Students should record the length and width in millimeters before creating the digital design.
| Measurement Data Recording / Unit: mm | |
|---|---|
| Length: | Width: |
After measuring, students should sketch the ruler body, scale marks, number positions, decorative graphics, and any text they want to include.
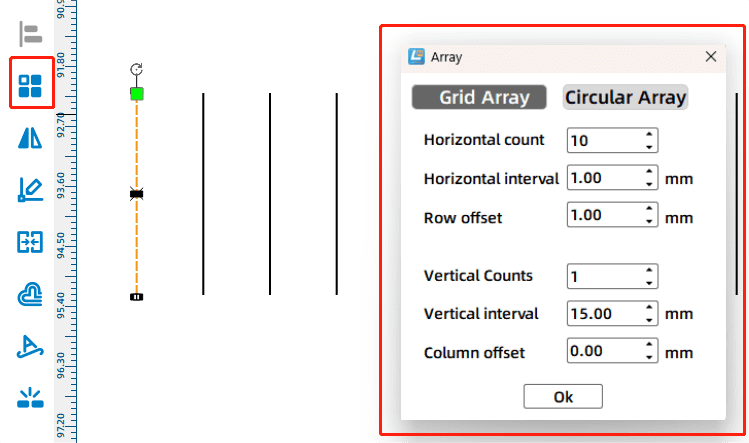
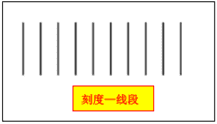
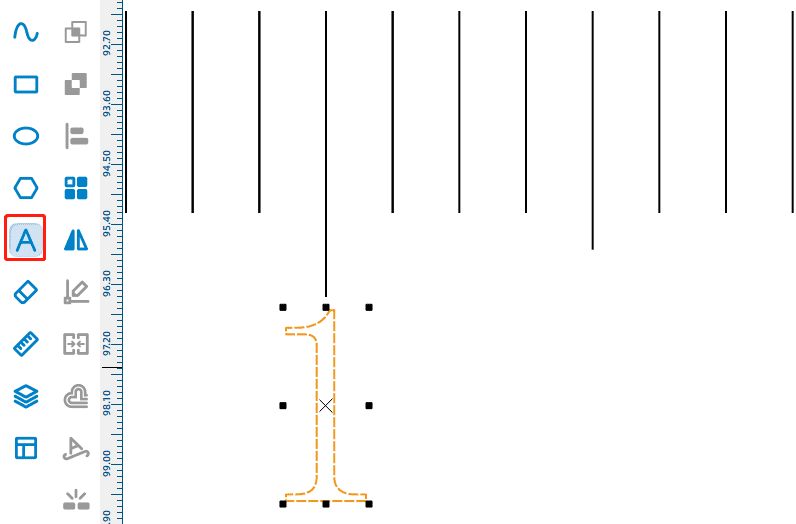
Use the Line Segment Tool to draw a 3 mm line segment in the drawing area. Then use the Rectangular Array tool to create repeated line segments. In the source workflow, students enter 10 for the horizontal number, 1 for the vertical number, and 1 mm for the horizontal spacing to create 10 scale marks.
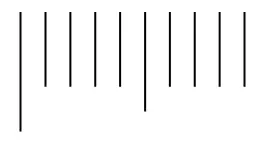
Change the first scale mark to 5 mm high and the sixth scale mark to 4 mm high, keeping the top edges aligned. This creates a clearer visual hierarchy for the scale.
Select the group of 10 line segments and use Rectangular Array again to repeat the scale pattern until the full ruler scale is complete.
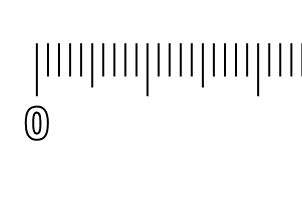
Use the Text Tool to enter the number “0” below the scale. In the source workflow, the number is adjusted to 3 mm high and 2 mm wide, then aligned with the center of the first scale mark.
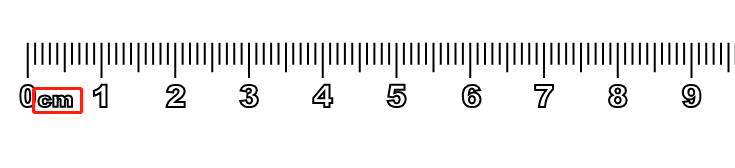
Use Rectangular Array to copy the number across the scale, then edit each number in order from 0 to 20. Align each number with the center of its corresponding scale mark.
Add the unit “cm” to the right side of the scale using the Text Tool, then adjust its position so it fits naturally with the number layout.
Use the Rectangle Tool to draw the ruler body. In the source workflow, the rectangle is set to 240 mm wide and 20 mm high, then aligned with the top of the scale marks.
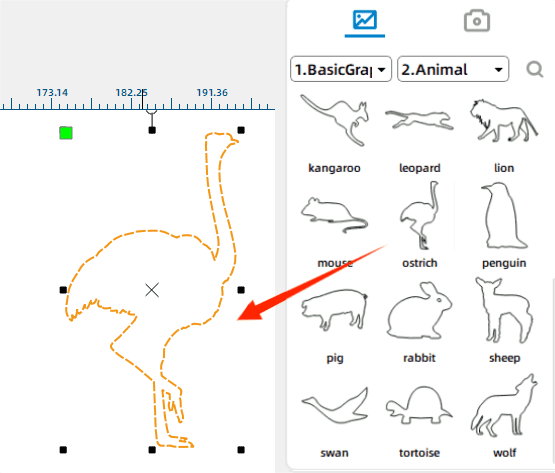
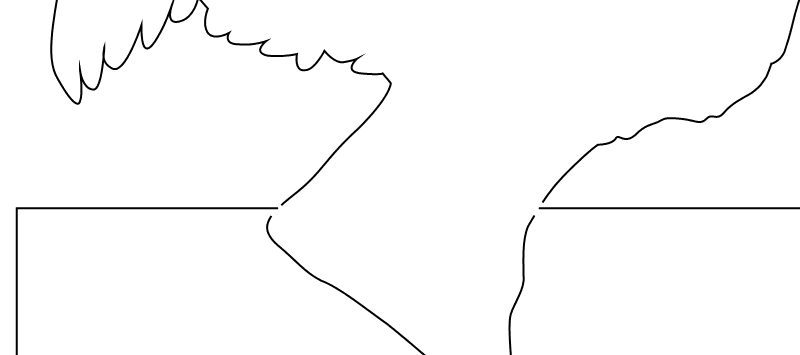
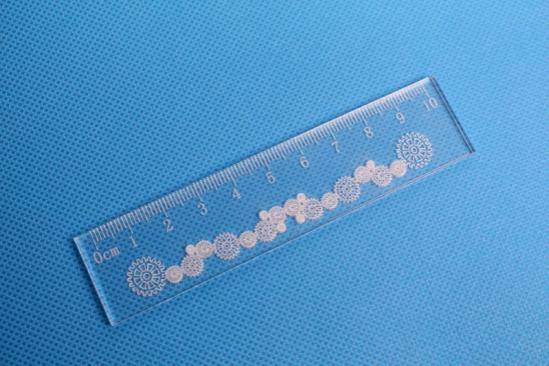
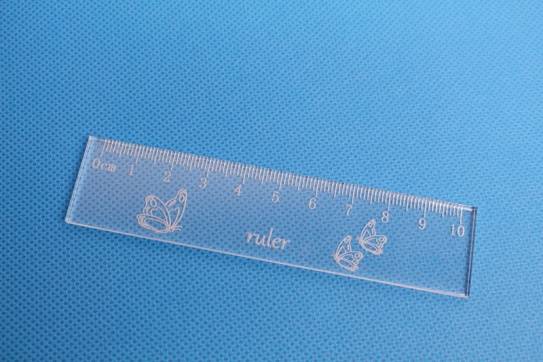
Open the Select Gallery panel, choose the Animal Graphics category, and drag the ostrich graphic into the drawing area as a decorative element.
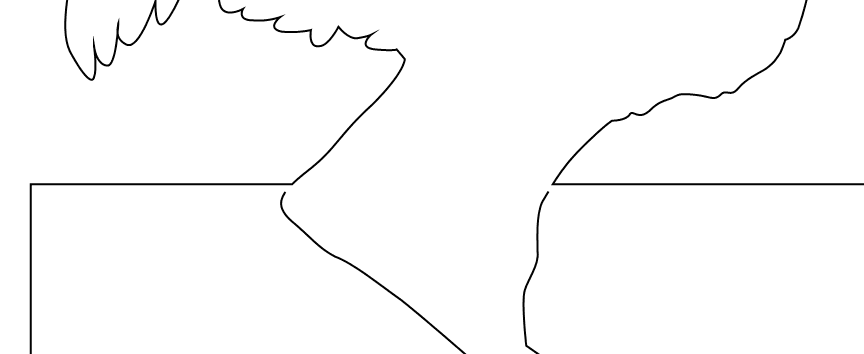
Move the ostrich to the right side of the ruler body and resize it as needed. Use the Eraser Tool to remove overlapping line segments where the ostrich and rectangle intersect.
Use the Line Segment Tool and Connect Line Segment function to connect the upper part of the ostrich with the rectangle, creating a closed shape that can be processed correctly.
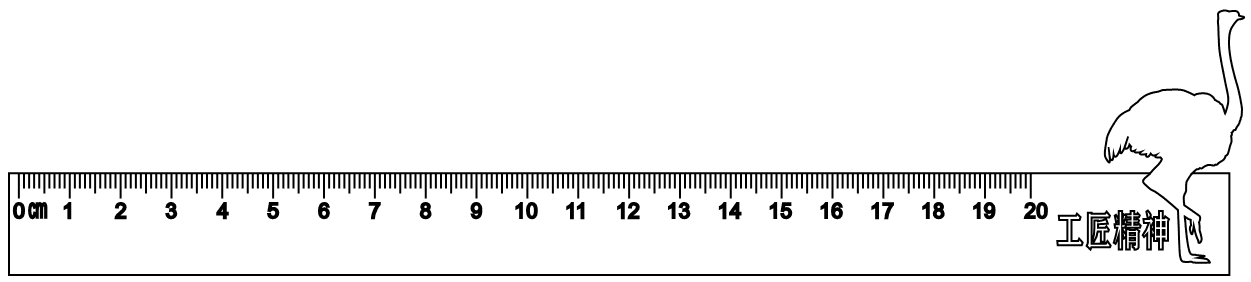
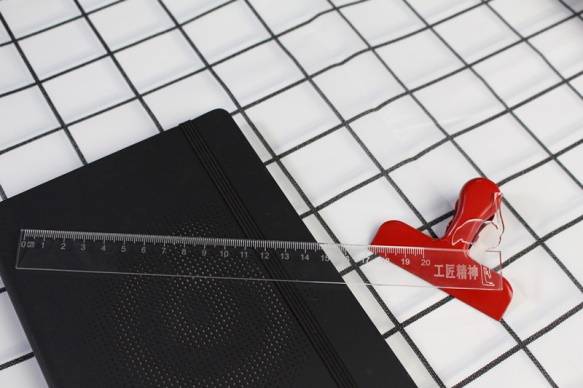
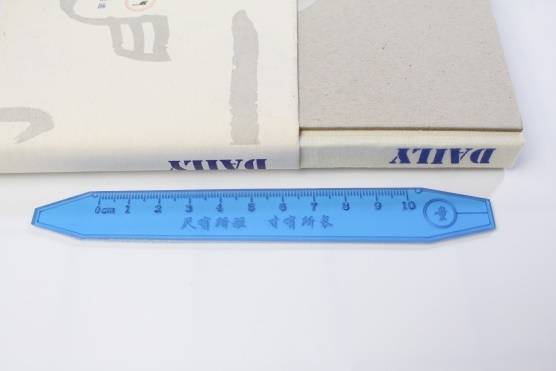
Finally, use the Text Tool to add a short phrase or design label between the scale and the decorative graphic. In the source workflow, the sample text is “craftsman spirit.”
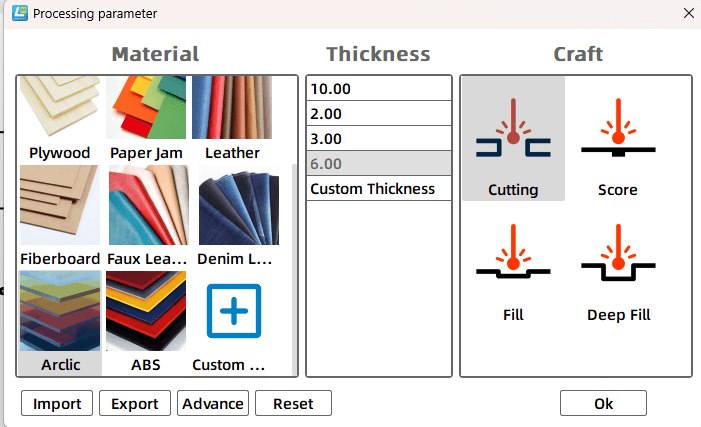
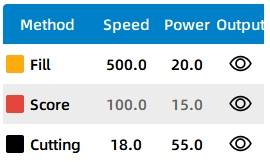
Select the text object and assign it to the yellow shallow engraving process layer. In the source workflow, the material is set to acrylic plate, the process is set to shallow engraving, and the processing thickness is set to 0.1 mm.
Select the ostrich object, scale marks, and unit text inside the rectangle, then assign them to the red tracing layer. In the source workflow, the material is set to acrylic plate, the process is set to tracing line, and the processing thickness is set to 0.1 mm.
Select the ruler body outline and assign it to the black cutting layer. In the source workflow, the material is set to acrylic, the process is set to cutting, and the processing thickness is set to 3 mm.
Finally, arrange the process sequence as shallow engraving → tracing → cutting. This keeps the material stable while text and line details are processed before the final outline is cut.
Before making the final ruler, students should test the tracing, engraving, and cutting effects. They can fine-tune parameters for the scale marks, surface text, and cartoon graphics to improve clarity and production quality.
After the final settings are confirmed, students can complete the shallow engraving, tracing, and cutting process. The finished ruler should combine accurate scale information with a personalized visual design.
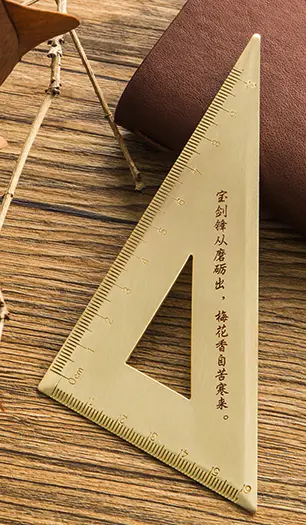
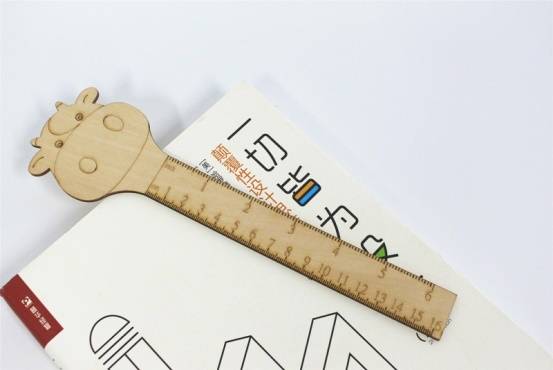
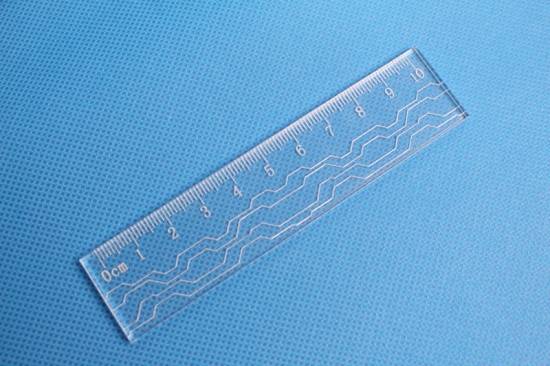
After completing the custom ruler, students can use LaserMaker to design triangle rulers or other measuring tools. They can follow the sample designs or create a more personalized version with their own graphics, text, and layout.
The following examples can be used for classroom discussion, design inspiration, and student reflection. Encourage students to compare the scale design, edge shape, decorative graphics, readability, and finished material effect.
Laser cutting projects can include both flat works and three-dimensional structures. A simple ruler project gives students a foundation in two-dimensional modeling with points, lines, text, and shapes. These same skills can later support more advanced objects made from stacked, nested, or assembled parts.
This project is suitable for classroom laser cutters that support small-format engraving, tracing, and cutting on sheet materials. For schools, makerspaces, and beginner STEAM labs, projects like custom rulers, triangle rulers, stationery tools, signs, tags, and student design pieces can be completed with a classroom laser cutter such as the Thunder Laser Bolt Series.
Teachers can choose the machine and material setup based on classroom space, project size, material choice, and learning goals. The same workflow can also be adapted for other CO2 laser machines when students move on to larger tools, display boards, or more advanced maker projects.
Talk To Our Experts Now!
Please leave your contact information so that we can serve you better.
NEED HELP FINDING THE RIGHT SOLUTION?
Talk to our team for machine recommendations, application advice, and support based on your needs.

 Stable & Consistent MachinesUnlimited ApplicationRobust After-sales SupportFactory Direct Supply