Custom Business Card Laser Cutting Project with LaserMaker
 2026-05-18
WHAT ARE YOU LOOKING FOR?
Search Across Products, Blog Posts, Support Content, And Resources.

Custom Business Card Laser Cutting Project with LaserMaker
2026-05-18

In this STEAM classroom project, students design and make a custom business card using LaserMaker. The project introduces digital layout, imported graphics, text design, QR code placement, material selection, and laser processing through a practical communication design activity.
This lesson is suitable for beginner laser cutting classes, maker education, digital design courses, and STEAM activities that connect personal identity, communication, graphic design, and fabrication.
| Item | Details |
|---|---|
| Project | Custom laser-cut business card |
| Software | LaserMaker |
| Main Skills | Rounded rectangle drawing, image importing, text layout, QR code placement, tracing, engraving, cutting, and parameter testing |
| Suggested Materials | Basswood plywood, acrylic sheet, or bamboo sheet |
| Classroom Fit | STEAM projects, maker education, digital design, entrepreneurship activities, student portfolio projects, and beginner laser cutting practice |
Students will design a business card that communicates identity, role, contact information, or project information in a clear and visually organized way. They will move from research and sketching to digital design, material processing, testing, and final presentation.
Students should use appropriate content and respect copyright when using online images or graphic materials. If a QR code is included, it should link only to teacher-approved, school-appropriate information and should not expose sensitive personal data.
A business card is a small card used to share a name, organization, role, and contact information. In a classroom setting, students can adapt this idea to create a maker profile card, club introduction card, project card, or event card.
The source lesson includes a QR code as part of the card design. For schools, teachers can guide students to use a safe QR code that links to a class project page, digital portfolio, approved contact method, or other supervised learning resource.
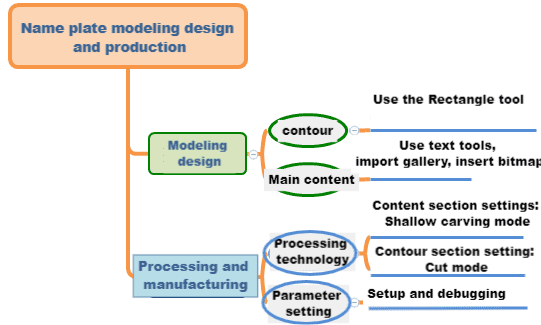
Before drawing in LaserMaker, students should analyze the card as a real communication object. This helps them decide what information is necessary, how the design should be arranged, and which material and processing method are suitable.
Start by studying the size and layout of common business cards, membership cards, student ID-style cards, or event cards. Students should decide what information belongs on the card and how the design should communicate personality or purpose.
| Measurement Data Recording / Unit: mm | |
|---|---|
| Length: | Width: |
After measuring, students should sketch the card by hand. The sketch should show the outer shape, logo or graphic position, text layout, QR code location, and any holes or attachment features if the card will be used as a tag or keychain.
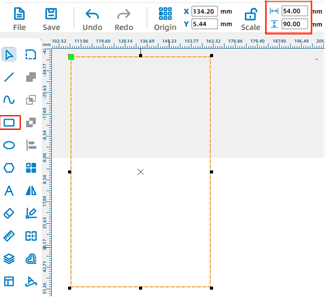
Open LaserMaker and use the Rectangle Tool to draw the basic card shape. Students can drag to create the rectangle and adjust the dimensions based on the size they planned during the research stage.
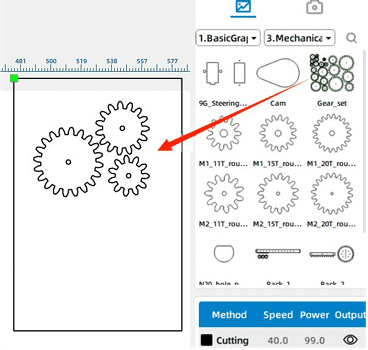
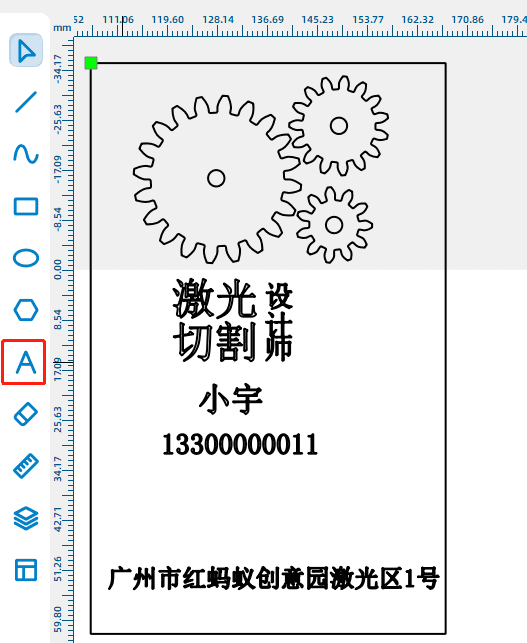
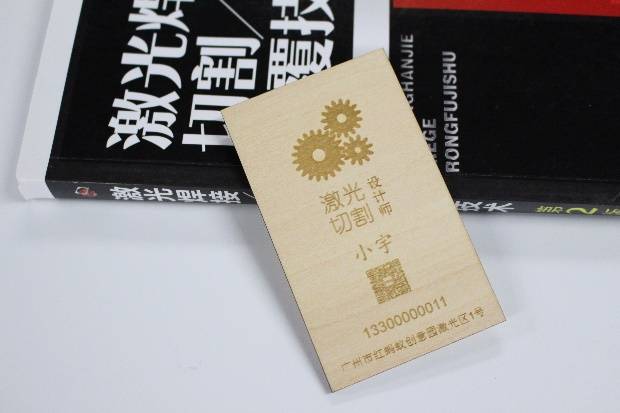
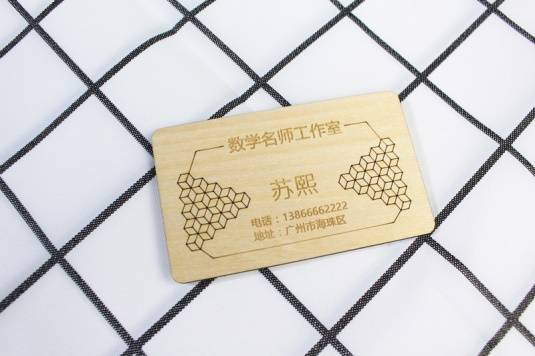
Students can add a logo or graphic element from the LaserMaker Gallery. In the sample workflow, a gear set from the Mechanical Structure gallery is used as a logo-style design element.
Next, use the Text Tool to add the card information. Students may include a name, role, organization, project title, class group, or other teacher-approved information. After entering the text, move and resize each object so the layout is clear and balanced.
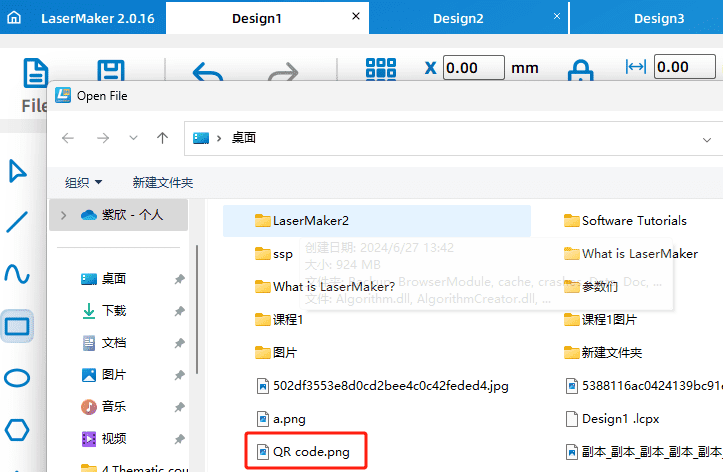
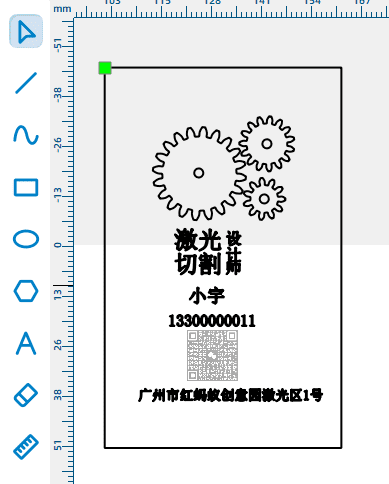
To add a QR code, click Open on the toolbar, select the QR code image file, and insert it into the drawing area. Resize the QR code and place it in a clear area of the card so it can be scanned after the card is made.
Classroom tip: Before engraving the final card, test whether the QR code can still be scanned after processing. Small QR codes or low-contrast engraving may not scan reliably.
Select the text content and logo graphics, then assign them to the yellow shallow engraving layer. In the sample workflow, the material is set to basswood plywood, the process is set to shallow engraving, and the processing thickness is set to 0.1 mm.
Select the card outline and assign it to the black cutting layer. In the sample workflow, the material is set to basswood plywood, the process is set to cutting, and the processing thickness is set to 3 mm.
Arrange the processing sequence based on production needs. A practical order for this project is shallow engraving first, then cutting. This keeps the material stable while the design details are processed.
Before making the final card, students should test the design on a small piece of the same material. The source activity suggests testing a speed value of 500 and a power value of 8, then observing the result and adjusting the parameters as needed.
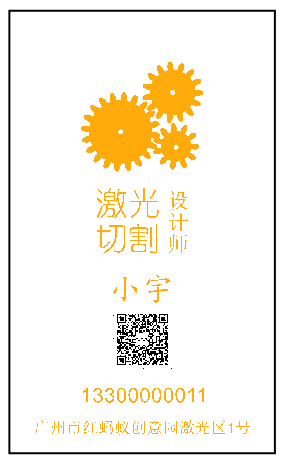
After the final settings are confirmed, students can complete the engraving and cutting process. The finished card should clearly present the selected information, show a consistent visual style, and match the intended use scenario.
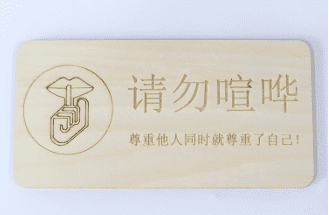
After completing the business card, students can apply the same workflow to public signs, classroom reminders, event labels, or display boards. The design should communicate clearly and should also consider how the finished sign will be fixed securely to a wall, door, board, or display area.
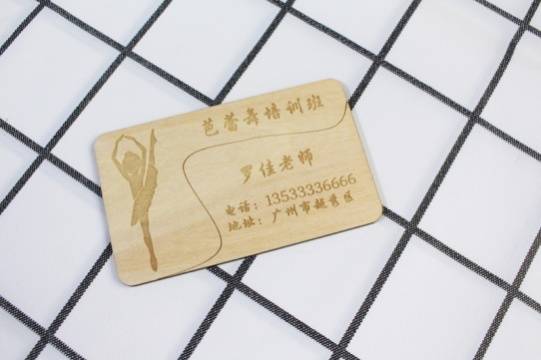
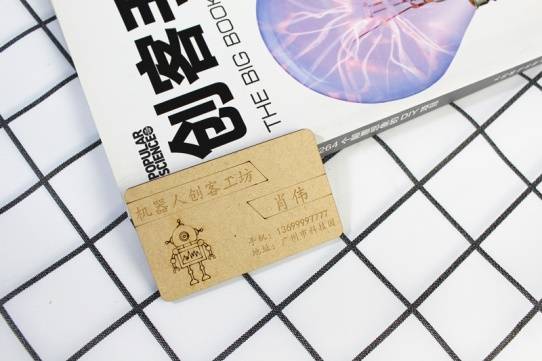
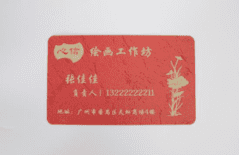
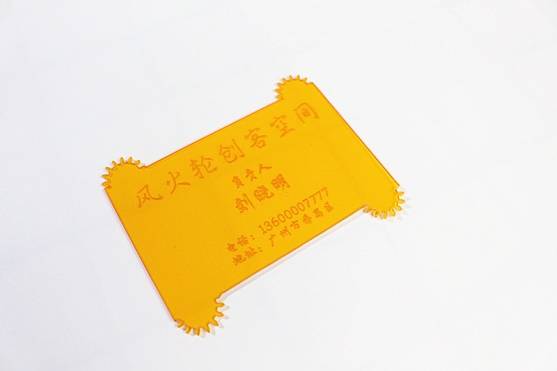
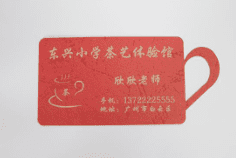
The following examples can be used for classroom discussion, design inspiration, and student reflection. Encourage students to compare the layout, material choice, visual hierarchy, and engraving effect of each card.
This project is suitable for classroom laser cutters that support small-format engraving and cutting. For schools, makerspaces, and beginner STEAM labs, Thunder Laser Bolt can be used for hands-on projects such as business cards, profile cards, signs, tags, labels, and student design activities.
Teachers can choose the machine and material setup based on classroom space, project size, material choice, and learning goals. The same workflow can also be adapted for other CO2 laser machines when students move on to larger signs, display boards, or more advanced maker projects.
Talk To Our Experts Now!
Please leave your contact information so that we can serve you better.
BUSINESS CARD LASER CUTTING PROJECT FAQS
NEED HELP FINDING THE RIGHT SOLUTION?
Talk to our team for machine recommendations, application advice, and support based on your needs.

 Stable & Consistent MachinesUnlimited ApplicationRobust After-sales SupportFactory Direct Supply