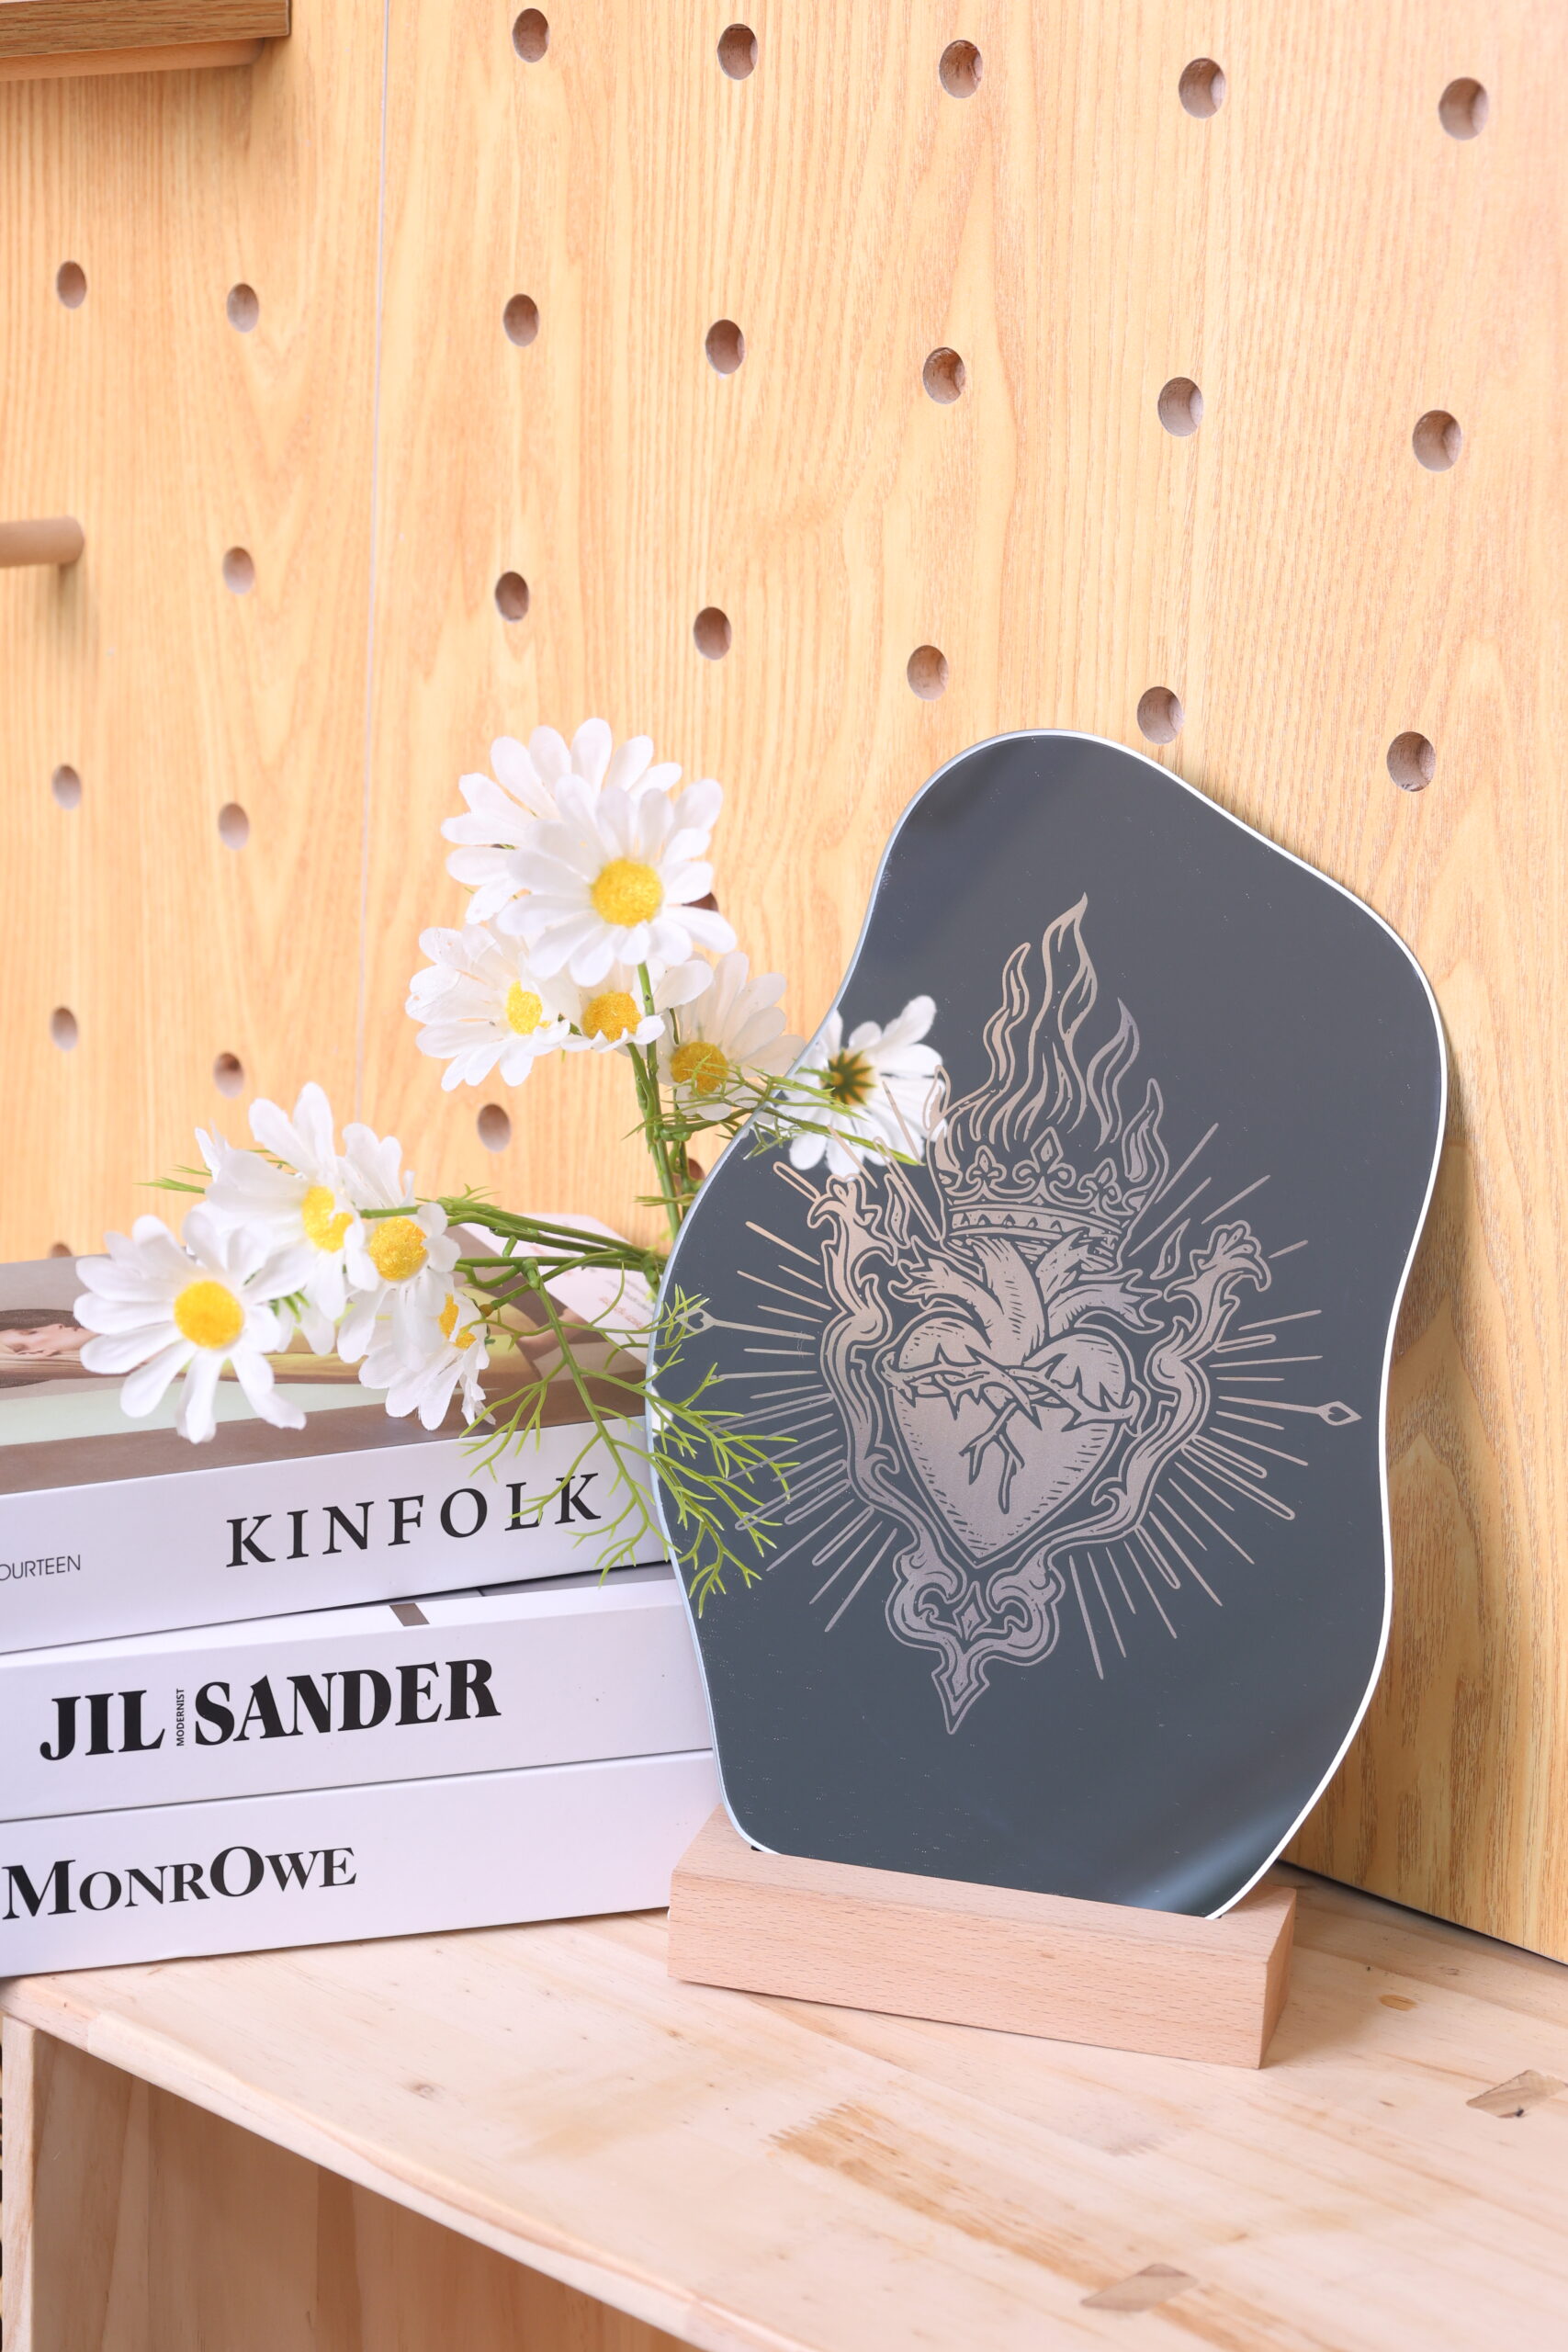
Mirrors are everywhere in daily life—from home décor to signage and personalized items. When laser engraving is applied to an aluminum mirror, the reflective surface can be transformed into a clean, matte design with sharp contrast and modern appeal.
In this tutorial, you’ll learn how to laser engrave an aluminum mirror step by step. The process is straightforward, but attention to setup and finishing makes a big difference in the final result. Once mastered, the same workflow can be used for decorative pieces, functional labels, or customized mirror projects.
Verify the lens is clean or there's no problem in the laser.
Make sure the exhaust fan is working well.
Ensure the air assist is on.
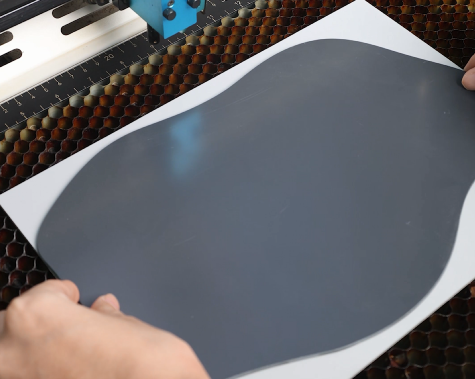
Step 1: Place the Mirror
Lay the aluminum mirror flat on the laser bed with the back side facing up. Make sure the surface is clean and free of dust or fingerprints, and ensure the material is secured so it won’t move during engraving. To protect the mirror surface from scratches, place a soft material—such as a thin cloth or rubber sheet—under the mirror. This prevents any accidental abrasions while positioning or clamping the material.
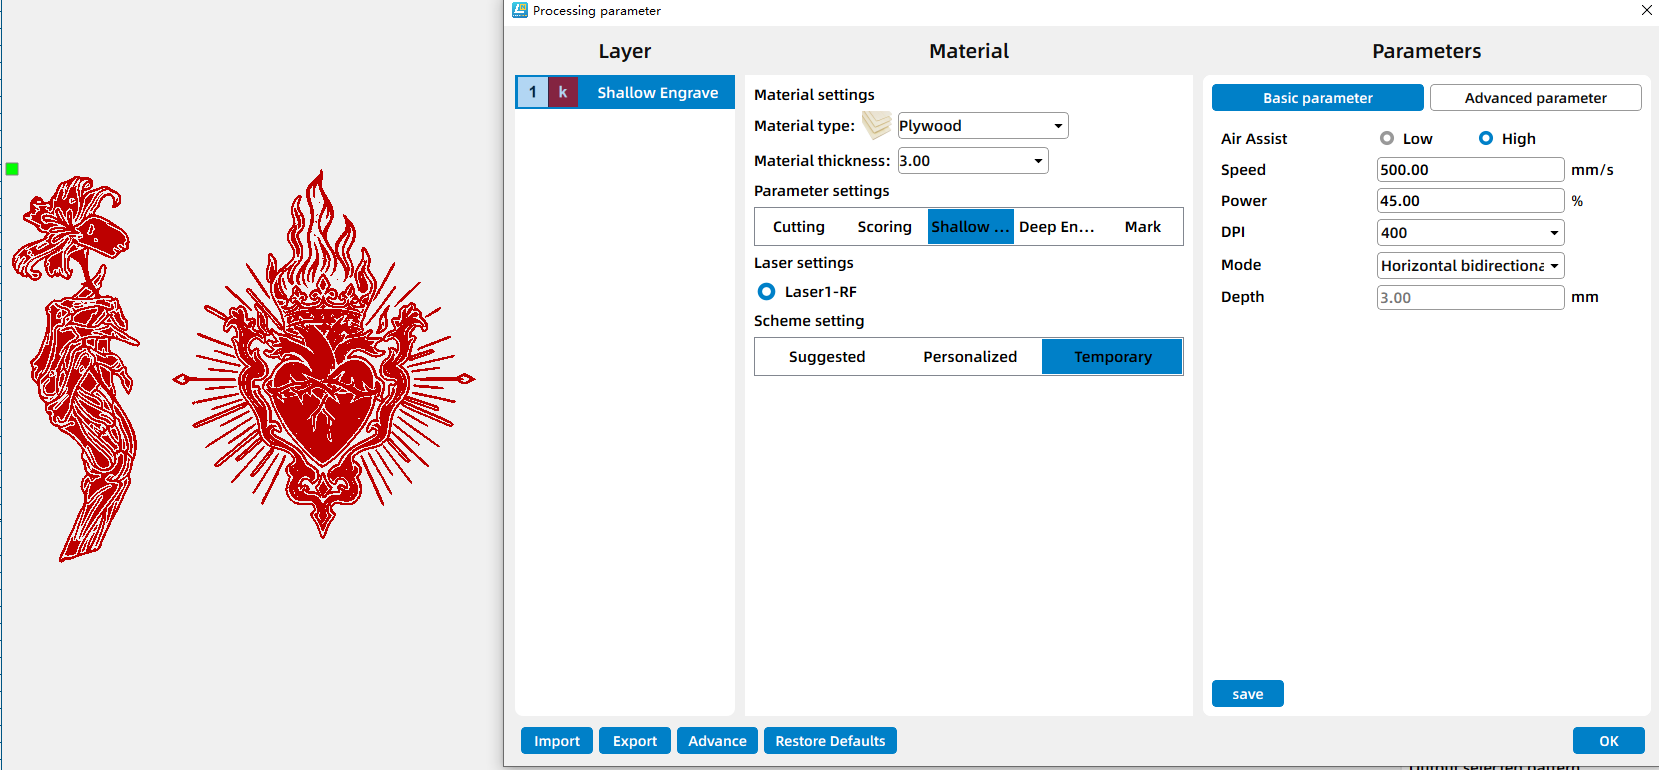
Step 2: Open the Design and Check the Settings
Open your preferred laser software (I used Lasermaker) and load the clock dial design file. Adjust the size and positioning so it matches the area of your mirror.
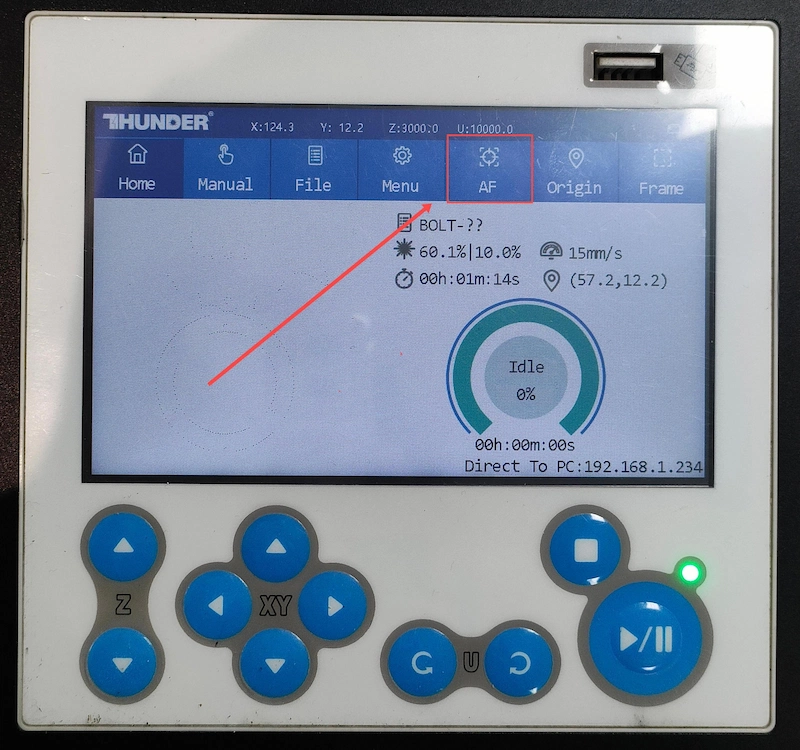
Step 3: Focus Your Laser Machine
Proper focusing is essential for achieving detailed engravings. If your machine supports auto focus, a single click will set the correct distance. If you prefer manual focus, use the focus stick to adjust the laser head until it just touches the surface of the mirror at a perfect vertical angle. Spending an extra moment on accurate focusing will pay off with professional-looking results.
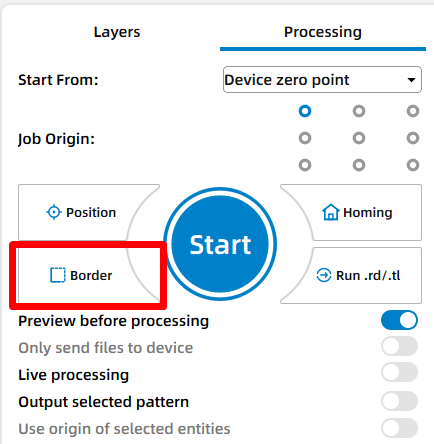
Step 4: Frame the Design and Start Laser Engraving
Use the framing (Border) function to check the engraving area. This helps confirm that the design is positioned correctly and won’t exceed the material boundaries.
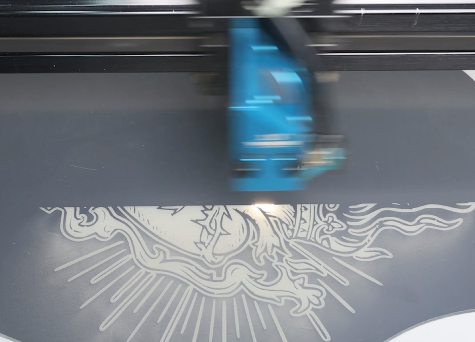
Step 5: Monitor the Laser Engraving Process
Stay near the machine while it’s running and watch the cutting and engraving progress. Keep an eye out for excessive smoke, small flame-ups, or any movement of the material that could affect the outcome. Make sure your workspace is well-ventilated, and rely on air assist if available.
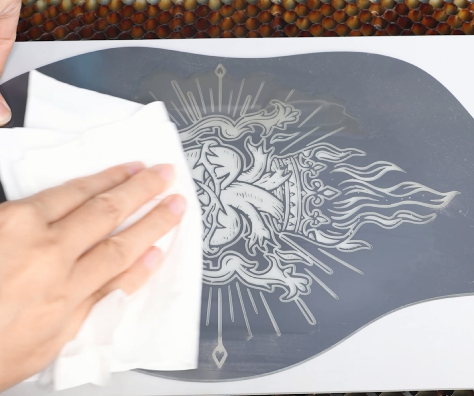
Step 6: Clean the Mirror
After engraving, lightly spray water onto the engraved area and gently wipe it clean. This removes residue and dust, revealing a crisp, matte engraving against the reflective surface.
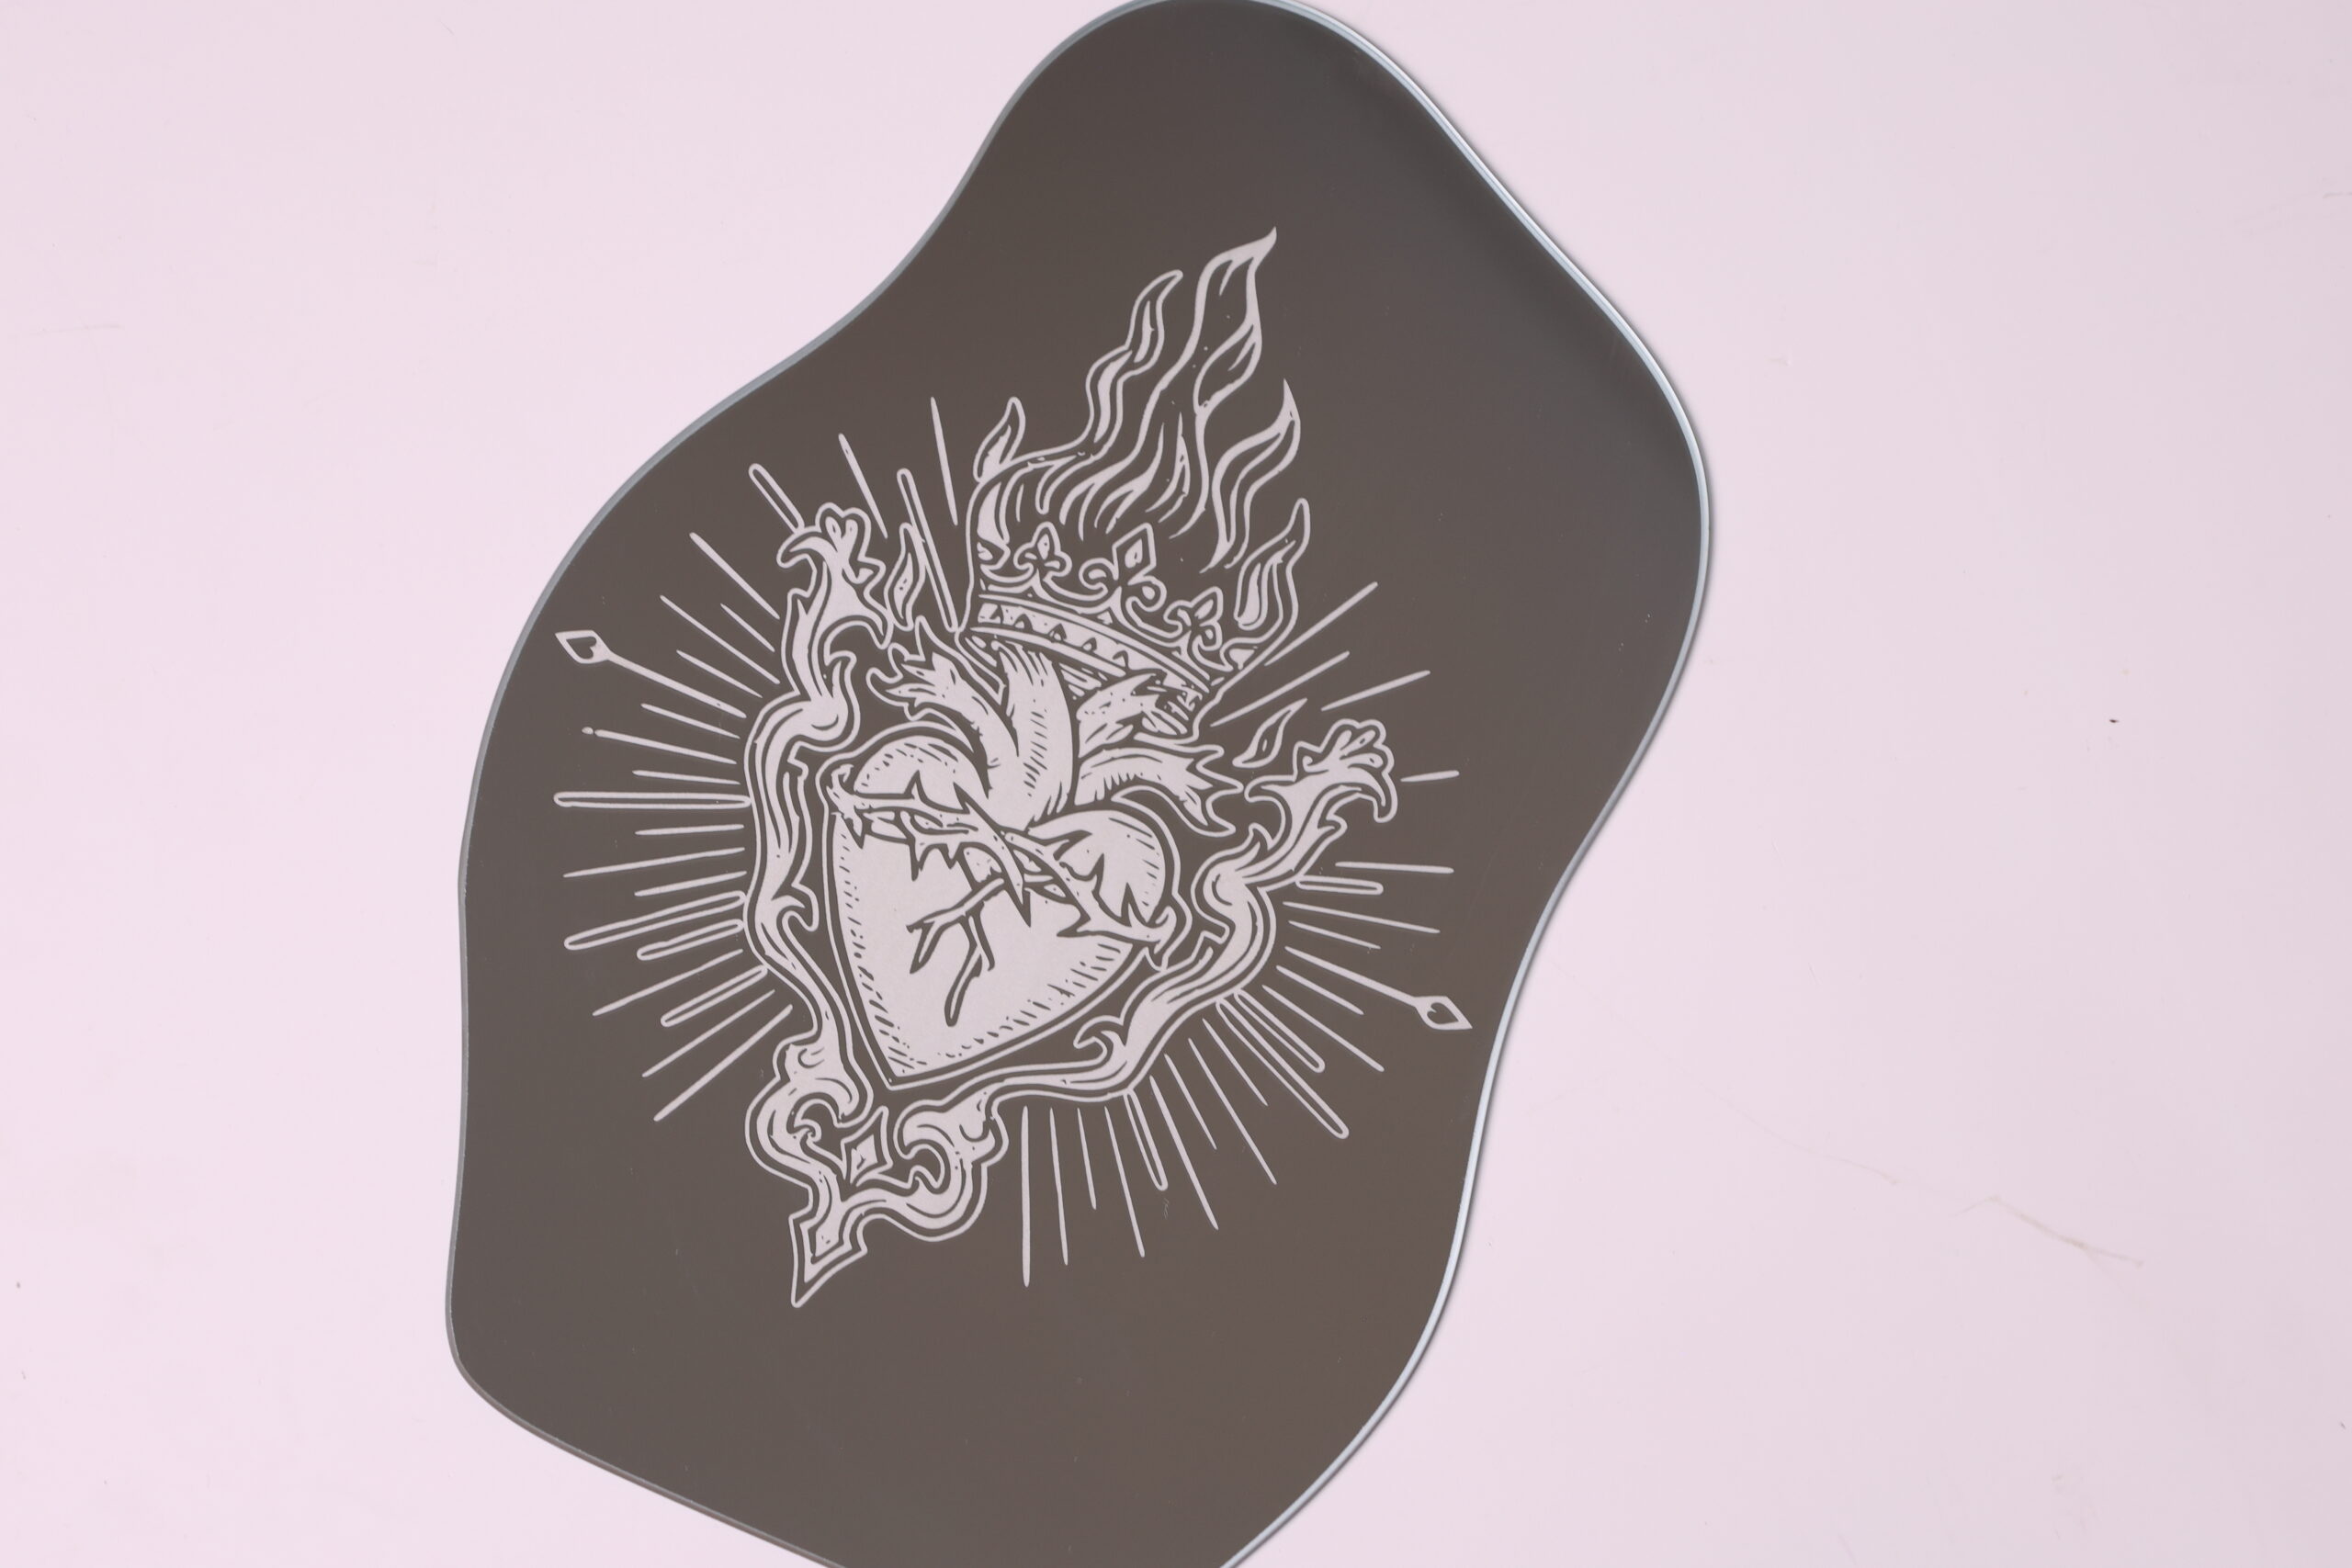
Step 7: Complete the Laser Task
Dry the mirror thoroughly. Your laser-engraved aluminum mirror is now complete and ready for use or display.
Come and Try!
Laser engraving on aluminum mirrors is a simple way to add detail and character to an otherwise smooth surface. With careful focusing and proper cleaning, the engraved areas stand out clearly without damaging the mirror itself. Try experimenting with text, geometric patterns, or subtle decorative graphics to see how different designs interact with light and reflection on the mirror surface.
.png "laser cutter Globle") International
International
 United States
 Brasil
 Canada
 Costa Rica
 Mexico
 Česká
Česká
 Romania
 Polska
 Ireland
 Italia
 Lietuva
 Россия
 Deutschland
 Britain
 Україна
 France
 Sverige
 Norway
 Denmark
 Ελλάδα
 Portugal
 한국
한국
 中国
中国
 中国香港
中国香港
 Israel
 中國臺灣
中國臺灣
 ジャパン
ジャパン India
India
 پاکستان
 پශ්රී ලංකා
 ประเทศไทย
 Australia
 New Zealand
 South Africa