


STEAM Playing Card Seal Laser Cutting Project with LaserMaker
 24-08-16
WHAT ARE YOU LOOKING FOR?
Search Across Products, Blog Posts, Support Content, And Resources.

STEAM Playing Card Seal Laser Cutting Project with LaserMaker
24-08-16

In this STEAM maker project, students design and make a set of playing card seals using LaserMaker and a laser cutting machine. The lesson connects observation, card design, reusable stamp planning, text input, suit graphics, character drawing, image outlining, closed-curve checking, plywood cutting, stamp assembly, paper card cutting, and custom deck making.
This project builds on earlier seal-making skills. Instead of making one stamp, students plan a reusable stamp system for numbers, letters, suits, and character cards, then use the finished seals to create their own deck of playing cards.
| Item | Details |
|---|---|
| Project | Playing Card Seal laser cutting project |
| Software | LaserMaker |
| Main Skills | Observation, stamp planning, ellipse and rectangle drawing, text input, Times New Roman text styling, layer setup, Array Copy, LaserMaker gallery graphics, picture cropping, picture outlining, closed-curve checking, engraving, cutting, and assembly |
| Suggested Materials and Parts | Playing card sample deck, paper, pens, 5 mm plywood, white latex glue, A4 cardstock or paper, stamp ink or classroom-approved pigments |
| Classroom Fit | Laser cutting and maker projects, stamp making, game design, classroom art projects, beginner LaserMaker practice, custom card design, and digital fabrication activities |
Students will observe a deck of playing cards, identify the repeated elements, design reusable seals for numbers, letters, suits, and character cards, laser cut and assemble the seals, cut paper card templates, and use the stamps to make a custom deck.
For teachers: Use this lesson to connect observation, counting, pattern recognition, digital design, laser cutting, and collaborative card-making.
For students: Use the activity to design a practical stamp set and turn repeated card elements into a handmade playing card deck.
For makerspaces: Use it as a group project that combines laser-cut stamps, custom paper cards, game design, and creative play.
Identify the structure of a standard playing card deck, including suits, numbers, letters, character cards, and jokers.
Plan how many different seals are needed to make repeated card elements efficiently.
Use LaserMaker to design number, letter, suit, and character stamps with appropriate sizes and layers.
Import hand-drawn character graphics, crop images, trace outlines, and check whether curves are closed before processing.
Laser cut plywood stamps, assemble handles, cut card templates, and make a custom deck through stamping.
Design thinking: Turn a familiar game object into a set of reusable design tools for making a complete card deck.
Computational thinking: Use counting, repeated elements, arrays, layer settings, shape dimensions, and reusable stamp logic to simplify production.
Engineering thinking: Consider stamp size, handle fit, plywood thickness, cutting depth, text clarity, paper size, and card layout consistency.
Students should operate the laser cutter only under teacher or lab supervisor guidance. Before processing, check the focal length, material choice, layer order, cutting parameters, engraving parameters, and whether each stamp design is correctly mirrored when needed for stamping.
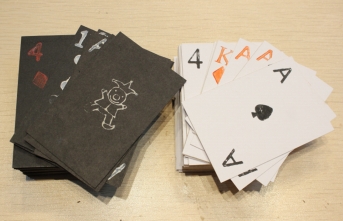
A deck of playing cards is a useful classroom object because it contains repeated design elements. Students can observe the deck, count the cards, compare suits, and decide which elements should become reusable stamps.
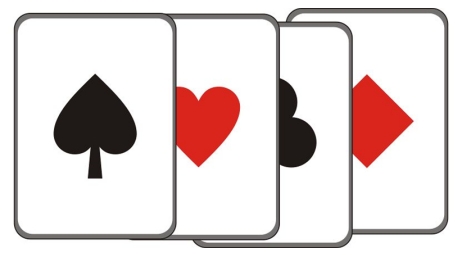
A standard deck has 54 cards: 52 regular cards and 2 jokers. The 52 regular cards are grouped into four suits: spades, hearts, clubs, and diamonds. Each suit includes A, 2–10, J, Q, and K. This structure gives students a clear reason to use arrays, repeated parts, and reusable stamp design.
Teachers can begin the lesson with short observation questions. These prompts help students connect playing cards with design logic before opening the software.
How many cards are in a deck of playing cards?
What numbers, letters, suits, and character images can you find on the cards?
If you had to make a deck of playing cards by hand, which parts would you draw again and again?
Which repeated elements should become stamps?
What material could be used to make the cards, and how many sheets would the class need?
Classroom Discussion: Instead of designing 54 separate stamps, students can think like designers and create reusable stamps for repeated elements. This makes the project faster, more organized, and easier to scale for group work.
Divide students into groups and give each group a deck of playing cards. Ask students to count the cards, record the numbers, letters, suits, and character-card elements, and decide how many stamps are needed.
Record the numbers and letters used on the cards.
Record the four suits: spades, hearts, clubs, and diamonds.
Identify the character-card images and decide whether students will draw their own versions.
Sketch the shape and size of each stamp on paper before using LaserMaker.
Plan the card material and estimate how many A4 sheets are needed for the final deck.
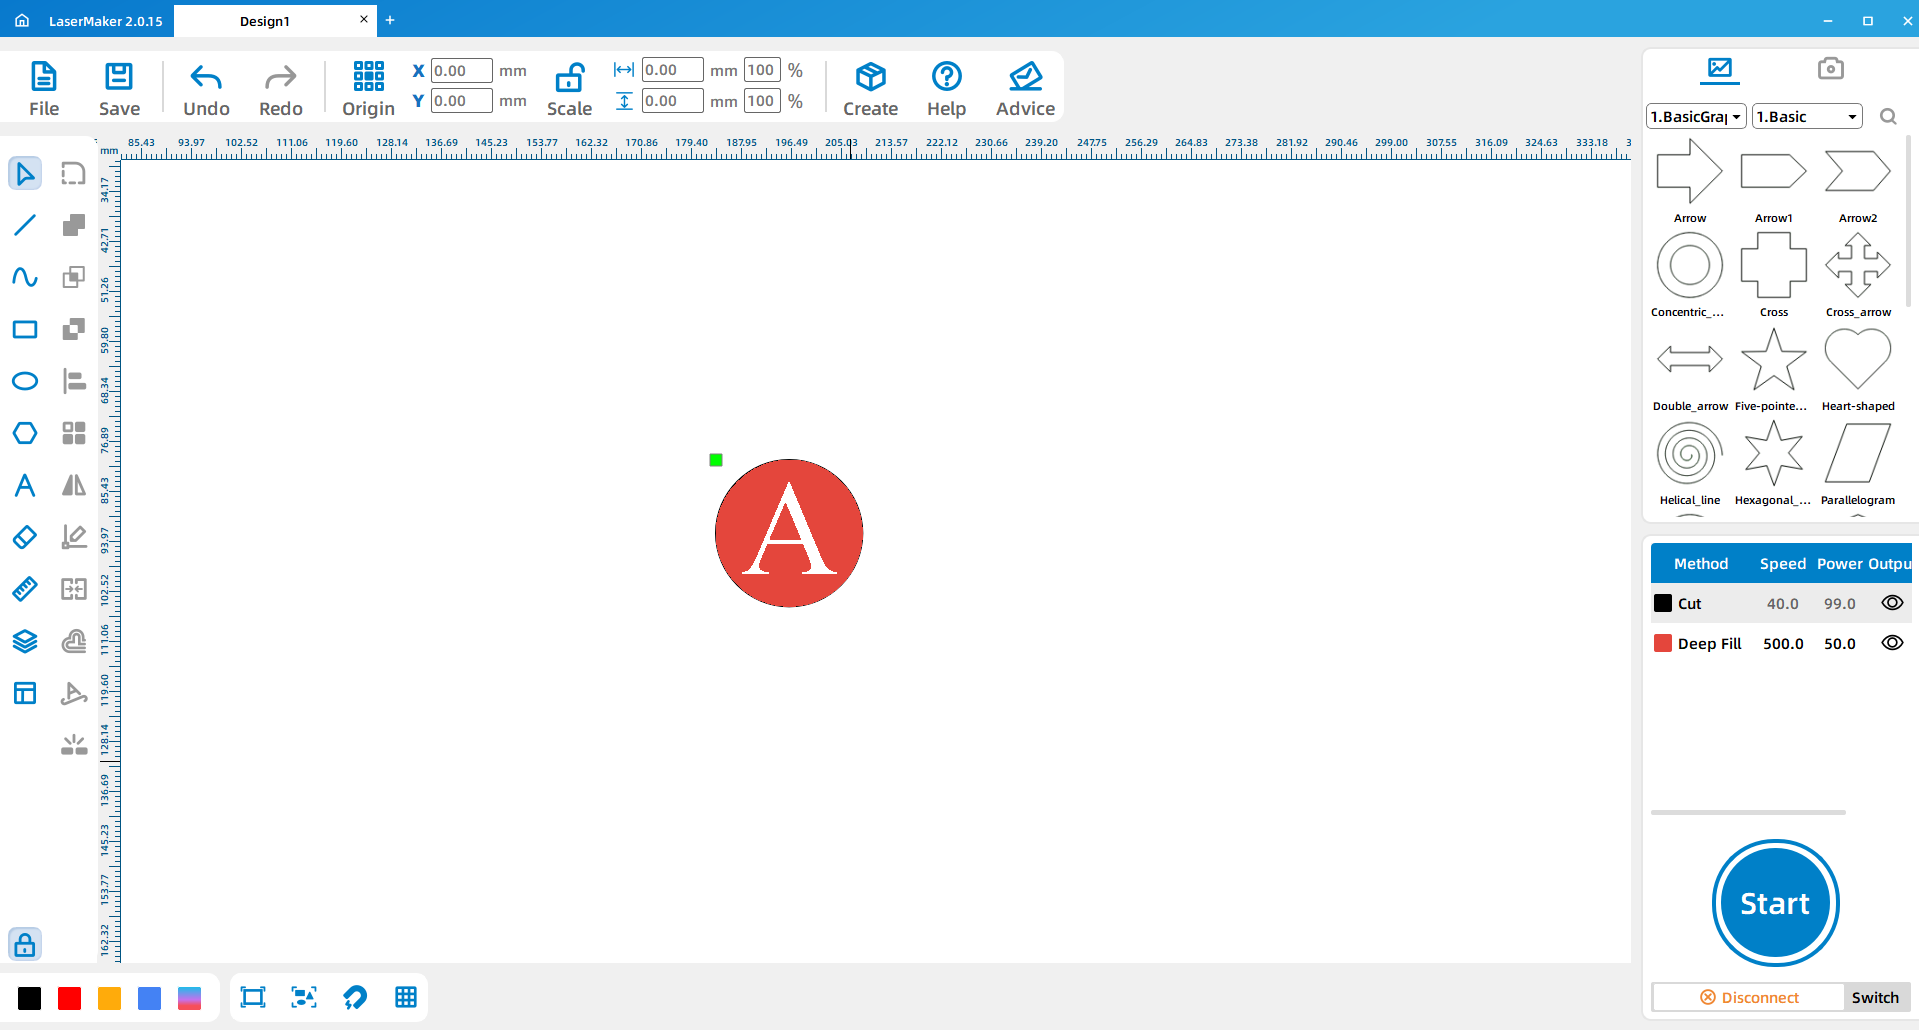
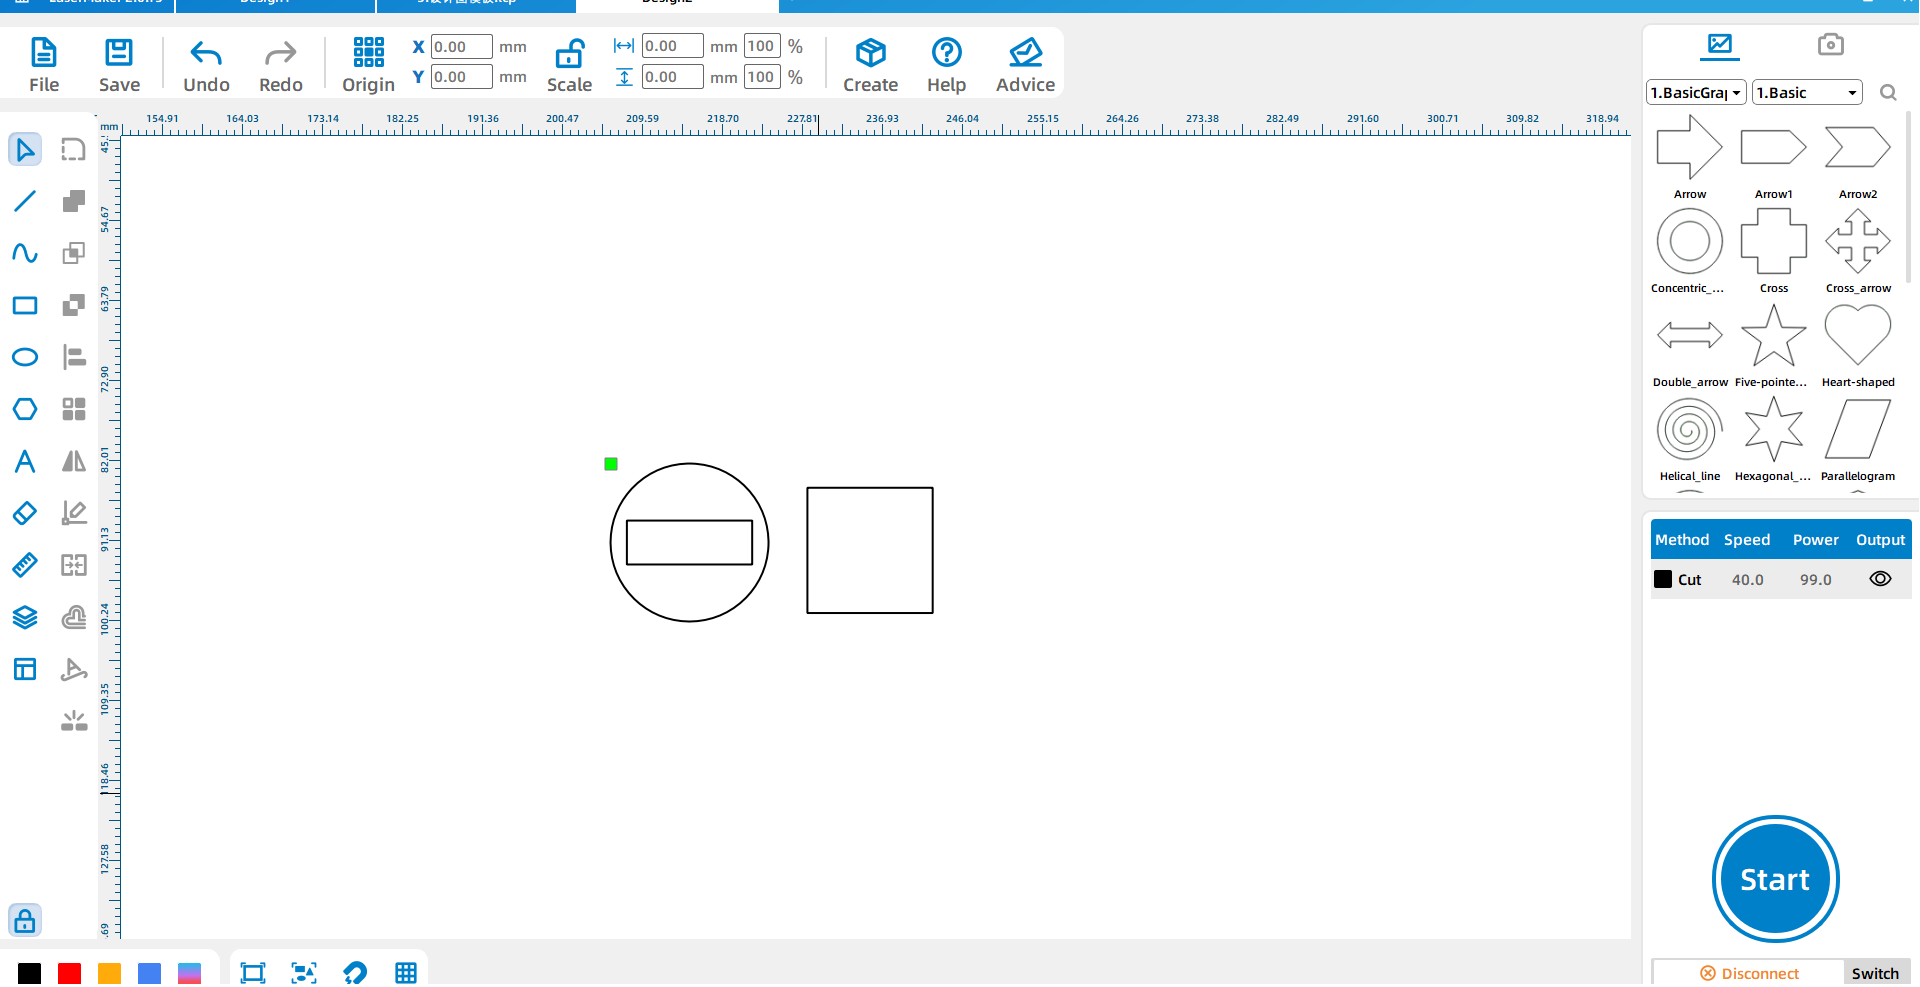
Open LaserMaker. Use drawing tools such as Draw Ellipse or Draw Rectangle to create the stamp shape based on the first draft. In the source workflow, the number, letter, and suit stamps use a circle with a 25 mm diameter.
Copy and paste the first stamp graphic. Then use the Text Input tool to enter the number or letter. For a playing-card look, the source lesson recommends Times New Roman as a suitable font style.
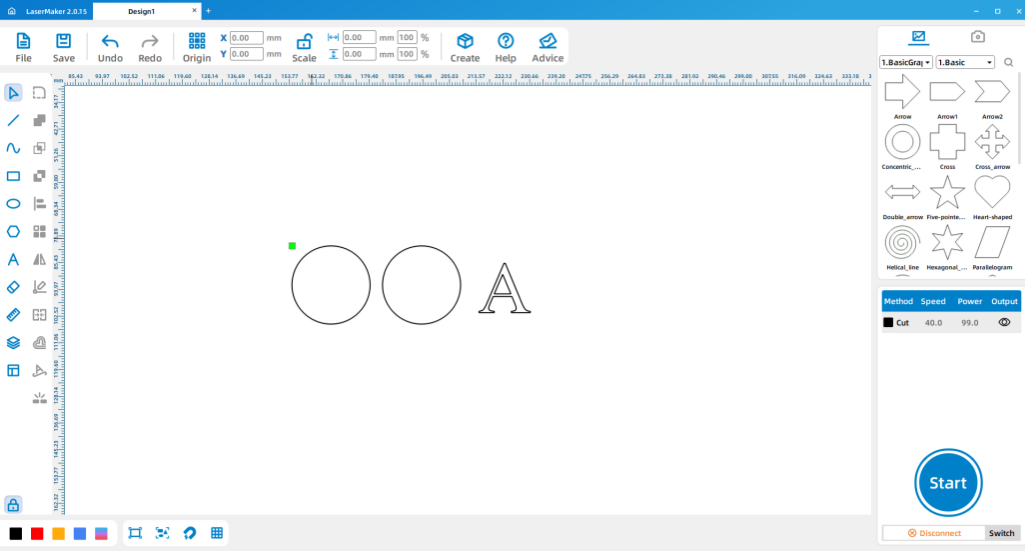
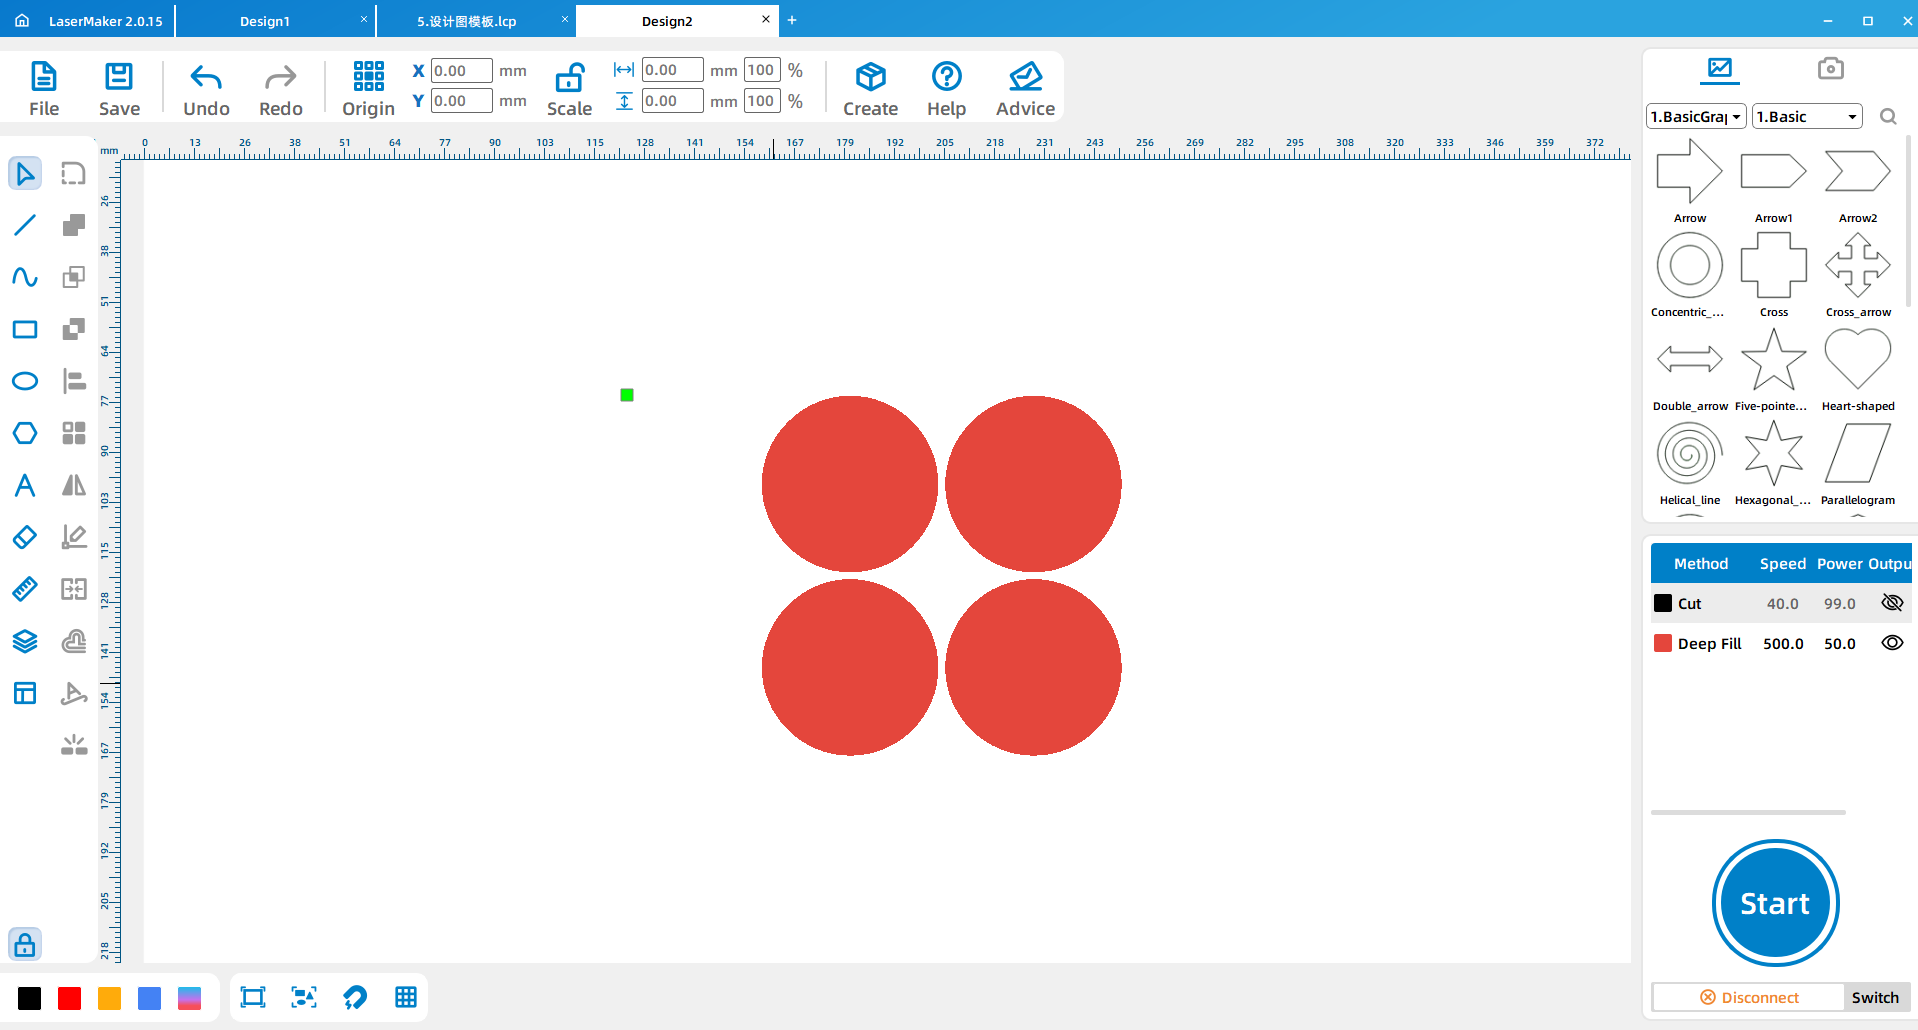
Change the layer color of the copied stamp graphic and the text, then place them together. The filled layer can be used for engraving, while the outer outline is used for cutting.
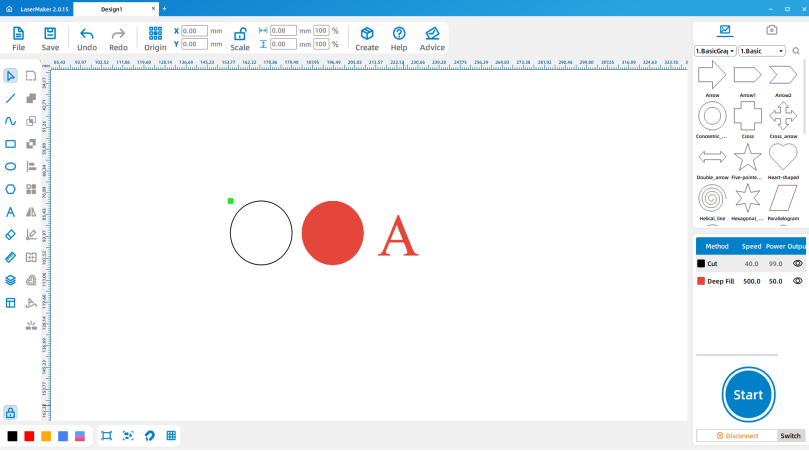
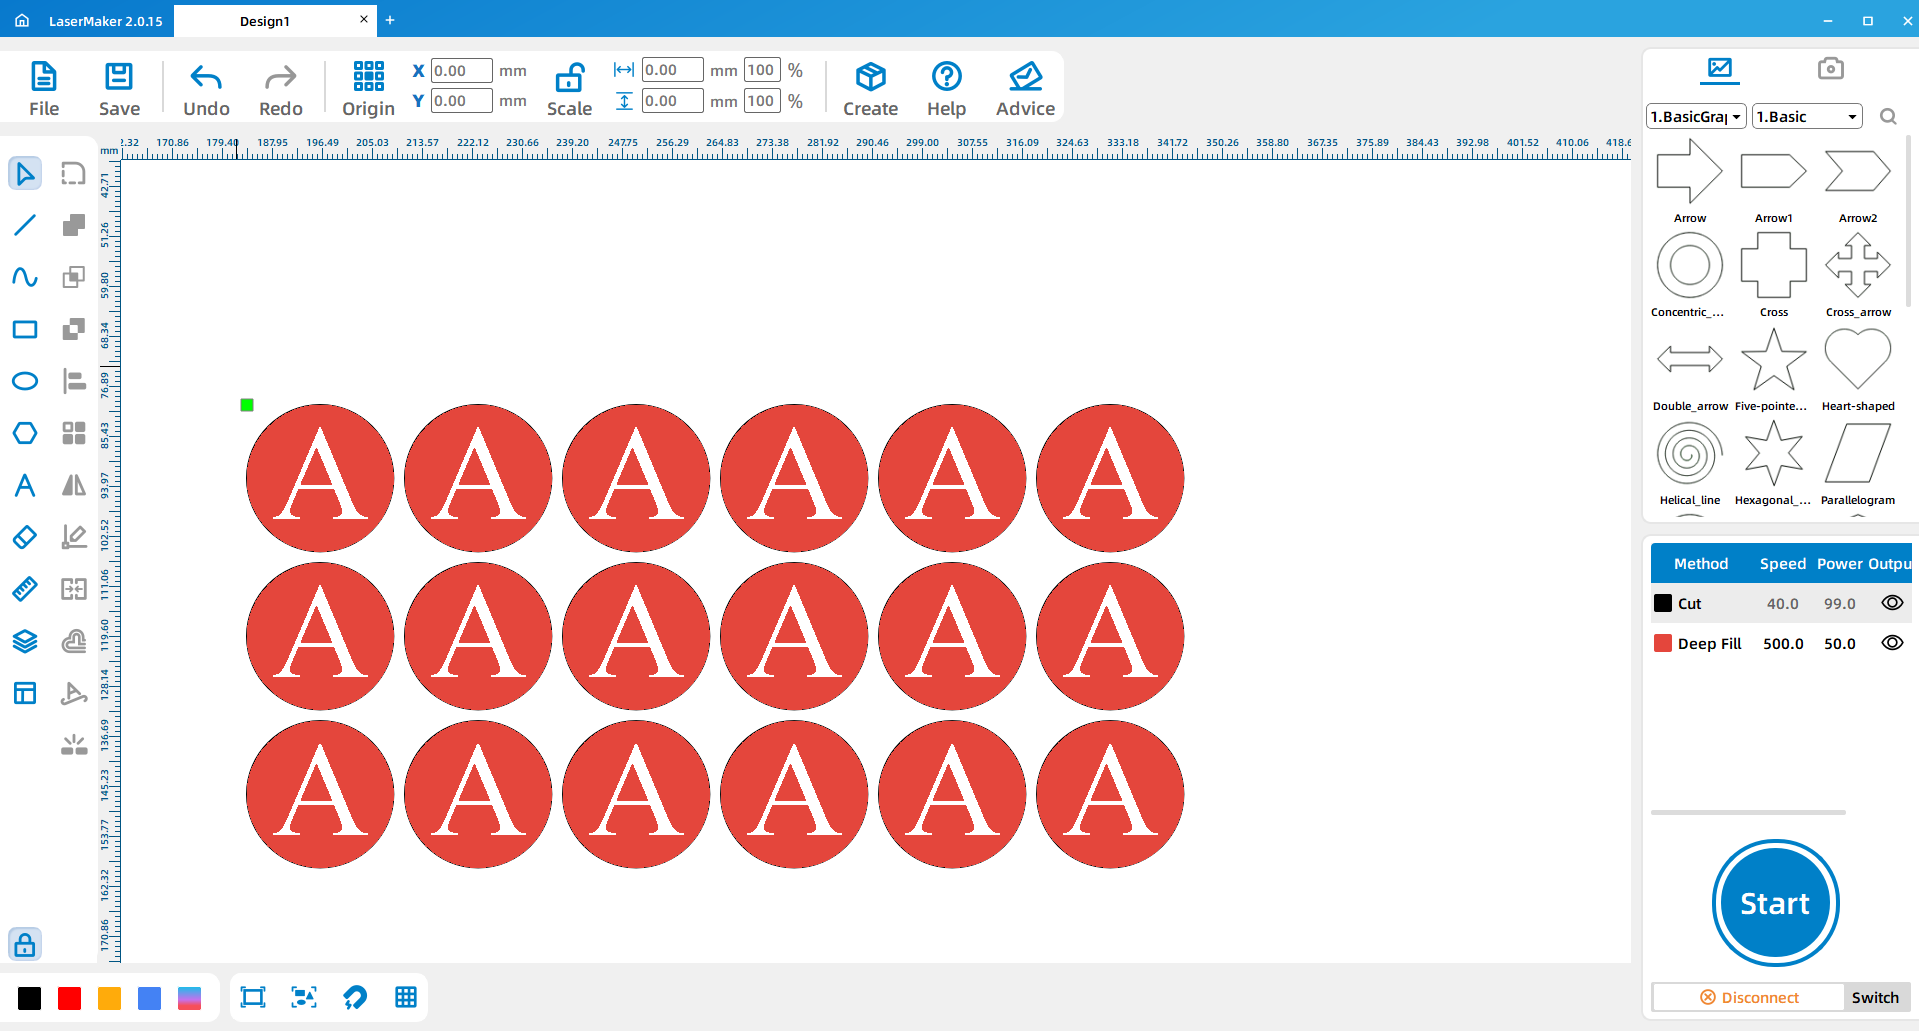
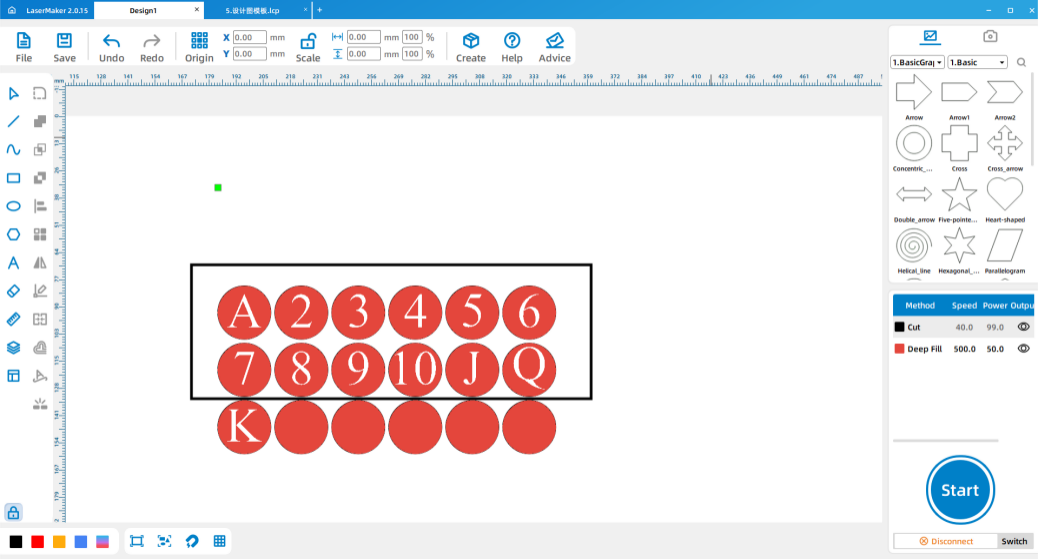
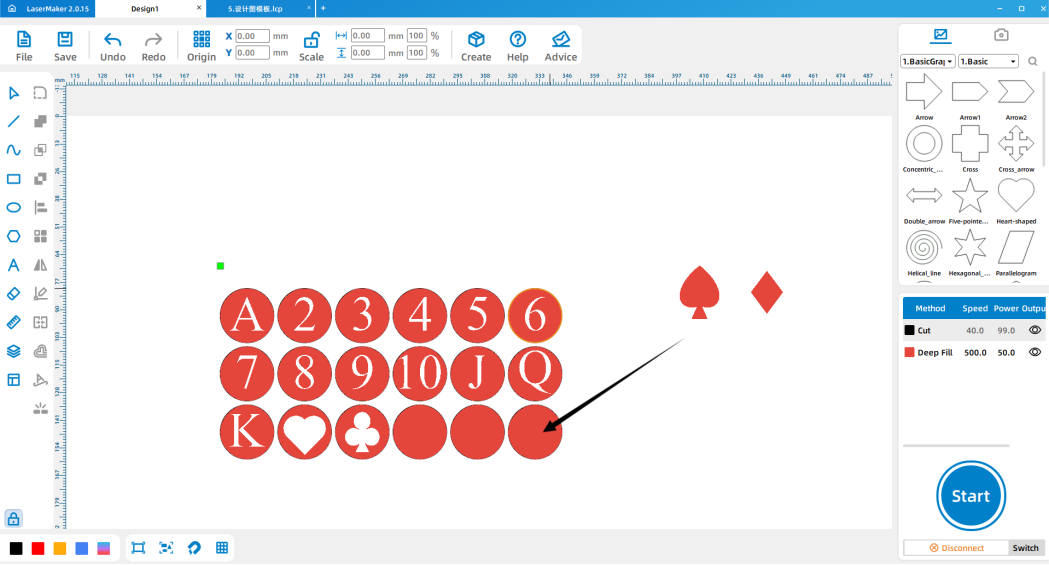
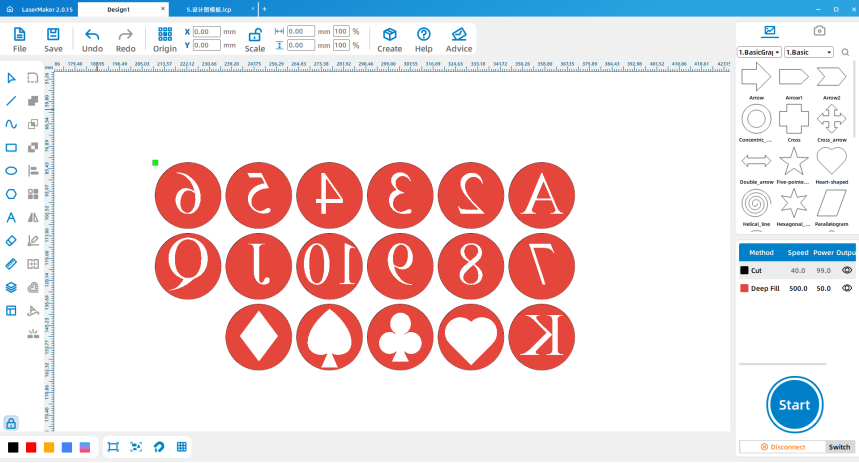
Use Array Copy to duplicate the stamp according to the number of repeated elements needed. Then double-click the text in each stamp and update the contents to match the card numbers and letters.
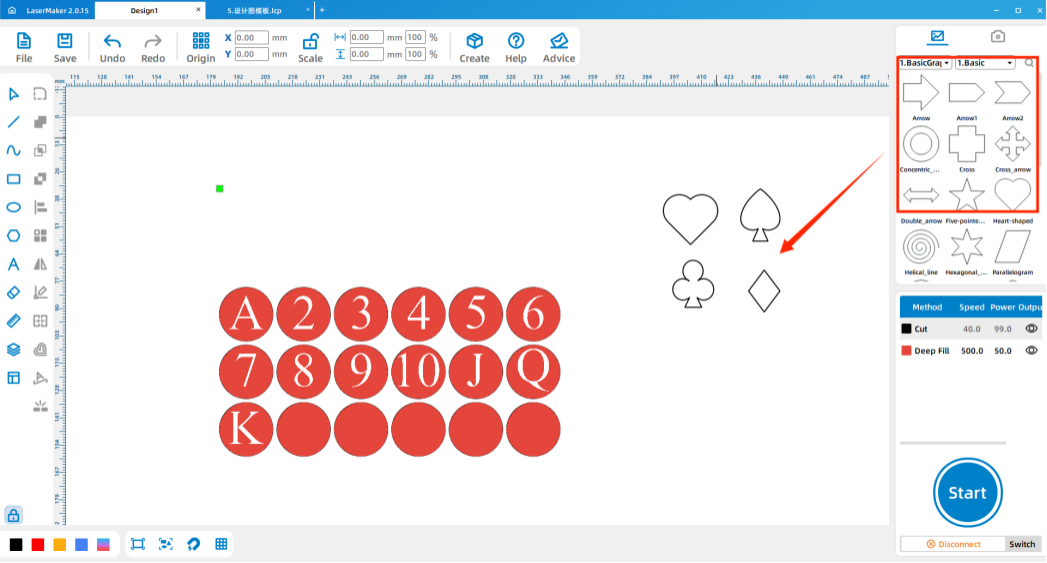
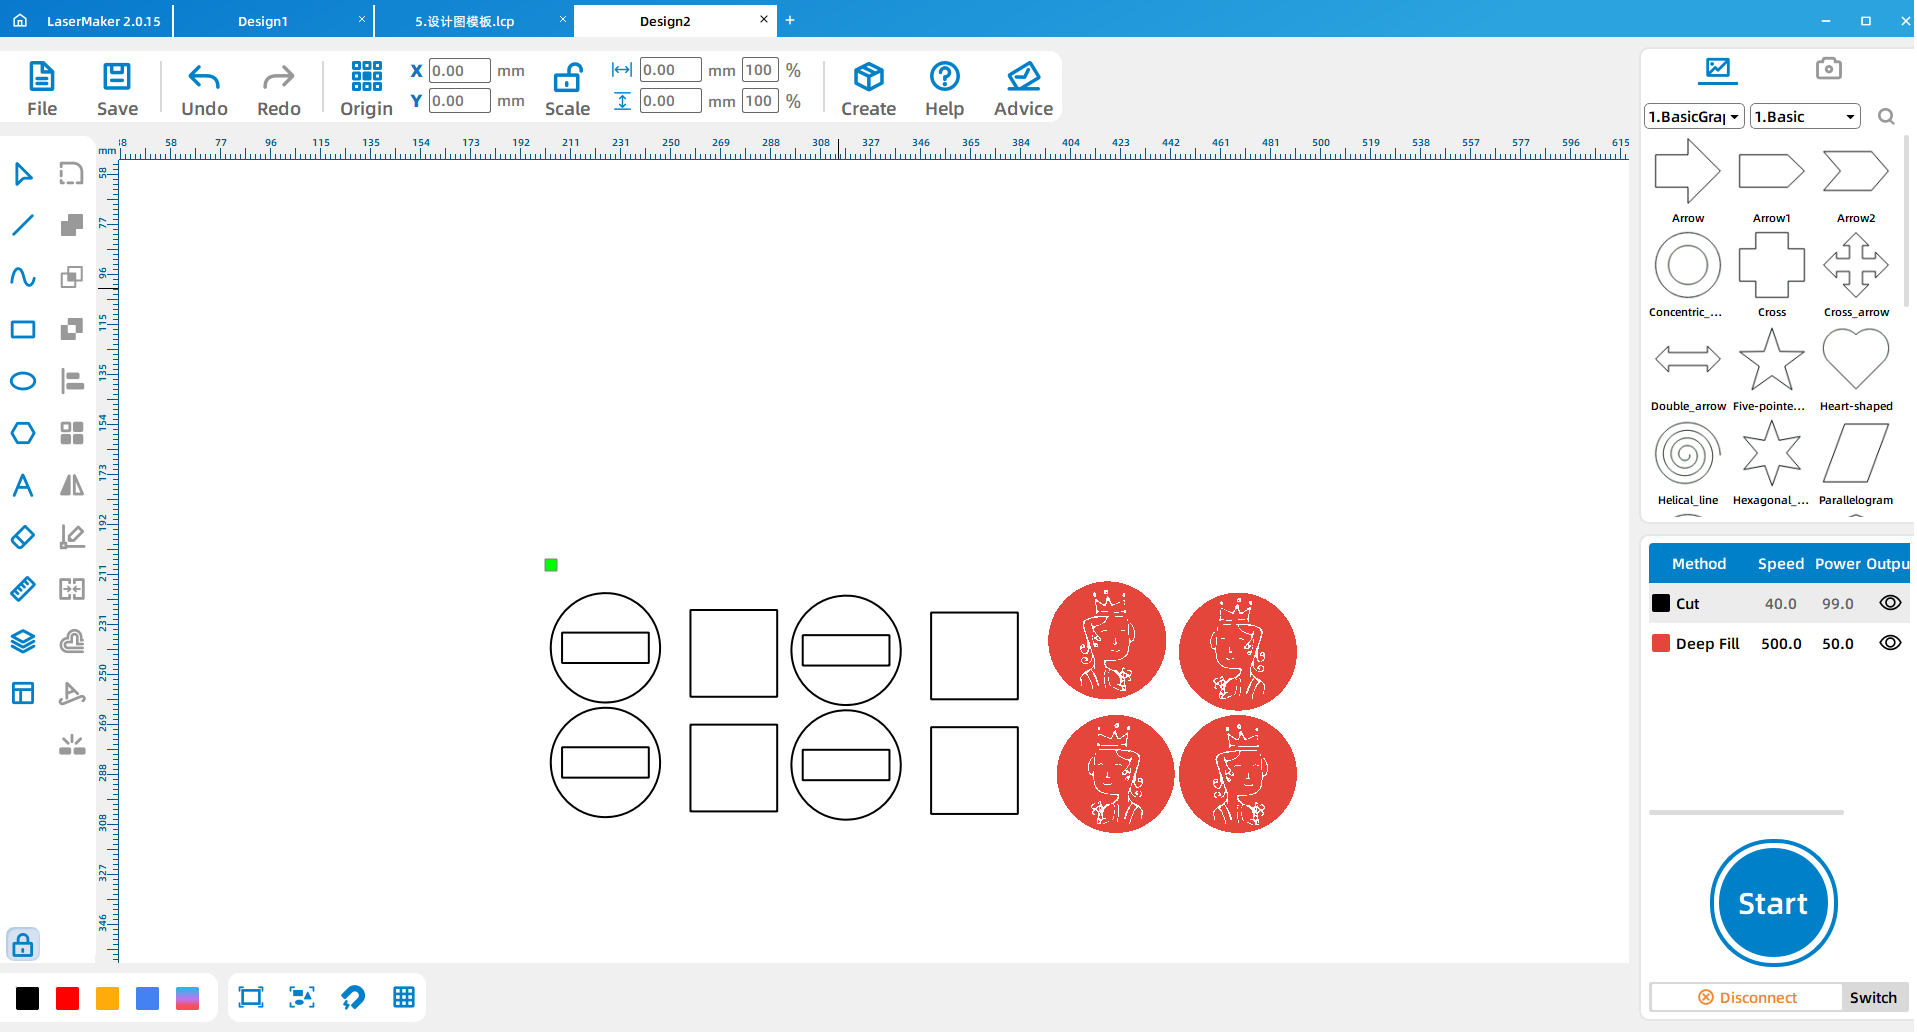
For the suit stamps, use the Picture gallery in LaserMaker. Find the playing card suit graphics, drag them into the workspace, delete the old text inside the selected stamp, adjust the suit size and layer color, and place the suit graphic inside the seal design.
Design the stamp handles using the method from the previous single-character seal lesson. After the handle structure is complete, use Array Copy to duplicate enough handles for the number, letter, and suit stamps.
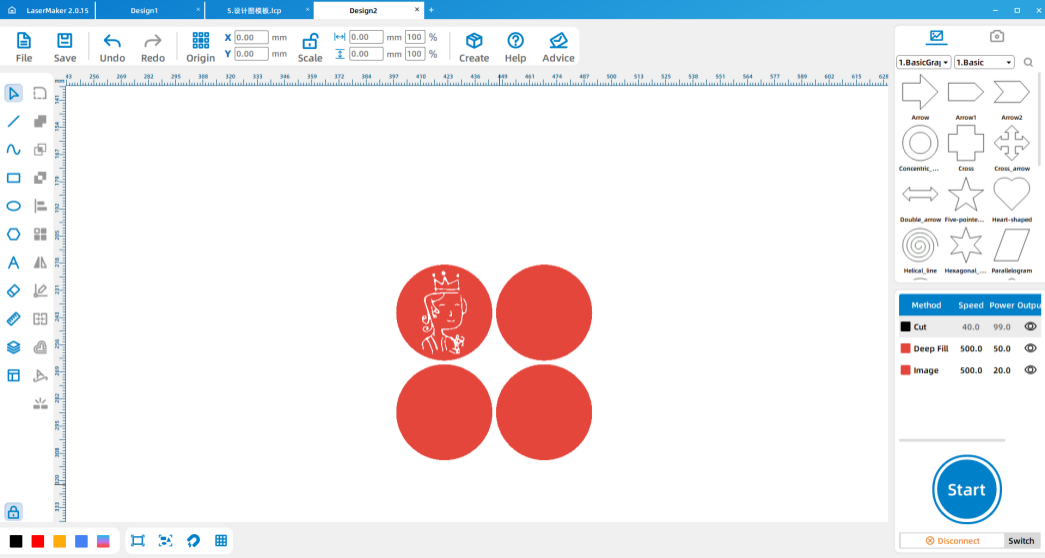
The character stamps are larger because the hand-drawn graphics need more space. In the source workflow, the character seal begins as a circle with a 45 mm diameter.
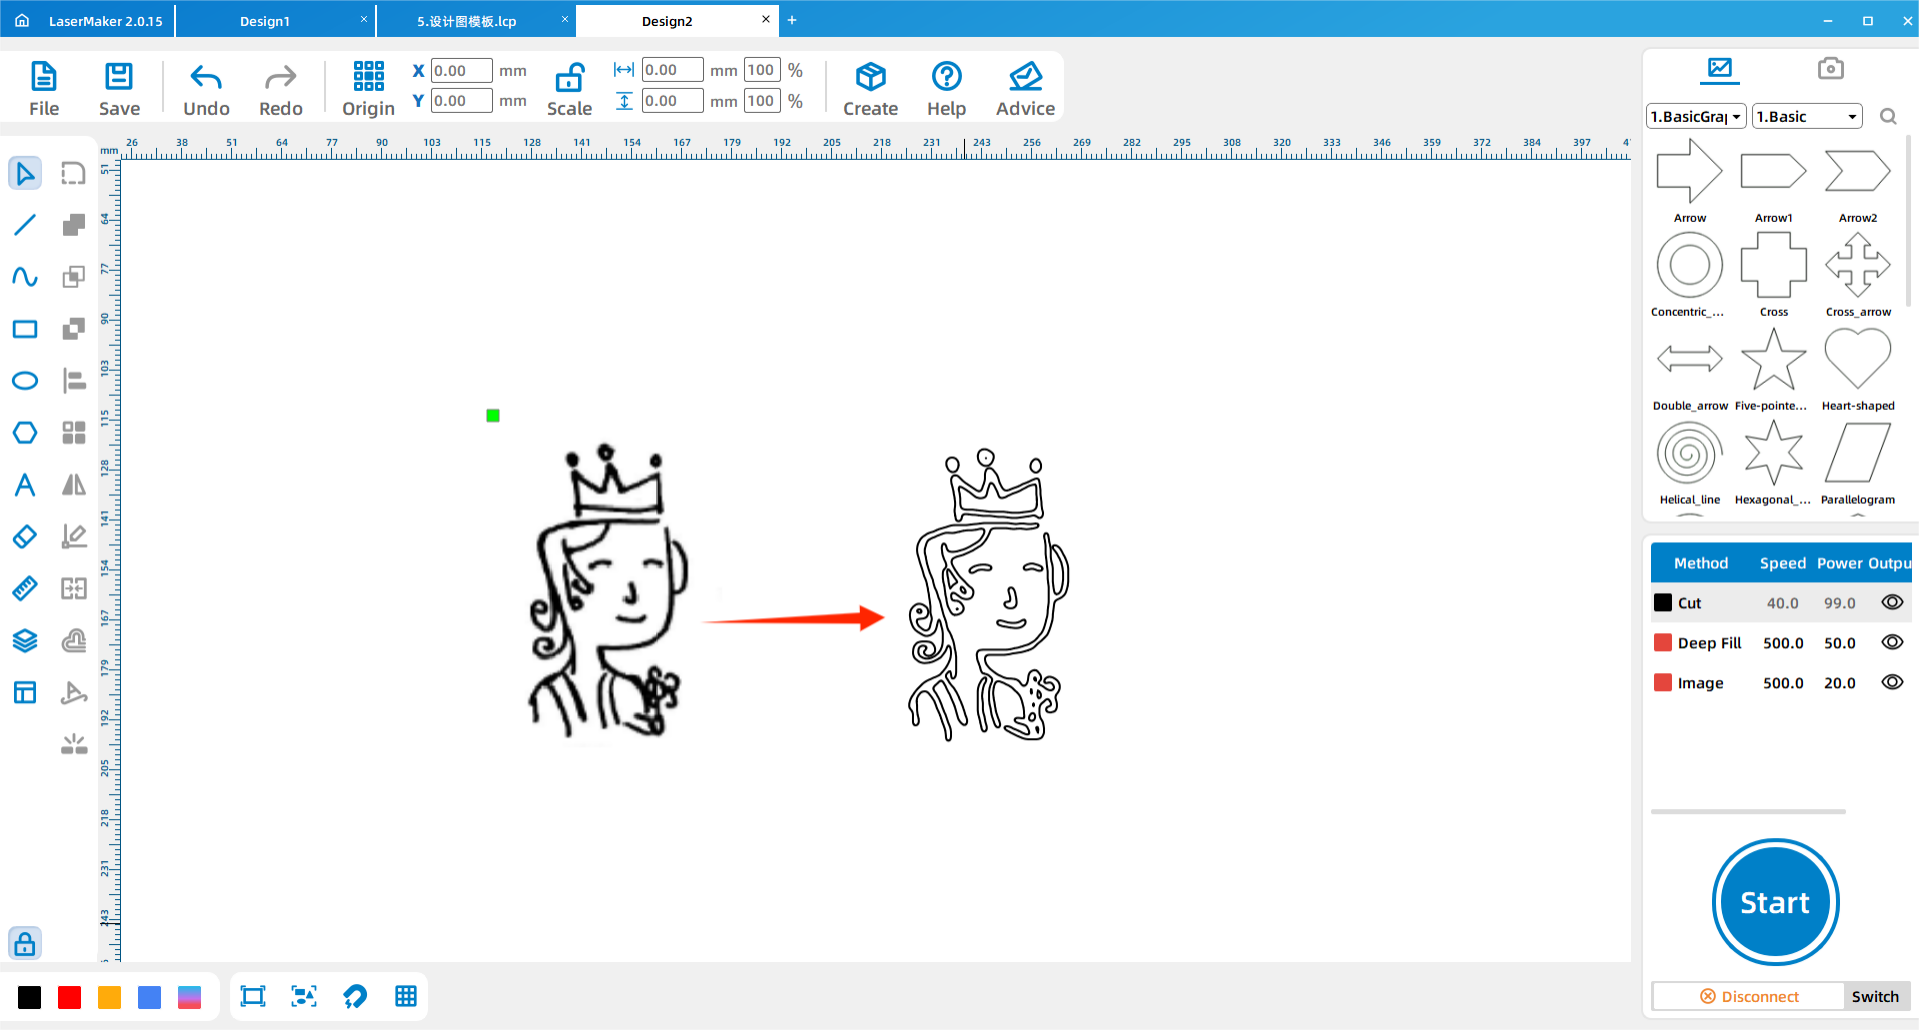
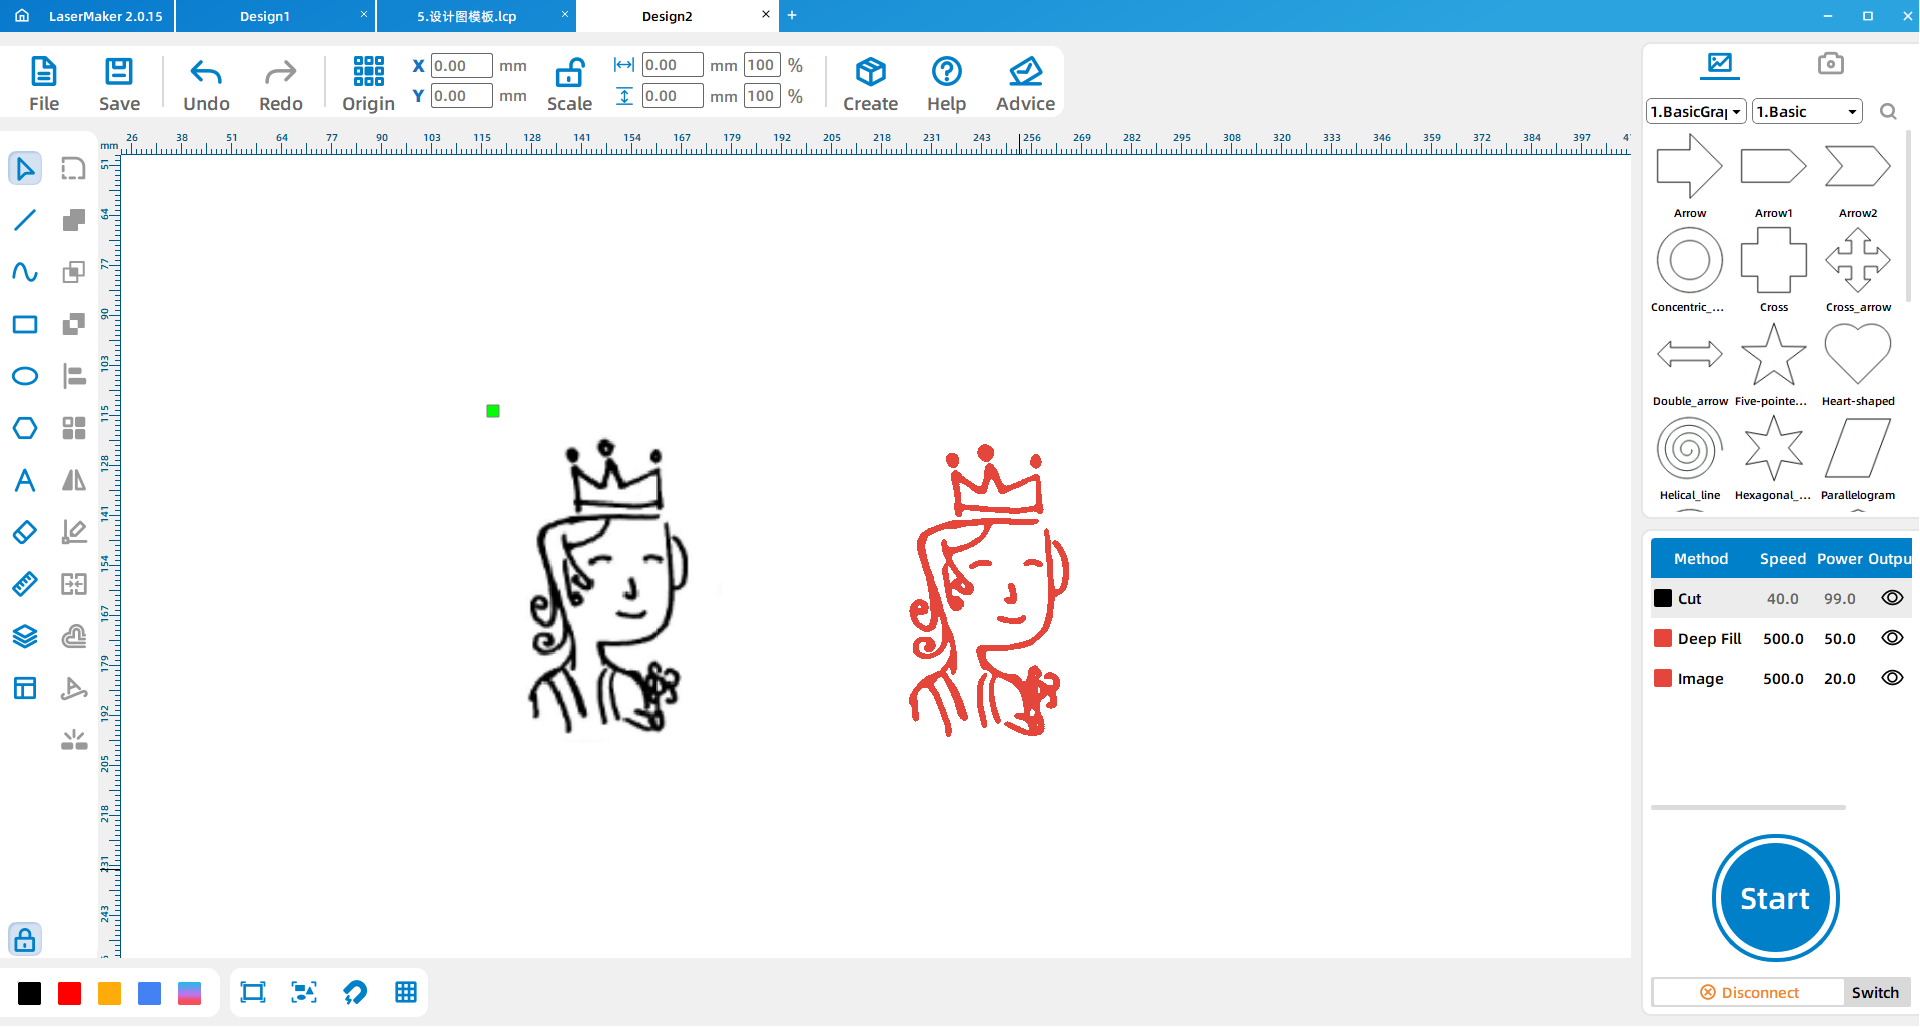
Ask students to draw their own playing card characters on paper. The outer edge of each figure should be clear and closed. Scan the hand-drawn figure with a scanning app or classroom-approved method, import it into LaserMaker, and use Picture > Crop to remove extra background.
Next, use Picture > Outline to trace the picture. Separate the picture from the outline, then check whether the traced contour is completely filled. If it is not filled, the curve may not be closed, and students should use Graph > Closed Curve to close it before placing it inside the stamp design.
After the character seal is complete, design the matching stamp handle and duplicate the parts as needed.
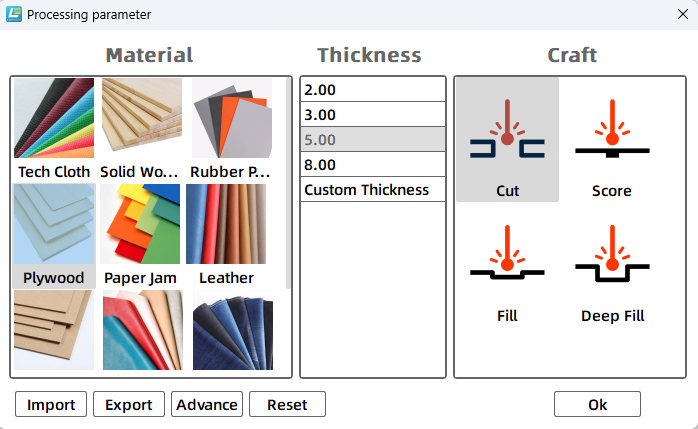
Set the cutting and engraving parameters before sending the file to the laser cutter. The source workflow uses 5 mm plywood, so the cutting parameter should match the 5 mm material setup. After setting the parameters, check the layer order carefully.
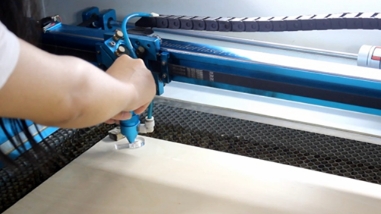
Import the completed design file into the laser cutting machine for processing. Before starting, adjust the focal length to reduce the risk of incomplete cutting.
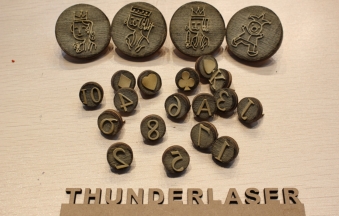
After processing, take the cut stamp parts to the workbench. Glue each stamp face and handle together with white latex glue, then allow the glue to set before using the stamps.
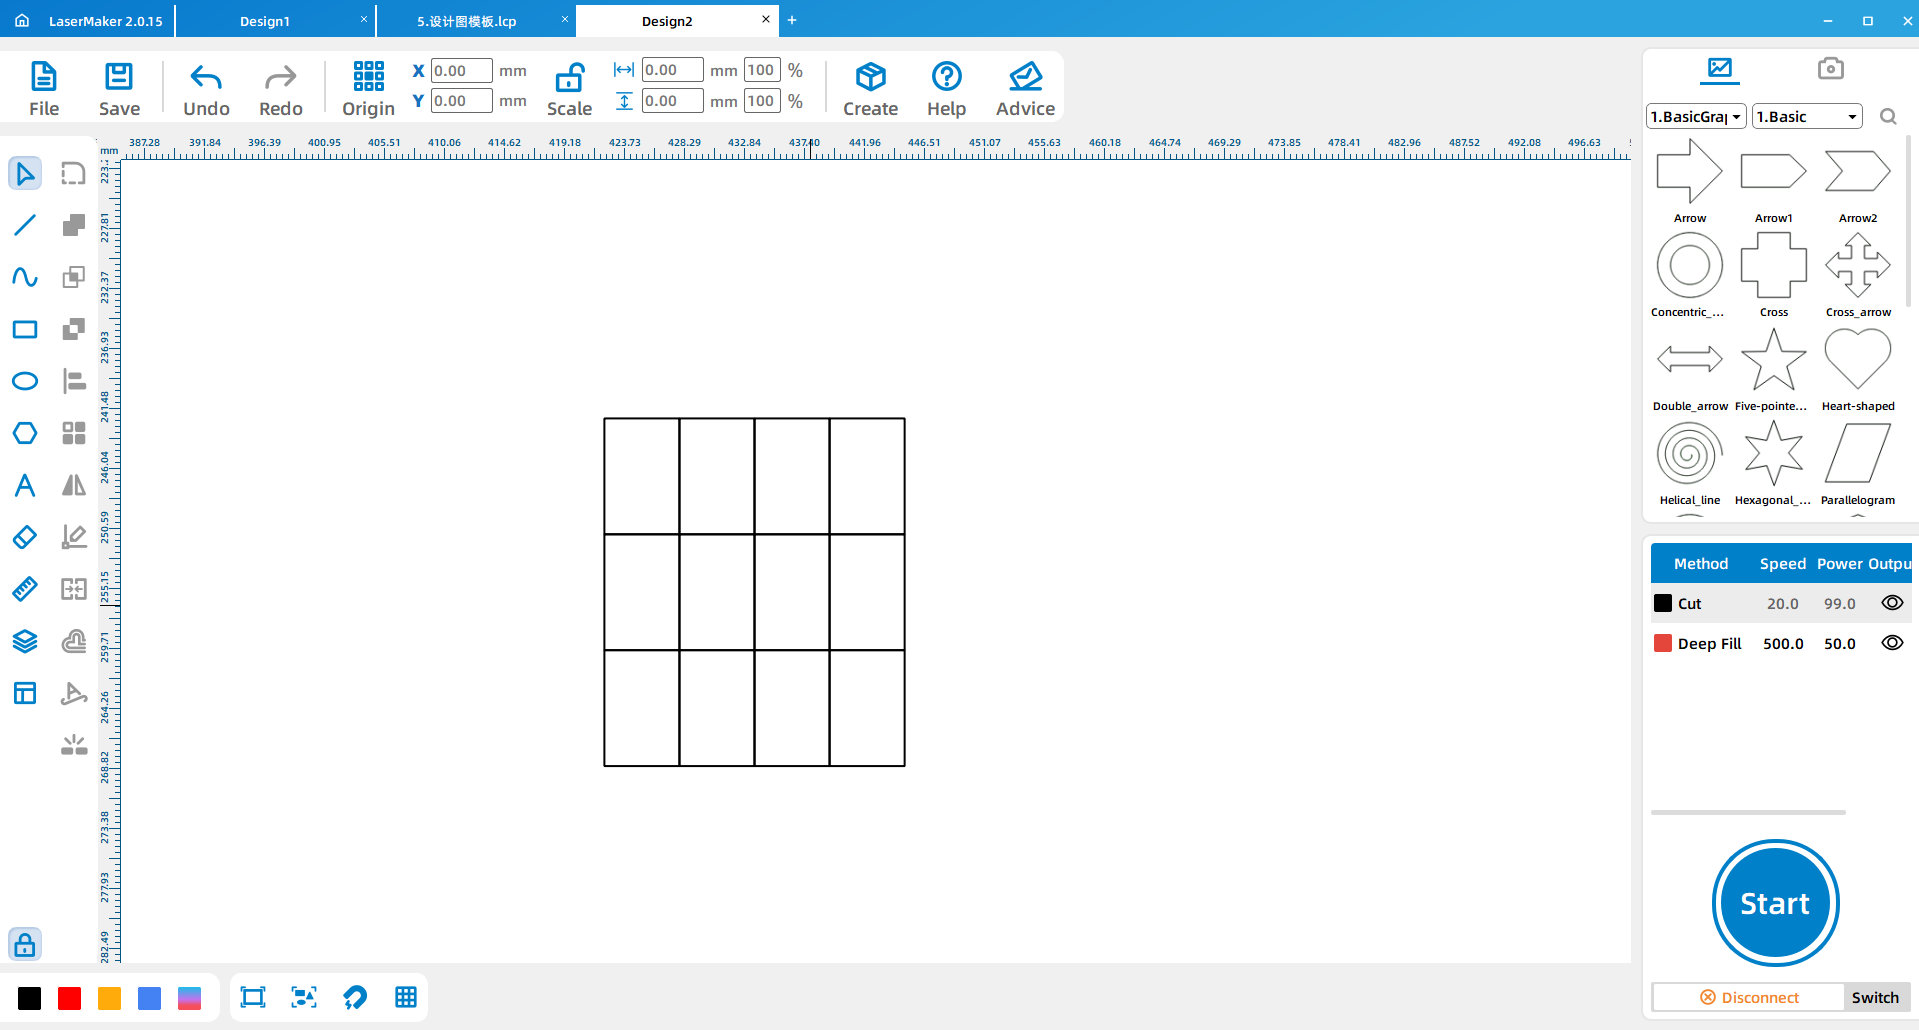
Use LaserMaker to draw a card template based on playing-card proportions. The source workflow records the card size as 5.7 × 8.8 and copies 12 cards on an A4 layout. Teachers should confirm the final unit and size before classroom production.
Use the finished seals to make a deck of playing cards. Students can follow the structure of a standard deck, or they can add their own creative rules, symbols, colors, and character designs.
After the cards are complete, students can test the deck by playing classroom-friendly card games such as matching games, simple counting games, bridge-style games, or other group activities chosen by the teacher.
Observation: Students count the deck, identify repeated elements, and record suits, numbers, letters, and characters.
Planning: Students decide the number and size of stamps needed for the deck.
Software design: Students design number, letter, suit, and character stamps in LaserMaker.
Machine processing: Students process files in a safe classroom order under teacher supervision.
Assembly and production: Students assemble the stamps, cut or prepare cards, and stamp the finished deck.
Use one sample deck as a shared reference so students can check card structure accurately.
Ask students to separate reusable elements from unique elements before designing stamps.
Prepare extra paper cards, plywood scraps, and glue for groups that need to retry a stamp.
Remind students to test each stamp on scrap paper before stamping the final cards.
Encourage students to create their own themed deck after they understand the standard deck structure.
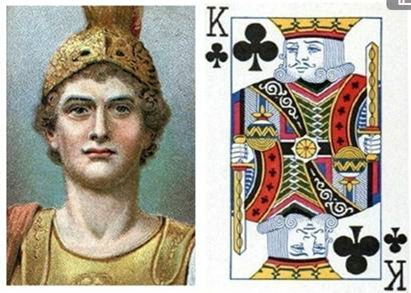
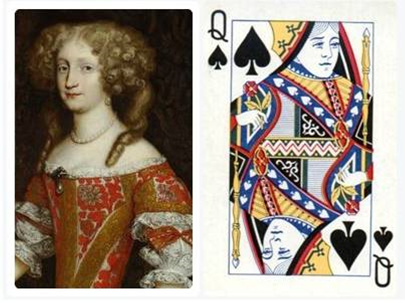
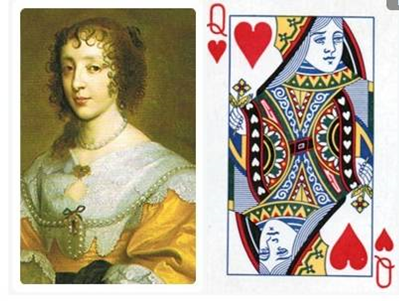
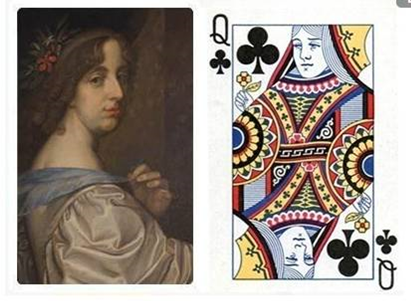
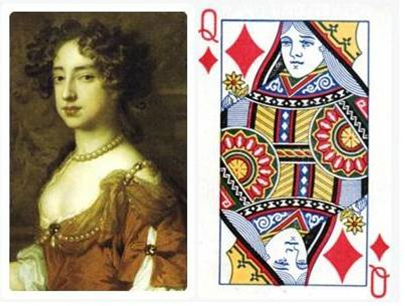
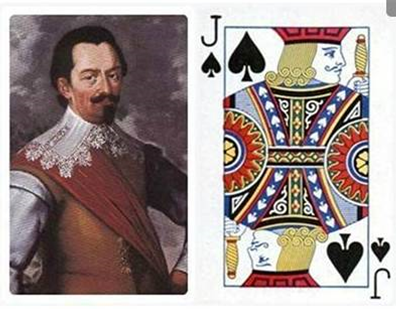
After making the playing cards, students can study the J, Q, and K character cards in more detail. The source lesson introduces traditional character associations for different face cards. Teachers can use these as discussion prompts while reminding students that card art and character traditions may vary by deck and region.


Which playing card elements are repeated most often?
How did reusable stamps make the card-making process easier?
What differences can you observe among the J, Q, and K character cards?
How would you redesign the characters if you were creating a themed deck?
What would you improve if you made a second version of the stamp set?
Students can evaluate their own work and give peer feedback based on creativity, structural firmness, appearance, and learning attitude.
| Evaluation Item | Self-Evaluation | Peer Evaluation |
|---|---|---|
| Creativity, 30 points | ||
| Firmness, 30 points | ||
| Appearance, 20 points | ||
| Learning Attitude, 20 points | ||
| Total, 100 points |
After completing the basic playing card deck, students can design a themed deck based on animals, robots, landmarks, school activities, classroom teams, or original characters. They can also redesign the suit symbols, create a classroom game, or write new rules for the deck they made.
For a production challenge, students can compare different stamp sizes, card sizes, paper types, ink colors, and character drawing styles to see which combination creates the clearest and most usable playing cards.
This project is suitable for classroom laser cutters that support engraving and cutting of plywood for small stamp-making and maker projects. For schools and beginner STEAM labs, projects like playing card seals, custom stamps, classroom game materials, and beginner LaserMaker activities can be completed with a classroom laser cutter such as the Thunder Laser Bolt Series.
Teachers can choose the machine and material setup based on classroom space, student supervision needs, material thickness, project size, and ventilation setup. Students should always test settings, check focus, and follow the school’s laser safety rules before final cutting.
Talk To Our Experts Now!
Please leave your contact information so that we can serve you better.
TAKE THE NEXT STEP WITH THUNDER LASER

 Stable & Consistent MachinesUnlimited ApplicationRobust After-sales SupportFactory Direct Supply


