


STEAM Number Maze Seal Laser Cutting Project with LaserMaker
 24-08-16
WHAT ARE YOU LOOKING FOR?
Search Across Products, Blog Posts, Support Content, And Resources.

STEAM Number Maze Seal Laser Cutting Project with LaserMaker
24-08-16

In this STEAM maker project, students design and make a set of number maze seals using LaserMaker and a laser cutting machine. The lesson connects number games, stamp design, text input, border design, layer setup, array copy, mirror processing, plywood cutting, handle assembly, and group-based number maze play.
This project helps students see numbers as more than symbols for counting. By making reusable number stamps, students can design maze games, test different layouts, and challenge classmates to build larger or more complex number mazes.
| Item | Details |
|---|---|
| Project | Number Maze Seal laser cutting project |
| Software | LaserMaker |
| Main Skills | Number game observation, rectangle or ellipse drawing, text input, layer color setup, Array Copy, horizontal flip, engraving, cutting, stamp handle design, assembly, and game testing |
| Suggested Materials and Parts | 5 mm plywood, paper, drawing pen, white latex glue, stamp ink or classroom-approved pigments such as watercolor or gouache |
| Classroom Fit | Laser cutting and maker projects, math games, stamp making, beginner LaserMaker practice, classroom teamwork, and creative STEAM activities |
Students will plan which numbers are needed for a number maze, design bordered number stamps in LaserMaker, prepare engraving and cutting layers, mirror the stamp designs, laser cut the seal parts, assemble the stamp handles, and use the finished seals to create a number maze game.
For teachers: Use this lesson to connect number games, pattern creation, digital design, laser cutting, and collaborative problem-solving.
For students: Use the activity to make a practical set of number stamps and create a maze challenge for classmates.
For makerspaces: Use it as a beginner-friendly stamp project that combines LaserMaker practice with math-based game design.
Discuss number games such as number mazes, Sudoku-style grids, 24-point games, and matchstick puzzles.
Plan which numbers are needed before designing a stamp set.
Create a number stamp with an outer border, inner graphic area, and editable text.
Use Array Copy to duplicate stamps and then edit each number individually.
Mirror stamp designs, laser cut plywood parts, assemble handles, and use the stamps to create a playable number maze.
Design thinking: Turn a simple number game idea into reusable physical tools for building different maze layouts.
Computational thinking: Use repeated numbers, arrays, layer settings, text sizing, and mirrored output to make a consistent stamp set.
Engineering thinking: Consider stamp size, border thickness, handle fit, material thickness, cutting depth, and whether each stamped number is readable.
Students should operate the laser cutter only under teacher or lab supervisor guidance. Before processing, check the focal length, material type, layer order, cutting parameters, engraving parameters, and whether the stamp designs have been mirrored correctly.
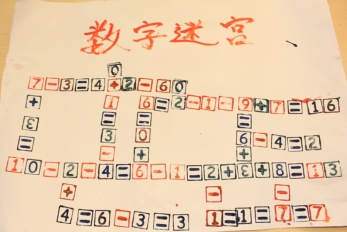
Number games help students practice observation, logic, counting, layout planning, and problem-solving. A number maze can be built in many ways, so reusable number stamps let students quickly create, test, and revise different maze designs.
In this lesson, students first discuss which numbers are needed for the game. Then they design a clear bordered stamp for each number so the stamped maze is easier to read and play.

Teachers can begin the lesson with short number-game prompts. These questions help students connect math play with maker design before opening the software.
Have you ever played a number game with your friends?
What number games have you played before?
What numbers are needed to make a number maze?
Why does a number stamp need a clear border?
How could a group make the maze bigger or more difficult?
Classroom Discussion: Students can compare different number games and then decide how a stamp set can make number maze creation faster, clearer, and more fun for group play.
Before using LaserMaker, divide students into groups. Ask each group to decide which numbers they need and sketch the shape and size of the stamp on paper. The source lesson requires each digital stamp to include a border.
Discuss which numbers will appear in the maze.
Sketch the stamp outline and inner border on paper.
Decide whether the stamp shape should be square, circular, or another simple shape.
Plan the stamp size so the number is easy to read after printing.
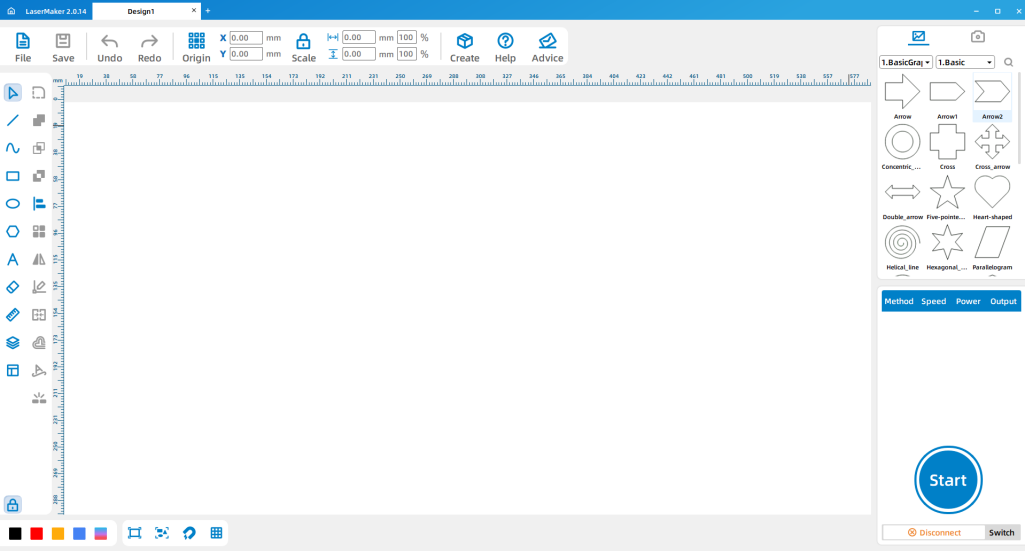
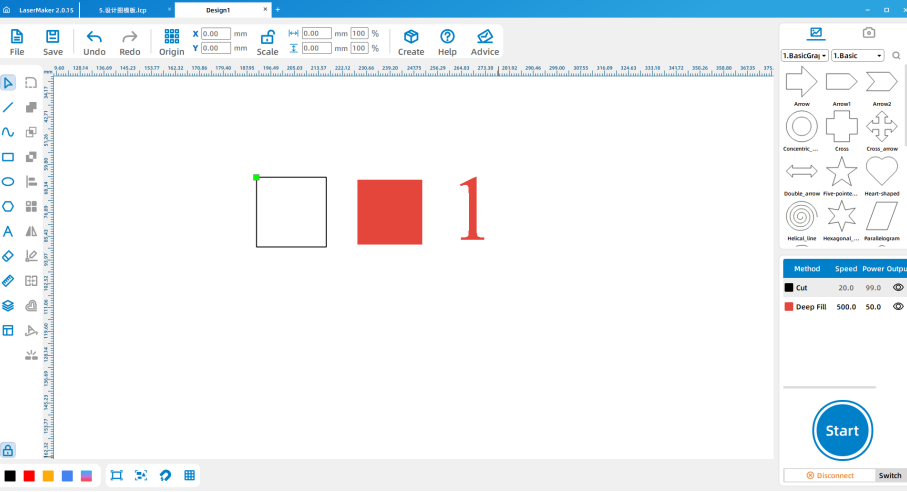
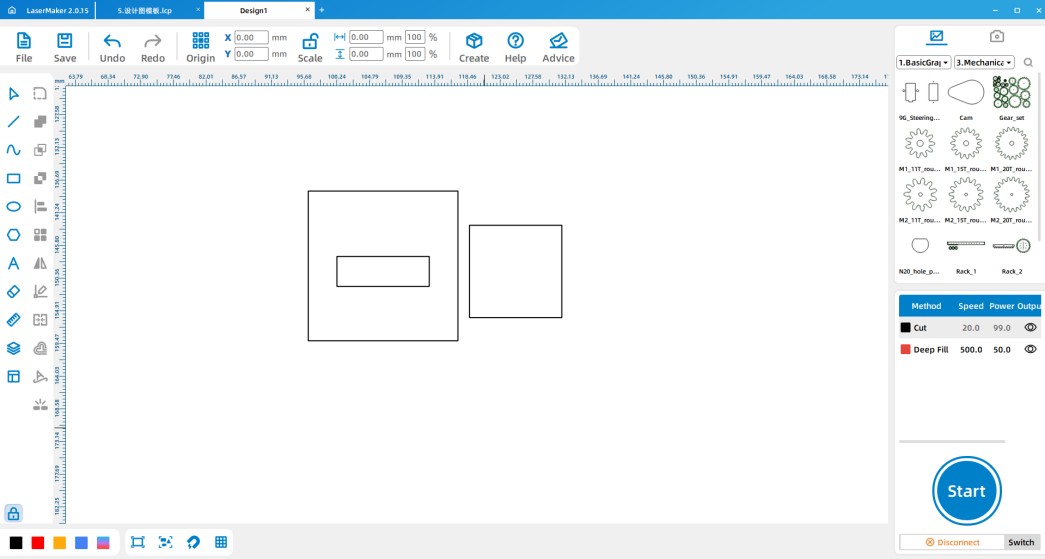
Open LaserMaker. Use Draw Rectangle or Draw Ellipse from the left menu to create the stamp shape based on the paper draft. In the source workflow, the stamp is shown as a 25 mm square.
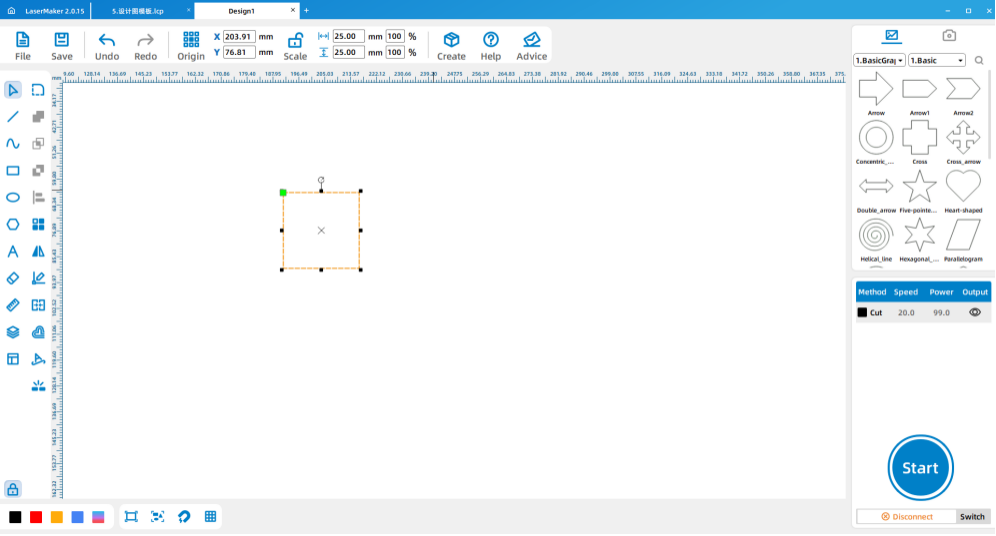
Copy and paste the first shape, then reduce the copied shape to create the inner border area. In the source workflow, the inner square is 23 mm.

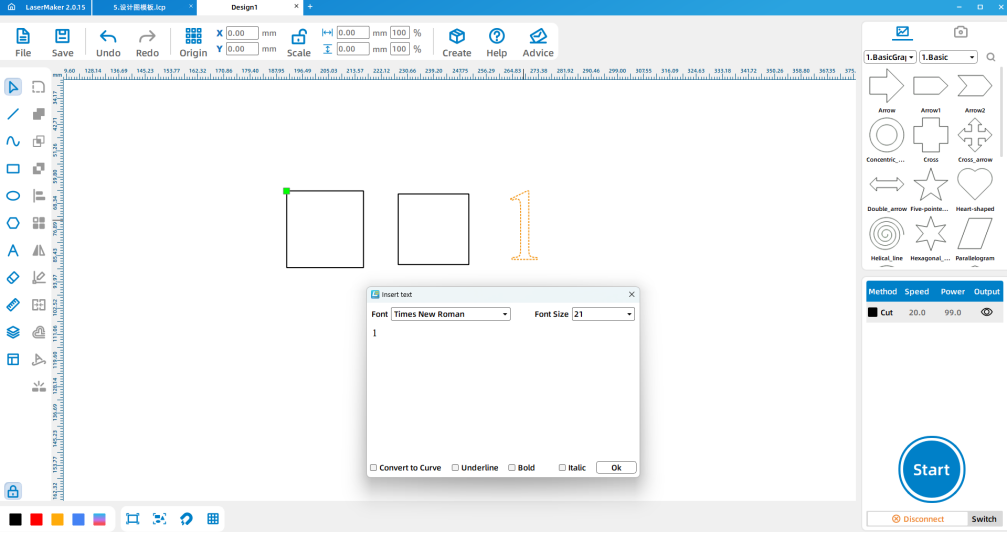
Click Input Text on the left menu, double-click the workspace, and enter the number for the stamp. Adjust the line height and font so the number fits clearly inside the border.
Select the inner shape and text, then change their layer color. In the source workflow, filled layer graphics are treated as engraving areas. If the layer is not filled and behaves as a cutting layer, students should adjust it in the parameter area before processing.
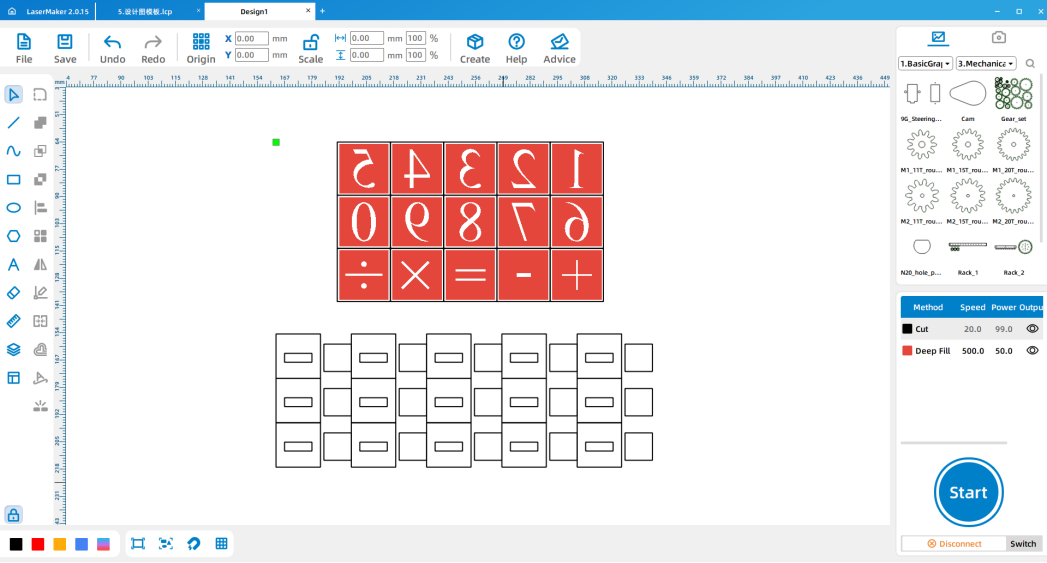
Arrange the outer shape, inner border, and number text as one complete stamp design. Then use Array Copy to duplicate the stamp according to the number set planned before class.
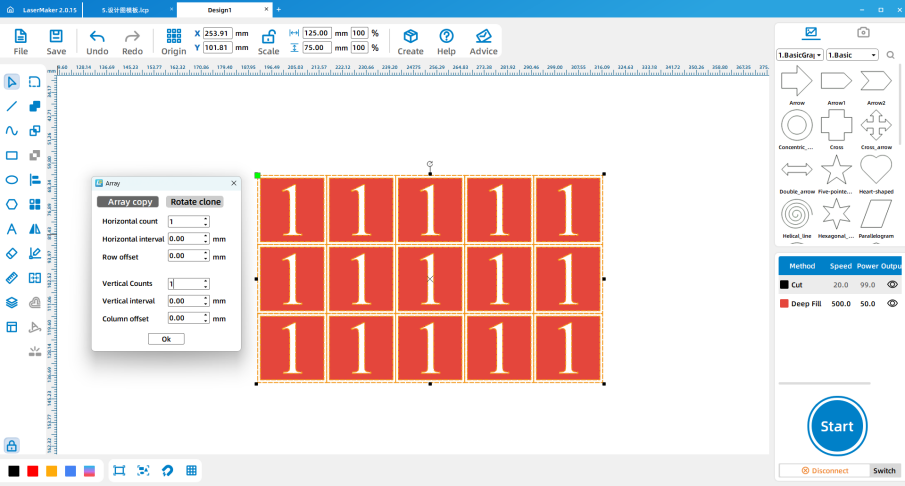
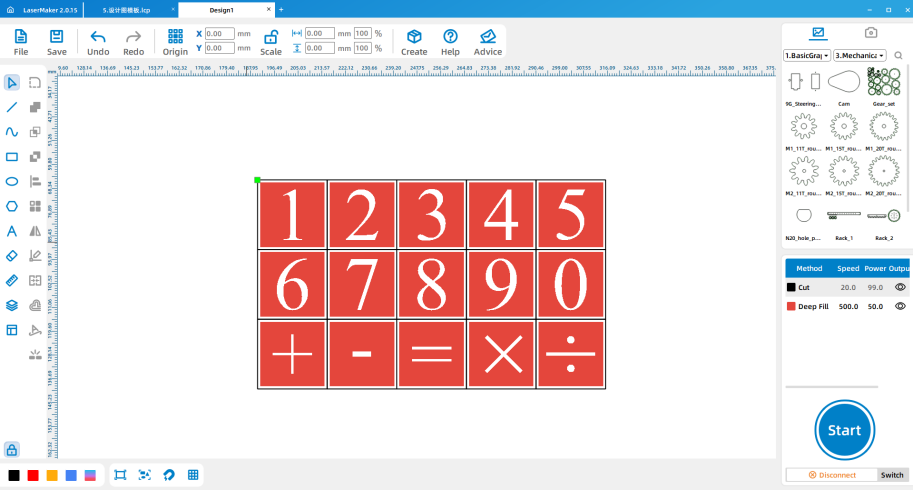
After Array Copy, every stamp still has the same text. Double-click the text in each stamp and update it to the correct number. If the number is too large or too small, adjust the text height before final processing.
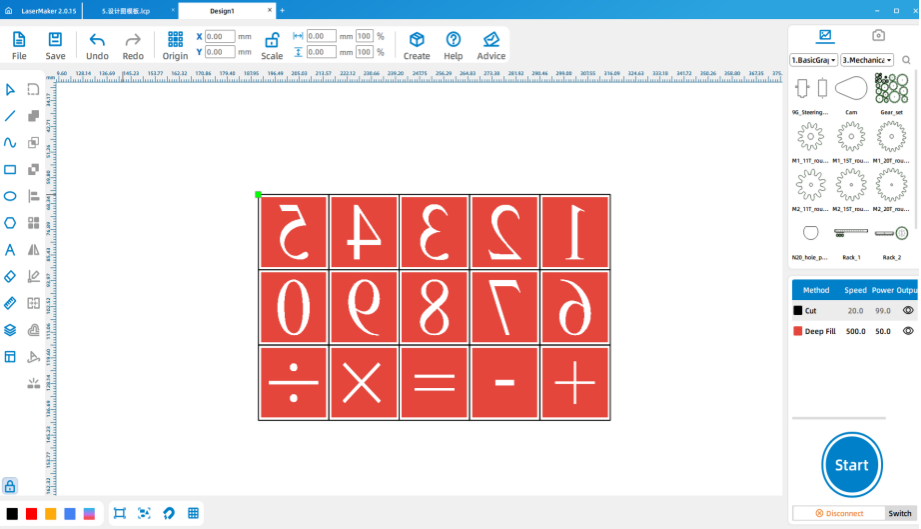
After the numbers are updated, use Rotation > Horizontal Flip for mirror processing. This is important because a stamp prints the reverse of the engraved surface.
Draw a shape that is the same size as the stamp face. In the source workflow, the handle part starts with another 25 mm square. Draw a rectangle in the center of the square, then copy and adjust the center rectangle. The source example shows a 17 mm height for the inner rectangle.
Use Array Copy to create enough handle parts for all number stamps. After the stamp faces and handles are complete, arrange the final layout neatly for laser processing.
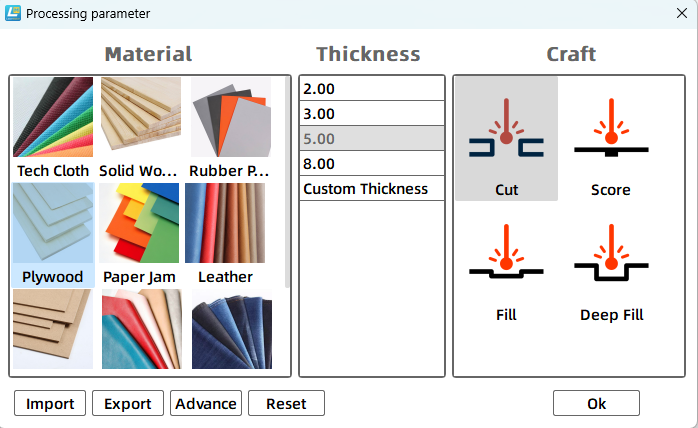
Set the cutting and engraving parameters before sending the file to the laser cutter. The source workflow uses 5 mm plywood, so the cutting parameter should match the 5 mm material setup. After setting the parameters, check the layer order carefully.
Import the completed design file into the laser cutting machine for processing. Before starting, adjust the focal length to reduce the risk of incomplete cutting.
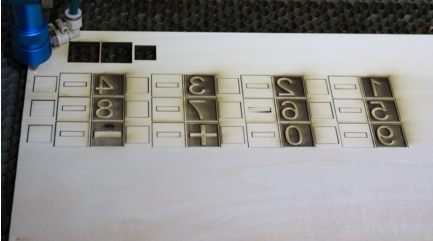
After processing, take the cut stamp parts to the workbench. Use white latex glue to attach each stamp face to its handle, then allow the glue to set before testing the stamps.
Use the finished number stamps to create a number maze. Students can work in groups and compare which group can make the larger, clearer, or more complex maze.
The source lesson notes that regular stamp ink can be used. Classroom-approved alternatives such as watercolor or gouache pigments can also be used when appropriate.
Group planning: Students decide which numbers are needed and sketch the stamp design on paper.
Software design: Students draw the stamp shape, add the border, input text, duplicate the stamps, and mirror the designs.
Machine processing: Students process files in a safe classroom order under teacher supervision.
Assembly: Students glue each stamp face to its handle and let the parts dry.
Game testing: Students use the stamps to create number mazes and test the game with classmates.
Ask students to test the stamp on scrap paper before building the final maze.
Remind students that each number should be mirrored before laser processing.
Prepare extra plywood scraps and paper for students who need to retry a stamp.
Encourage groups to compare maze difficulty, size, clarity, and playability.
Use the activity to introduce other number games such as Sudoku, 24-point games, and matchstick puzzles.
What other number games could be made with stamps?
What problems did your group encounter while playing the number maze?
How could you change the maze layout to make it easier or harder?
How could you improve the stamp design if you made a second version?
Students can evaluate their own work and give peer feedback based on creativity, structural firmness, appearance, and learning attitude.
| Evaluation Item | Self-Evaluation | Peer Evaluation |
|---|---|---|
| Creativity, 30 points | ||
| Firmness, 30 points | ||
| Appearance, 20 points | ||
| Learning Attitude, 20 points | ||
| Total, 100 points |
After finishing the basic number maze, students can design number stamps for other math games. They can create stamps for Sudoku-style grids, 24-point games, matchstick challenges, classroom counting games, or original number puzzles.
For a design challenge, students can compare different stamp shapes, border widths, font sizes, ink types, and maze rules to see which combination makes the game clearer and more enjoyable to play.
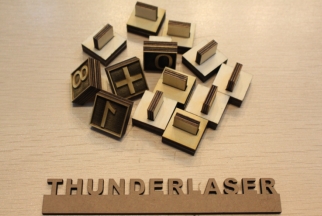
This project is suitable for classroom laser cutters that support engraving and cutting of plywood for small stamp-making and maker projects. For schools and beginner STEAM labs, projects like number maze seals, classroom math stamps, game materials, and beginner LaserMaker activities can be completed with a classroom laser cutter such as the Thunder Laser Bolt Series.
Teachers can choose the machine and material setup based on classroom space, student supervision needs, material thickness, project size, and ventilation setup. Students should always test settings, check focus, and follow the school’s laser safety rules before final cutting.
Talk To Our Experts Now!
Please leave your contact information so that we can serve you better.
TAKE THE NEXT STEP WITH THUNDER LASER

 Stable & Consistent MachinesUnlimited ApplicationRobust After-sales SupportFactory Direct Supply


