


STEAM Felt Document Bag Laser Cutting Project with LaserMaker
 24-08-21
WHAT ARE YOU LOOKING FOR?
Search Across Products, Blog Posts, Support Content, And Resources.

STEAM Felt Document Bag Laser Cutting Project with LaserMaker
24-08-21

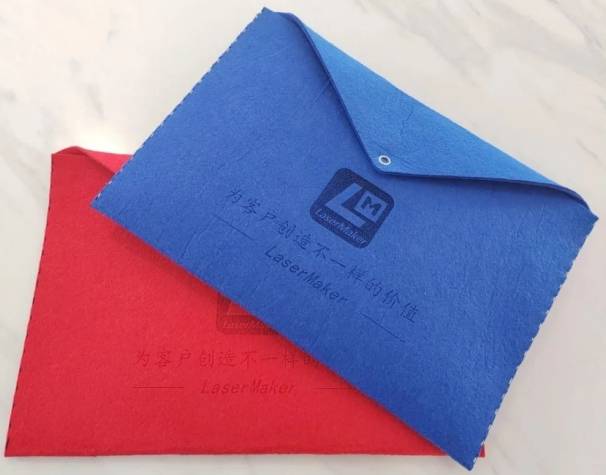
In this STEAM maker project, students design and make a felt document bag using LaserMaker and a laser cutting machine. The lesson connects product observation, digital pattern drafting, dashed sewing guides, fabric cutting, light engraving, snap-button placement, hand sewing, and final assembly.
This project helps students see how laser cutting can support soft-material projects, not only wood and acrylic. Students create a usable felt folder by designing the flat pattern, adding sewing reference lines, engraving decoration, cutting the outline, and finishing the bag with thread and a snap button.
| Item | Details |
|---|---|
| Project | Felt Document Bag laser cutting project |
| Software | LaserMaker |
| Main Skills | Rectangle drawing, line editing, Break Line Segment, vertical array, dashed sewing guide design, lid drawing, corner rounding, circle drawing, image import, image manipulation, text input, layer setup, felt cutting, light engraving, sewing, and snap-button installation |
| Suggested Materials and Parts | 3 mm felt fabric, needle and thread, five-prong snap button, and hand press clamp |
| Classroom Fit | Laser cutting and maker projects, textile design, soft-material prototyping, document folder design, beginner LaserMaker practice, and practical classroom craft projects |
Students will design a flat felt document bag pattern in LaserMaker, add dashed sewing guides and a snap-button hole, place decorative image and text elements, set custom felt processing parameters, laser process the felt, sew the sides, and install a five-prong snap button.
For teachers: Use this project to connect product design, measurement, digital drafting, fabric processing, and hands-on assembly.
For students: Use the activity to make a useful document bag while learning how digital patterns become physical soft-goods projects.
For makerspaces: Use it as a beginner-friendly felt project that combines laser cutting, engraving, sewing, and hardware installation.
Understand how a document bag can be designed as a flat pattern before being folded and sewn.
Use rectangles, line tools, arrays, rounded corners, and circles to create a practical felt bag layout.
Create dashed sewing guides with a short line segment and vertical array settings.
Add decorative images and text, then separate outline cutting, light engraving, and cutting layers.
Sew the sides of the felt bag and install a five-prong snap button with a hand press clamp.
Design thinking: Create a useful storage object by planning shape, opening direction, closure, decoration, and user experience.
Computational thinking: Use dimensions, repeated dashed lines, layer colors, process order, and custom material settings to make the pattern repeatable.
Engineering thinking: Consider felt thickness, fold direction, sewing convenience, button placement, edge strength, and how the flat sheet becomes a functional bag.
Students should operate the laser cutter only under teacher or lab supervisor guidance. Before processing felt, confirm that the material is approved for laser use, check ventilation, focus, layer order, and machine settings. During assembly, students should handle needles, thread, and hand press tools carefully.
Document bags are used to store papers, identity documents, small study materials, and personal items. They can be made in different styles, such as buckle-style folders or sleeve-style holders, and they may use materials such as PP, PVC, kraft paper, Oxford fabric, or felt.
In this lesson, students use felt fabric because it is flexible, soft, and suitable for sewing after laser processing. The design process encourages students to think about how a flat material can be cut, folded, stitched, and closed to become a useful storage object.
Before opening LaserMaker, students should prepare the felt material, sewing tools, snap button, and hand press clamp used for the final assembly.
| No. | Material or Tool | Quantity |
|---|---|---|
| 1 | 3 mm felt fabric | 1 |
| 2 | Needle and thread | 1 set |
| 3 | Five-prong snap button | 1 |
| 4 | Hand press clamp | 1 |
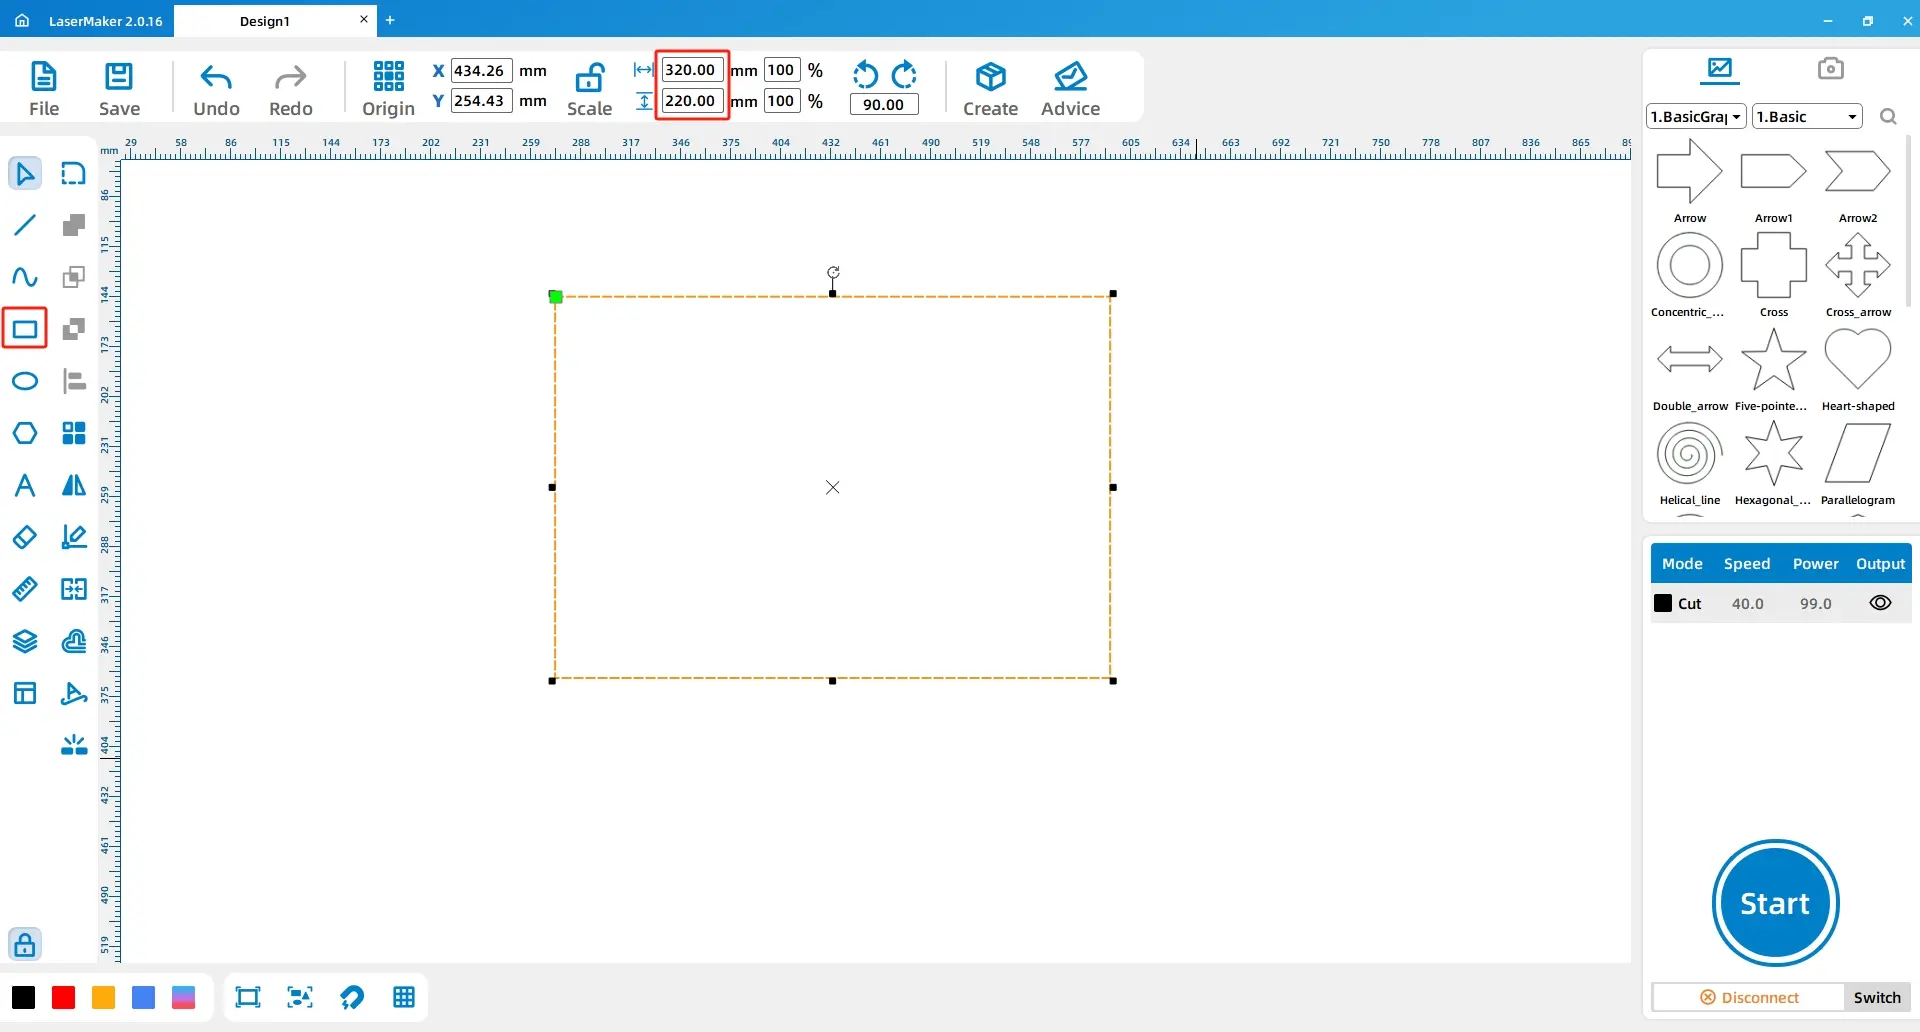
Open LaserMaker. Select the Rectangle tool from the drawing toolbar and draw a 320 mm by 220 mm rectangle on the canvas.
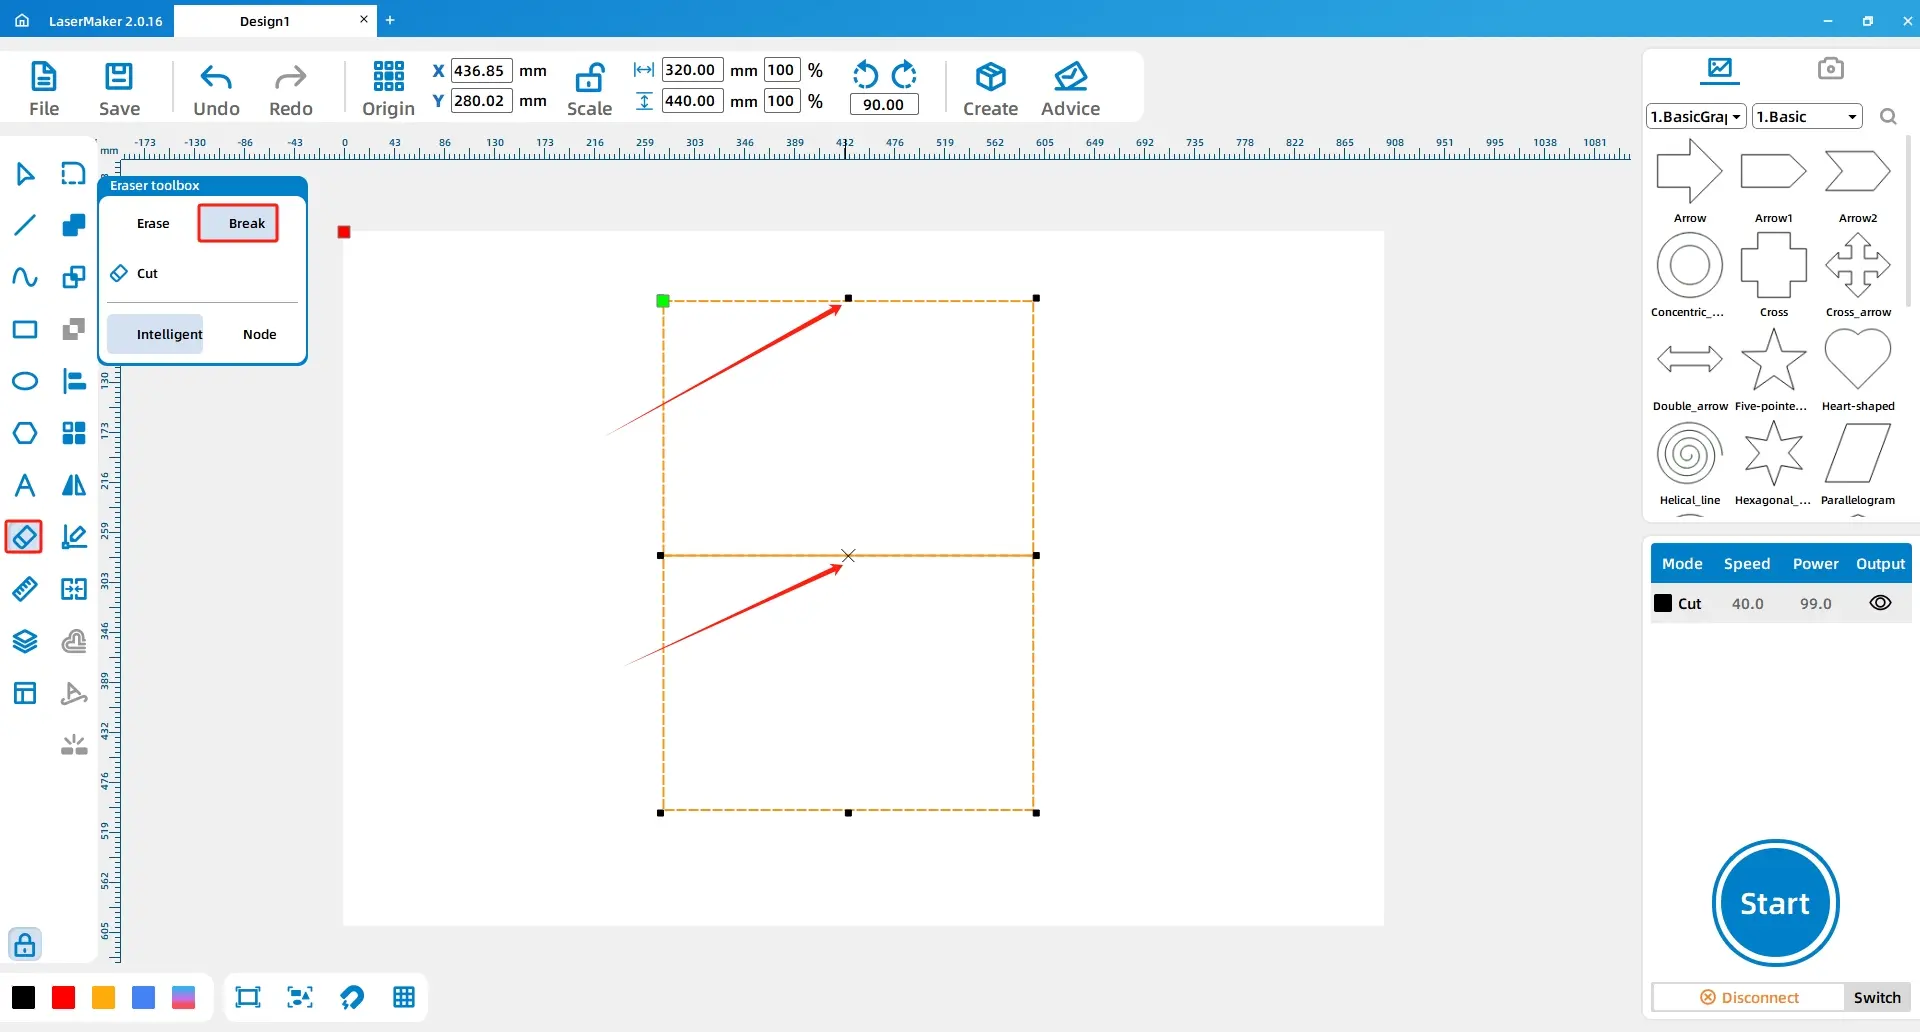
Select the rectangle, copy it with Ctrl+C, and paste it with Ctrl+V. Align the two rectangles so their ends meet. Then use the Eraser tool and Break Line Segment function to break and delete the selected line segments, creating the continuous bag pattern needed for the folded felt shape.

Use the Line tool to draw a 3 mm line. Select the line and use the Array tool to create a vertical array with a vertical count of 75 and vertical spacing of 3 mm. Move the dashed line to the inside left edge of the rectangle. Use the same method to create the dashed sewing guide on the right side.
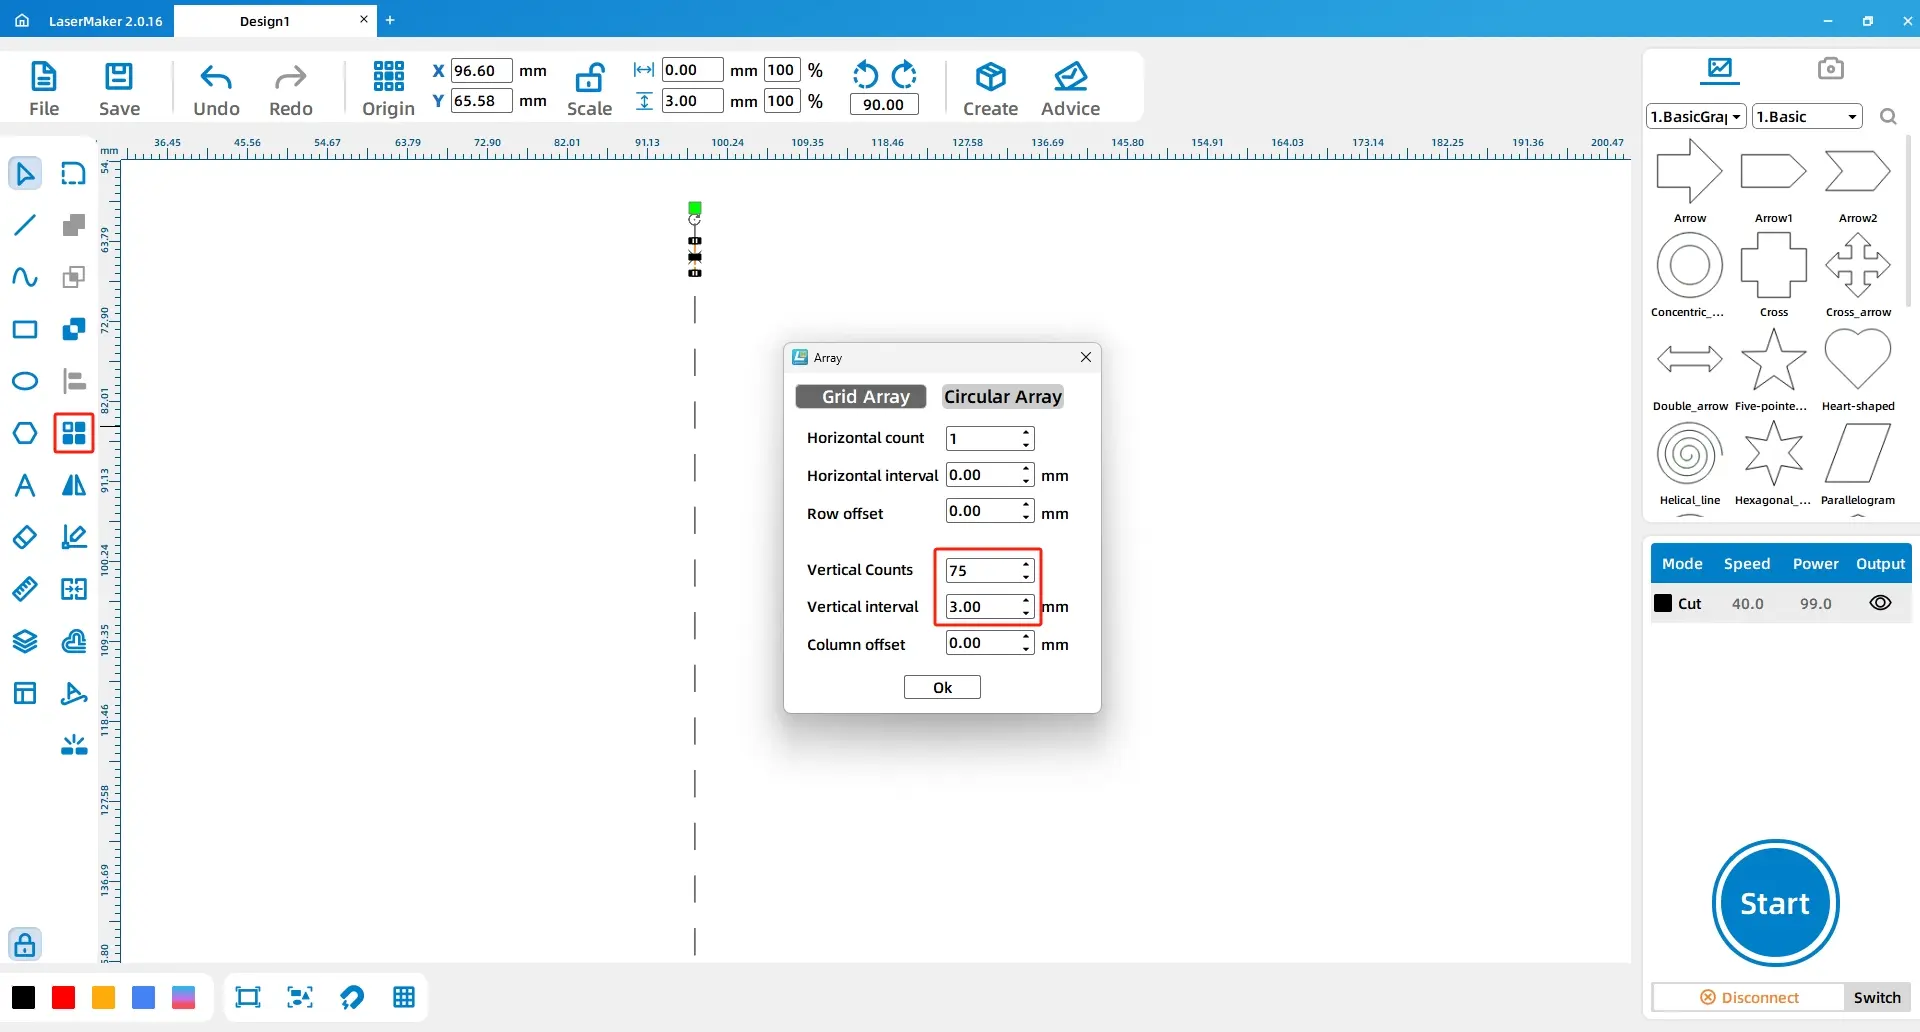
Design Tip: The dashed lines make sewing easier by giving students a visible guide. This is a useful example of designing the file for the assembly process, not only for the laser cutting process.
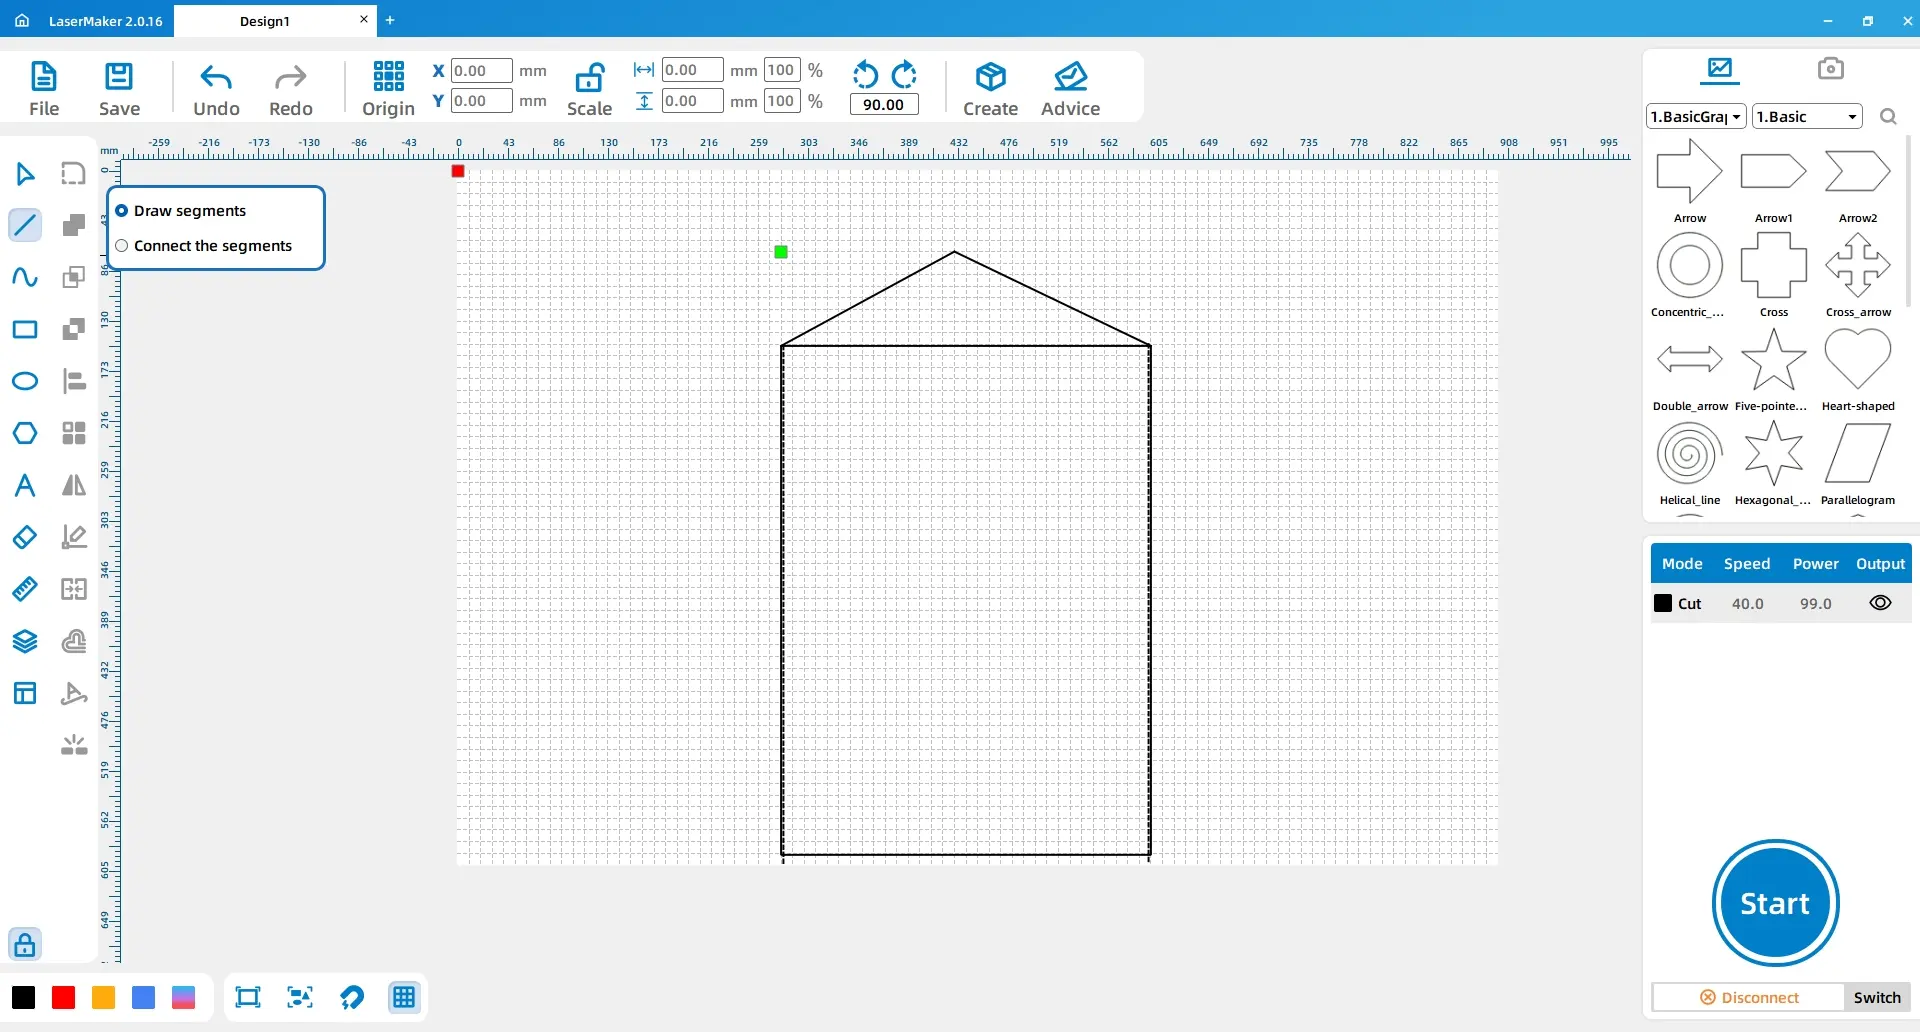
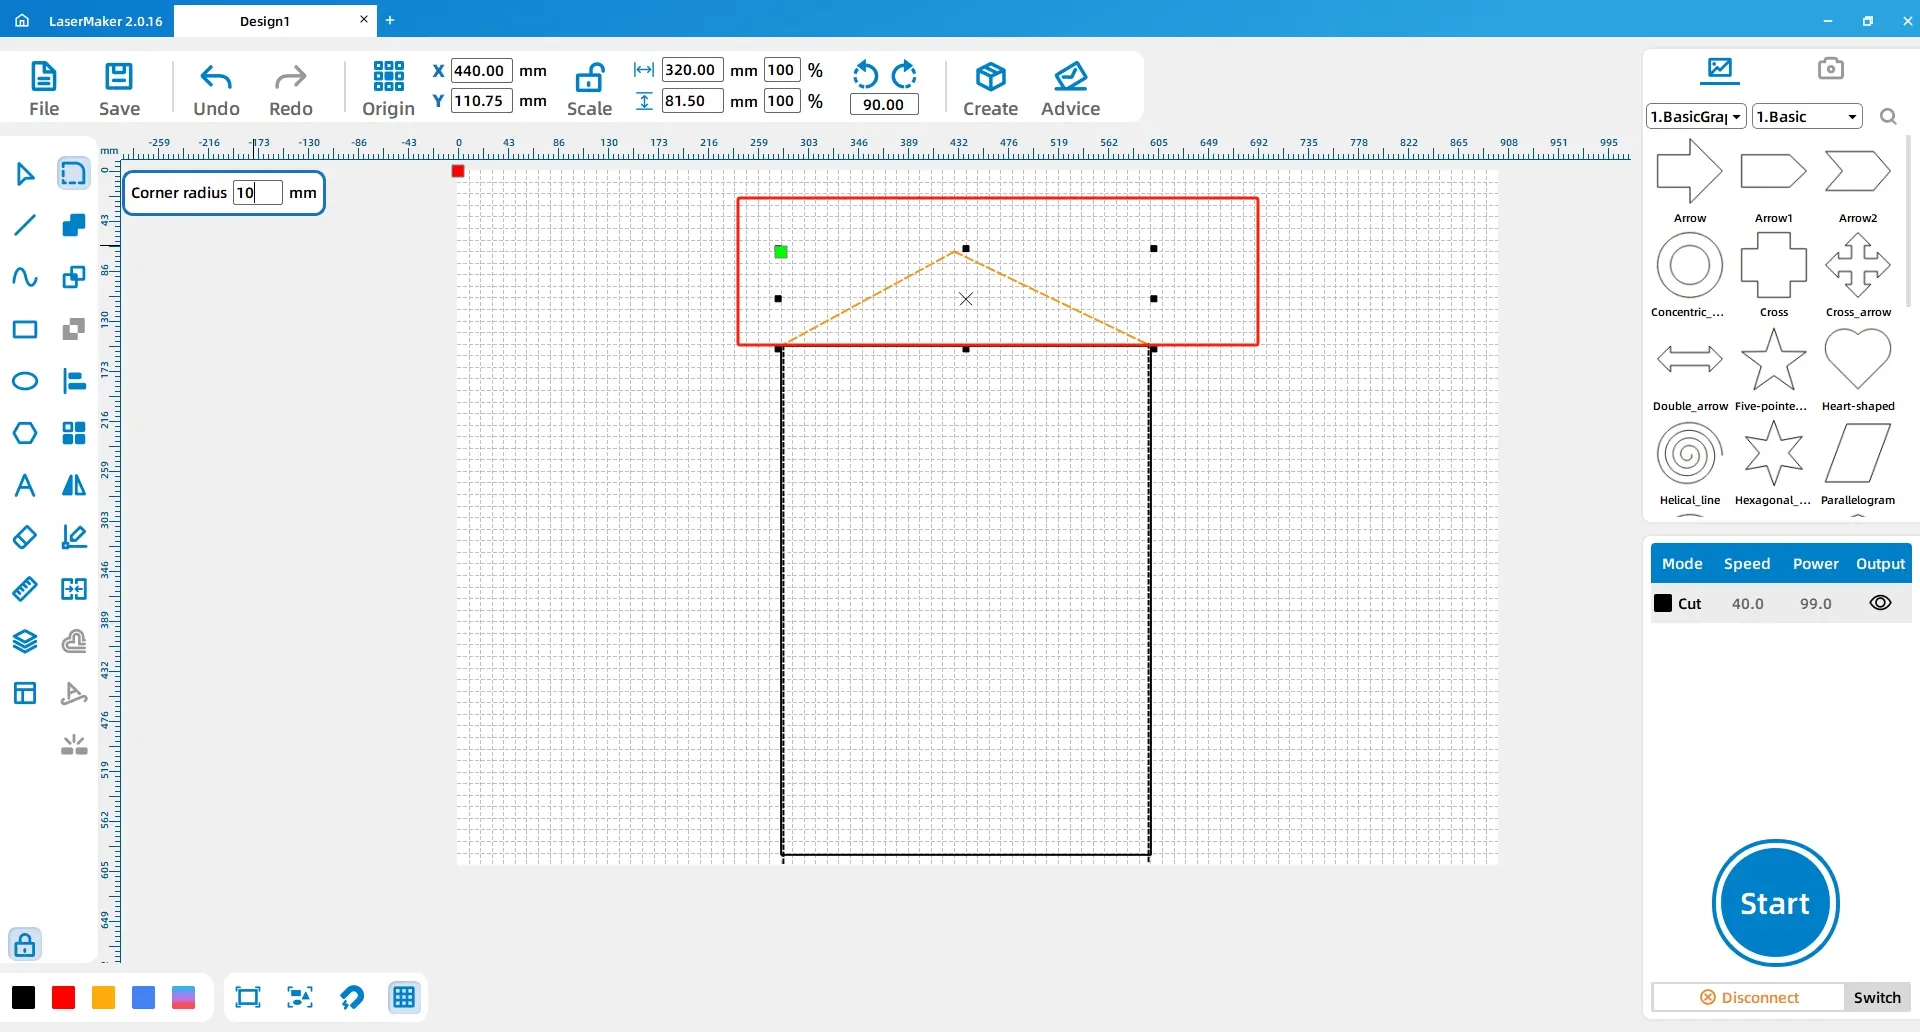
Turn on the Grid tool below the canvas. Use the Line Segment tool to draw the lid shape for the document bag. Select the lid and use the Rounding tool with a 10 mm setting to round the corners.
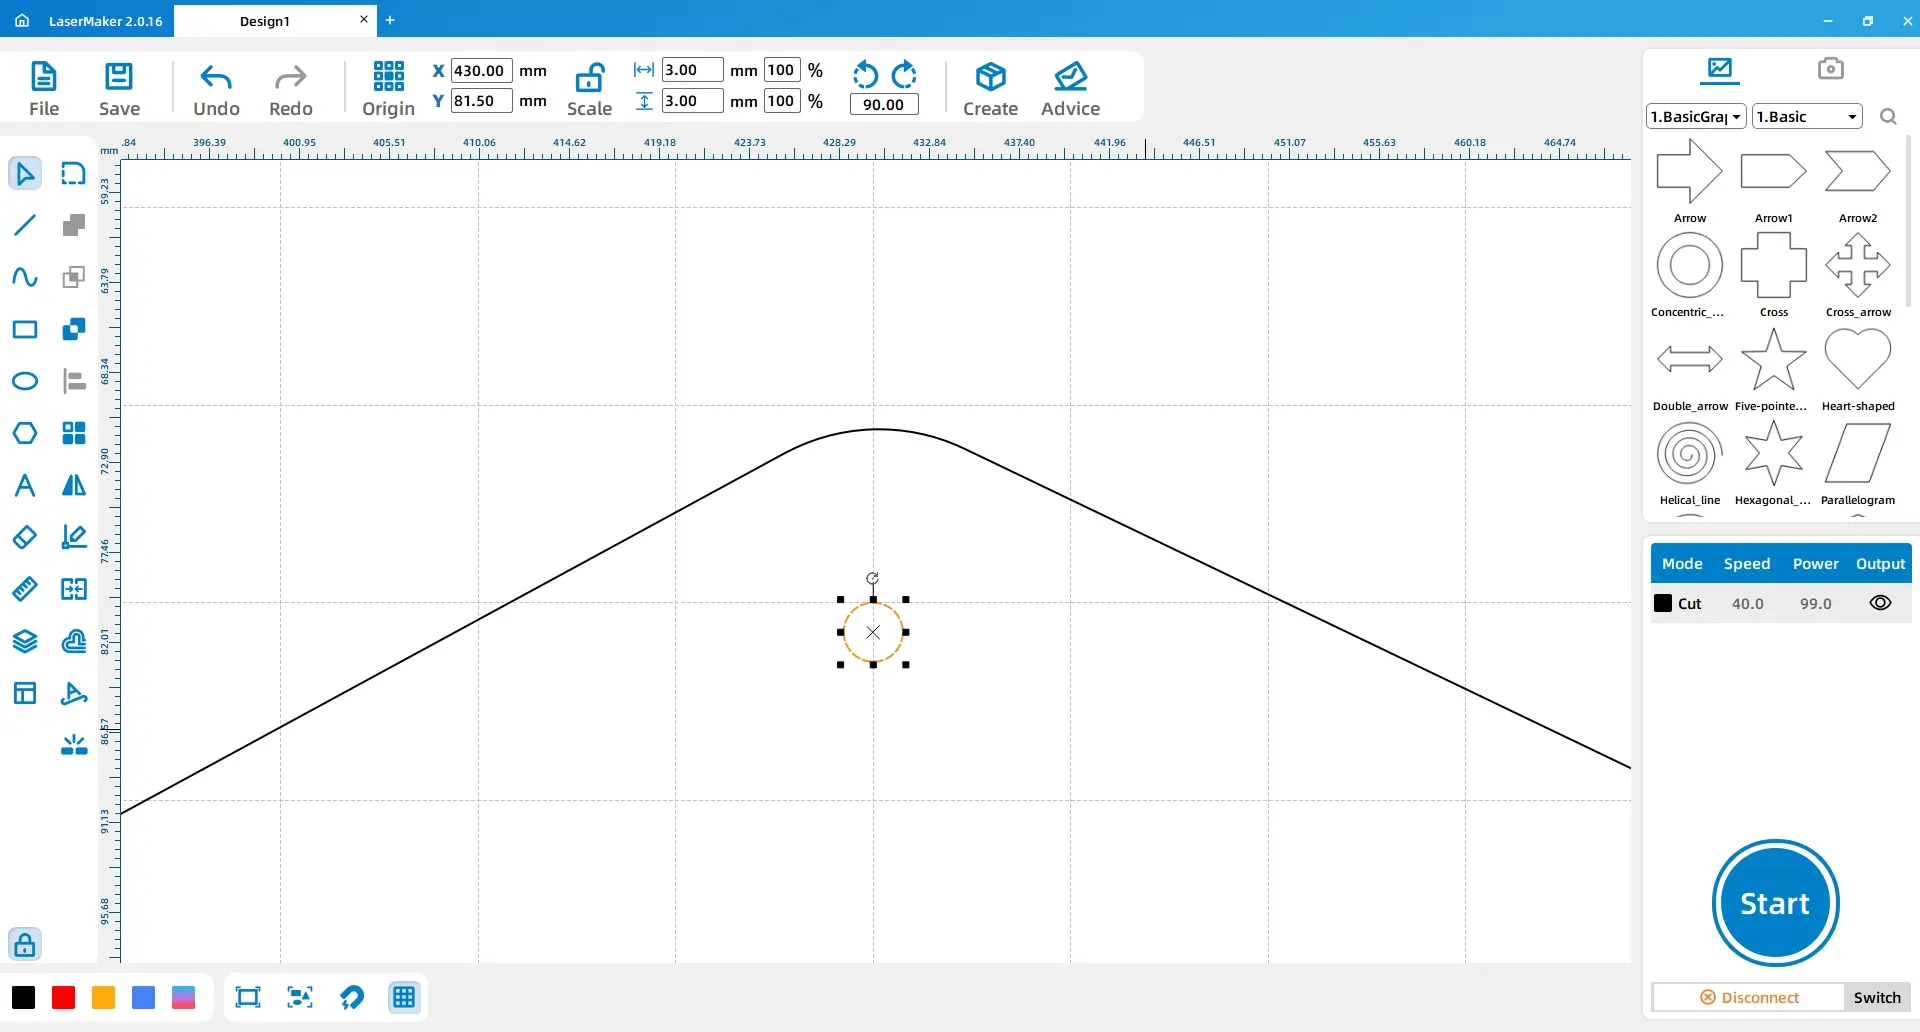
Use the Ellipse tool to draw a 3 mm diameter circle and place it directly below the lid. This circle marks the position for installing the five-prong snap button.
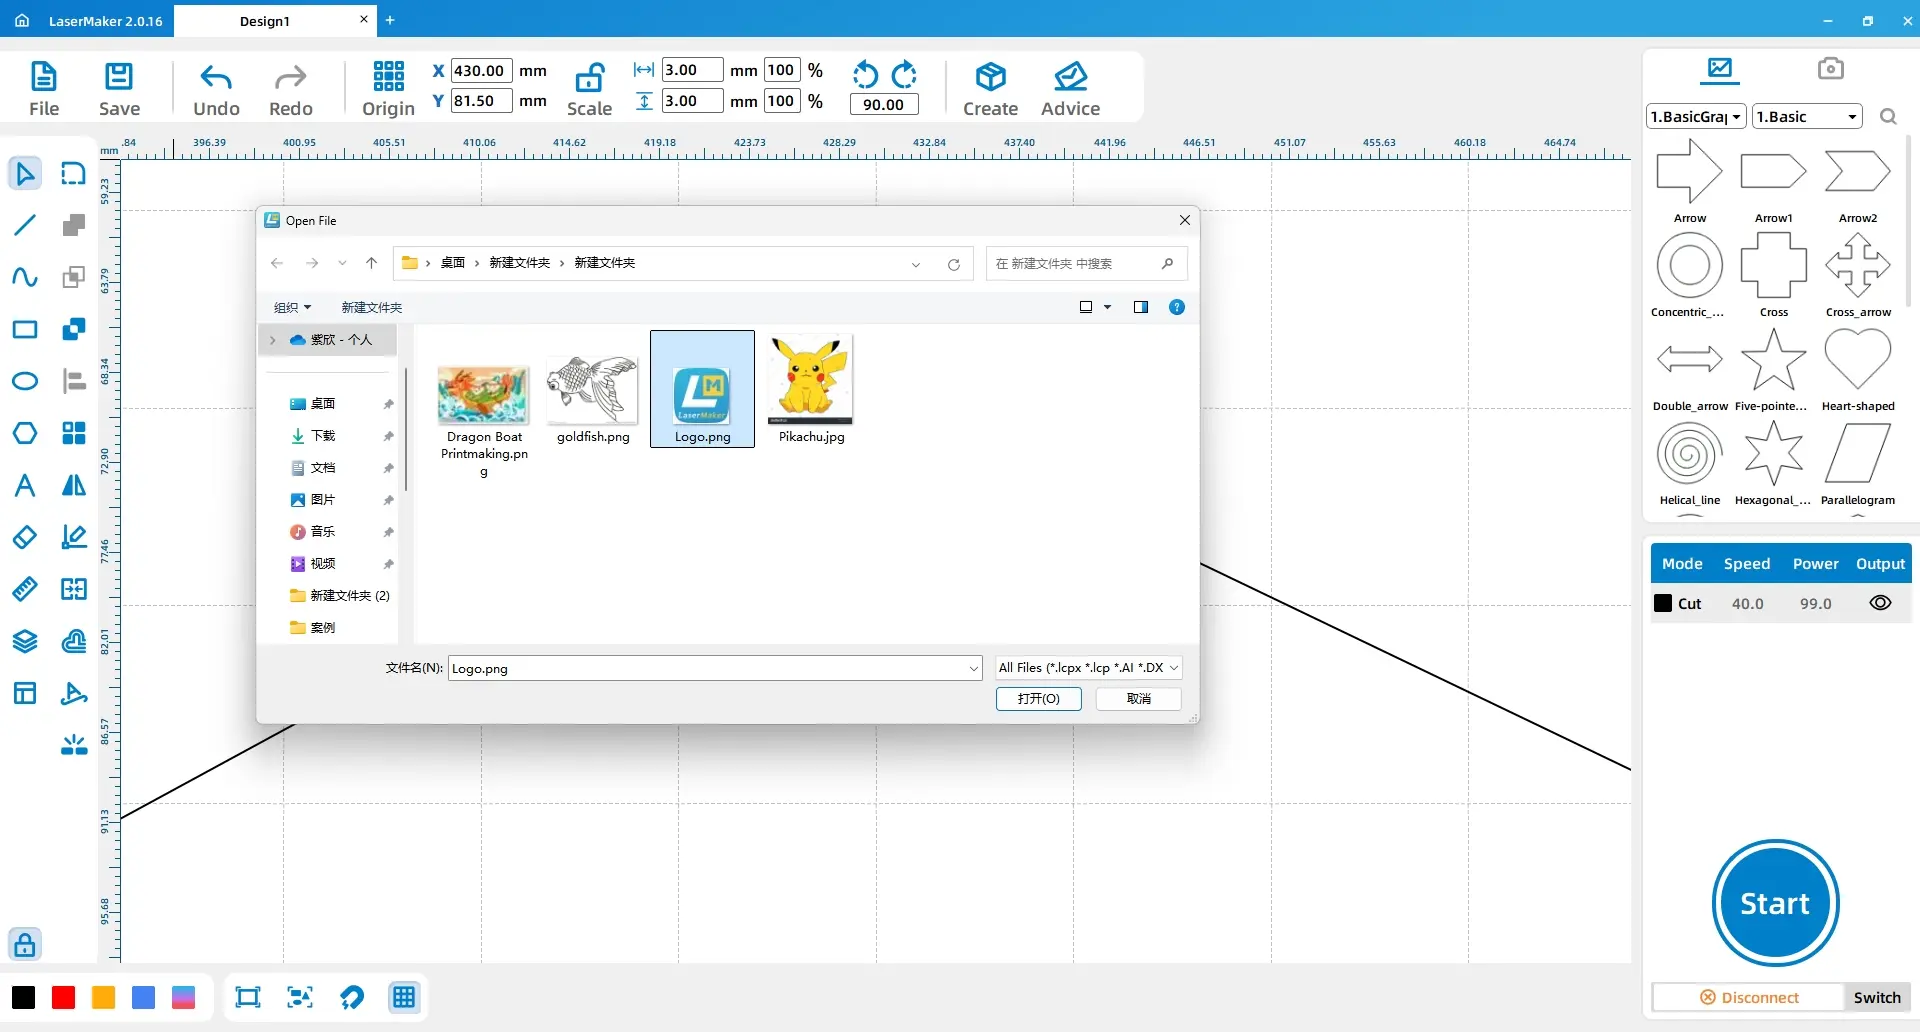
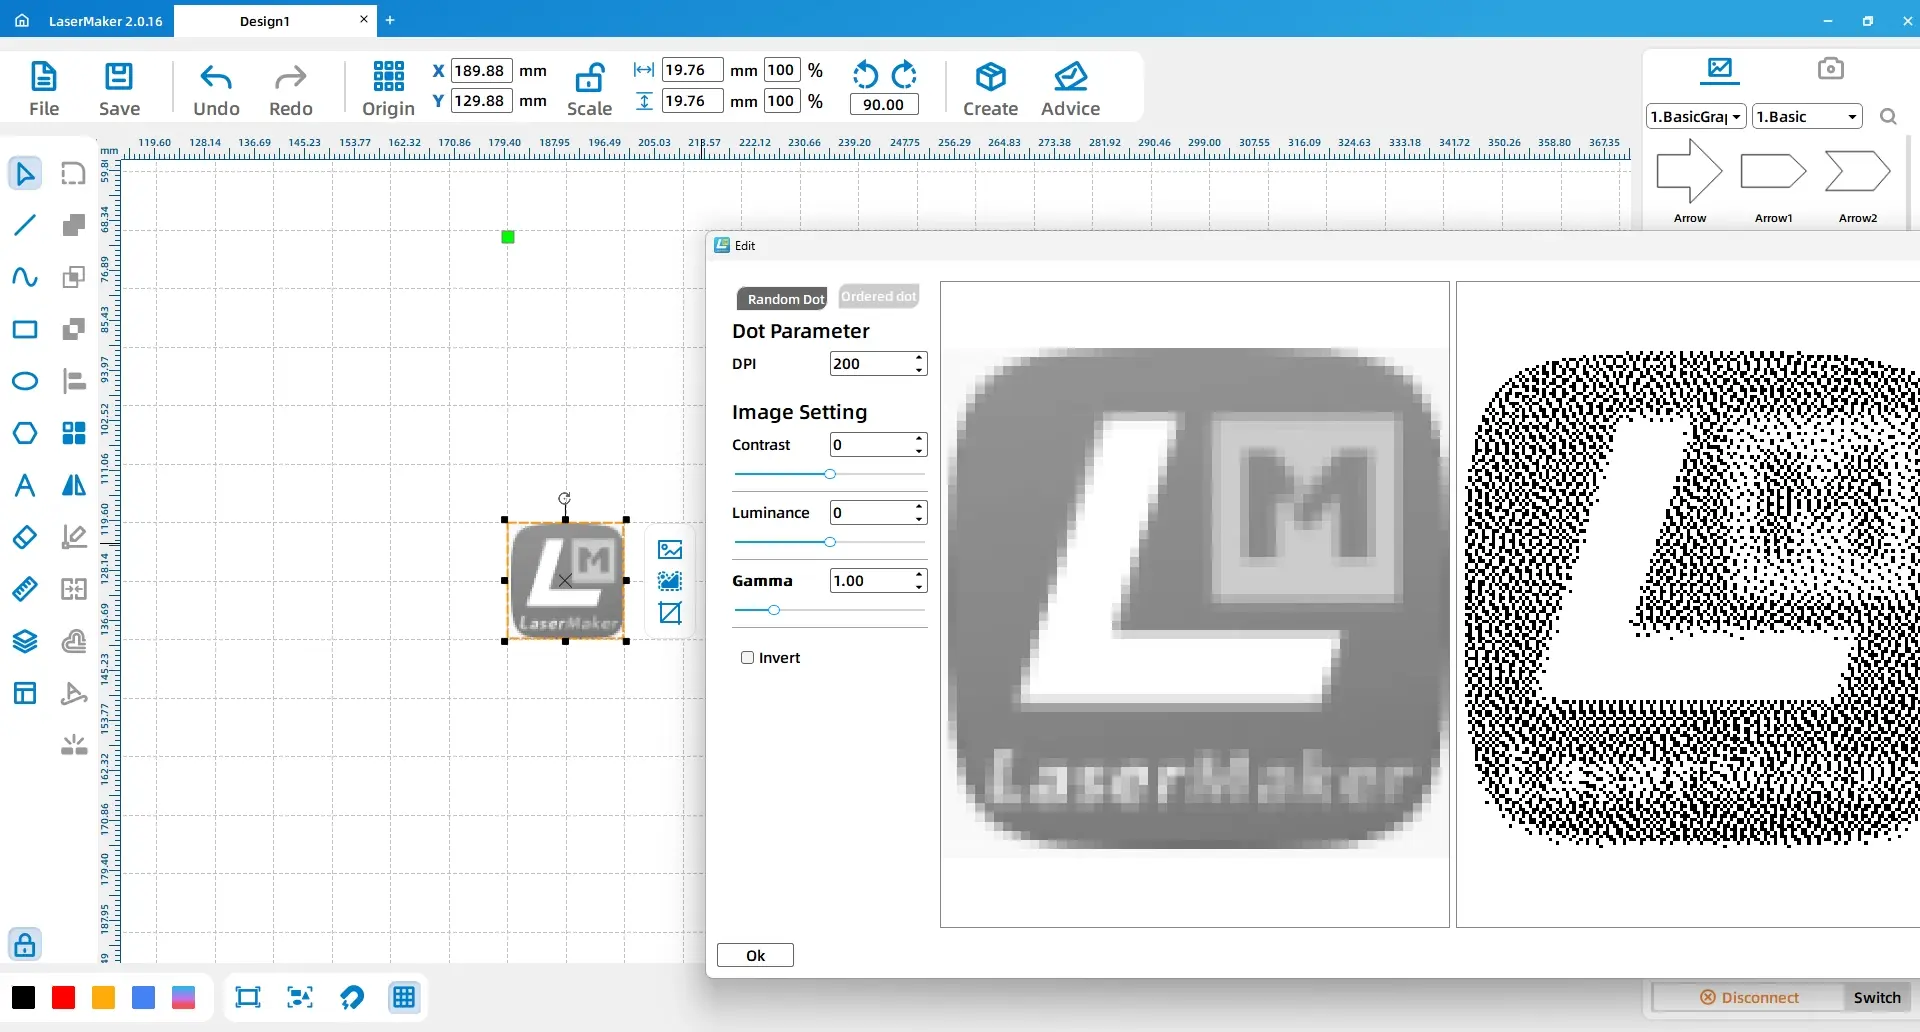
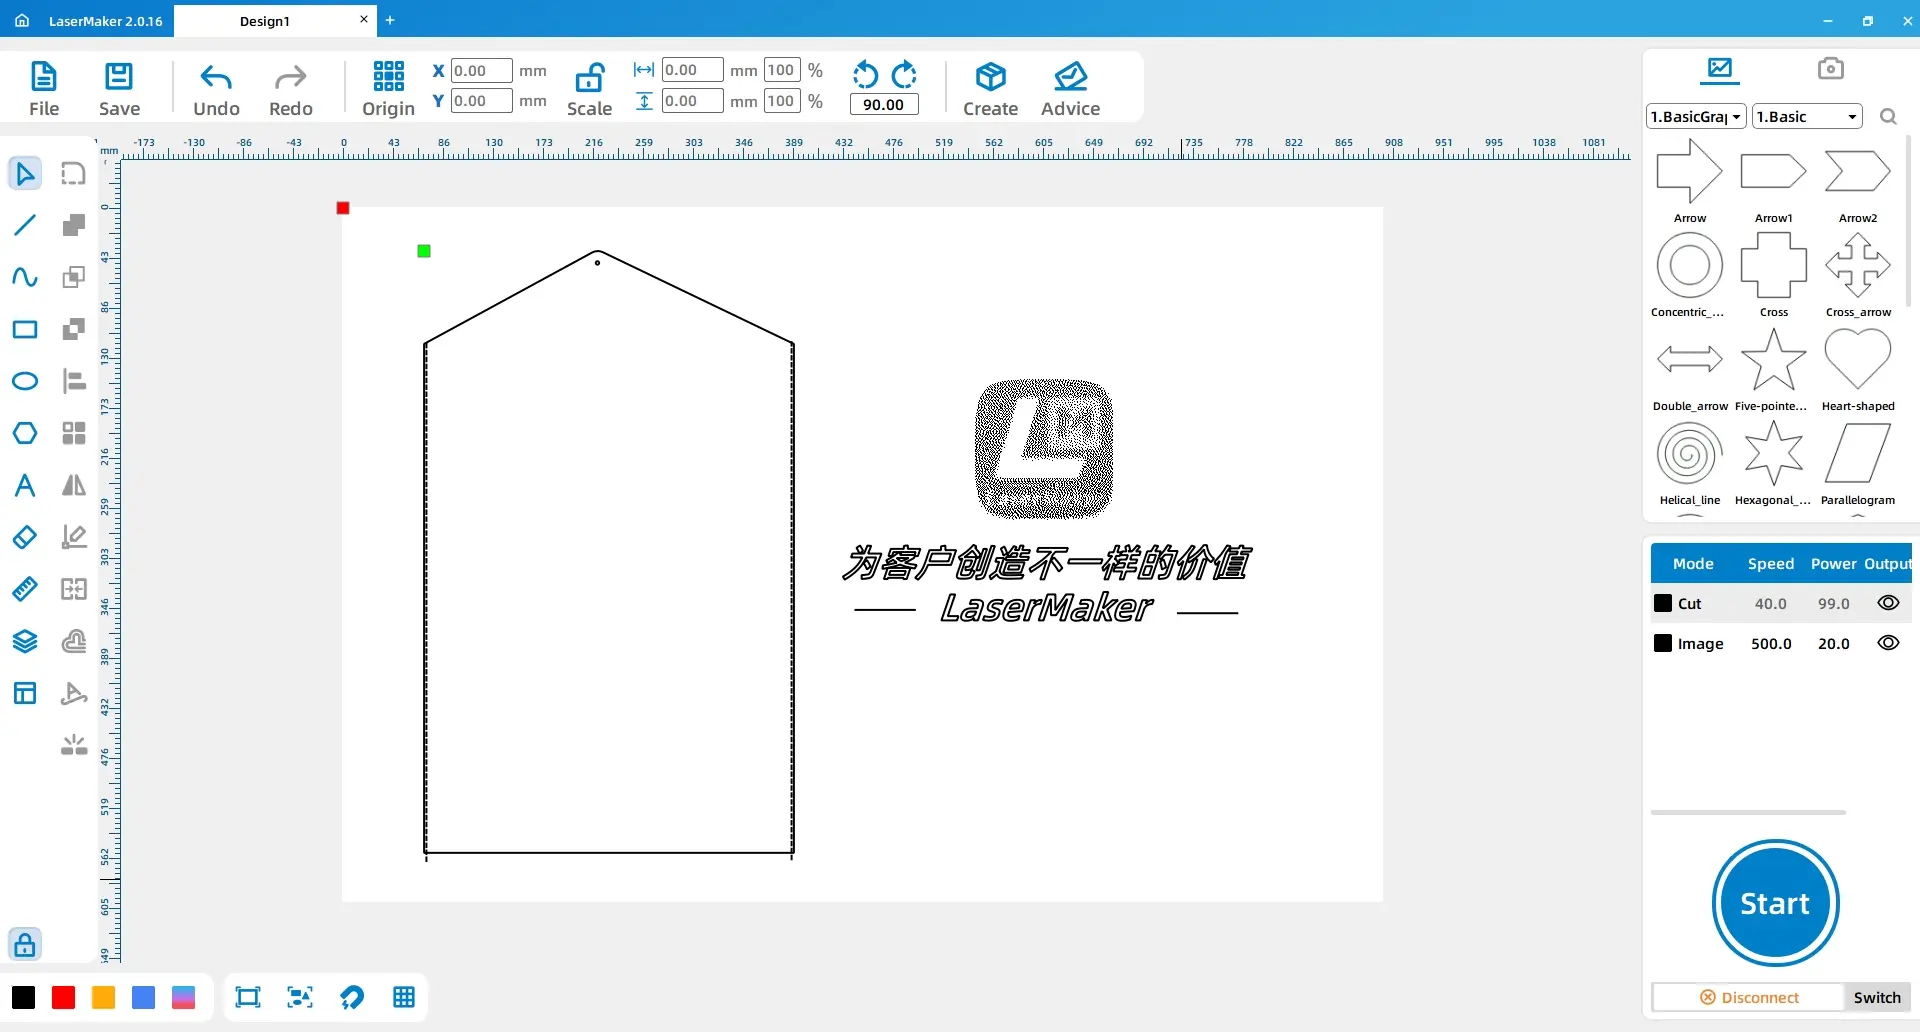
Click File, choose Open, and import a favorite image into LaserMaker. Double-click the image, open Image Manipulation, and adjust the image parameters so it can be lightly engraved on the felt surface.
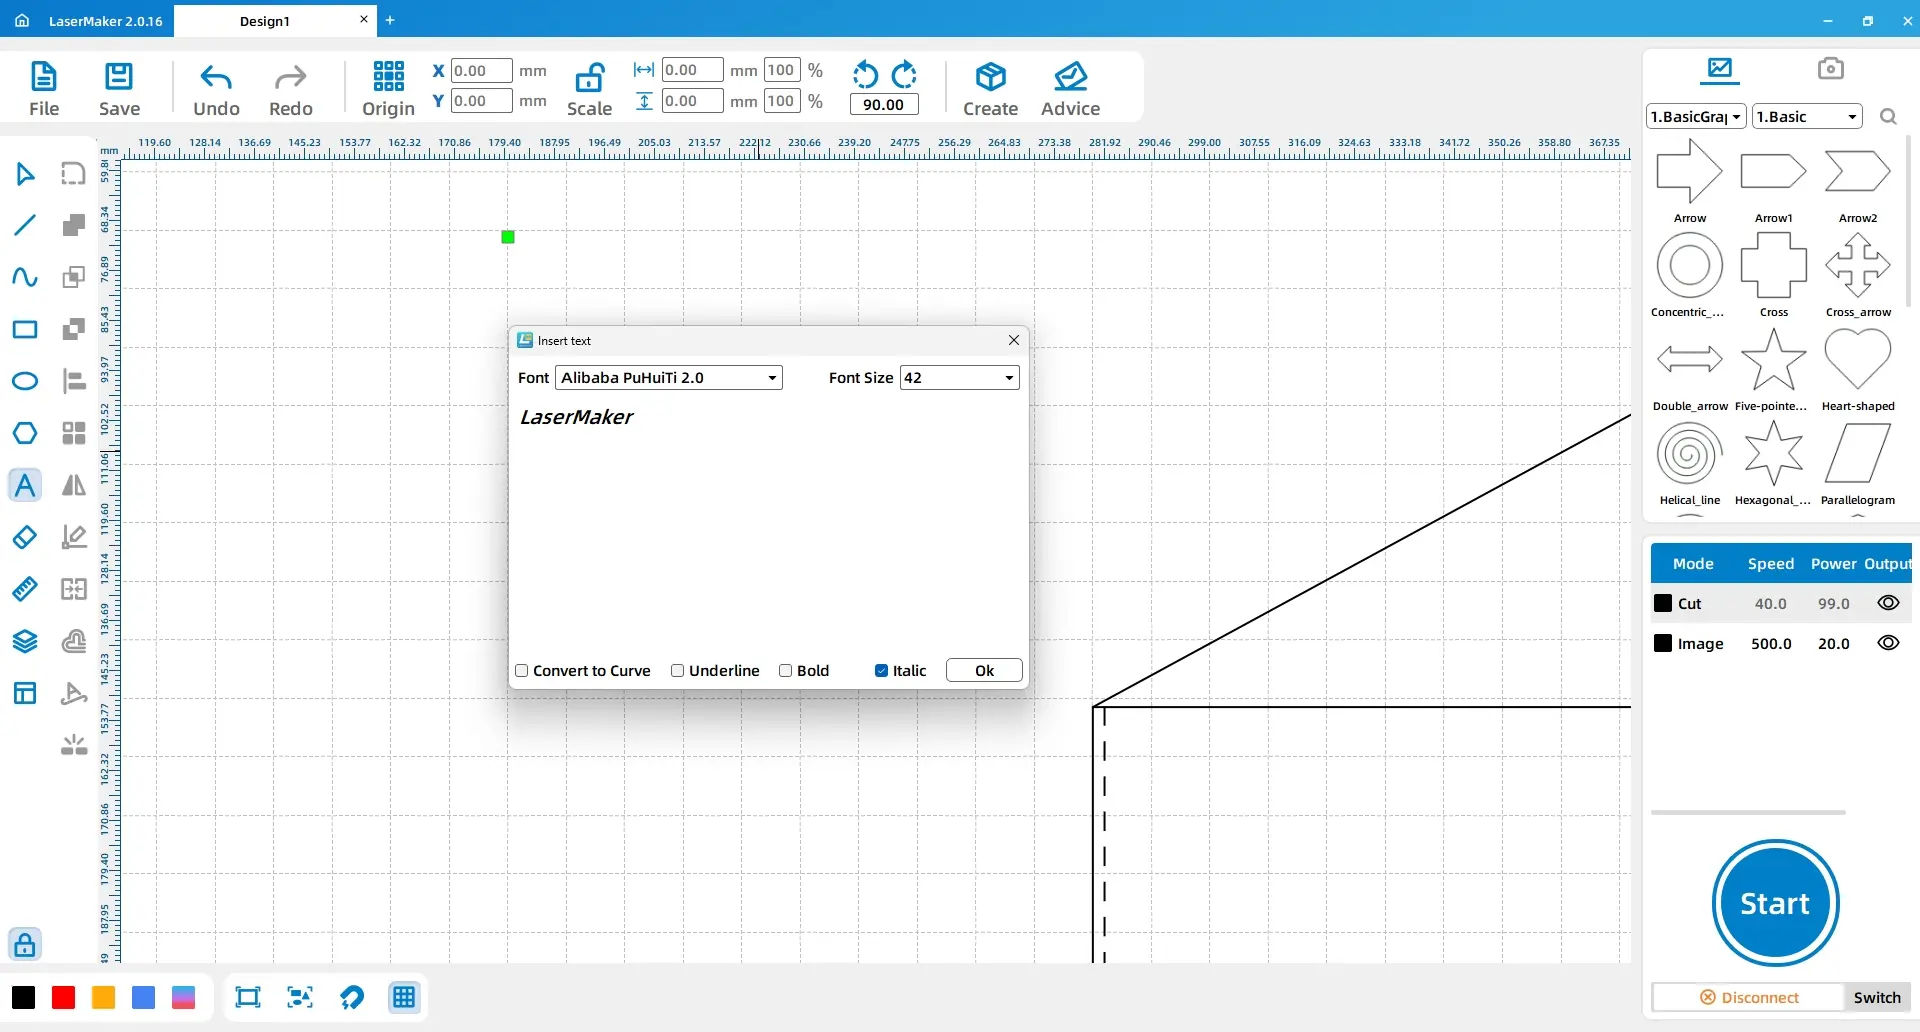
Use the Font tool to enter the phrases “Creating Unique Value for Customers” and “LaserMaker” separately. In the source workflow, the font is set to Kai, the size is set to Chuhao, and “LaserMaker” is set to italic. Then use the Line Segment tool to draw one straight line on each side of “LaserMaker.”
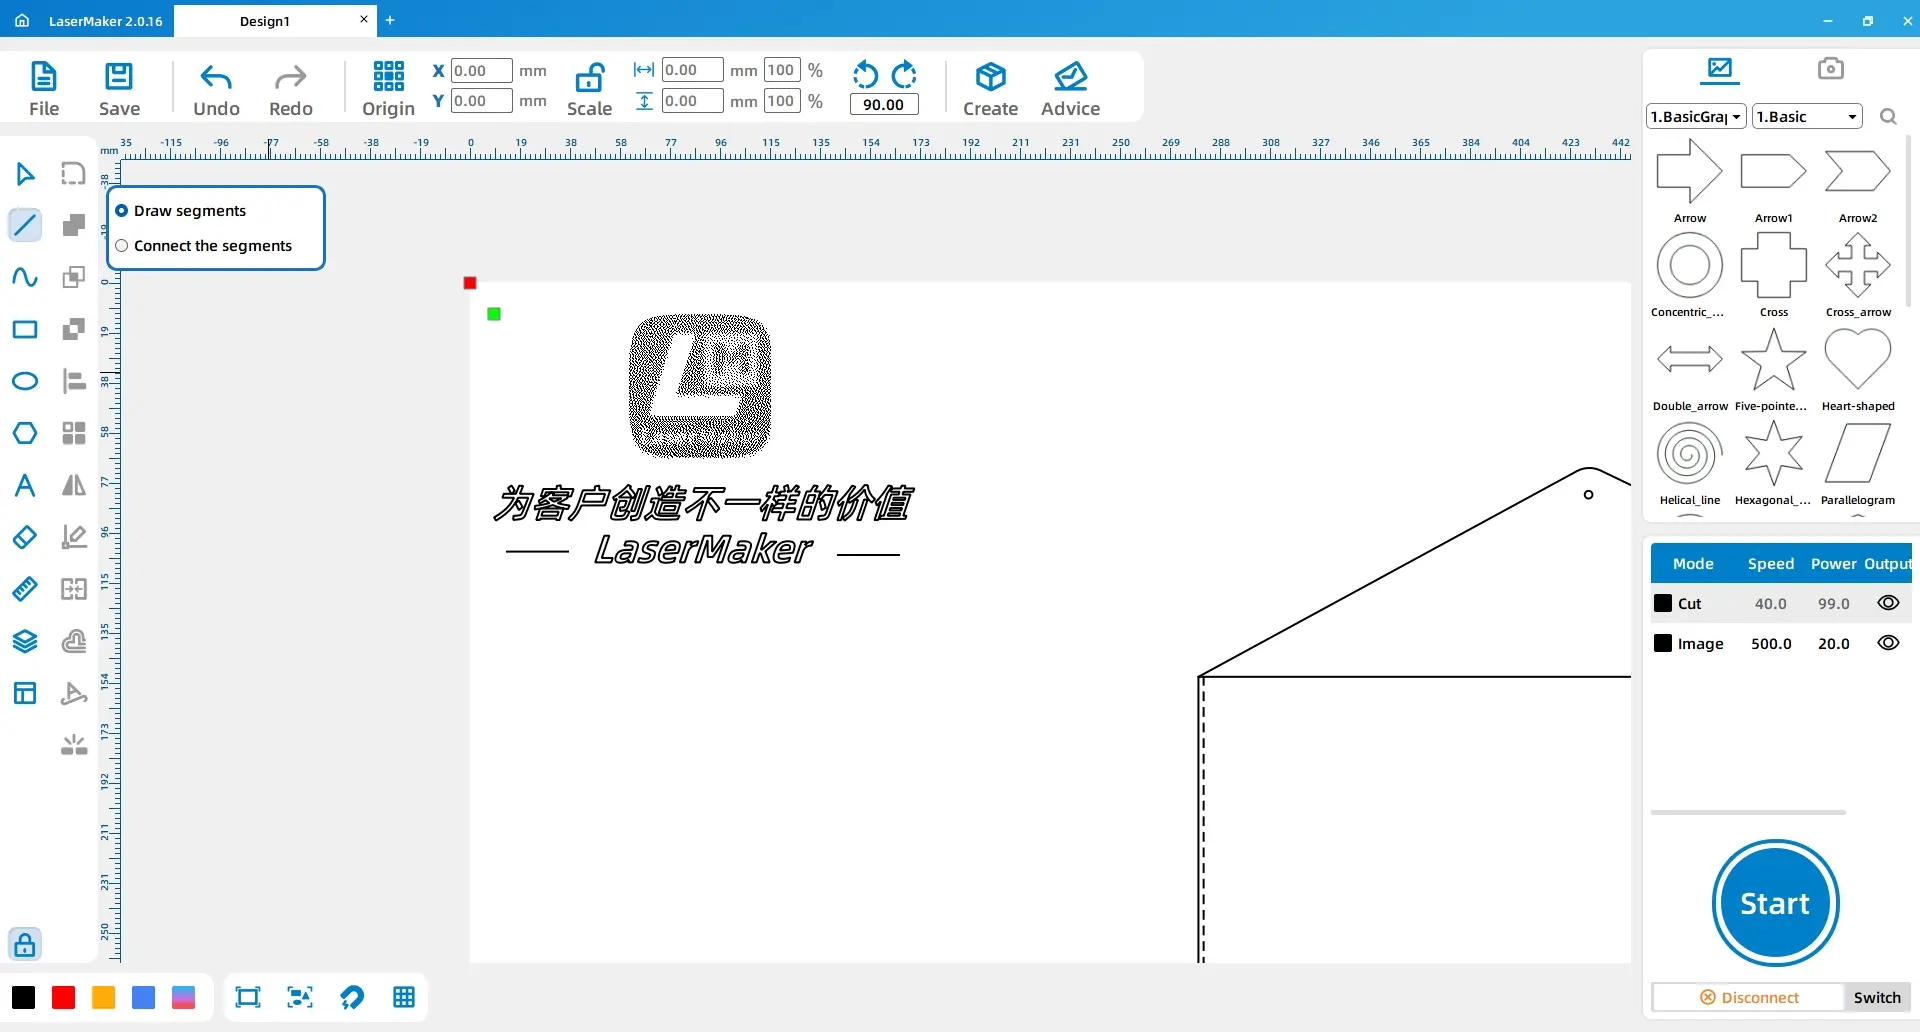
Select the dashed sewing guides and the two straight lines beside the text, then set them to the red layer. Select the image and font elements and set them to the yellow layer. Select the document bag outline and the snap-button circle and set them to the black layer.
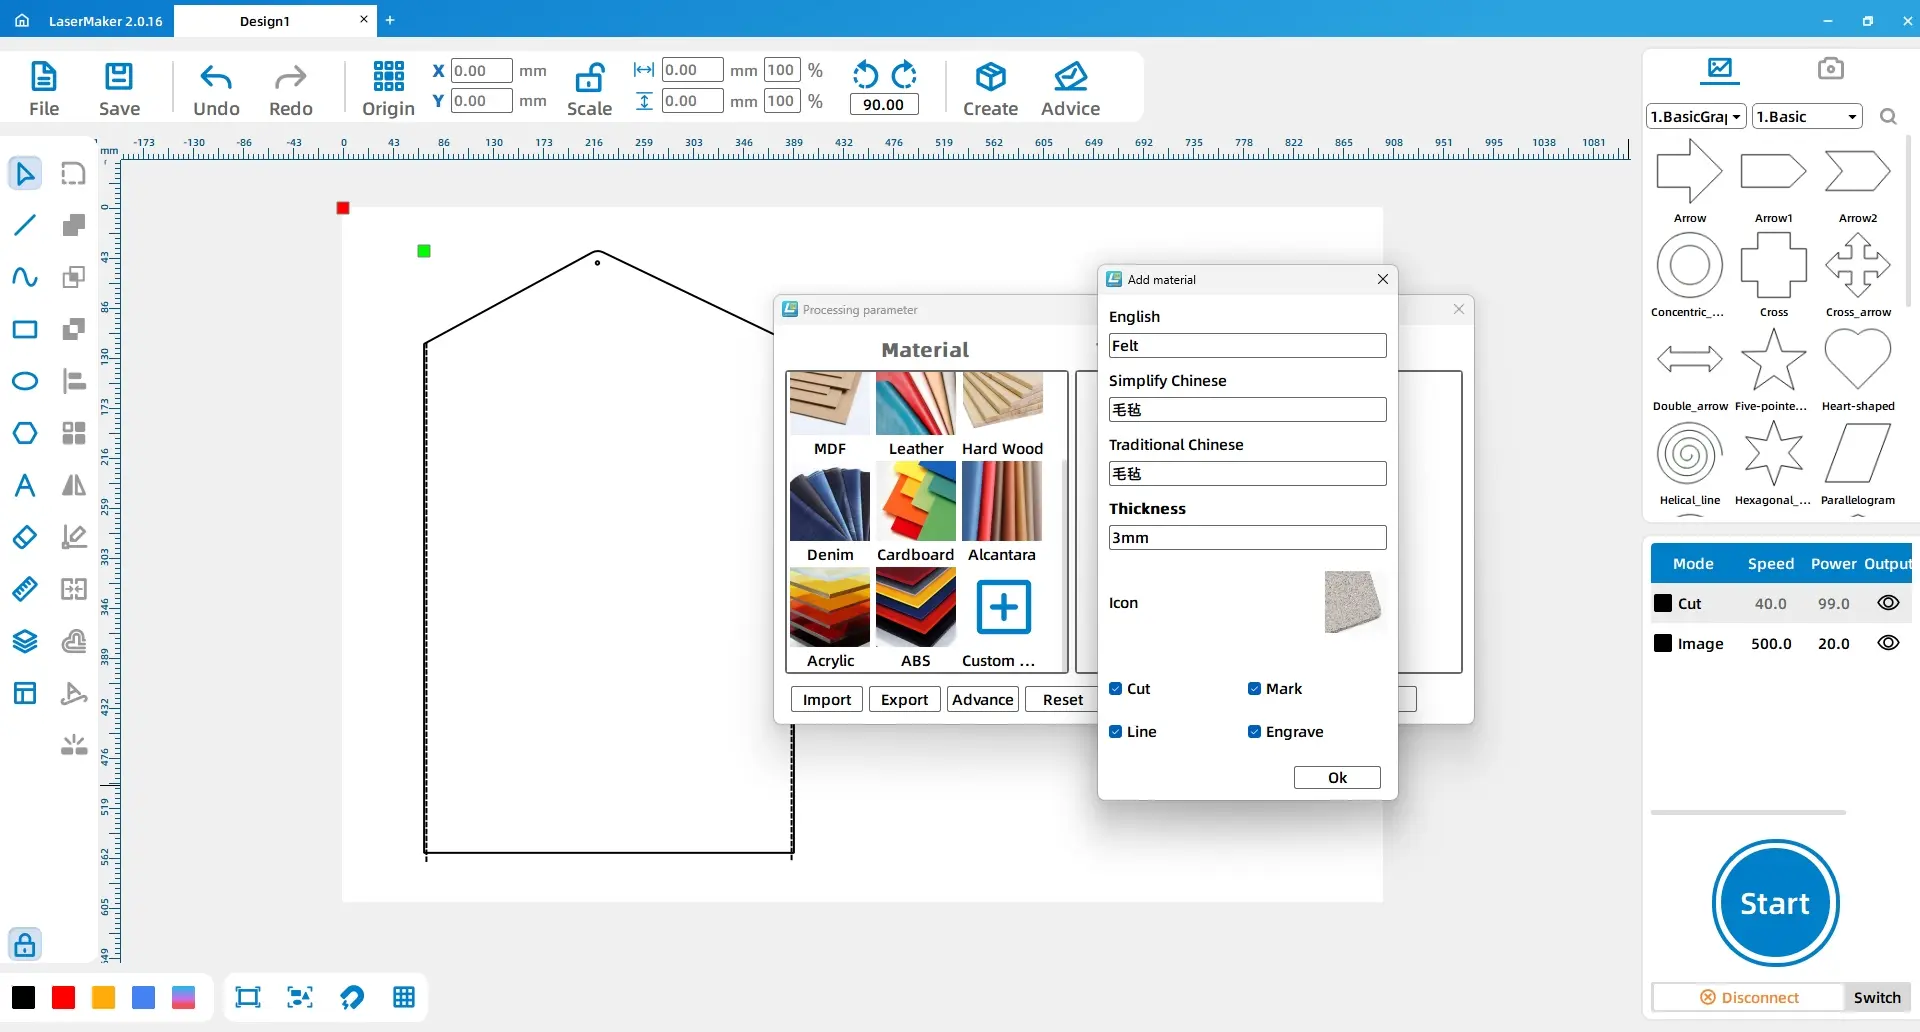
In the Processing Panel, double-click the red layer and add a custom material named “felt.” In the source workflow, the material thickness is set to 3 mm, and a felt material image is selected for the custom material icon.
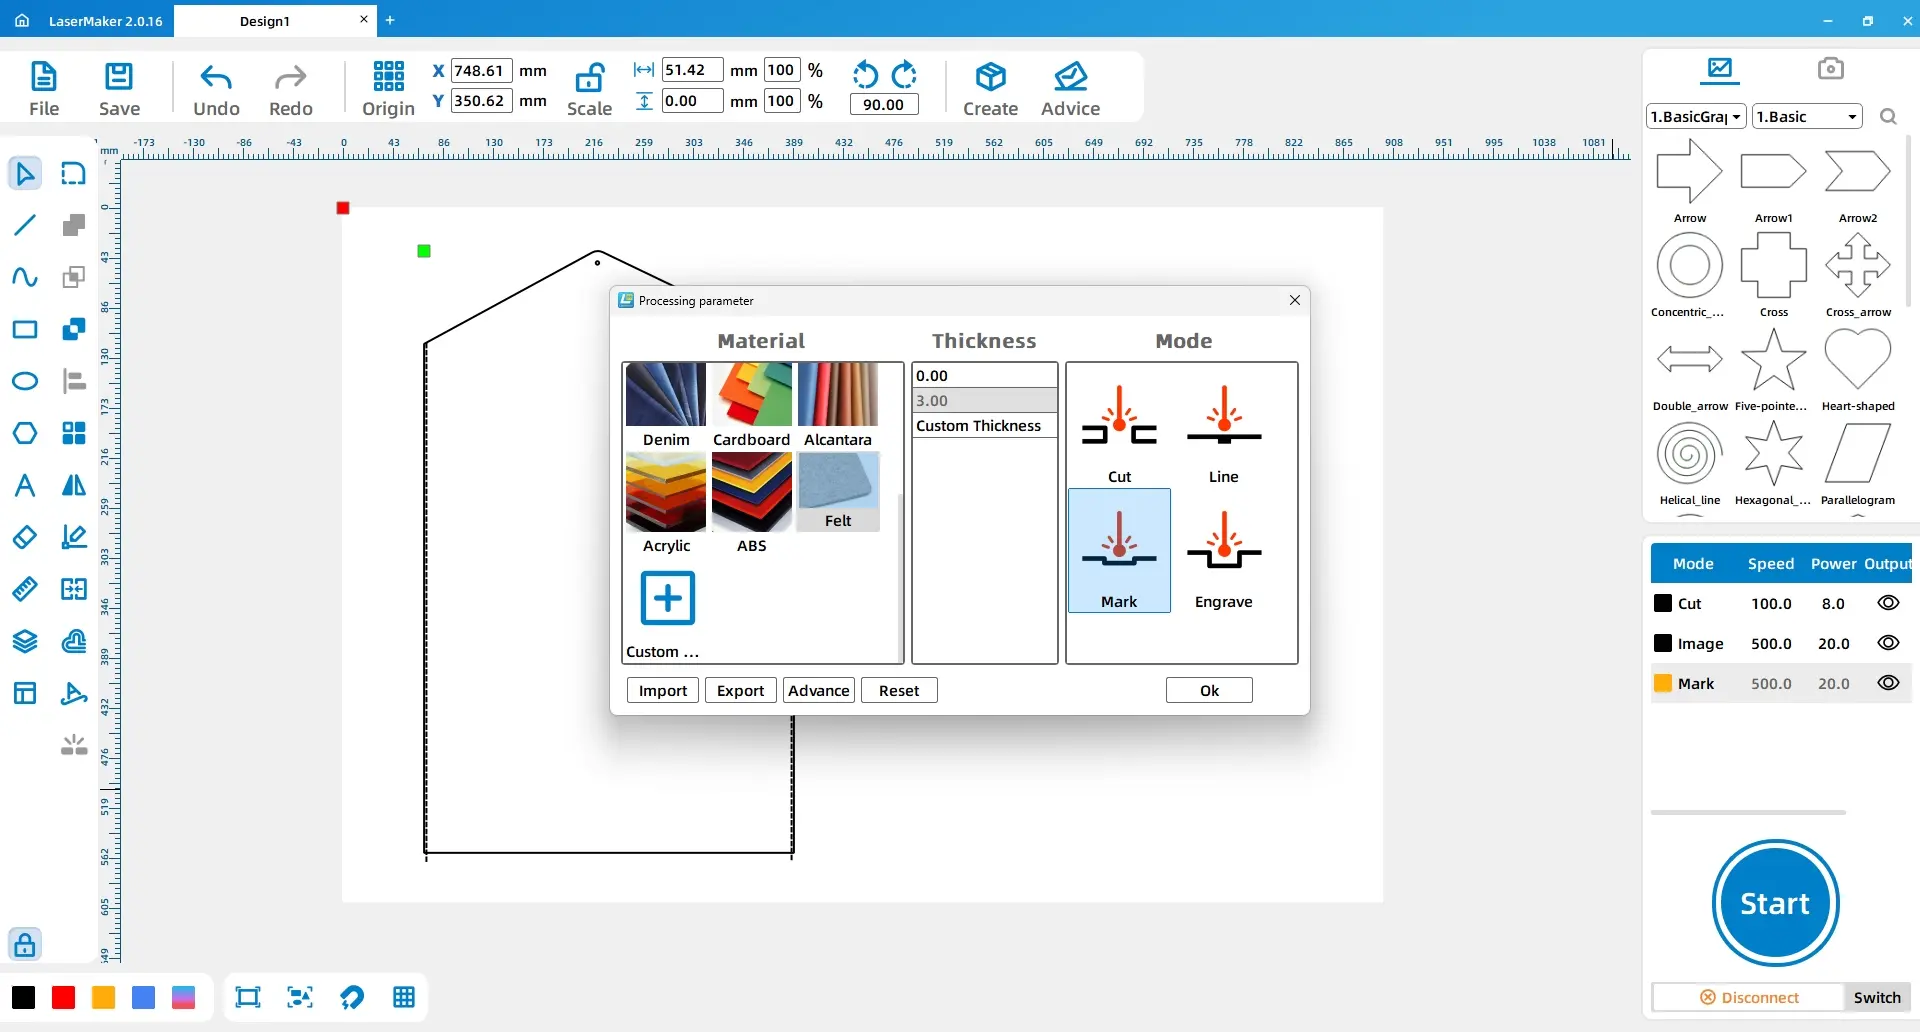
Set the red layer to Outline Cutting, the yellow layer to Light Engraving, and the black layer to Cutting. Arrange the layer order as Outline Cutting, Light Engraving, and Cutting.
| Layer | Material | Thickness | Process | Purpose |
|---|---|---|---|---|
| Red | Felt | 3 mm | Outline Cutting | Dashed sewing guides and decorative line marks |
| Yellow | Felt | 3 mm | Light Engraving | Image and text decoration |
| Black | Felt | 3 mm | Cutting | Document bag outline and snap-button hole |
After checking the design, material placement, focus, custom felt material, layer order, and process settings, send the file to the laser cutting machine. Process the felt using the selected outline cutting, light engraving, and cutting settings.
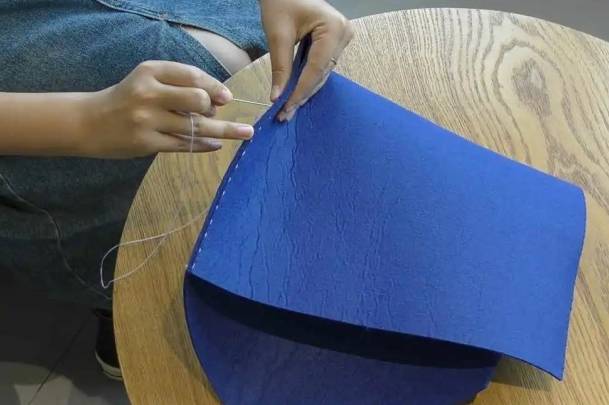
After processing, remove the felt from the machine bed. Fold the document bag into shape and use a needle and thread to sew the left and right sides together along the dashed sewing guides.
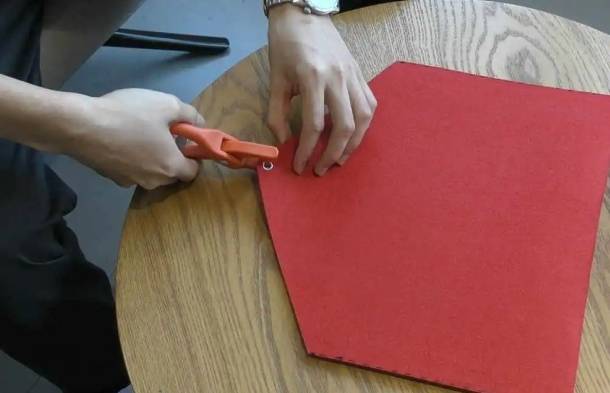
Use the hand press clamp to attach the five-prong snap button at the 3 mm circle position on the document bag. Test the snap closure to make sure the lid can open and close properly.
The finished felt document bag shows how laser cutting can help students prepare soft-material projects accurately. The dashed sewing guides make the hand-sewing step easier, while the snap-button circle provides a clear hardware location.
Pattern drafting: Students draw the main rectangles, edit line segments, and create the lid shape.
Sewing guide design: Students use a 3 mm line and vertical array to create dashed guides for sewing.
Decoration: Students import an image, add text, and prepare light engraving elements.
Layer setup: Students assign red, yellow, and black layers for outline cutting, light engraving, and cutting.
Assembly: Students sew the sides and install the snap button under teacher guidance.
Prepare a sample felt document bag so students can understand the final folded shape before drawing the flat pattern.
Demonstrate the difference between outline cutting, light engraving, and full cutting before students set their layers.
Check that the dashed sewing guides are not set as full cutting outlines unless that is the intended classroom process.
Ask students to test engraving on a small felt scrap before processing the final bag.
Let students compare different lid shapes, text layouts, and decorative images in a classroom display.
After finishing the basic felt document bag, students can redesign the lid shape, change the decorative image, adjust the sewing guide spacing, or create a different closure position. They can also design themed folders for classroom subjects, student portfolios, club activities, or school events.
For a broader maker challenge, students can test different soft materials, compare engraving visibility, and discuss how material choice affects cutting quality, sewing comfort, and final product durability.
This project is suitable for classroom laser cutters that support cutting and light engraving of approved felt materials for beginner maker projects. For schools and beginner STEAM labs, projects like felt document bags, soft-material folders, classroom organizers, and beginner LaserMaker activities can be completed with a classroom laser cutter such as the Thunder Laser Bolt Series.
Teachers can choose the machine and material setup based on classroom space, student supervision needs, material thickness, ventilation setup, and approved material list. Students should always test settings, check focus, and follow the school’s laser safety rules before final processing.
Talk To Our Experts Now!
Please leave your contact information so that we can serve you better.
TAKE THE NEXT STEP WITH THUNDER LASER

 Stable & Consistent MachinesUnlimited ApplicationRobust After-sales SupportFactory Direct Supply


