


STEAM Dragon Boat Printmaking Laser Cutting Project with LaserMaker
 24-08-21
WHAT ARE YOU LOOKING FOR?
Search Across Products, Blog Posts, Support Content, And Resources.

STEAM Dragon Boat Printmaking Laser Cutting Project with LaserMaker
24-08-21

In this STEAM maker project, students create a Dragon Boat Festival printmaking artwork with LaserMaker and a laser cutting machine. The lesson connects cultural design, image tracing, mirror processing, color-layer planning, laser-cut printing plates, acrylic dust-cover design, inking, printing, and final artwork display.
This project replaces traditional hand carving with laser cutting. Students divide a dragon boat image into multiple color plates, laser cut the plates, apply ink pigment, and print the final dragon boat artwork on paper.
| Item | Details |
|---|---|
| Project | Dragon Boat Printmaking laser cutting project |
| Software | LaserMaker |
| Main Skills | Image import, contour extraction, line cleanup, horizontal mirroring, color-layer separation, plate planning, rectangle and ellipse drawing, laser cutting, inking, and printmaking |
| Suggested Materials and Parts | 3 mm basswood board, 3 mm acrylic, A4 paper, ink pigment, coloring tools, rivets, printing roller, relief printing brayer, and wooden stamping mushroom |
| Classroom Fit | Laser cutting and maker projects, cultural festival activities, printmaking lessons, layered art projects, beginner LaserMaker practice, and classroom STEAM crafts |
Students will create a dragon boat printmaking project by importing a dragon boat image, extracting and cleaning the outline, mirroring the design, separating it into five color plates, designing a frame and acrylic dust cover, laser cutting the parts, and printing the final artwork.
For teachers: Use this project to connect festival culture, visual art, printmaking, digital fabrication, and layered design.
For students: Use the activity to learn how a digital line drawing can become a set of printing plates for a physical artwork.
For makerspaces: Use it as a creative laser cutting activity that combines wood, acrylic, printing tools, and handmade finishing.
Understand the basic idea of printmaking as an art process that transfers an image from a prepared plate onto paper.
Use LaserMaker to import an image, extract its outline, delete unnecessary lines, and prepare a clean dragon boat line drawing.
Apply horizontal mirroring so the final printed artwork appears in the intended direction.
Separate a design into five plates based on color layers and prepare those plates for laser cutting.
Design a frame and acrylic dust cover, then assemble and display the finished printmaking work.
Design thinking: Turn a cultural festival theme into a layered artwork with color, shape, and presentation details.
Computational thinking: Use image tracing, mirroring, layer separation, repeated plate planning, and processing layers to prepare a production-ready file.
Engineering thinking: Consider plate alignment, material thickness, rivet holes, dust-cover fit, printing order, and how each layer contributes to the final result.
Students should operate the laser cutter only under teacher or lab supervisor guidance. Before processing, check material placement, focus, layer settings, and cutting parameters. When using ink pigment and printing tools, protect the work surface and clean tools after the activity.
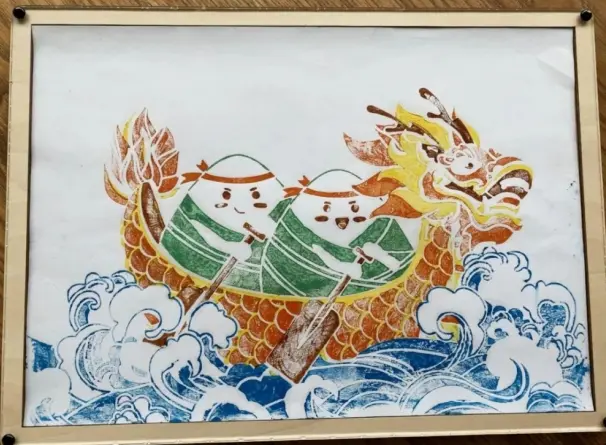
The Dragon Boat Festival provides a meaningful theme for this printmaking project. Students use the dragon boat as the central visual element and explore how traditional festival imagery can be re-created with modern digital fabrication tools.
Printmaking usually involves carving or etching a plate, applying pigment, and transferring the image to paper. In this lesson, students use laser cutting to prepare the printing plates, making the workflow more repeatable and easier to demonstrate in a classroom or makerspace.

Before modeling the artwork in LaserMaker, students should prepare the wood plates, acrylic sheet, paper, pigment, printing tools, and rivets used in the source project.
| No. | Material or Tool | Quantity |
|---|---|---|
| 1 | 3 mm basswood board | 2 |
| 2 | 3 mm acrylic | 1 |
| 3 | A4 paper | 1 |
| 4 | Ink pigment | 1 |
| 5 | Coloring and printing tools, such as a wooden-handled rubber ink roller, relief printing brayer, and wooden stamping mushroom | 1 set |
| 6 | Rivets | 4 |
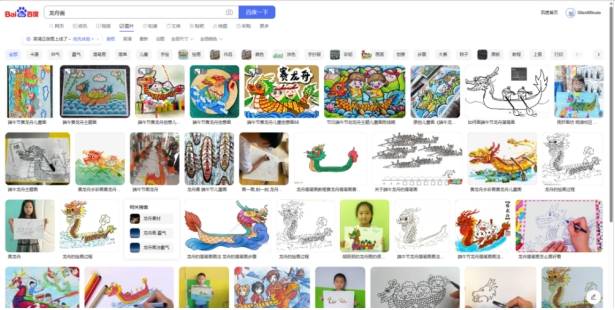
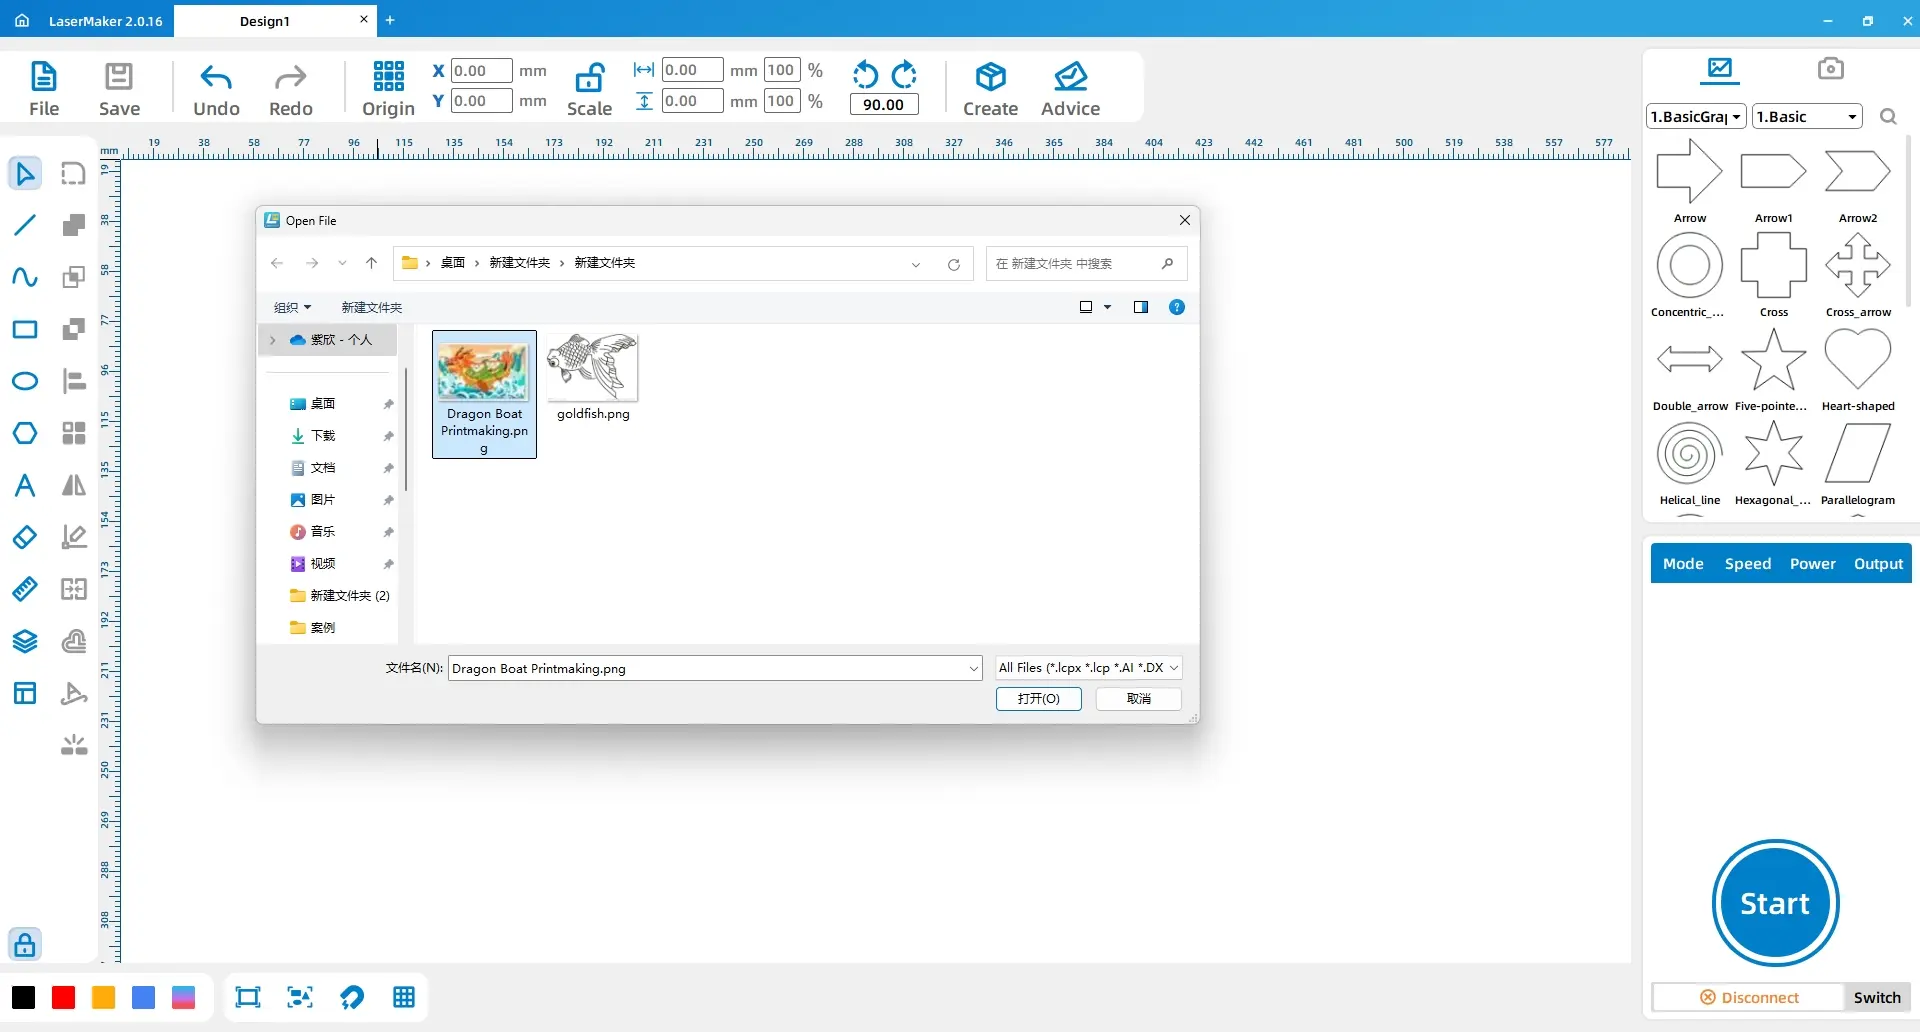
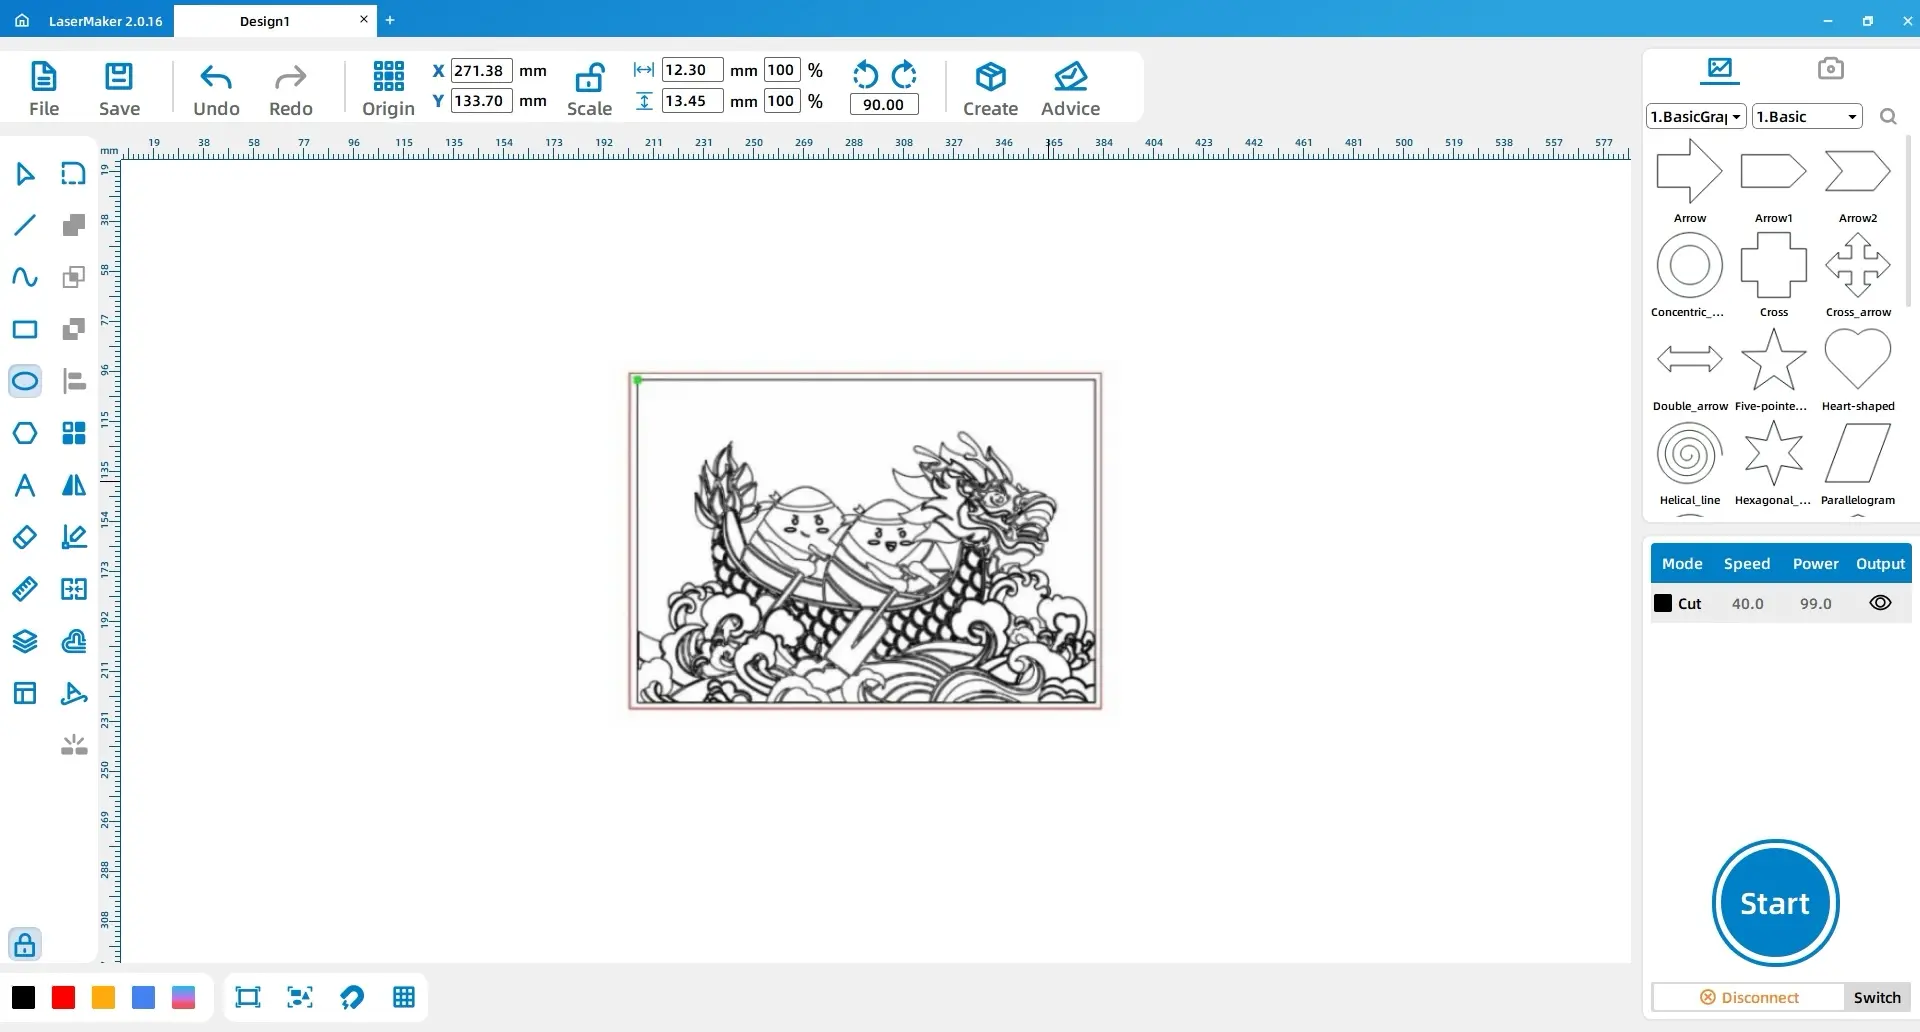
Choose a dragon boat image from a classroom-approved image source or teacher-provided reference. Open LaserMaker, click File in the top function area, choose Open, and import the selected image into the workspace.
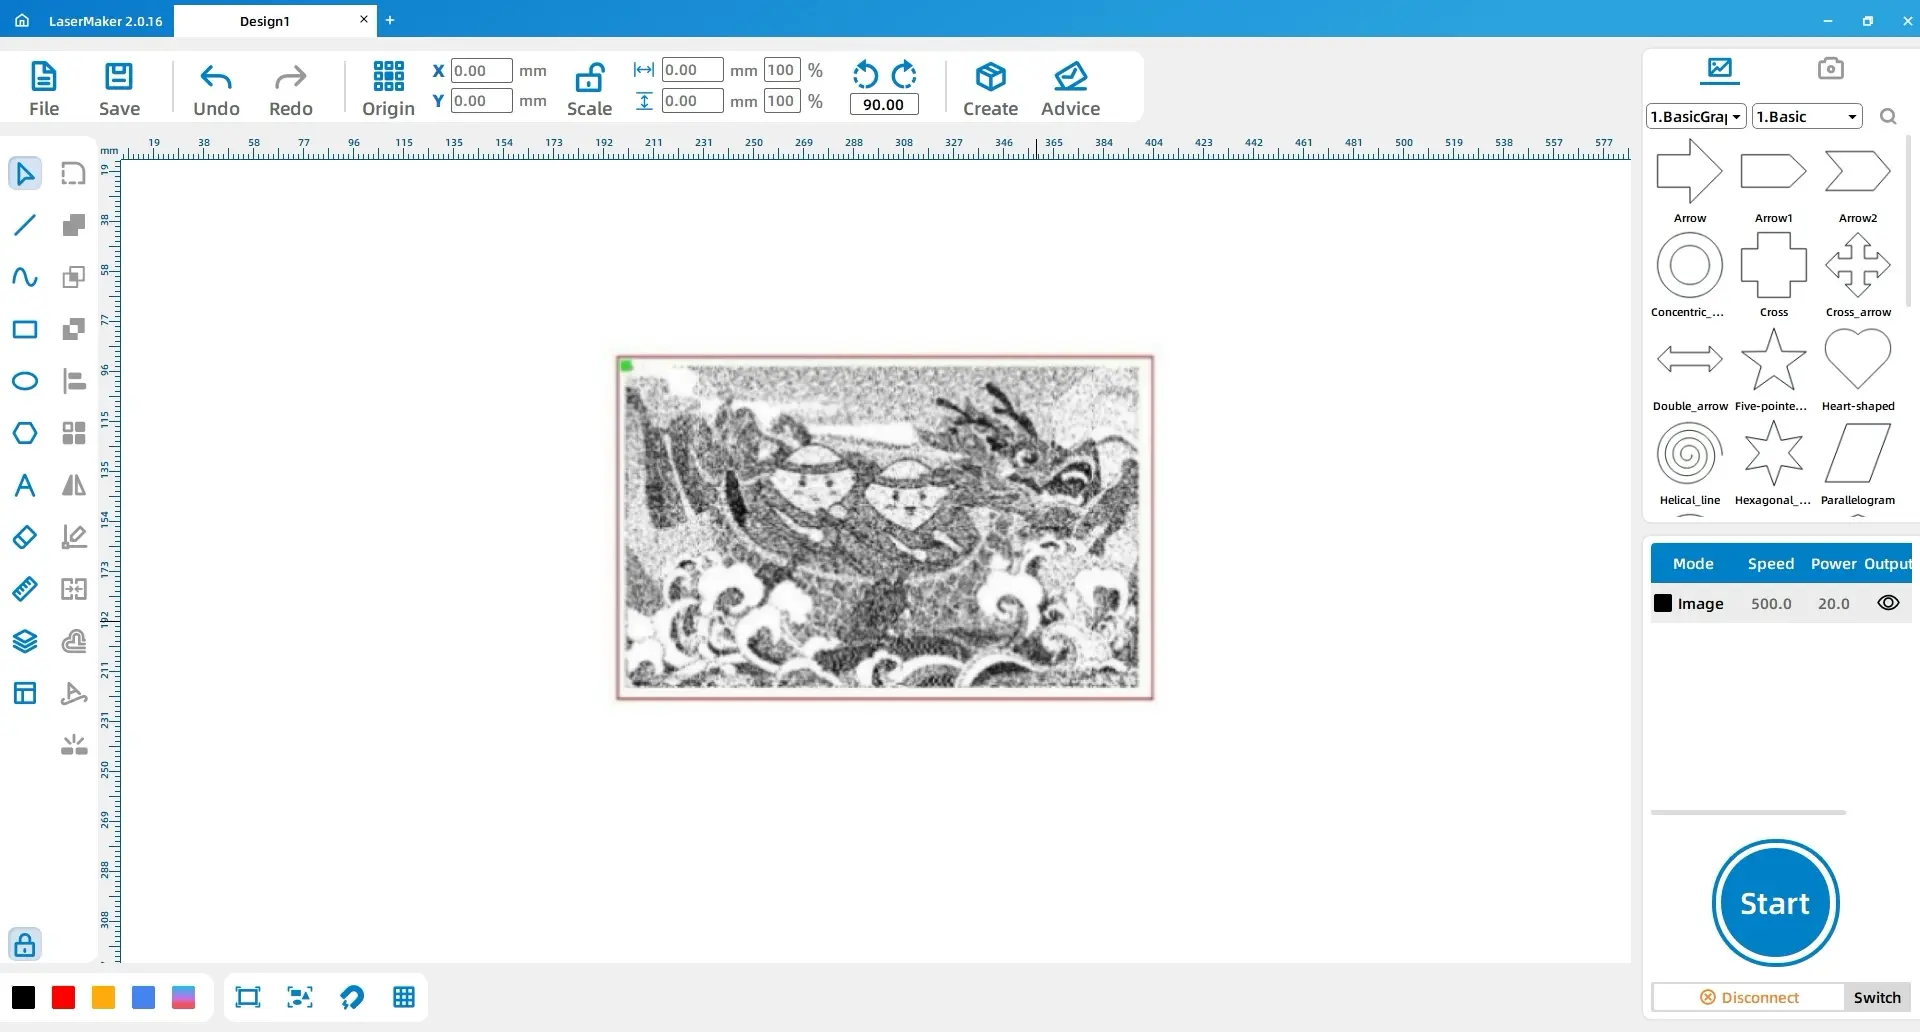
Left-click the image and use the outline extraction function. After the rough outline is generated, delete unnecessary lines and background elements. Add or adjust strokes where needed so the dragon boat line drawing is clear enough for layered plate design.
Select the dragon boat drawing and use the Horizontal Mirror tool. This step is important because the image is reversed during printing. Mirroring the design before laser processing helps the final printed result match the intended direction.
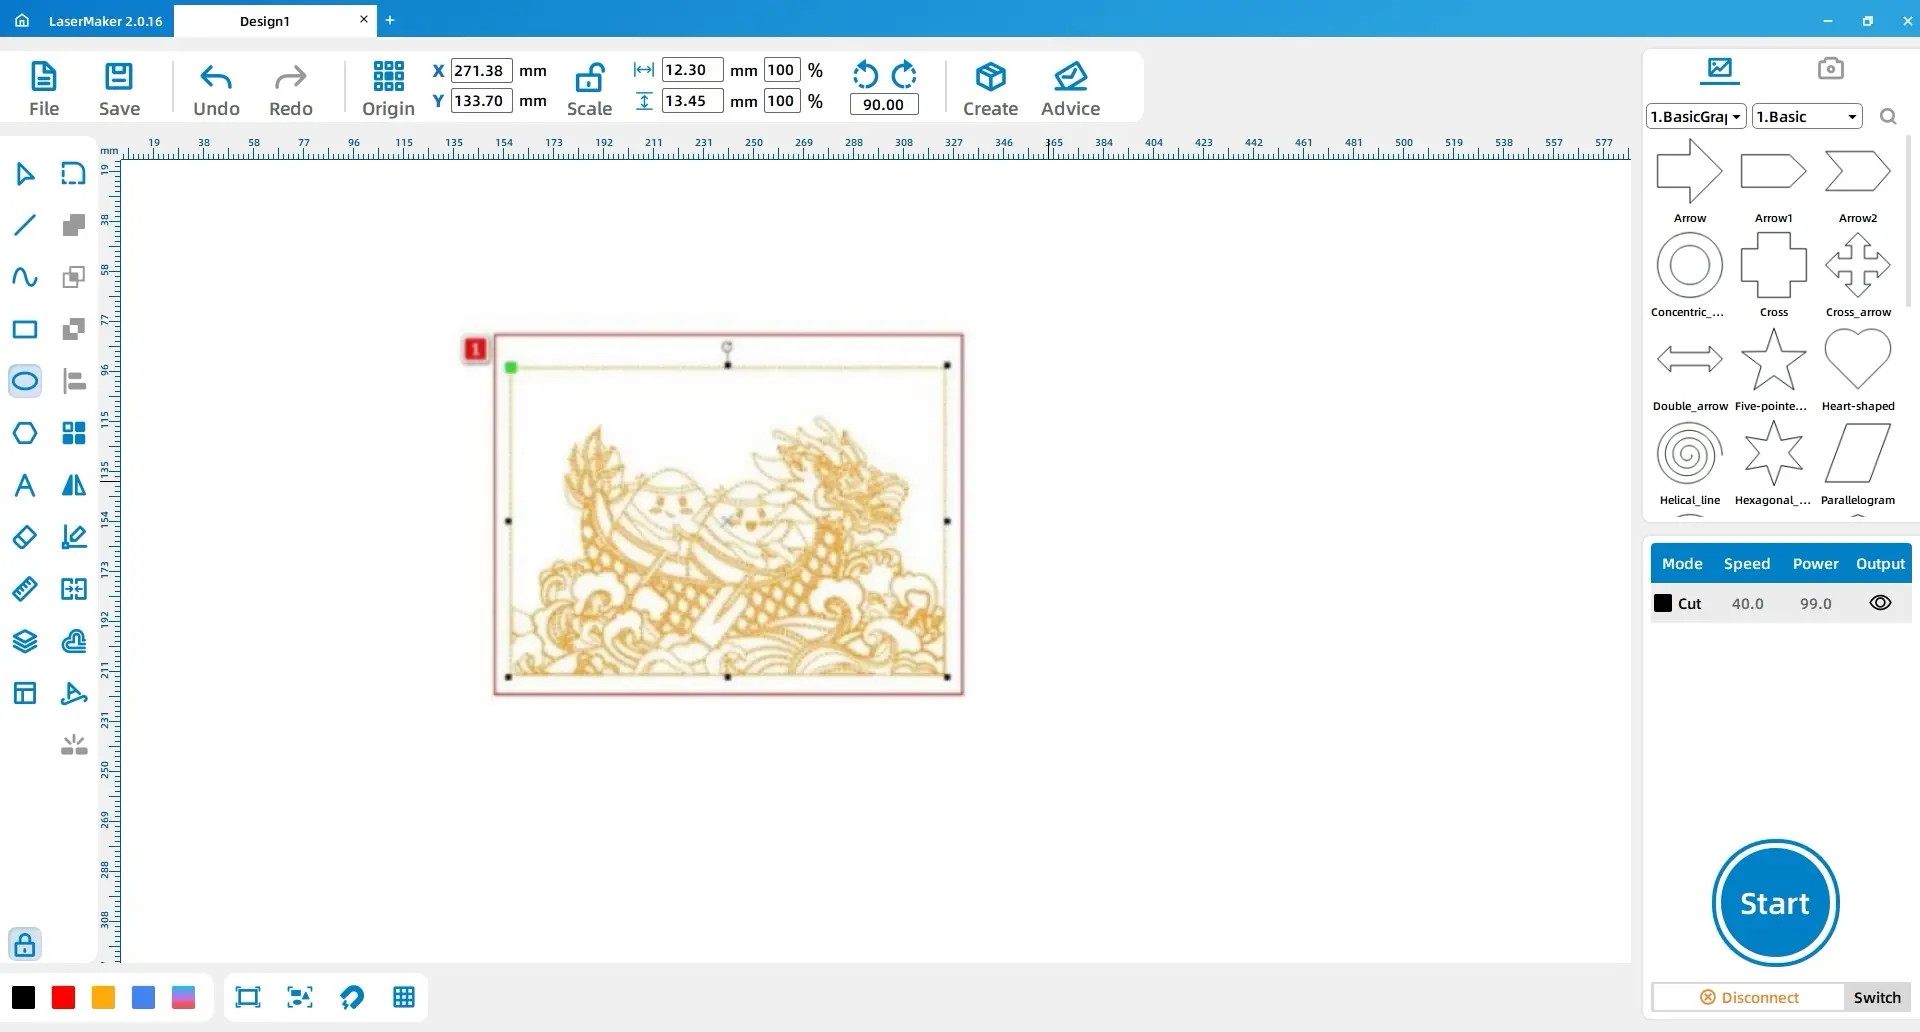
Printmaking Tip: A printed image is reversed from the printing plate. Mirroring the design first helps students understand image direction and prevents the final artwork from appearing backward.
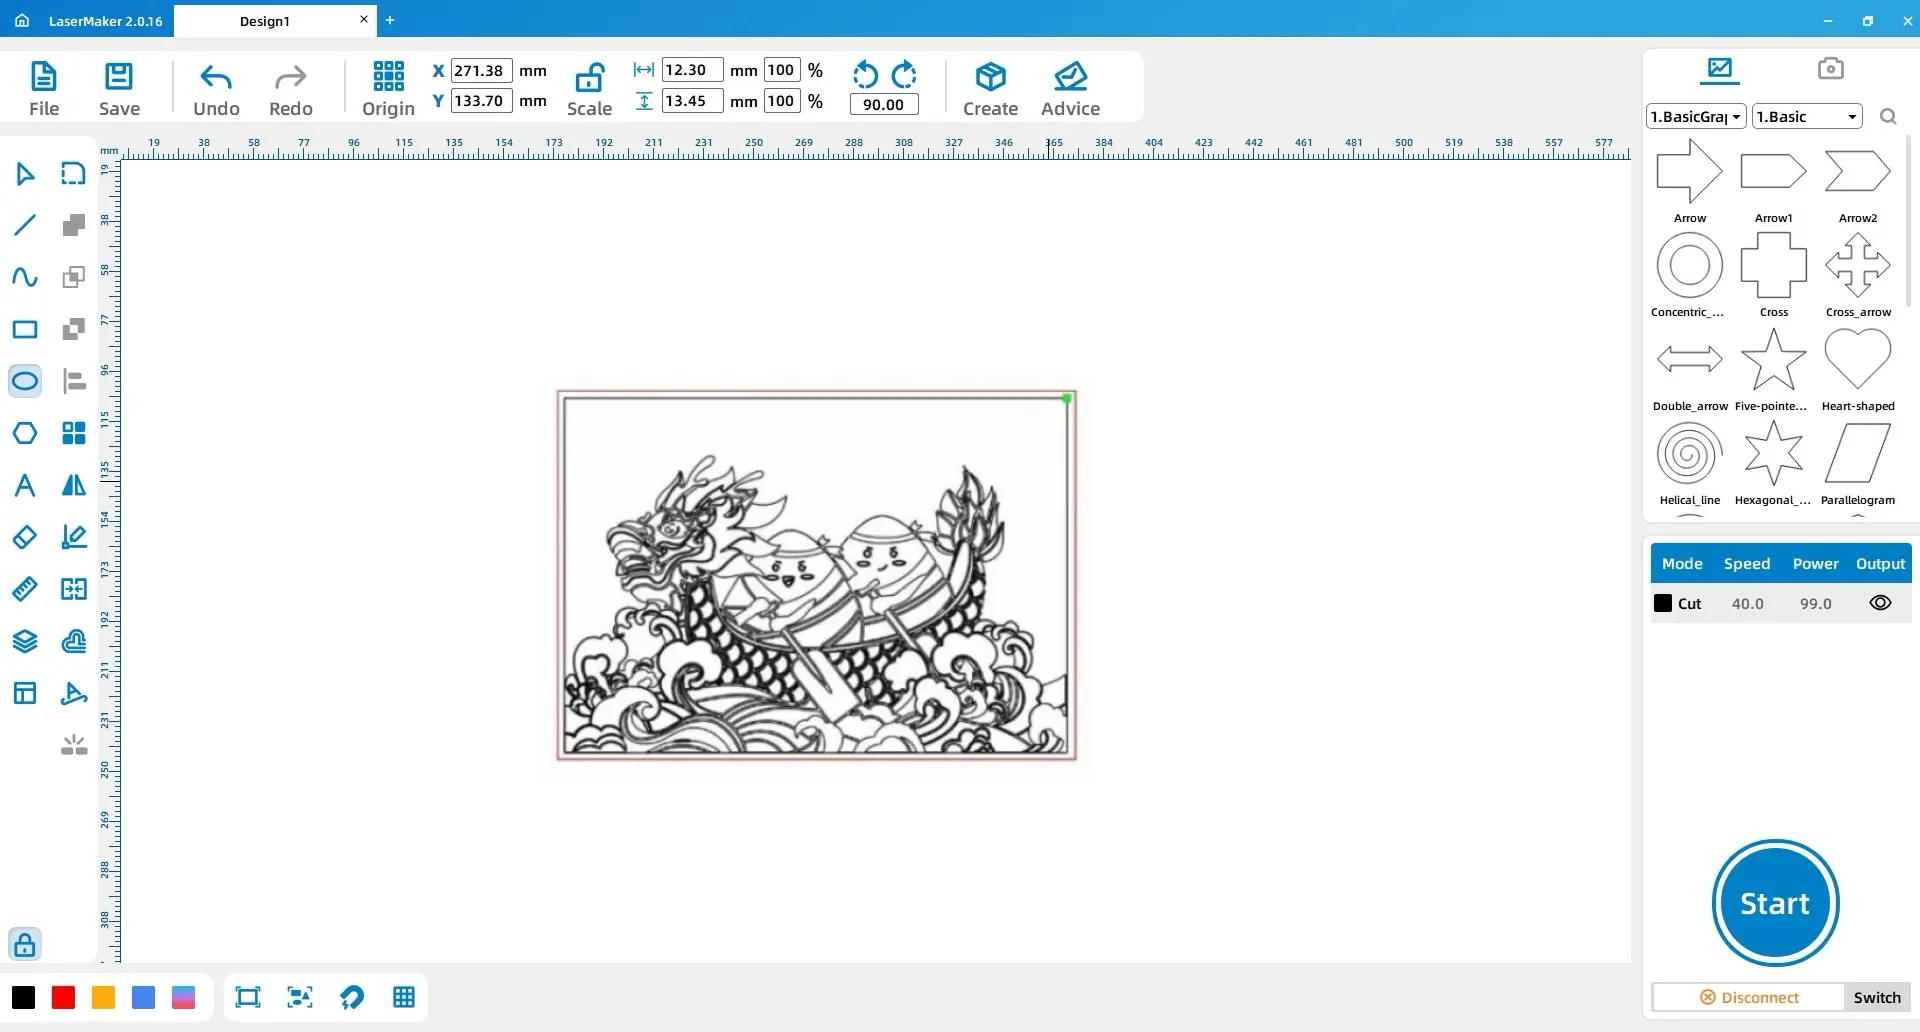
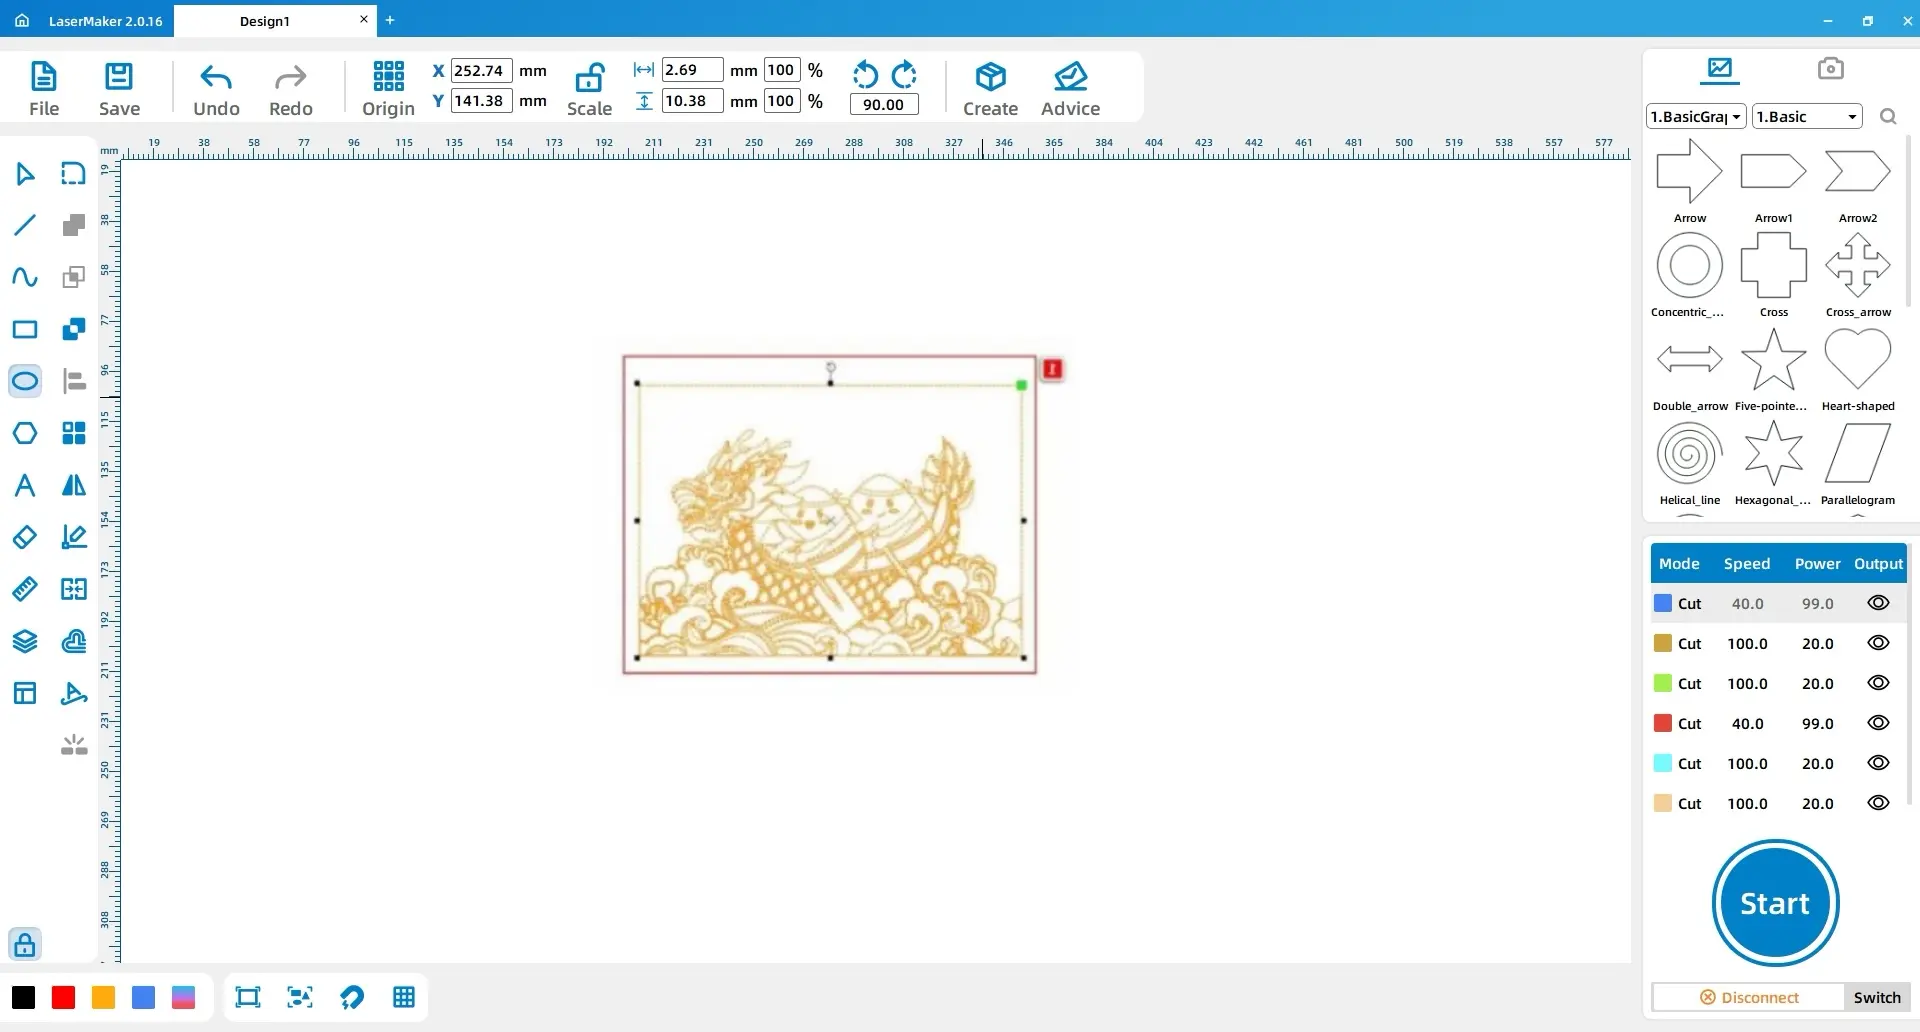
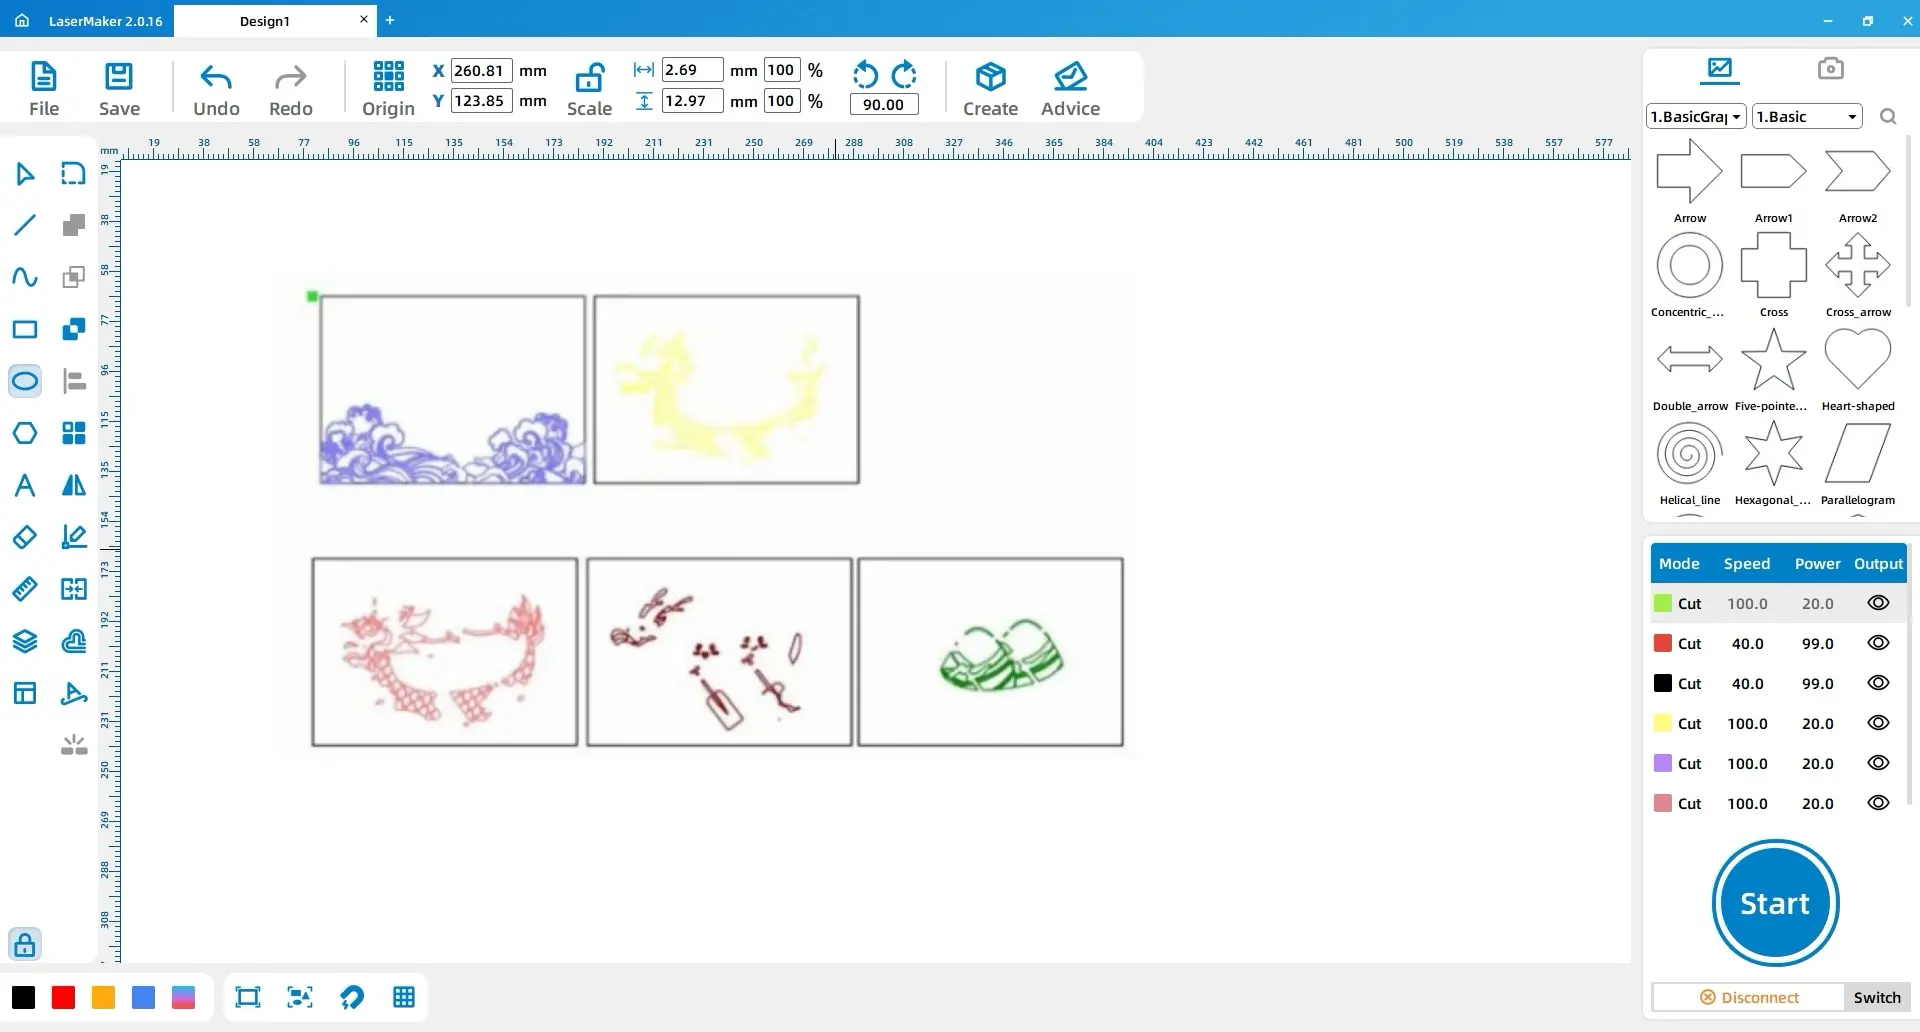
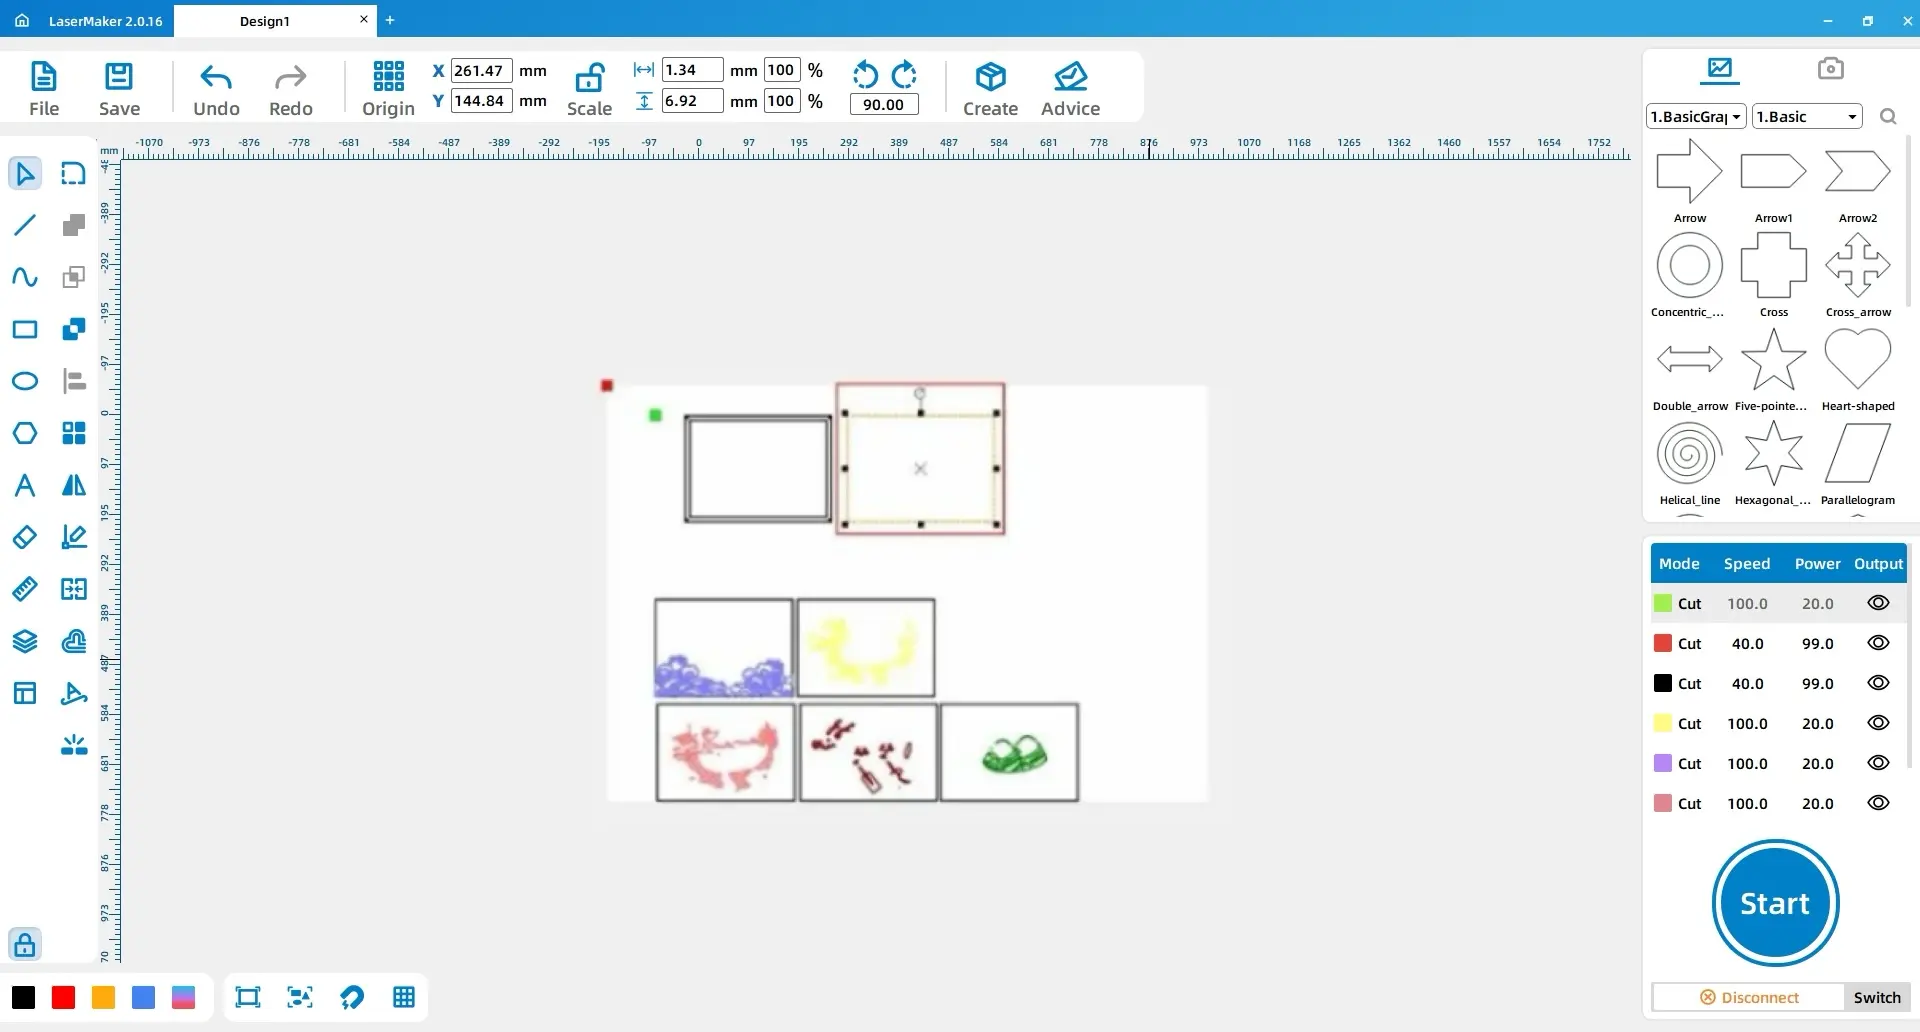
Divide the dragon boat drawing into different layers based on the planned colors. The source workflow separates the dragon boat printmaking project into five layers, then turns those layers into five separate printing plates.

Use the Rectangle and Ellipse tools to draw a frame for mounting the dragon boat print and a dust cover for protecting the finished work. Add four circular holes on the left side of the frame so rivets can secure the frame and dust cover together.
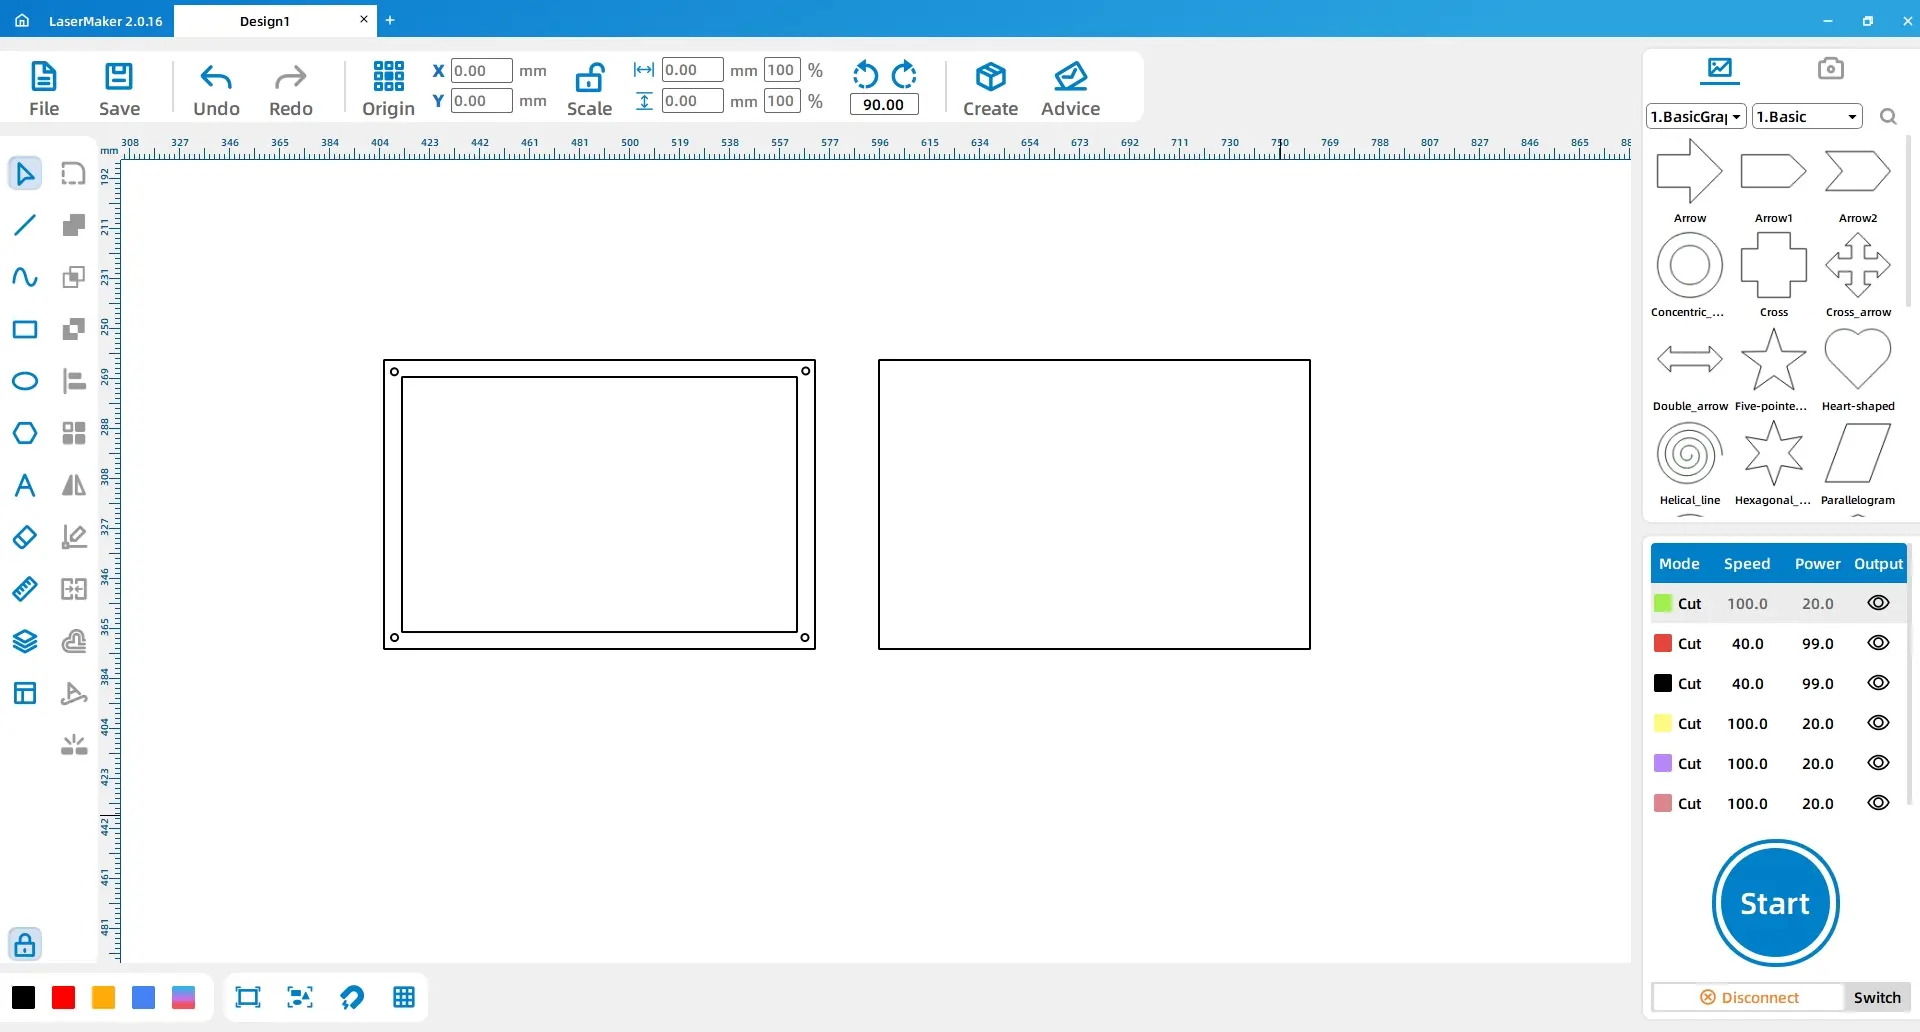
Select the dust cover and change its layer color to red in the layer panel. Keep the remaining printing plate and frame elements on their assigned cutting layers according to the LaserMaker file setup.
Double-click each layer in the processing panel and set the material, thickness, and process based on the part. The source workflow uses 3 mm acrylic cutting for the dust cover and 3 mm basswood cutting for the remaining plates.
| Part or Layer | Material | Thickness | Process | Purpose |
|---|---|---|---|---|
| Red layer / dust cover | Acrylic | 3 mm | Cutting | Creates the transparent protective cover |
| Remaining layers / printing plates and frame parts | Basswood | 3 mm | Cutting | Creates the printing plates and wood frame parts |

After laser cutting, identify the five printing plates and check that each plate corresponds to the planned color layer. Keep the plates organized so students can apply pigment and print in the correct order.
Use the prepared ink pigment and printing tools to apply color to the plates. Students can use the roller, brayer, or wooden stamping mushroom to transfer pigment and press the image onto A4 paper. Encourage students to test alignment on scrap paper before printing the final version.
After the print is dry, place it into the frame and align the acrylic dust cover. Use the four rivets to secure the frame and dust cover through the circular holes on the left side.
Testing Reminder: Plate alignment affects the final artwork. Students should mark reference positions or test the first print before applying all colors to the final paper.
The finished dragon boat printmaking artwork shows how digital fabrication can support traditional art processes. Students can compare laser-cut plates with hand-carved plates and discuss how layered colors, plate order, and alignment affect the final image.
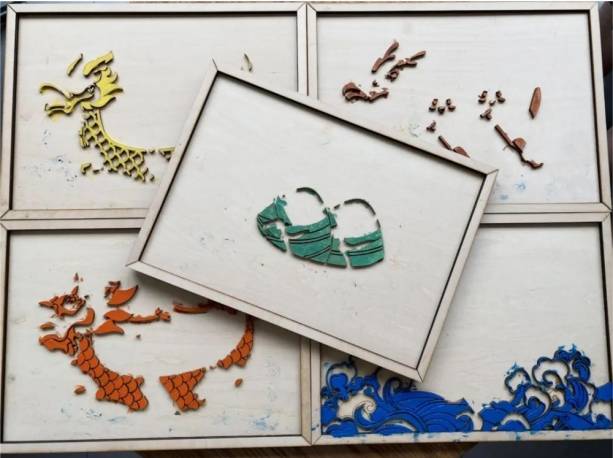
Image preparation: Students select or receive a dragon boat reference image and import it into LaserMaker.
Software design: Students extract the outline, clean the drawing, mirror the image, and divide it into five color plates.
Layer setup: Students assign acrylic and basswood cutting settings based on the dust cover, frame, and printing plates.
Machine processing: Students process the files under teacher supervision after checking focus, material placement, and layer settings.
Printing and assembly: Students apply pigment, print the layers, assemble the frame, and protect the artwork with the acrylic cover.
Prepare a simple dragon boat line-art reference if students are new to image cleanup and layer separation.
Demonstrate why mirroring matters by stamping or printing a small test shape before the main project.
Keep the five plates clearly labeled so students can manage color order and alignment more easily.
Use scrap paper for the first test print before students print on the final A4 paper.
Ask students to compare how different pigment amounts, pressure, and plate alignment change the final artwork.
After finishing the dragon boat printmaking project, students can redesign the artwork with different festival themes, local cultural symbols, school mascots, or seasonal illustrations. They can also change the number of color plates and compare how fewer or more layers affect the final print.
For a deeper maker challenge, students can design a registration system that helps each plate align more accurately, then test whether the alignment improves the printed result.
This project is suitable for classroom laser cutters that support cutting 3 mm basswood and 3 mm acrylic for printmaking and display projects. For schools and beginner STEAM labs, projects like dragon boat printmaking plates, acrylic covers, wood frames, and festival maker activities can be completed with a classroom laser cutter such as the Thunder Laser Bolt Series.
Teachers can choose the machine and material setup based on classroom space, approved materials, project size, ventilation setup, and student supervision needs. Students should always test settings, check focus, and follow the school’s laser safety rules before final processing.
Talk To Our Experts Now!
Please leave your contact information so that we can serve you better.
TAKE THE NEXT STEP WITH THUNDER LASER

 Stable & Consistent MachinesUnlimited ApplicationRobust After-sales SupportFactory Direct Supply


