


STEAM Custom Bookmark Laser Cutting Project with LaserMaker
 24-08-19
WHAT ARE YOU LOOKING FOR?
Search Across Products, Blog Posts, Support Content, And Resources.

STEAM Custom Bookmark Laser Cutting Project with LaserMaker
24-08-19

In this STEAM maker project, students design and make a custom bookmark using LaserMaker and a laser cutting machine. The lesson connects everyday reading habits with digital design, image engraving, text layout, rounded corners, layer setup, and laser processing.
Bookmarks are practical classroom objects because they protect books while helping readers mark important pages. By designing their own bookmark, students can combine useful product design with personal artwork, quotes, patterns, or images.
| Item | Details |
|---|---|
| Project | Custom bookmark laser cutting project |
| Software | LaserMaker |
| Main Skills | Rectangle drawing, rounded corners, image import, image resizing, text input, vertical text layout, layer setup, shallow engraving, outlining, cutting, and file upload |
| Suggested Material | 3 mm basswood board |
| Classroom Fit | Beginner laser cutting, personalized reading tools, language arts projects, digital design practice, classroom gifts, and maker activities |
Students will design a bookmark by drawing a long rectangle, adding a small top slot, rounding the corners, importing an image, adding text, setting engraving and cutting layers, uploading the file, and producing a finished laser-cut bookmark.
For teachers: Use this project to introduce LaserMaker drawing tools, image placement, text layout, and the difference between engraving, outlining, and cutting.
For students: Use the activity to create a personalized bookmark with a favorite image, phrase, poem, motto, or reading theme.
For makerspaces: Use it as a quick beginner project that produces a useful object while teaching core laser workflow steps.
Draw bookmark parts with accurate dimensions using the Rectangle tool.
Use the Rounded Corner tool to make a bookmark safer, smoother, and more finished-looking.
Import an image, resize it, and place it within the bookmark layout.
Add text and arrange it vertically by using line breaks between characters or words.
Set bitmap, text, and outline layers correctly for shallow engraving, outlining, and cutting.
Design thinking: Create a reading accessory that is useful, personal, and visually balanced.
Computational thinking: Use precise dimensions, corner radius values, text placement, image scaling, and layer order to prepare a repeatable laser file.
Engineering thinking: Consider bookmark size, material thickness, corner shape, top slot size, engraving clarity, and cutting stability.
Students should operate the laser cutter only under teacher or lab supervisor guidance. Before processing, check the material, focus, layer settings, cutting order, and whether the imported image and text are positioned safely inside the bookmark outline.
A bookmark is a simple object with a clear purpose: it helps readers mark pages without folding or damaging the book. This makes it a practical classroom design challenge because students can quickly understand the user need and then improve the object with decoration, text, and personal meaning.
The source lesson also introduces bookmarks as objects with a long history. Teachers can use this as a bridge between reading culture, design, and modern digital fabrication. Students can compare traditional bookmarks with laser-cut versions and discuss how materials, shape, and decoration affect the final experience.
| No. | Material or Element | Use |
|---|---|---|
| 1 | 3 mm basswood board | Main bookmark material |
| 2 | Imported image | Decorative bitmap engraving |
| 3 | Text or quote | Personal message, motto, poem, or reading theme |
Planning Tip: Before opening LaserMaker, students can sketch the bookmark layout on paper and decide where the image, text, and top slot should go.
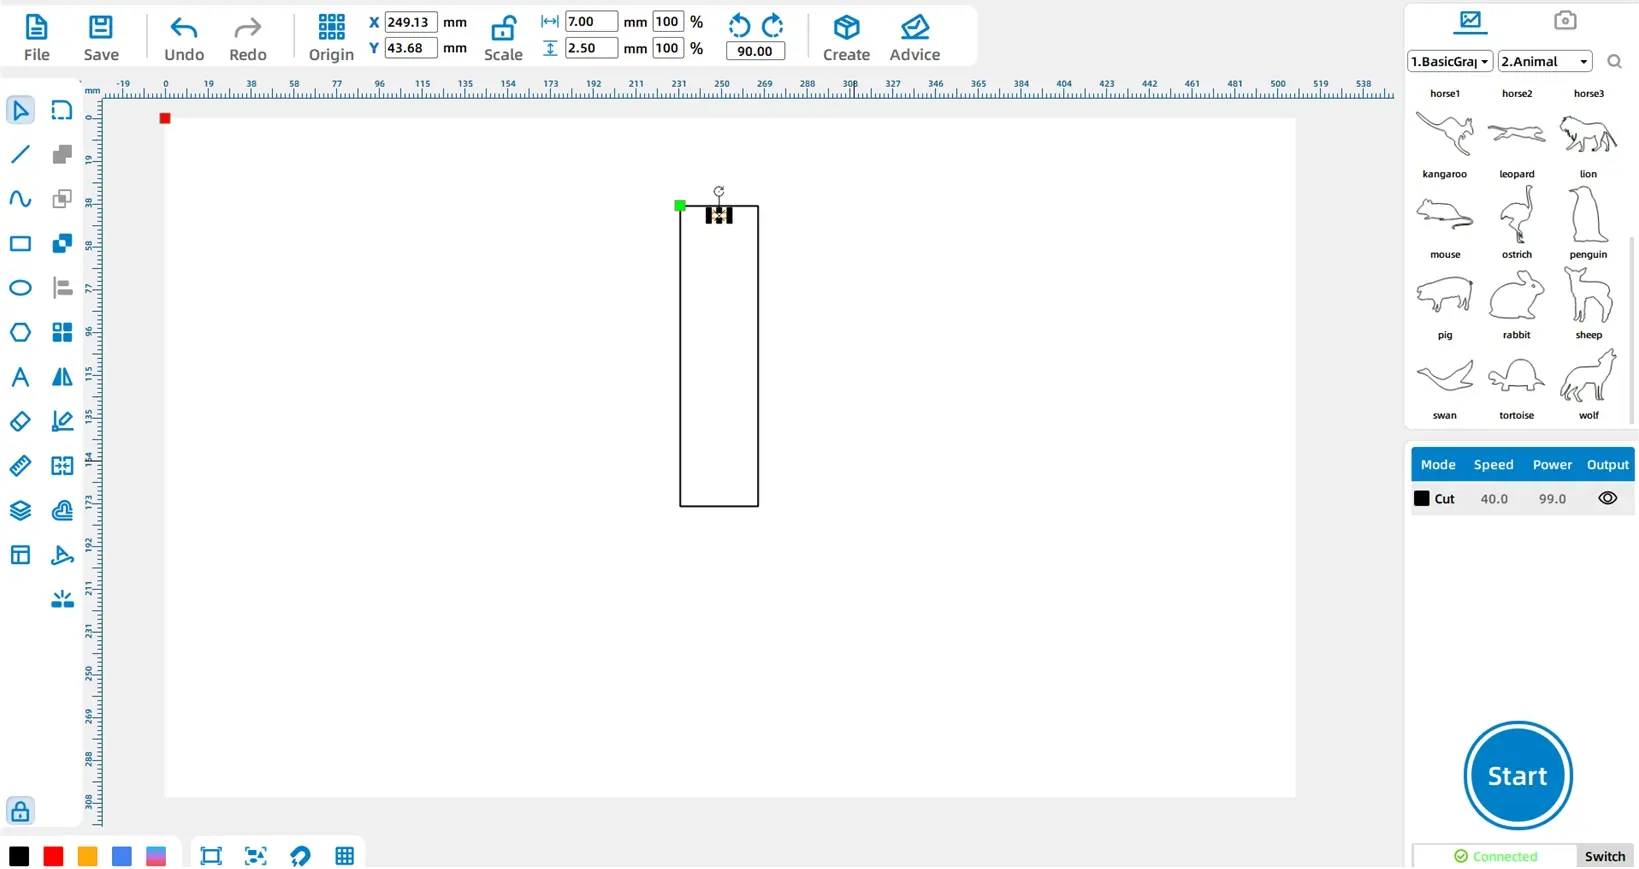
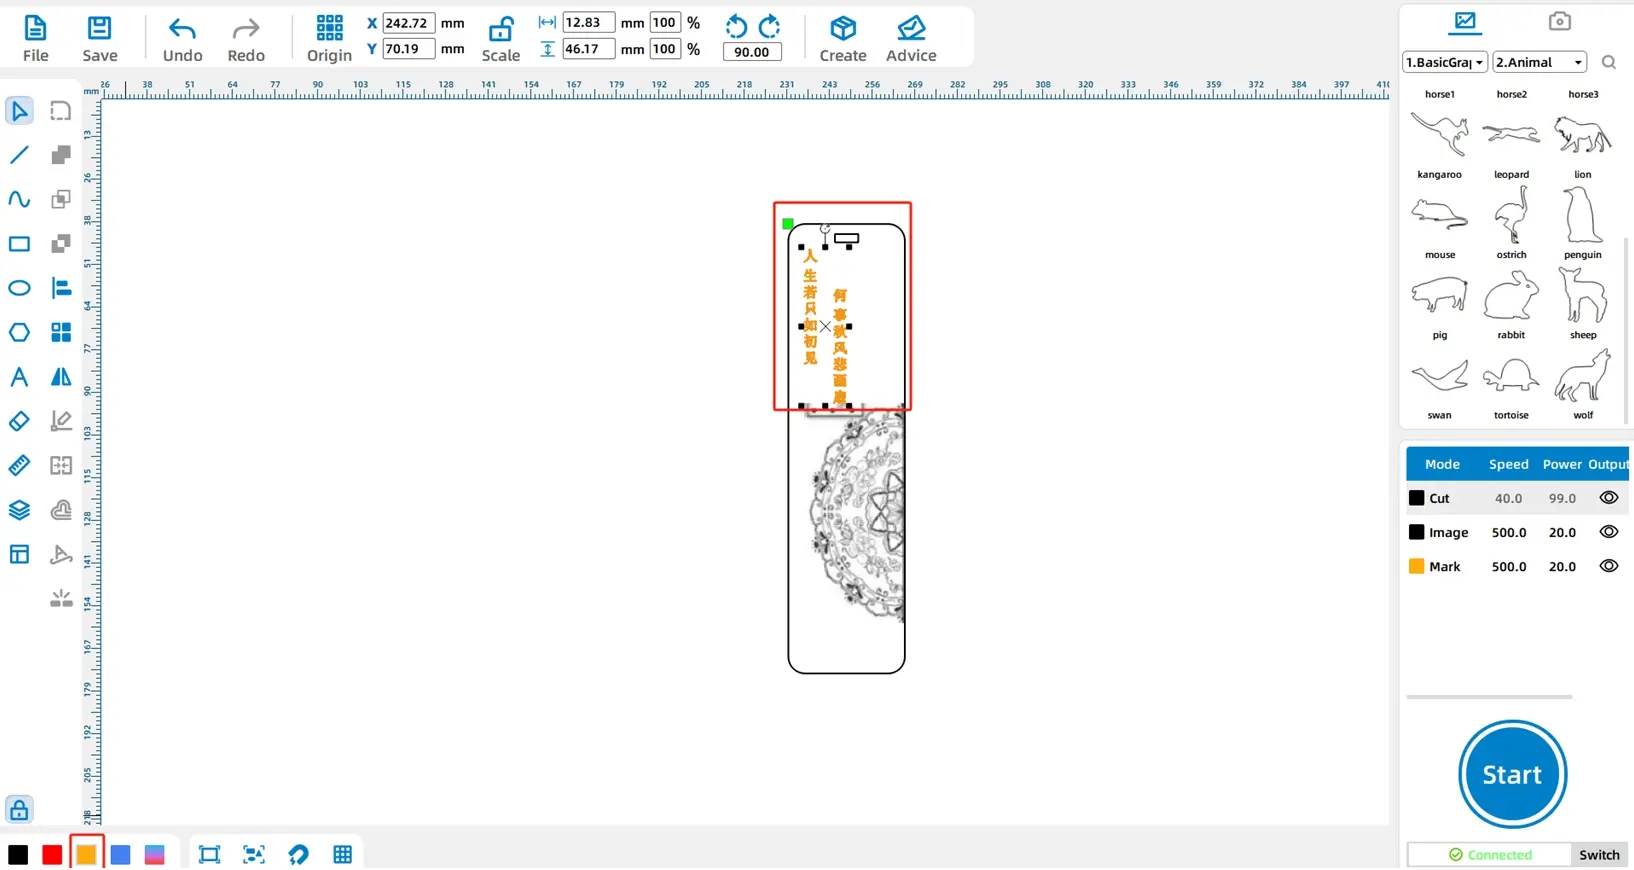
Open LaserMaker and select the Rectangle tool from the left Drawing Toolbar. Draw a large rectangle with a width of 35 mm and a length of 135 mm. This becomes the main bookmark body.
Using the same method, draw a smaller rectangle with a width of 7 mm and a height of 2.5 mm. Place this small rectangle directly above the main bookmark body as the top slot or decorative cut feature.
Select the main bookmark rectangle. Click the Rounded Corner tool and set the radius to 5 mm. Apply the radius to the four corners of the bookmark body.
Then select the smaller rectangle, set the radius to 1 mm, and round its four corners as well. Rounded corners make the bookmark look more polished and can reduce sharp edges.
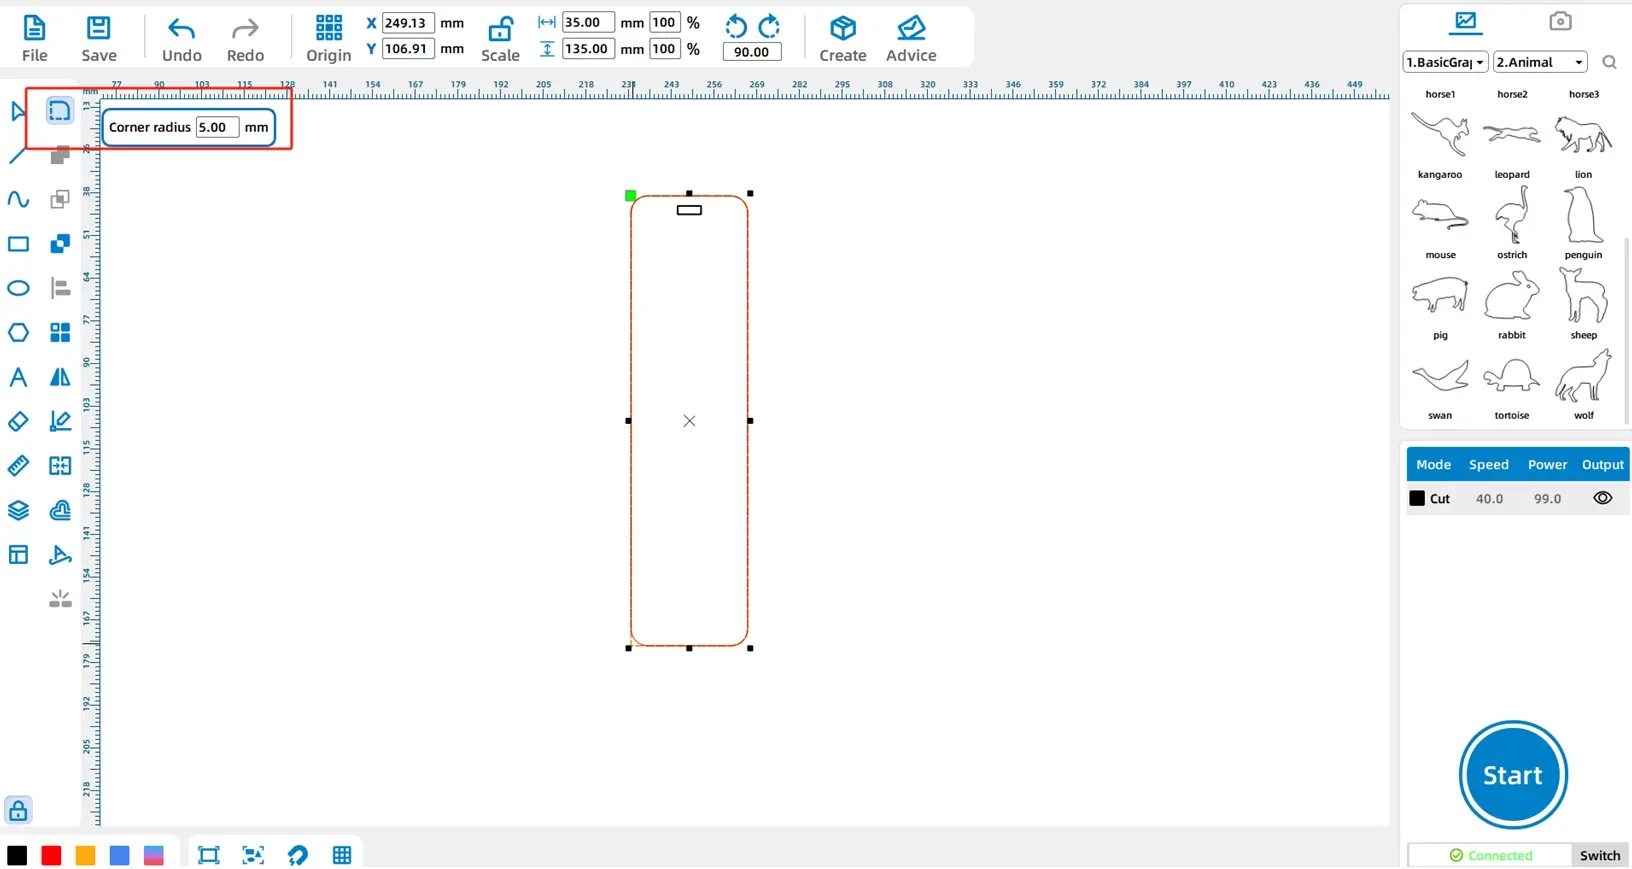
Tool Tip: Tools such as Rounded Corner and Union appear only when a shape is selected, so students should select the correct object before looking for the tool options.
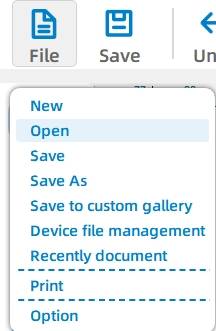
Click File in the upper Function Area, then choose Open and import the image that will be engraved on the bookmark. This can be a classroom-approved illustration, pattern, symbol, or artwork.
Select the image and resize it by dragging the corner points. Place the image inside the bookmark body. Keep enough space around the image so it does not overlap the cutting outline or text area.

Image Tip: Dragging corner points resizes the image proportionally, while dragging side points changes only width or height. Proportional resizing helps avoid stretched artwork.
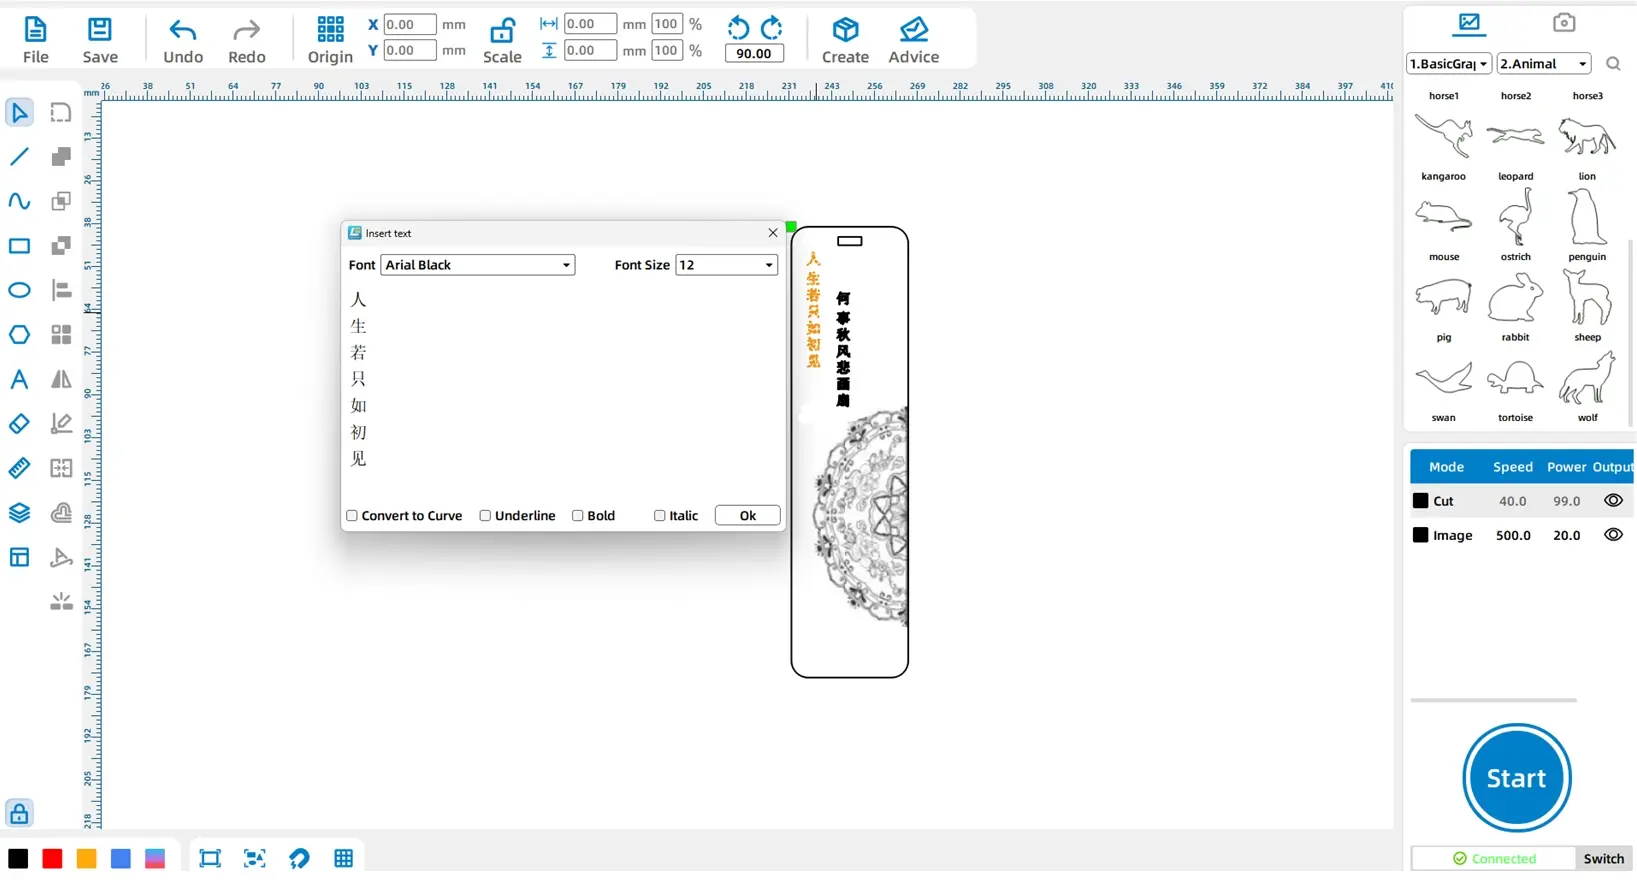
Click the Font tool from the left Drawing Toolbar and enter the text for the bookmark. The source example uses a vertically arranged quote. To create vertical text, press Enter after each character or line so the words stack neatly.
Students can use a short quote, poem line, reading motto, book title, name, or class theme. The source workflow uses a decorative font style and a small font size so the text fits inside the bookmark.
Select the text graphic and click the yellow layer in the lower-left Layer Palette. In the source workflow, the yellow layer is used for outlining the text.
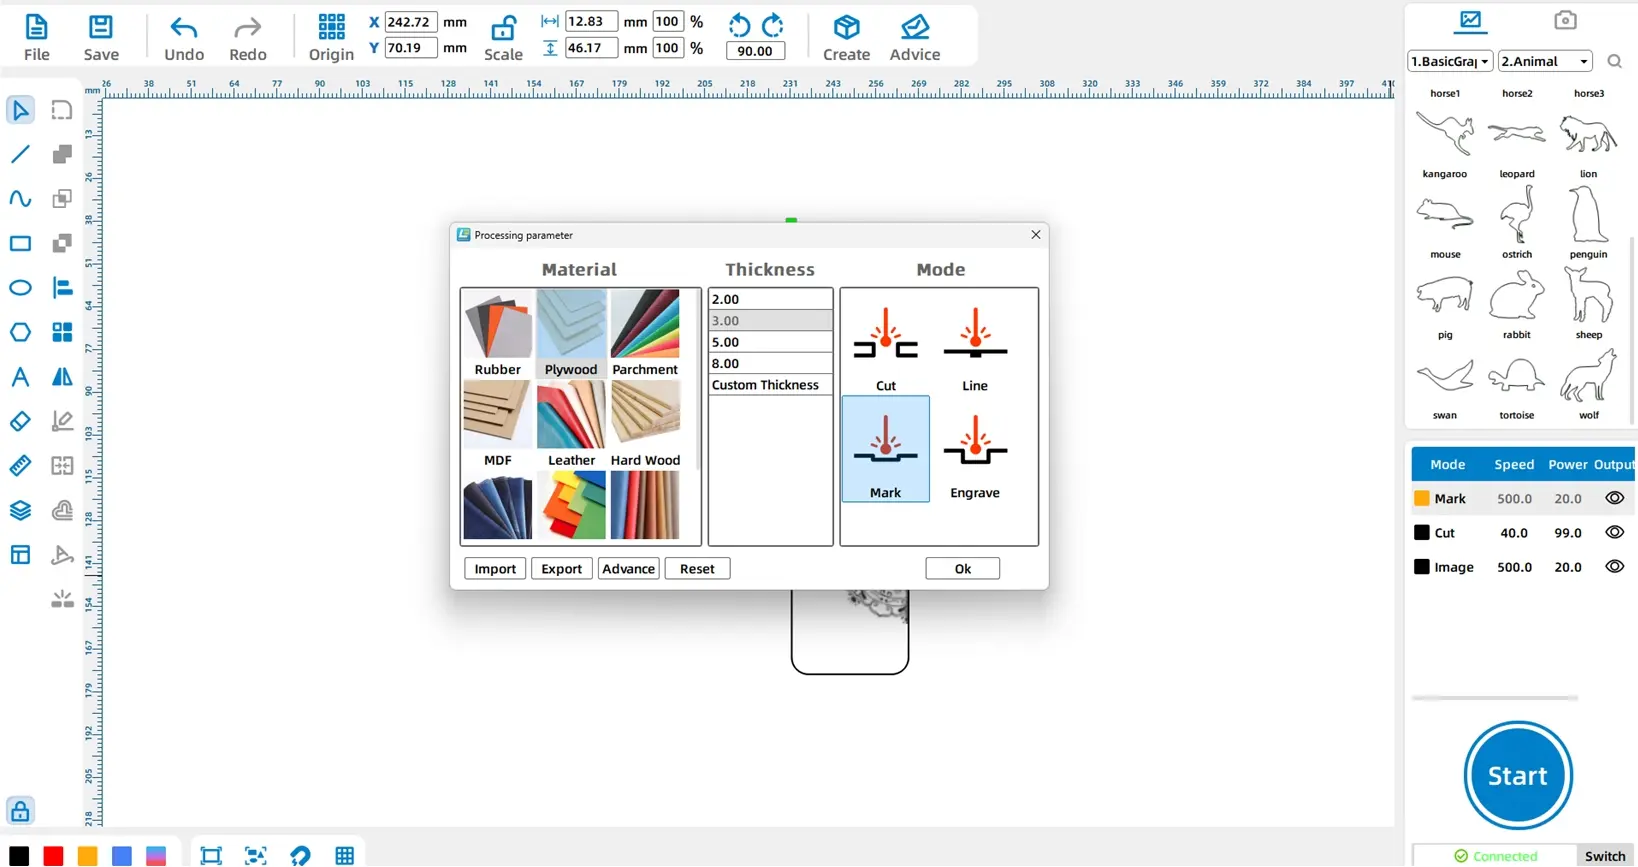
Set the black cutting layer to basswood, 3 mm, and cutting. For the bitmap image layer, set the material and thickness to basswood and 3 mm, then choose shallow engraving. For the yellow text layer, set the material and thickness to basswood and 3 mm, then choose outlining.
Drag the black cutting layer to the bottom of the processing stack. Since the machine processes layers from top to bottom, cutting last helps keep the bookmark stable while the image and text are processed.
Processing Reminder: Bitmap images are usually processed with shallow engraving or deep engraving, while vector outlines can be used for outlining or cutting.
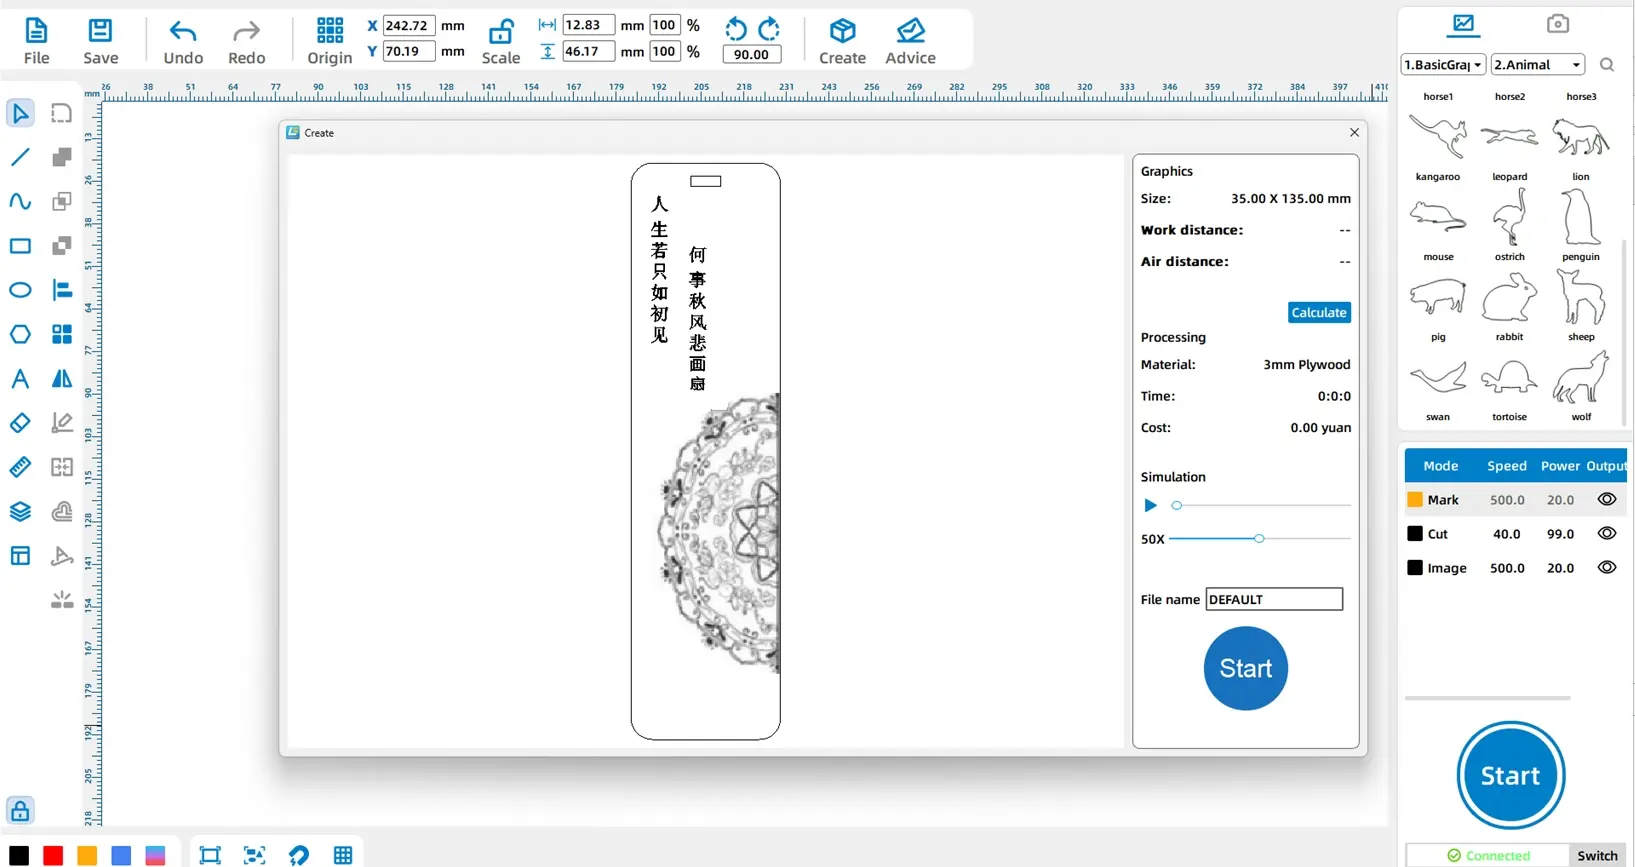
Click Start in the lower-right Processing Panel to upload the completed bookmark file to the laser cutting machine. Before starting the job, check the material placement, focus, and layer order one more time.
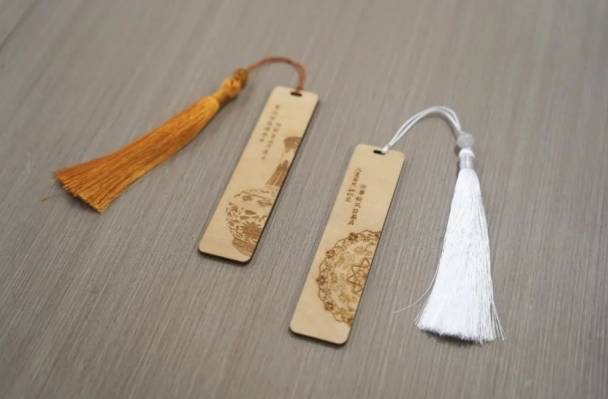
After laser processing is complete, remove the bookmark from the machine bed and check the result. The image should be clear, the text should be readable, the rounded corners should be smooth, and the outer shape should be fully cut.
Check whether the bookmark size feels comfortable for the books students use most often.
Check whether the imported image has enough contrast after shallow engraving.
Check whether the text is readable and does not touch the outer cutting line.
Check whether the rounded corners and top slot are fully cut and smooth.
Try a second version with a different quote, image, corner radius, or layout.
Outline design: Students draw the bookmark body and small top rectangle, then round the corners.
Graphic design: Students import an image, resize it, and place it inside the bookmark.
Text design: Students add a short quote or phrase and arrange it clearly.
Layer setup: Students set bitmap engraving, text outlining, and outer cutting layers.
Production: Students upload the file, process the bookmark, and review the finished object under teacher supervision.
Prepare a few sample bookmark layouts so students can compare image-heavy, text-heavy, and balanced designs.
Remind students to keep text and images inside the bookmark body with enough margin.
Use the bitmap image step to explain the difference between image engraving and vector cutting.
Ask students to process internal engraving and outlining before the final cutting layer.
Encourage students to connect the bookmark design with a favorite book, class reading project, or personal reading goal.
How does a bookmark help protect books compared with folding page corners?
What design choices made your bookmark feel personal?
Why should the cutting layer be processed after the engraving and outlining layers?
What would you change if you made a second bookmark?
Students can evaluate their own work and give peer feedback based on creativity, technical process, finished appearance, and classroom collaboration.
| Evaluation Item | Self-Evaluation | Peer Evaluation |
|---|---|---|
| Design and Creativity, 30 points | ||
| Technical Process, 30 points | ||
| Finished Appearance, 20 points | ||
| Collaboration and Care, 20 points | ||
| Total, 100 points |
After finishing the basic bookmark, students can design a bookmark series for a classroom reading program, book club, library activity, or student gift project. Each bookmark can use a different image, quote, shape, or theme while keeping the same production workflow.
For a design challenge, students can compare different bookmark widths, corner radii, image sizes, text layouts, and engraving settings to see which version is the most readable, attractive, and practical.
This project is suitable for classroom laser cutters that support cutting, shallow engraving, and outlining of thin basswood board. For schools and beginner STEAM labs, projects like custom bookmarks, reading accessories, classroom gifts, and beginner LaserMaker activities can be completed with a classroom laser cutter such as the Thunder Laser Bolt Series.
Teachers can choose the machine and material setup based on classroom space, student supervision needs, material thickness, project size, and ventilation setup. Students should always test settings, check focus, and follow the school’s laser safety rules before final cutting.
Talk To Our Experts Now!
Please leave your contact information so that we can serve you better.
TAKE THE NEXT STEP WITH THUNDER LASER

 Stable & Consistent MachinesUnlimited ApplicationRobust After-sales SupportFactory Direct Supply


