DIY Doorplate Laser Cutting Project: A LaserMaker STEAM Course
 24-08-21
WHAT ARE YOU LOOKING FOR?
Search Across Products, Blog Posts, Support Content, And Resources.

DIY Doorplate Laser Cutting Project: A LaserMaker STEAM Course
24-08-21

In this LaserMaker STEAM course, students will design and create a layered DIY doorplate using basswood, engraving, cutting, text design, contour extraction, and automatic sorting. The project builds on earlier three-dimensional laser creation activities and helps students move from separate digital elements to a finished classroom maker project.
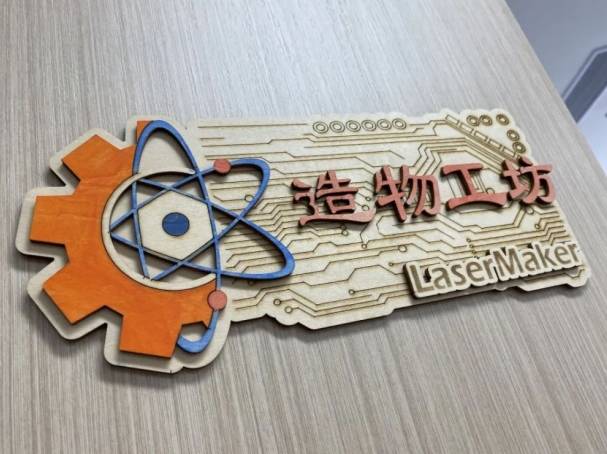
A doorplate is a sign used to show room information, an address, a street name, or the identity of a creative space. In this activity, students will make a custom “Creation Workshop” doorplate by combining a base plate, text, gear elements, a hexagram shape, and engraved decorative patterns.
This lesson shows how to build a doorplate from multiple laser-designed components. Students will create or prepare separate design elements, arrange them in LaserMaker, assign process layers, and use stacking assembly to create a three-dimensional effect from flat basswood pieces.
The example design is called “Creation Workshop.” It represents a craft room and combines several visual symbols: an atomic structure for science, an electronic circuit pattern for technology, a gear for engineering, a hexagram for art, and LaserMaker text to connect the project with digital design and laser fabrication.
Teacher note: This project is useful for STEAM classrooms because it connects visual symbolism, digital drawing, material-saving layout tools, engraving, cutting, and physical assembly.
Doorplates are used in schools, labs, offices, studios, community centres, makerspaces, and homes. They help people identify spaces and can also communicate personality, purpose, and visual style.
In a classroom setting, this project can be adapted for school clubs, art rooms, science labs, design studios, student nameplates, classroom signs, or event displays. Students can change the text, icons, layout, and decoration to match their own design goals.
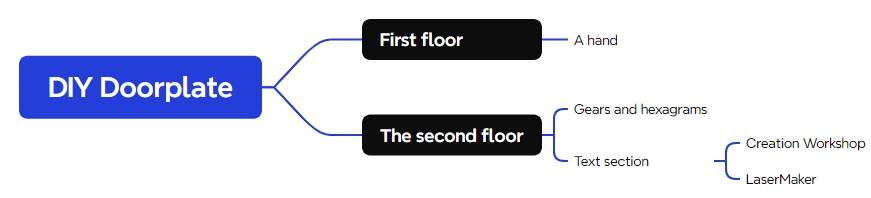
Before using the laser cutter, students should analyse the doorplate as a product. The finished work is not a single flat shape. It includes a base plate, a text section, and decorative gear and hexagram elements. Some parts are engraved, while others are cut and stacked.
Prepare the following materials for the DIY doorplate project.
| Number | Name | Quantity | Project Use |
|---|---|---|---|
| 1 | 3mm Basswood Board | 1 | Base plate, text, and decorative doorplate elements |
| 2 | Paint | 1 | Optional finishing and colour decoration |
Equipment note for teachers: This basswood classroom project can be completed on a laser cutter suitable for school maker activities, such as the Thunder Laser Bolt Series. Teachers should review material suitability and supervise laser operation.
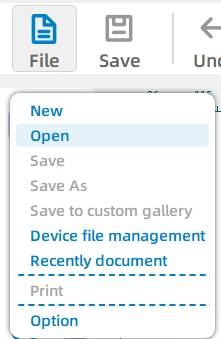
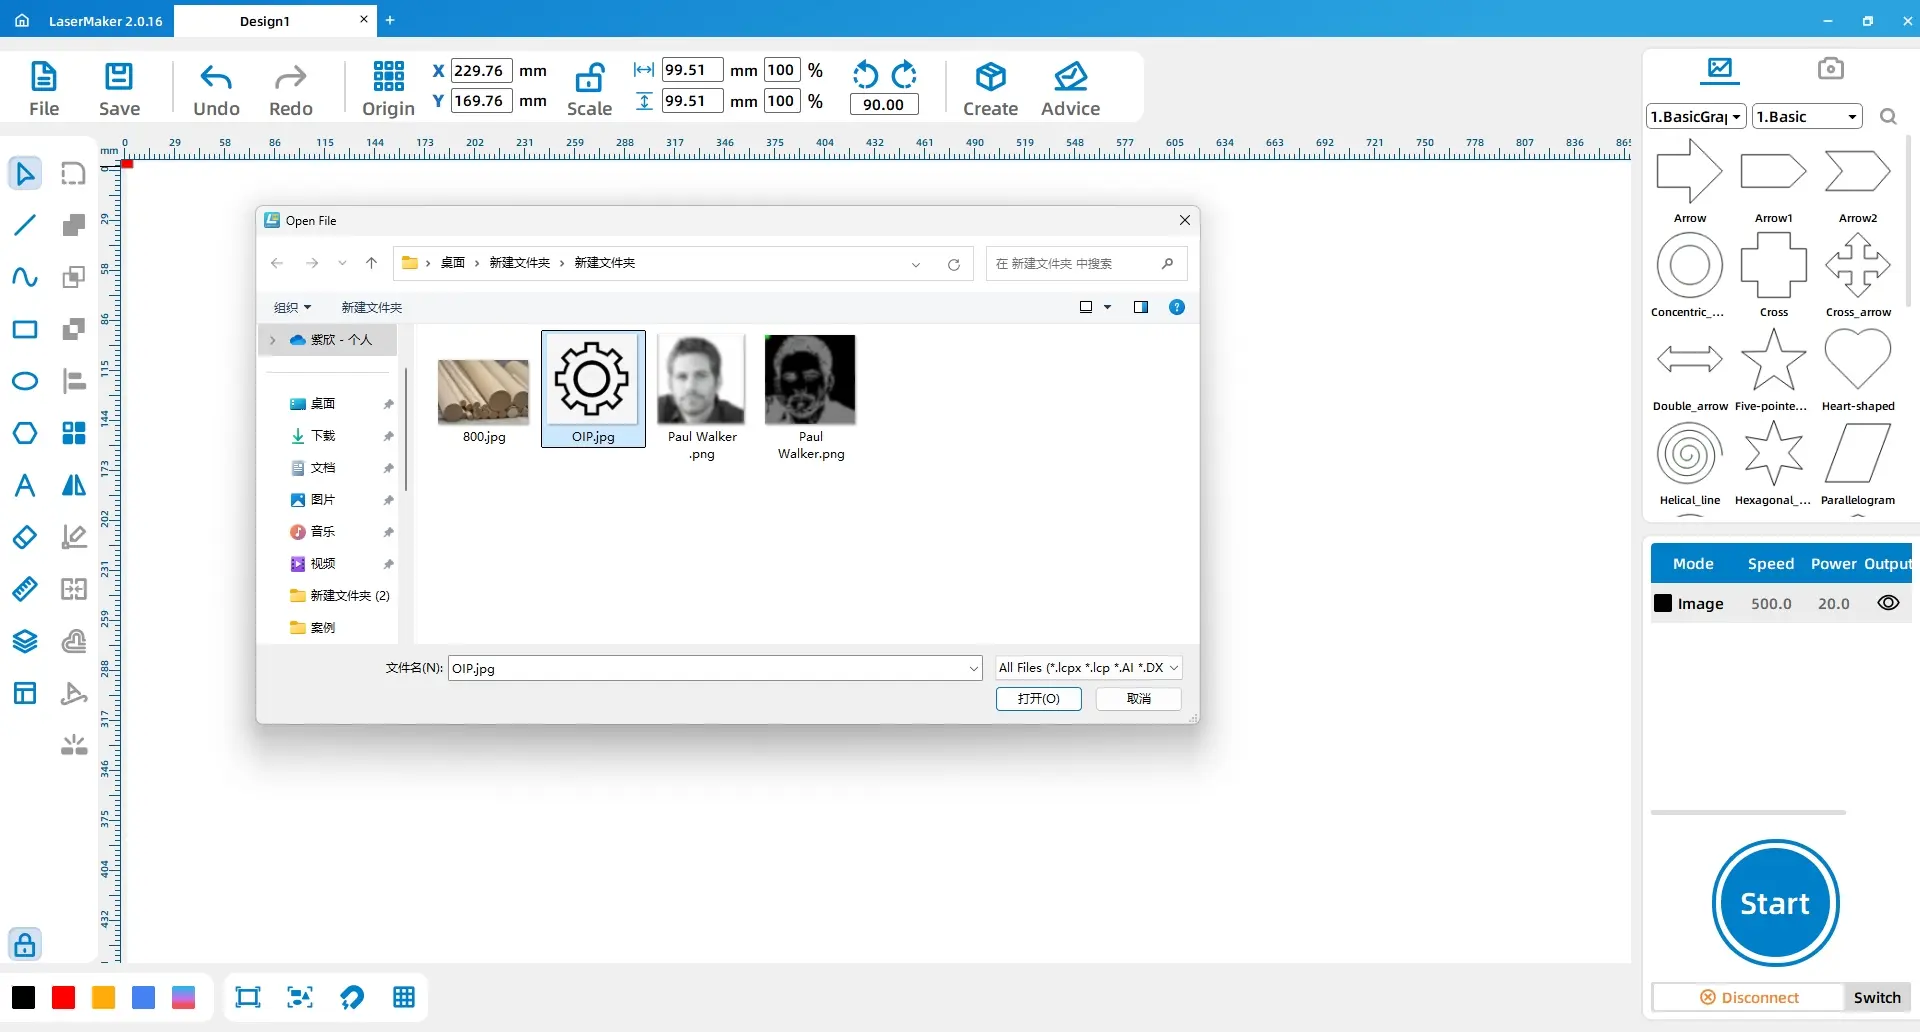
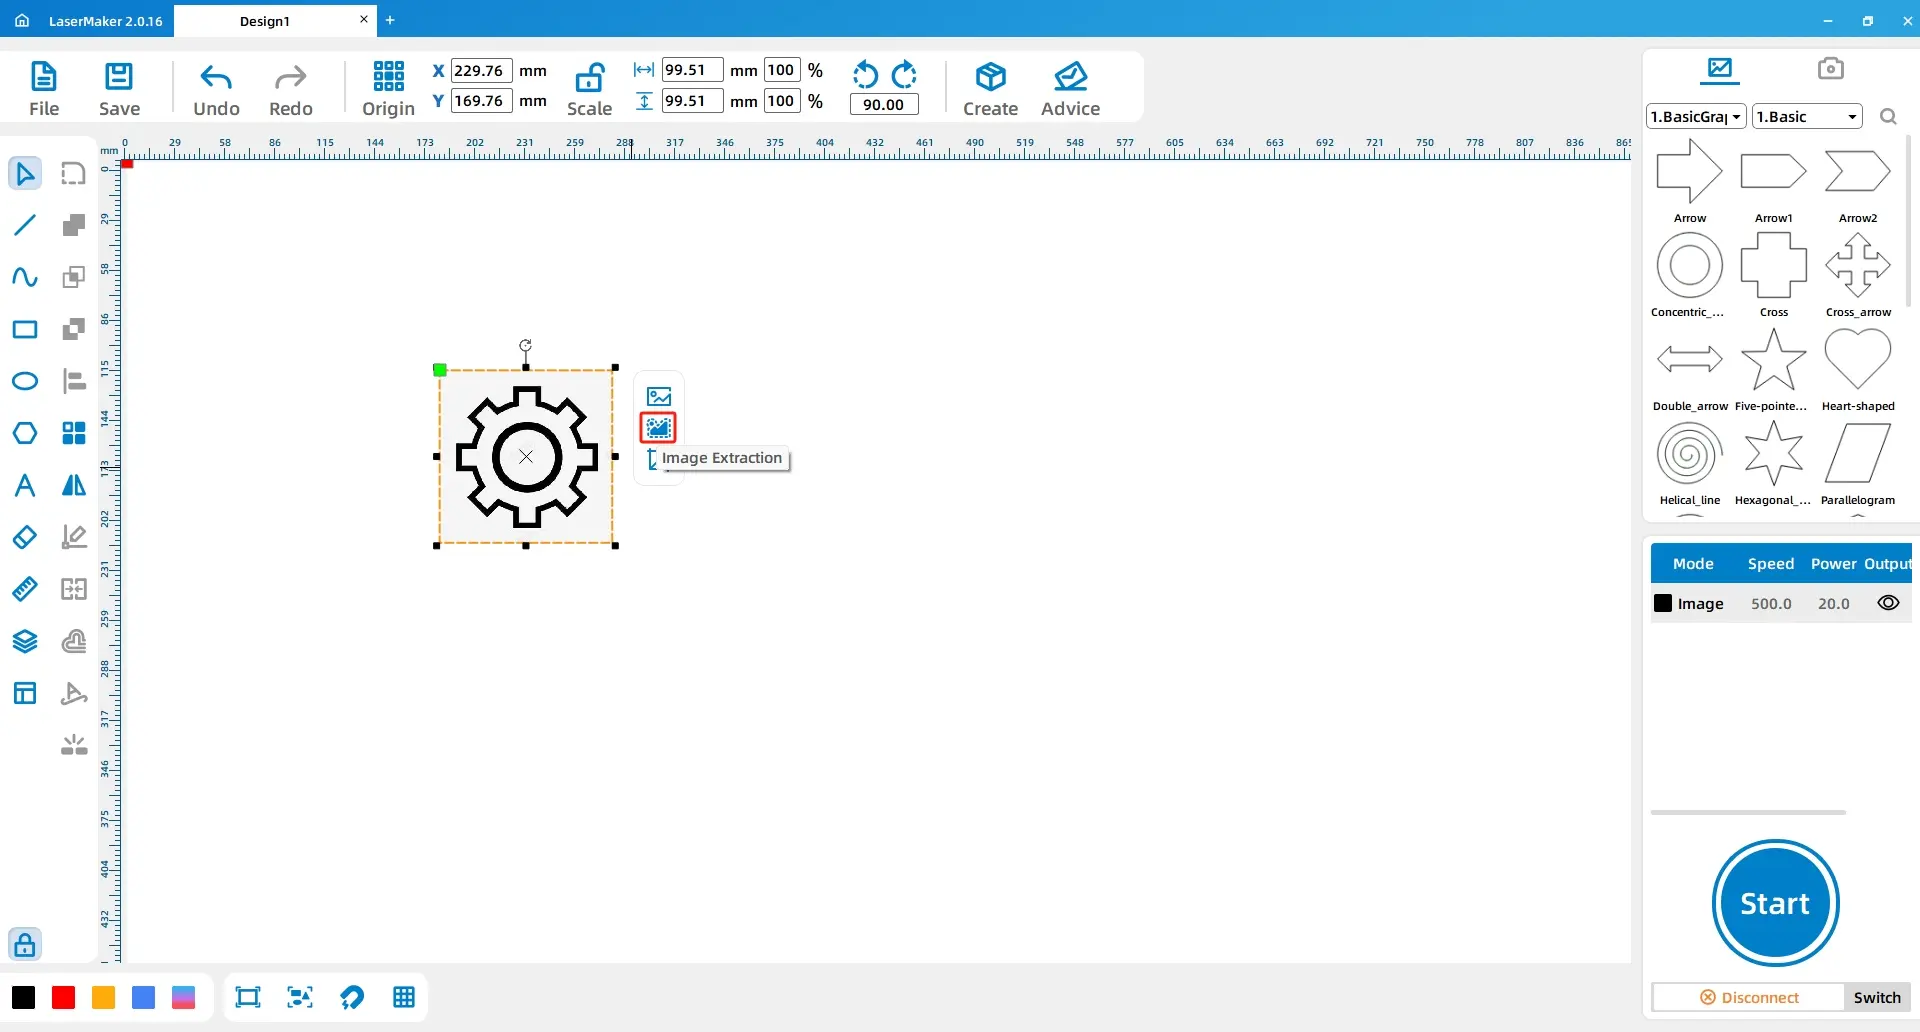
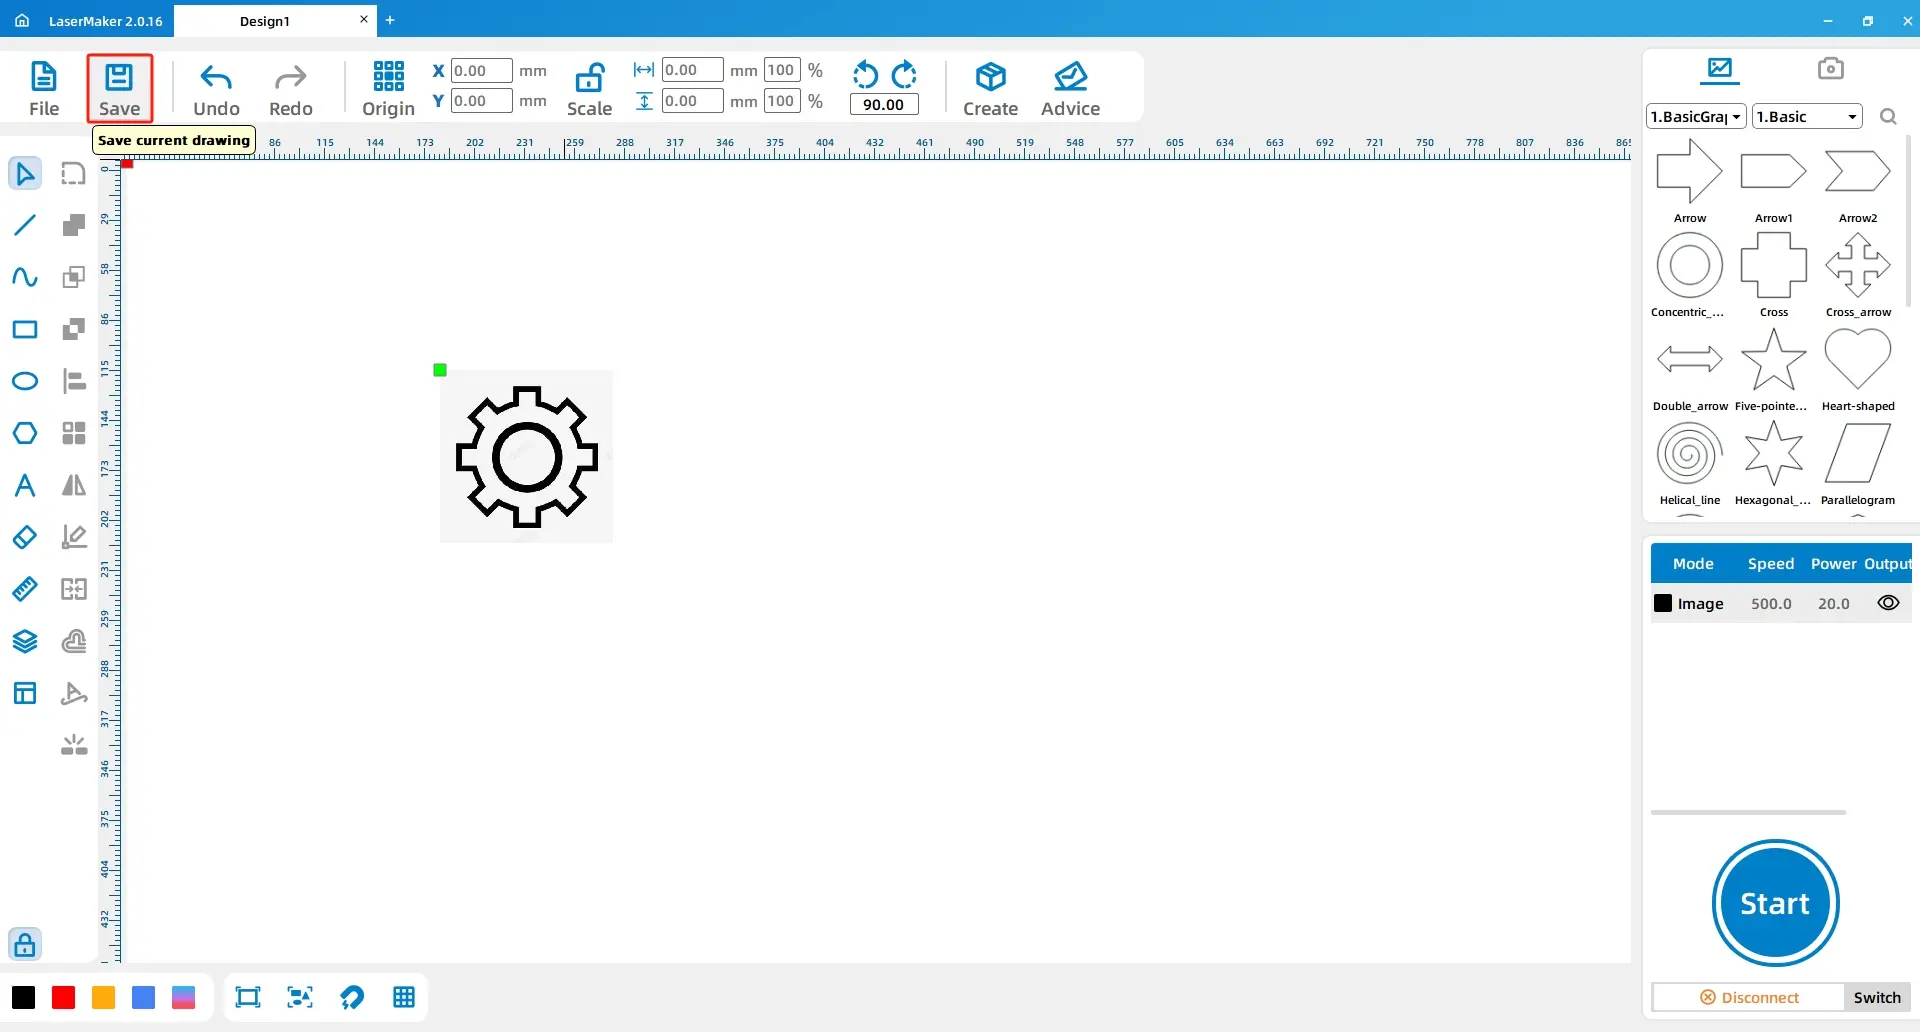
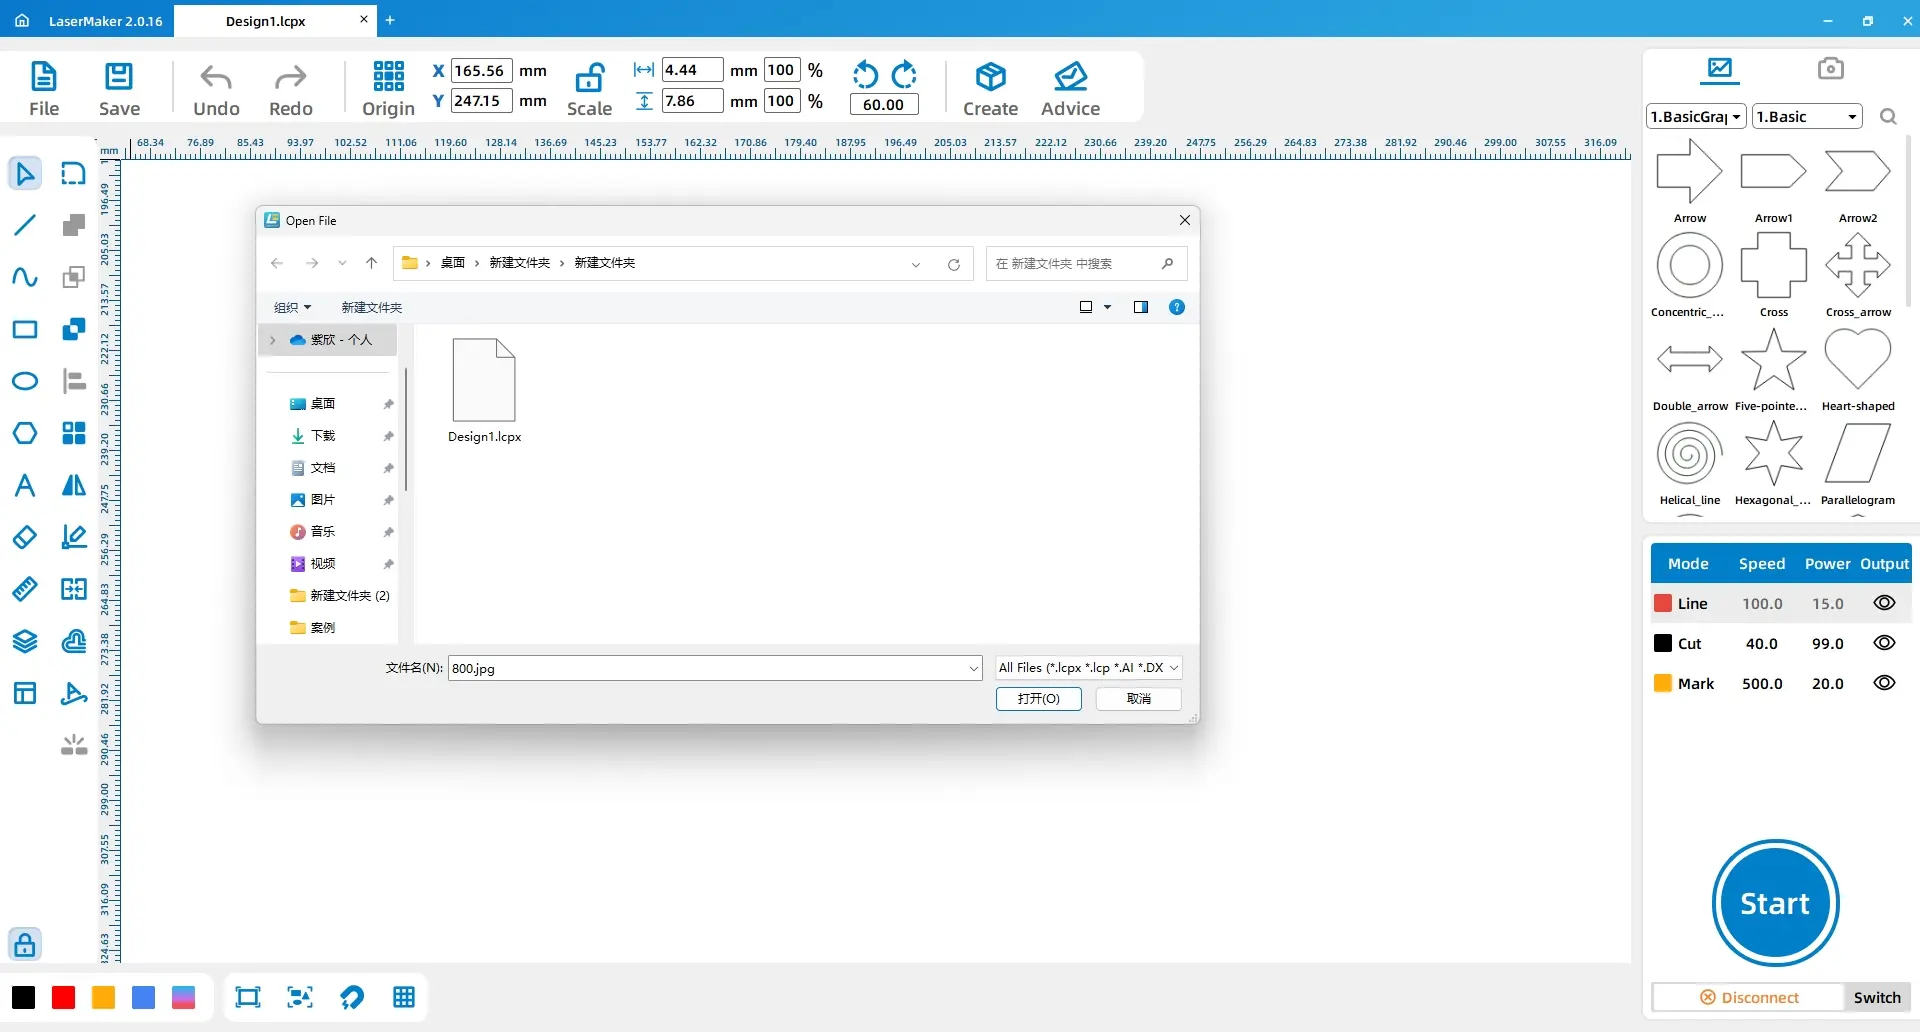
To make the doorplate, students first prepare the separate visual elements. Begin by finding a simple gear line drawing, saving the image, and opening it in LaserMaker through File and Open.
Select the image, use Extract Contour, and delete unnecessary lines. The goal is to keep a simplified gear outline that can be used as a laser cutting element.
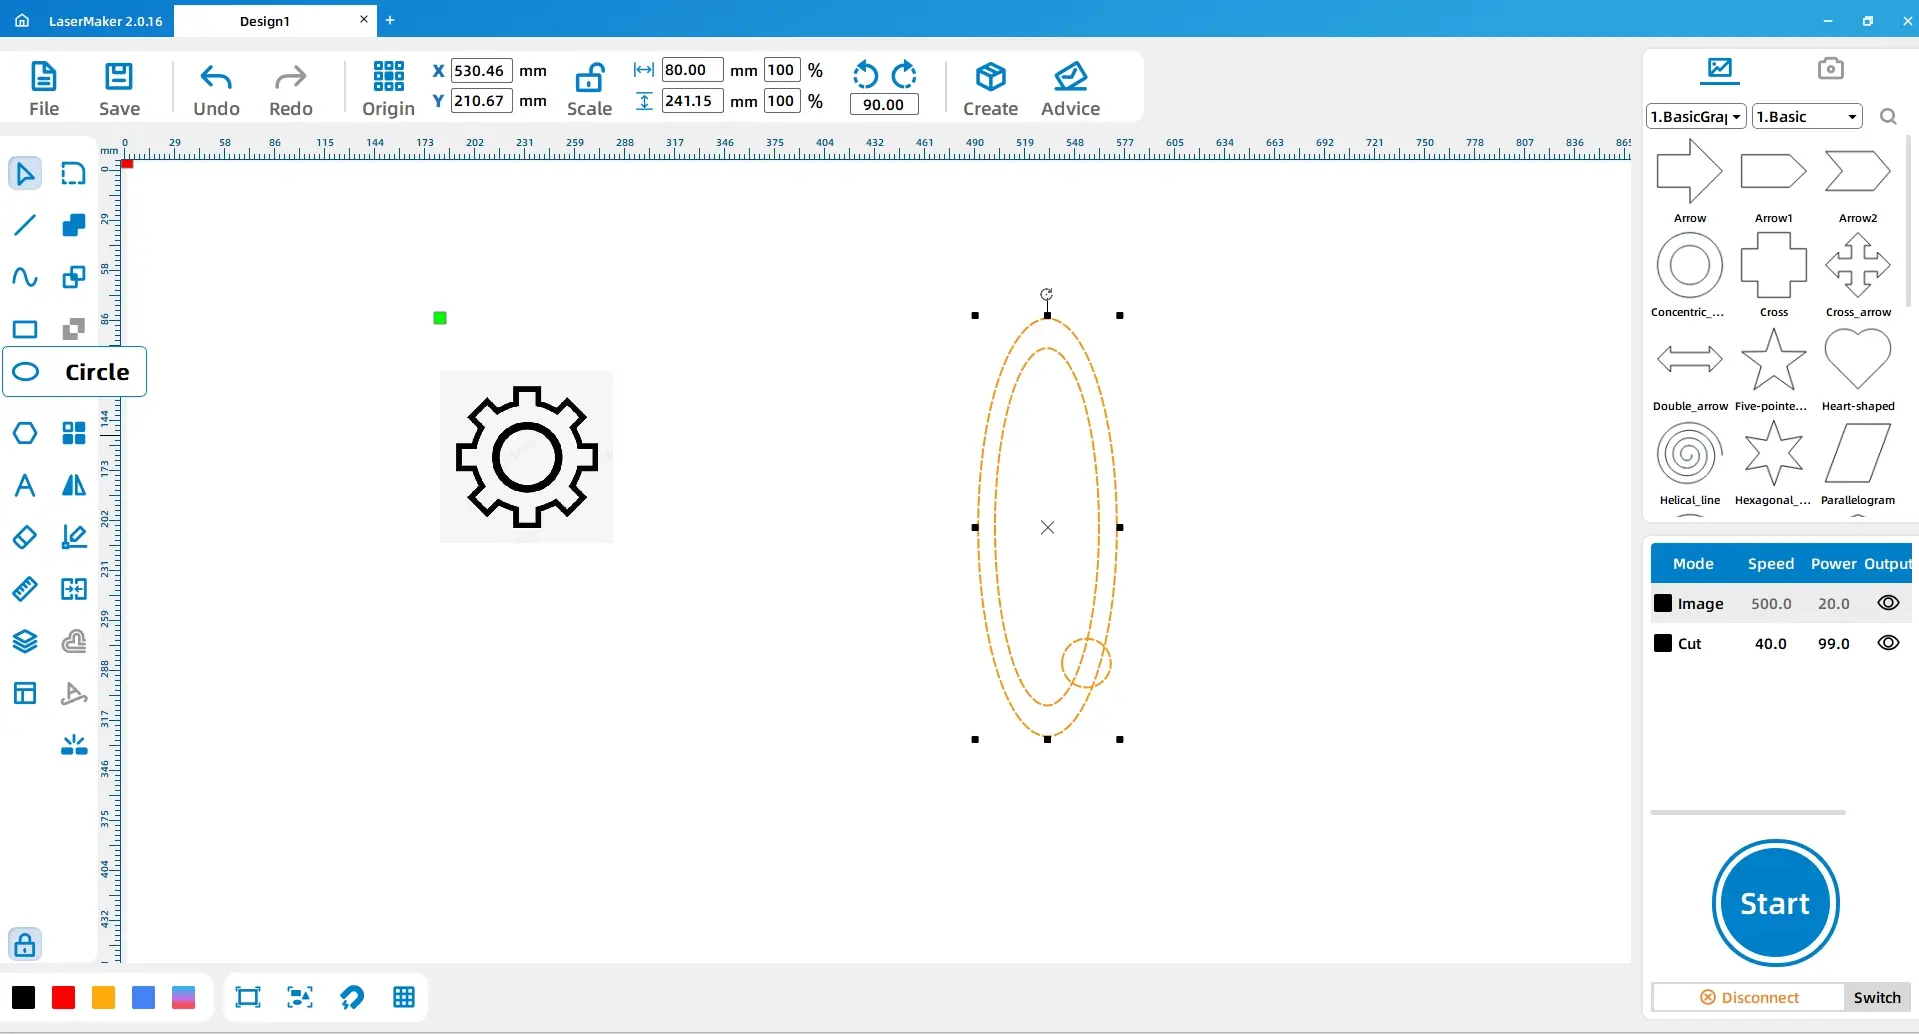
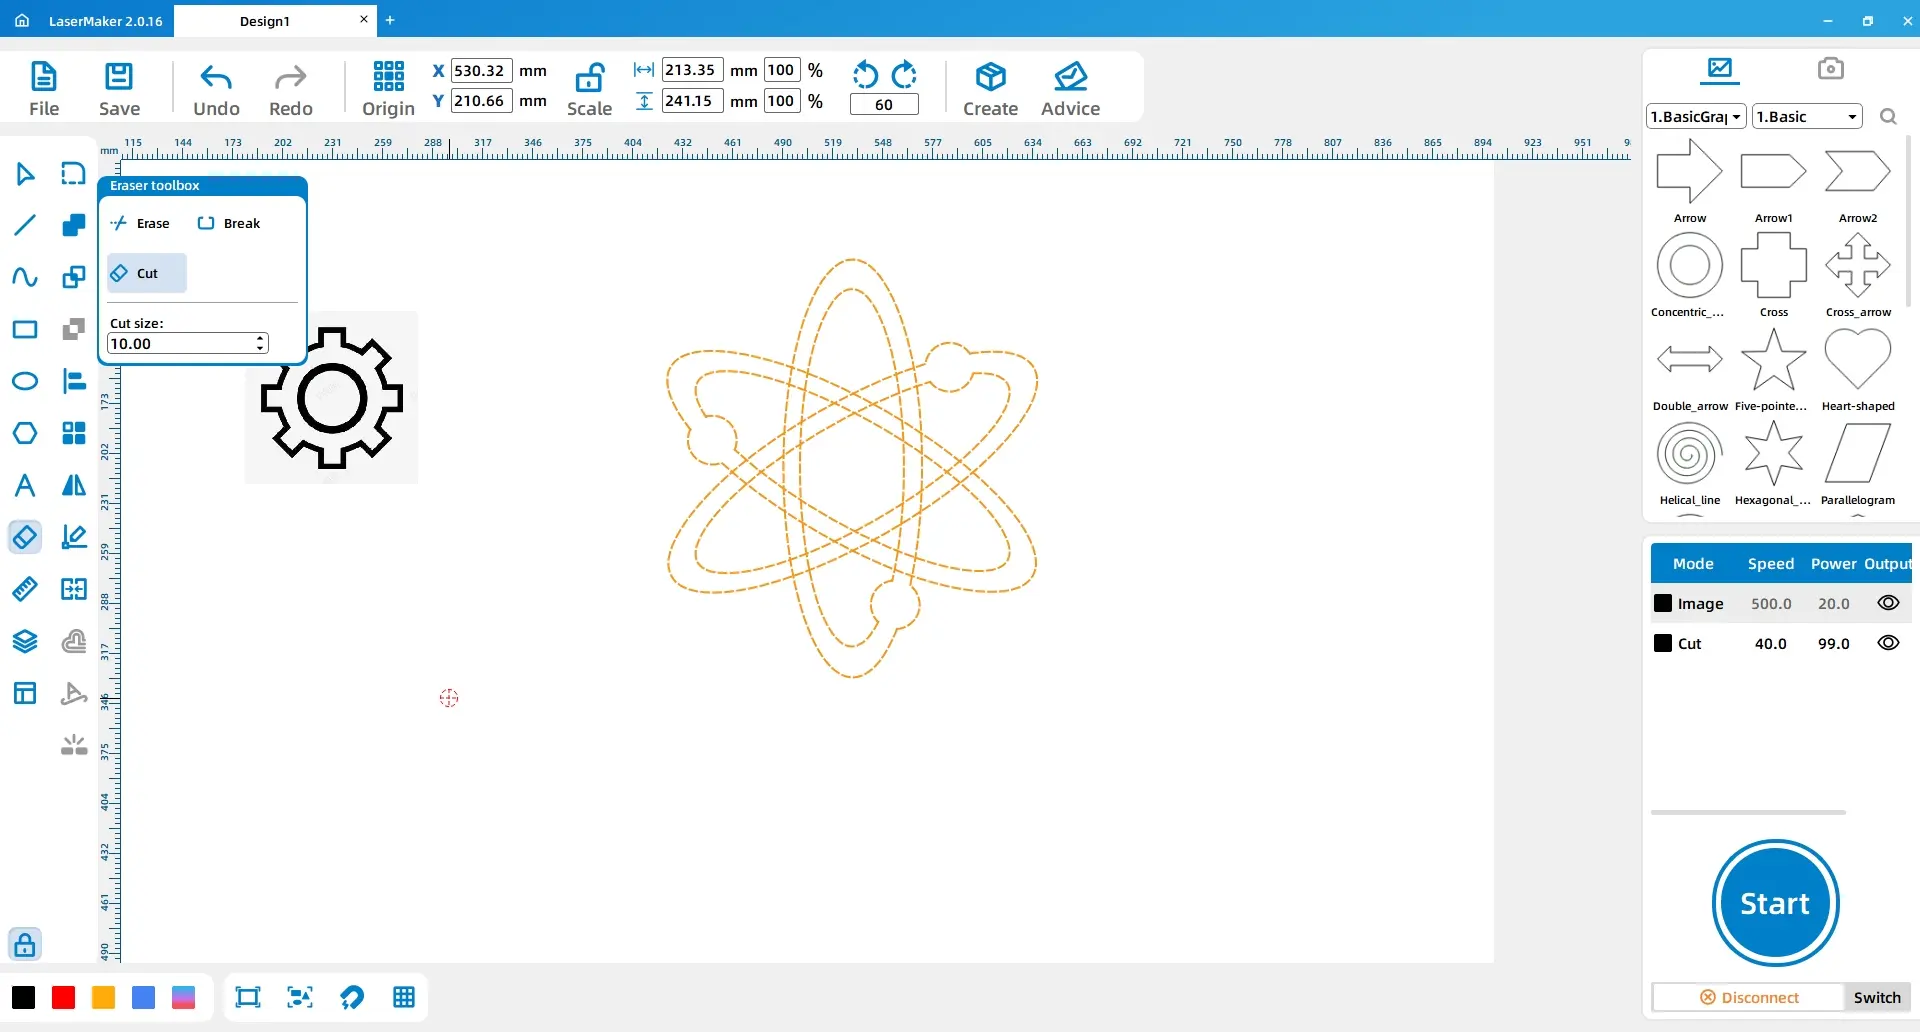
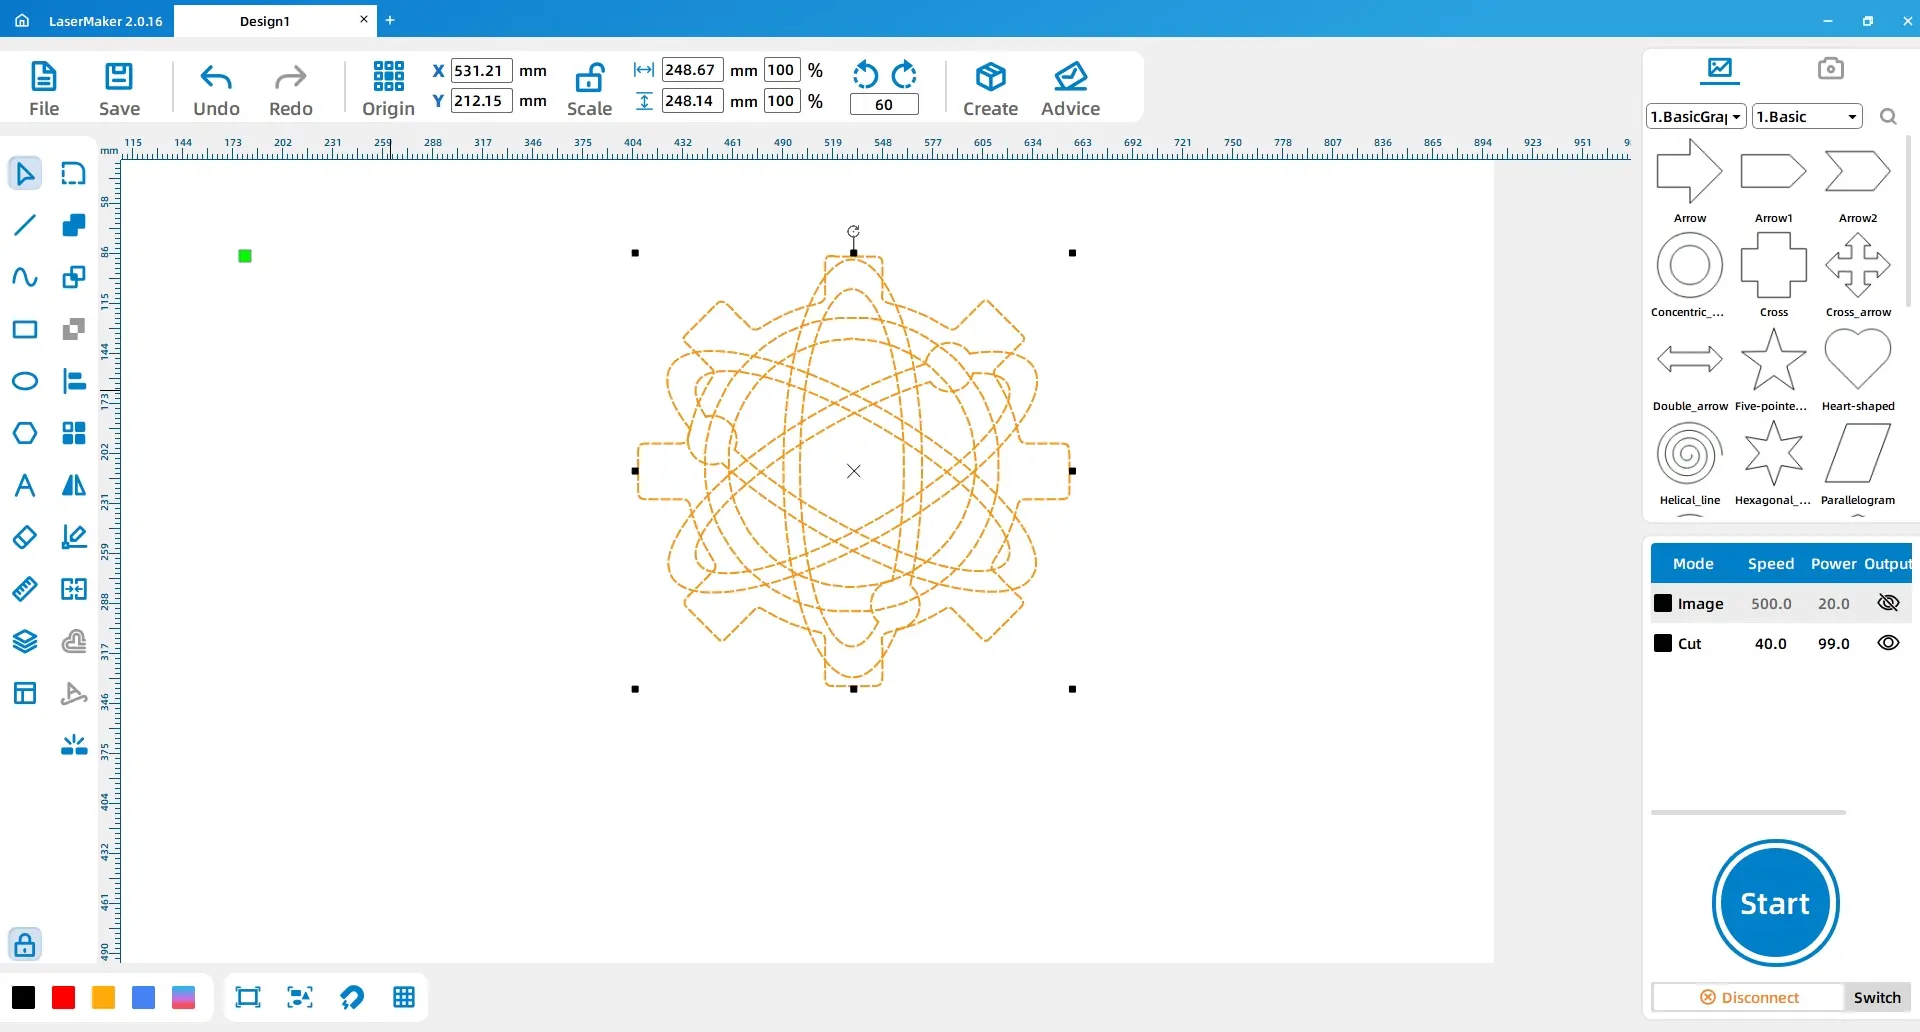
From the drawing toolbar, select the Ellipse tool. Draw two large ellipses and one perfect circle in the drawing area. Combine them, delete extra lines, and rotate copies by 60 degrees and 180 degrees to form the hexagram. Add a perfect circle at the centre.
Adjust the position of the gear and hexagram so they align visually. Use the Eraser tool to remove half of each shape, then combine the remaining parts into one decorative gear-and-hexagram element.
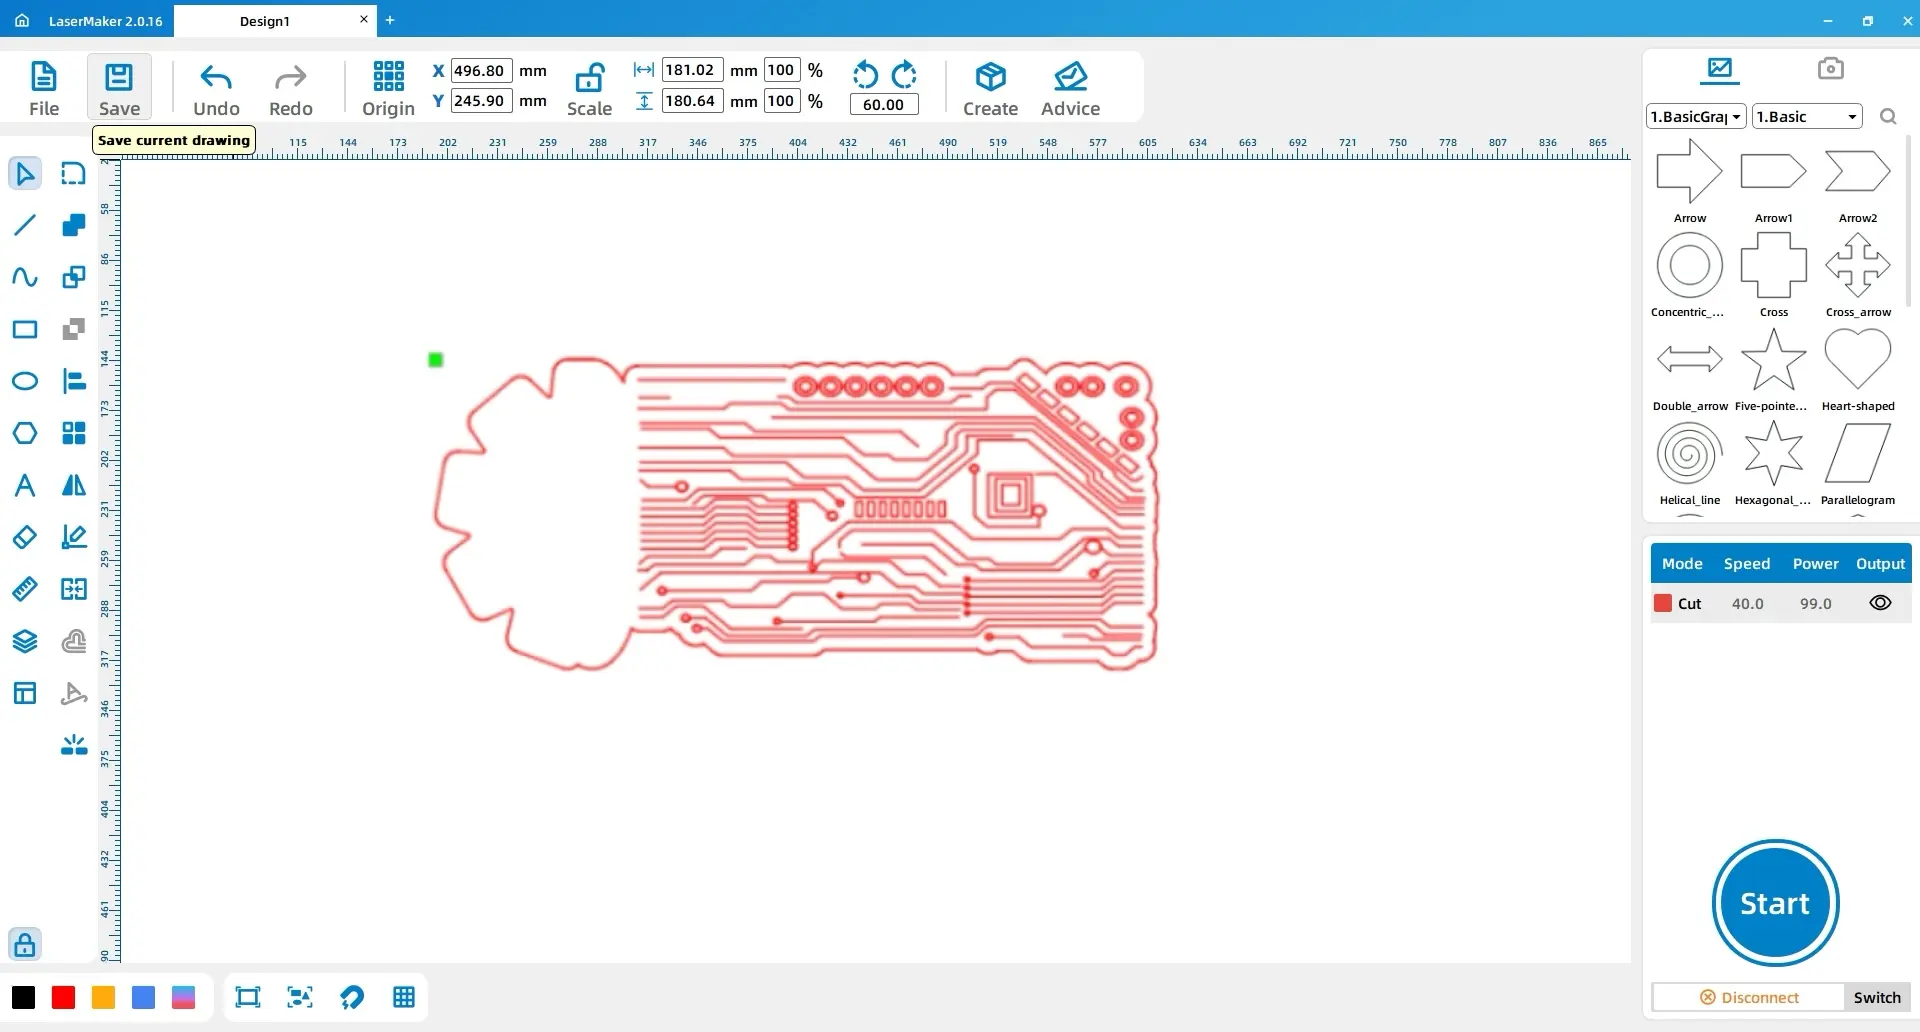
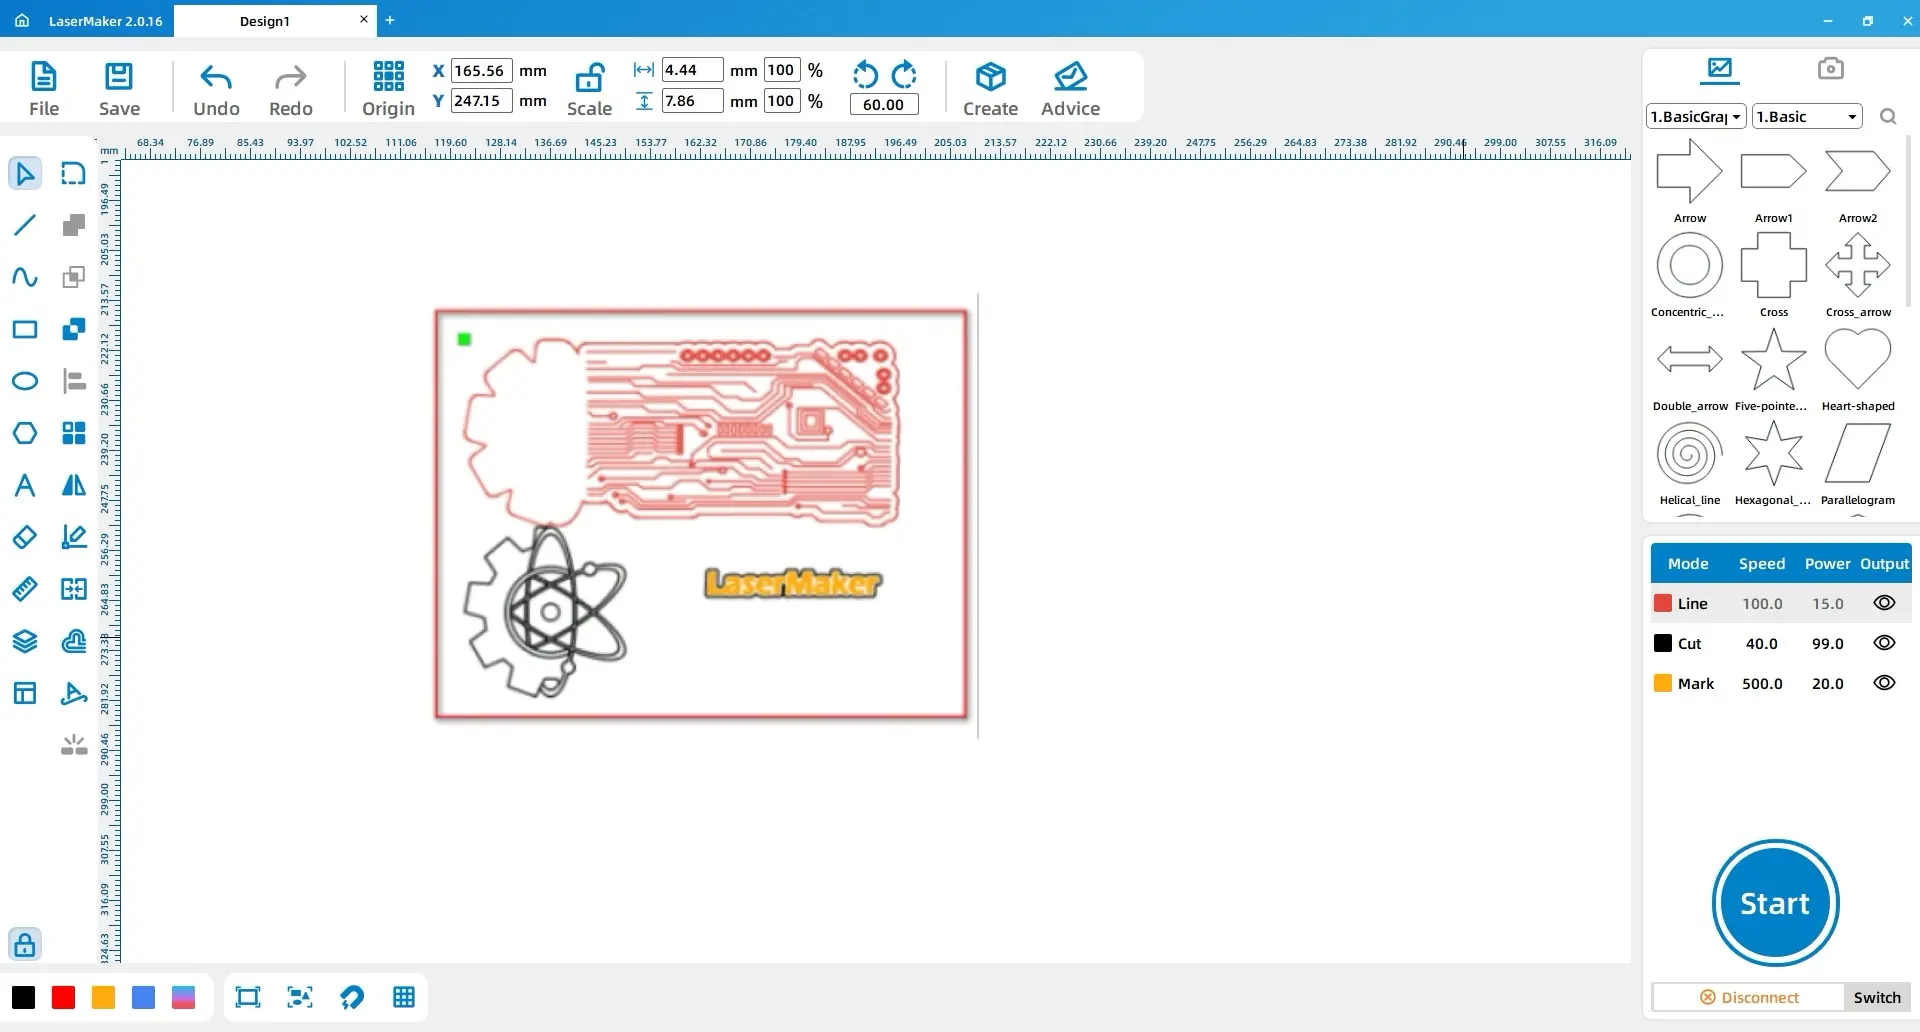
Next, choose an abstract circuit-board-style image. Open it in LaserMaker, use Extract Contour, and remove unnecessary lines to prepare the decorative circuit pattern for the base plate.
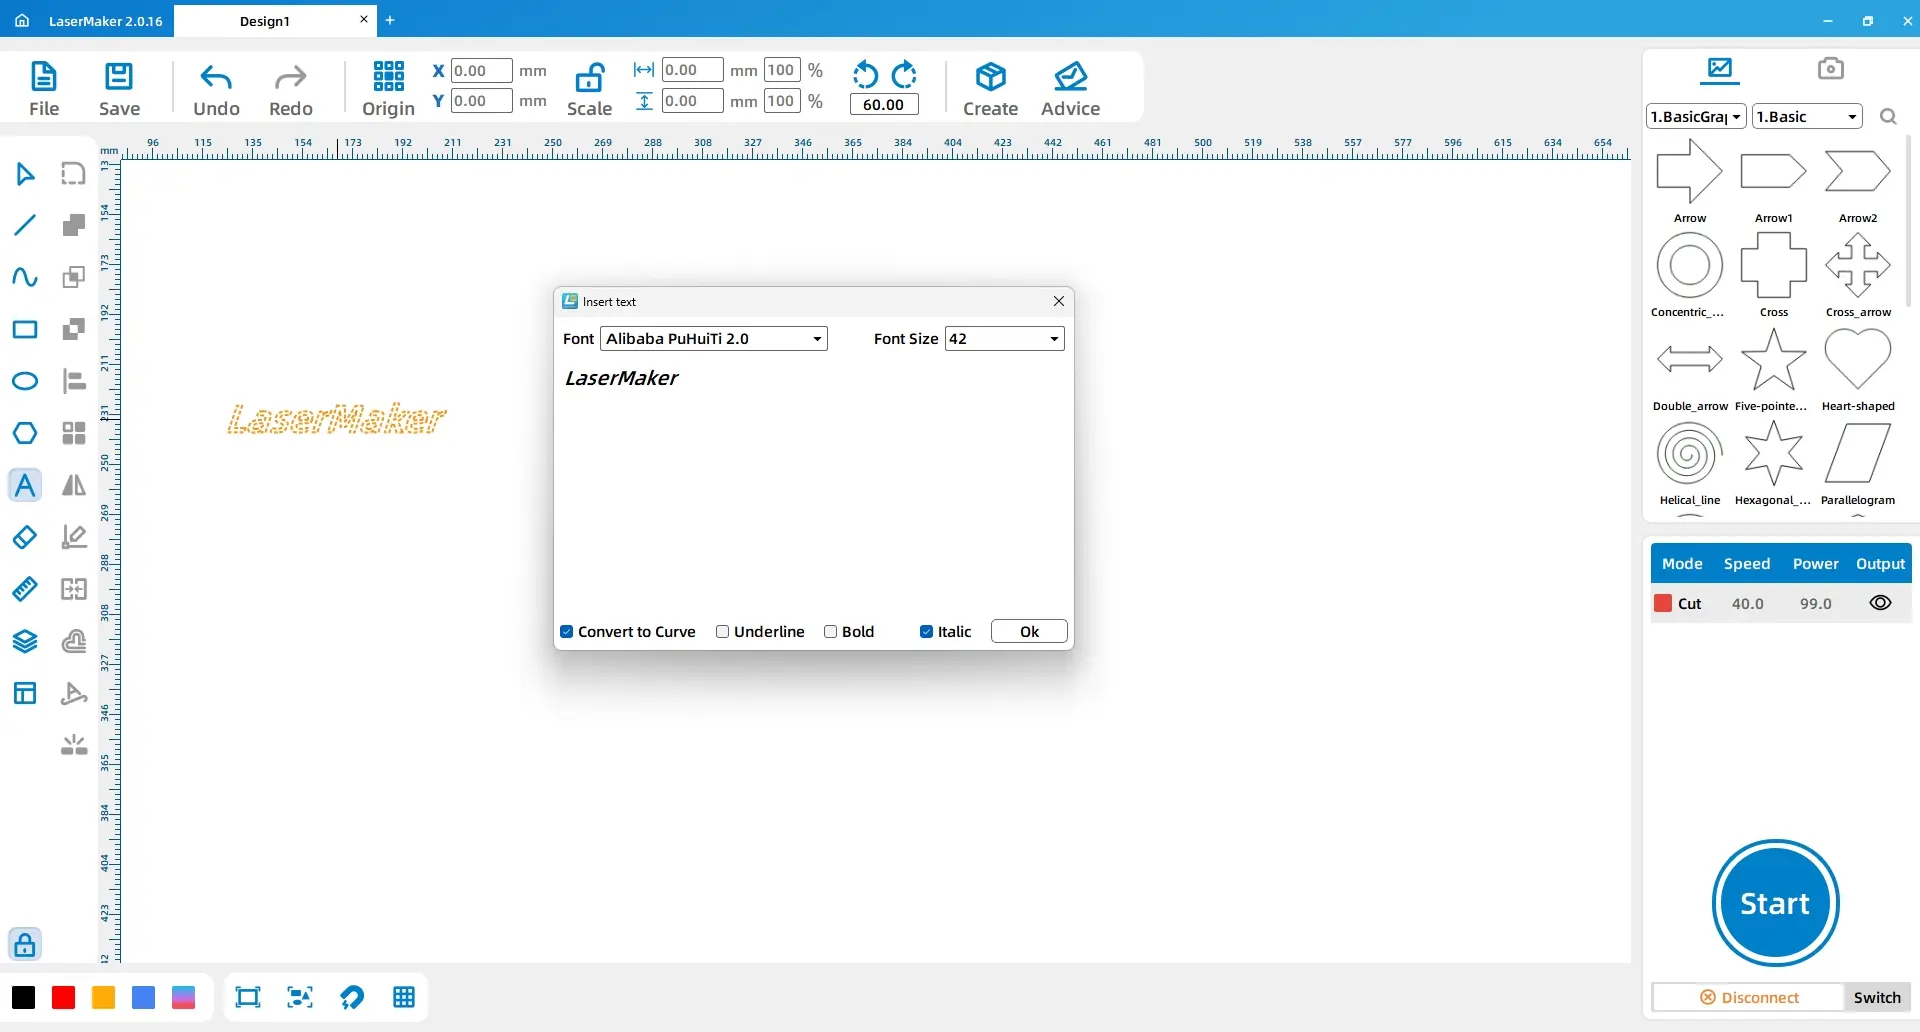
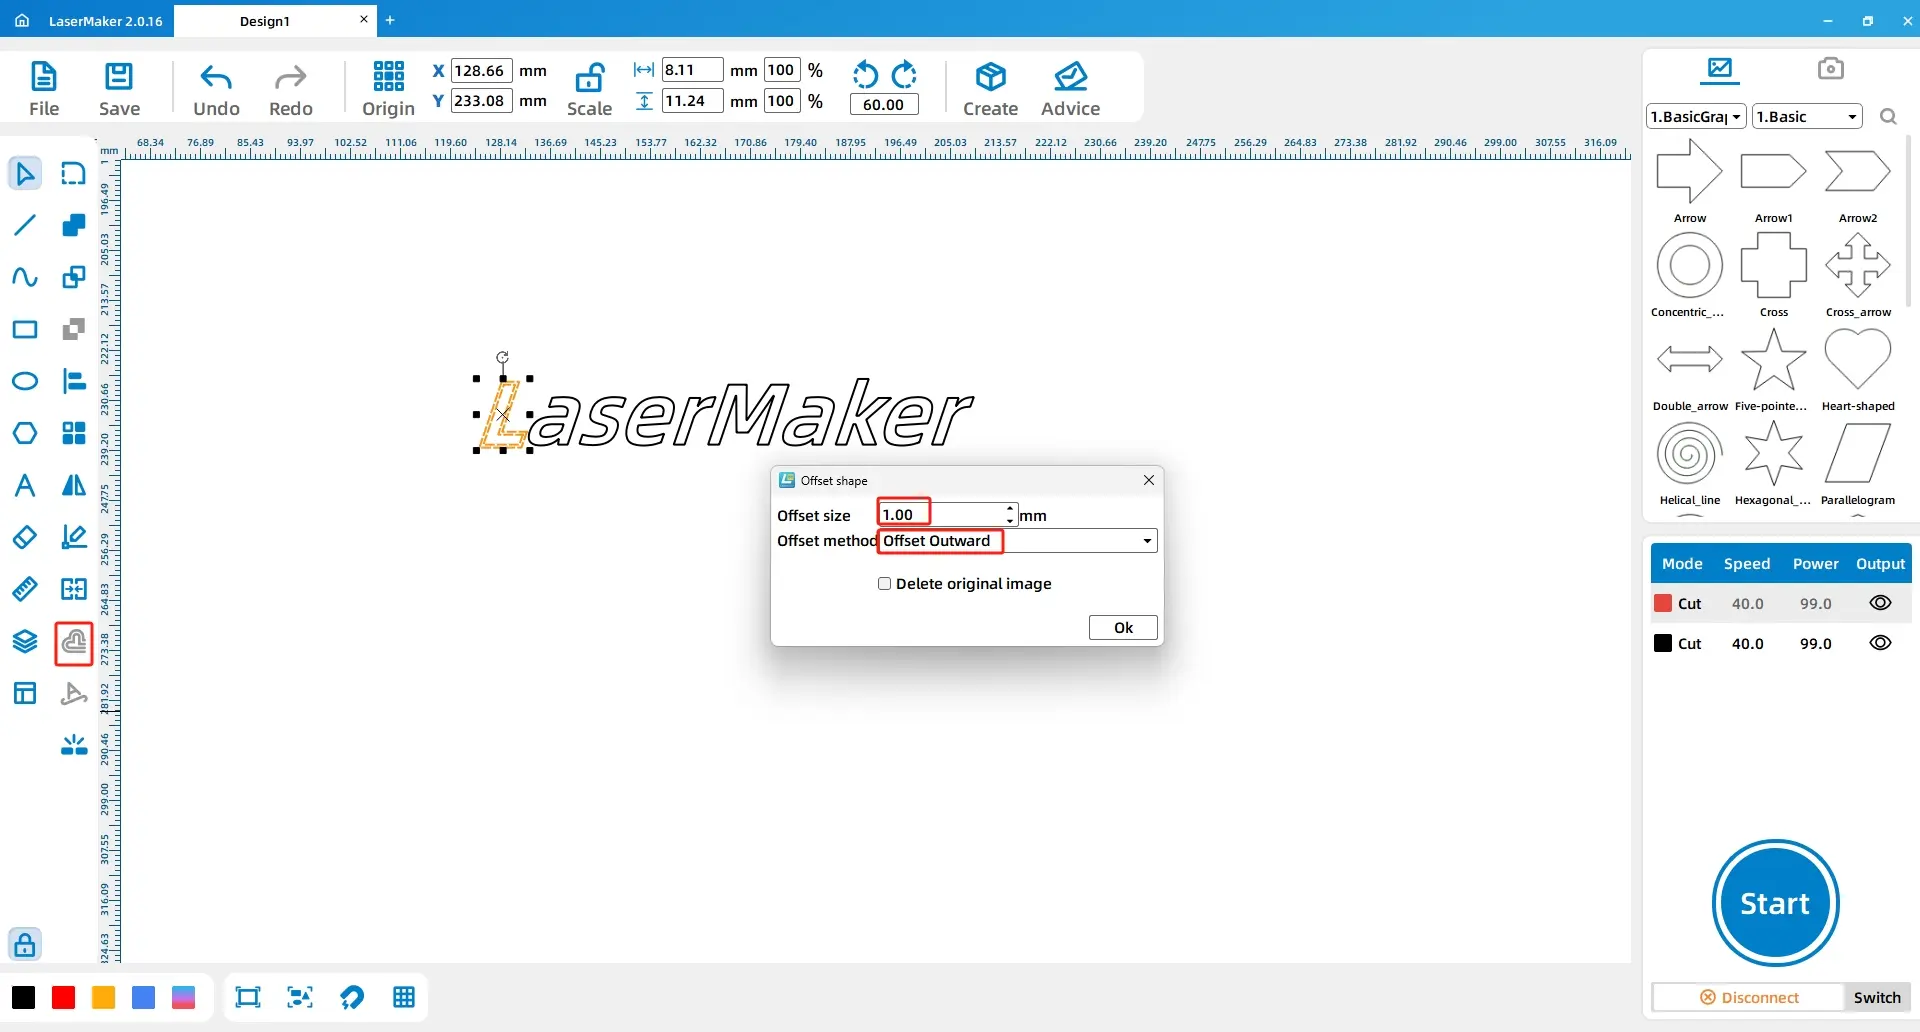
Use the Font tool to type “LaserMaker.” Convert the text to curves, set it to italic, and then use the Offset Curve tool to offset each letter outward by 1mm. Combine the offset curves with the union function so the text becomes suitable for cutting or engraving.
Open the required material files, including the base plate, gear and hexagram, and LaserMaker text. These will be arranged together to form the complete doorplate design.
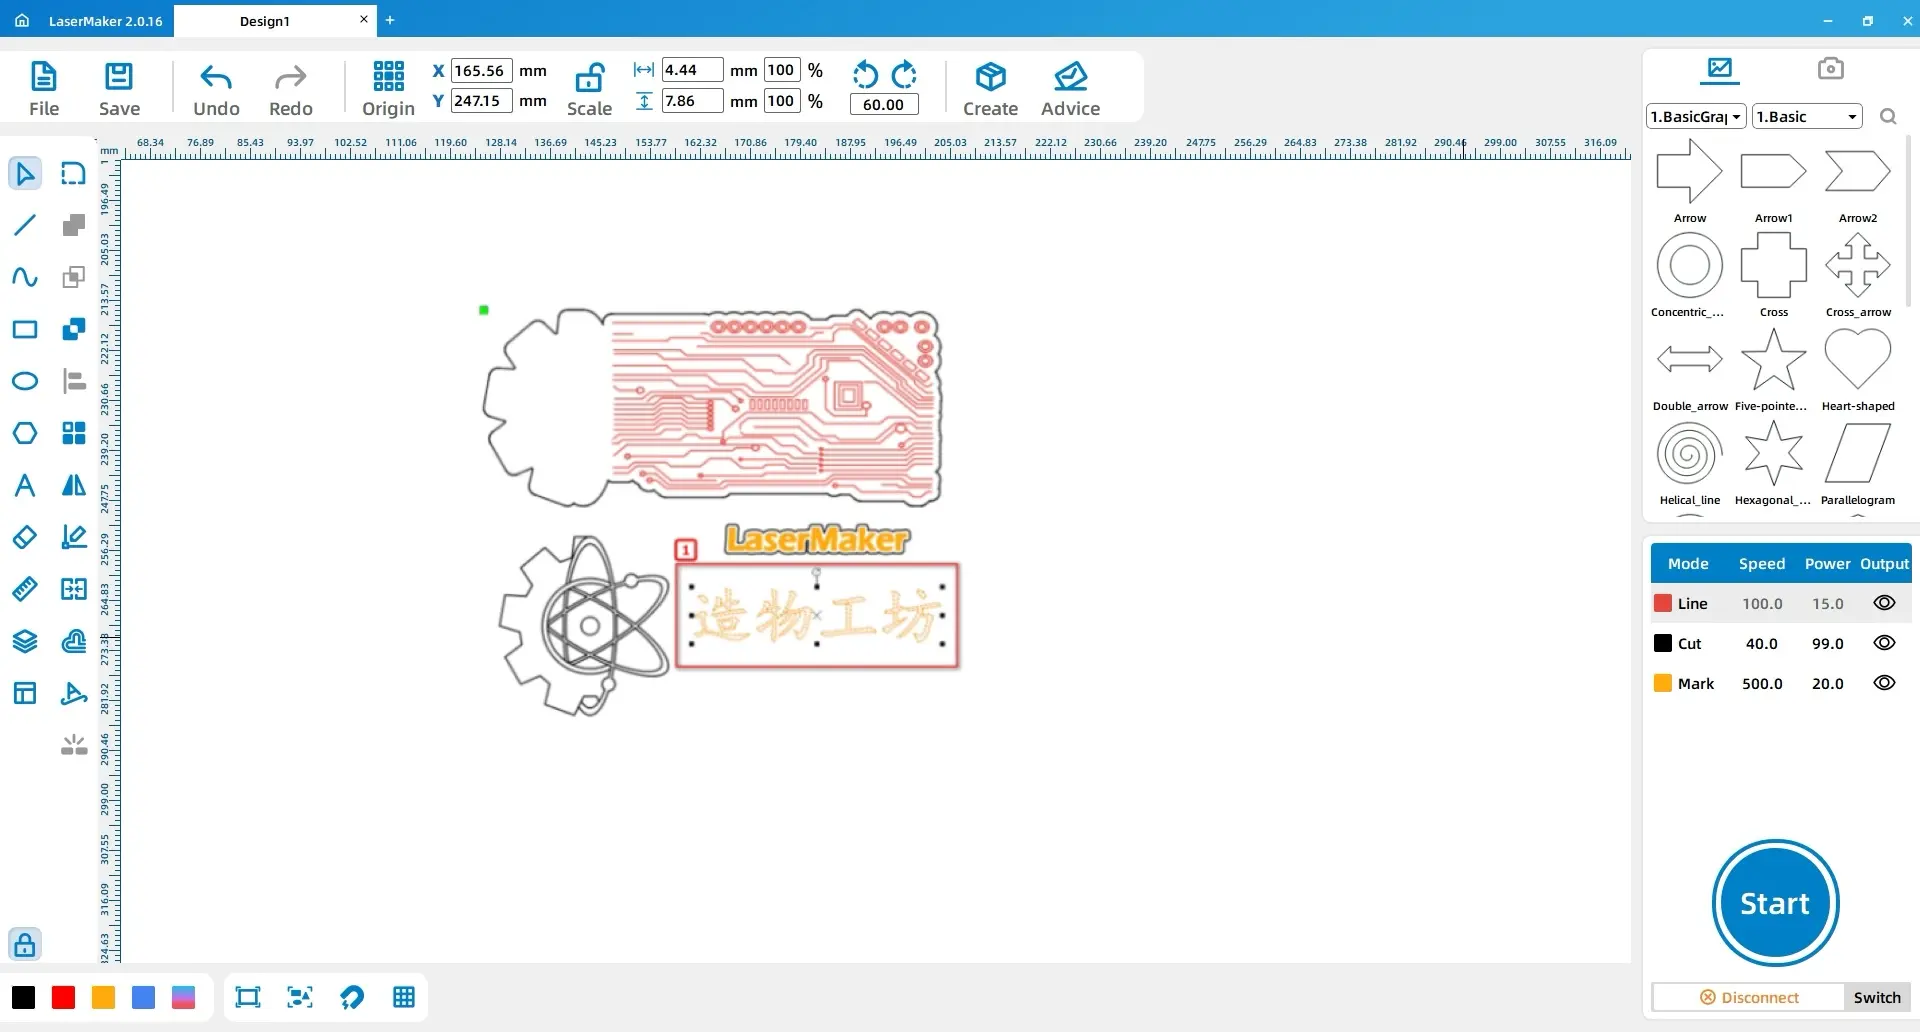
Use the Font tool to input the text “Zàowù Gōngfāng.” Set the font style to KaiTi and adjust the size as needed. Select the text and change the outline colour to black from the layer panel.
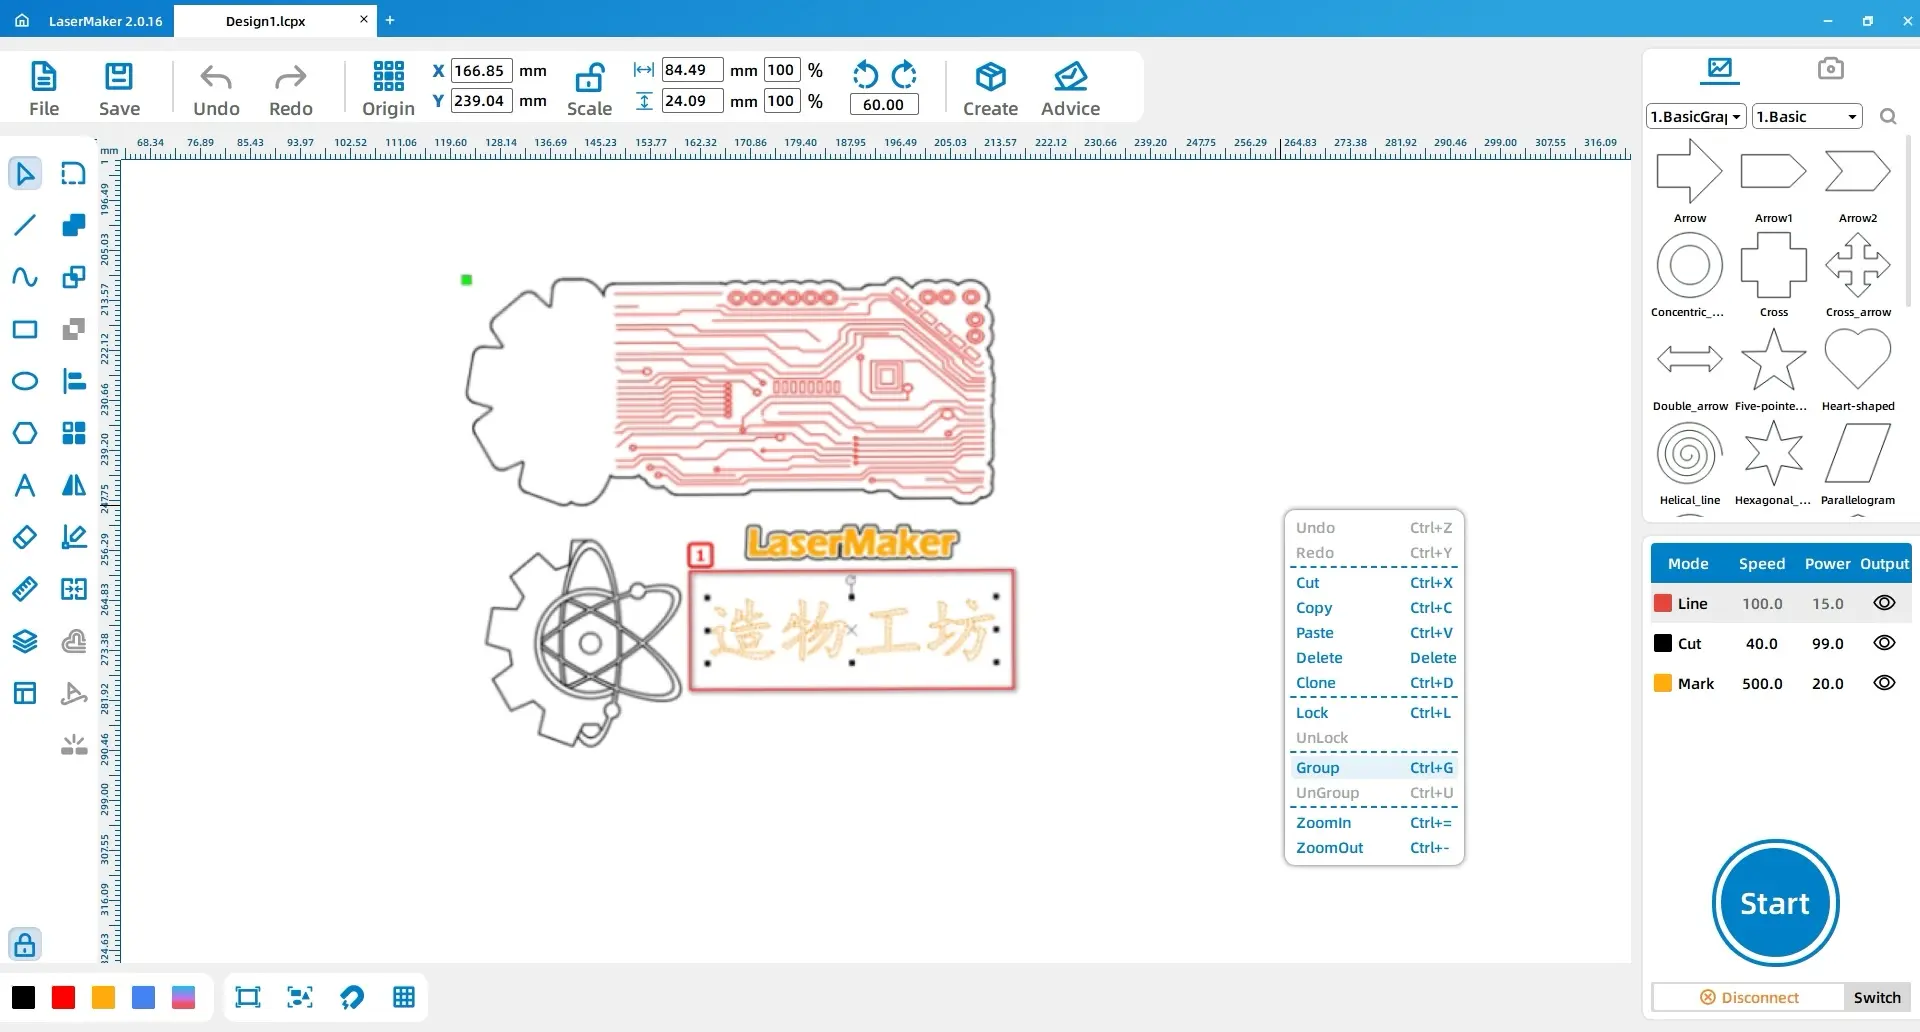
Select the base plate, gear and hexagram, LaserMaker text, and Zàowù Gōngfāng text in sequence. Group each element separately so they can be moved and sorted more easily.
Select all grouped elements and choose the Automatic Sorting tool from the drawing toolbar. This arranges the parts more compactly and helps save material during cutting.
LaserMaker tip: Before using automatic sorting, group each material or design element first. This helps the software keep related shapes together and can reduce wasted material.
Select the base plate outline, gear and hexagram, and Zàowù Gōngfāng text. Change their outline colour to black. Then select the internal atomic structure and electronic circuit pattern of the base plate and change the layer colour to red. Finally, select the LaserMaker text and change the layer colour to yellow.
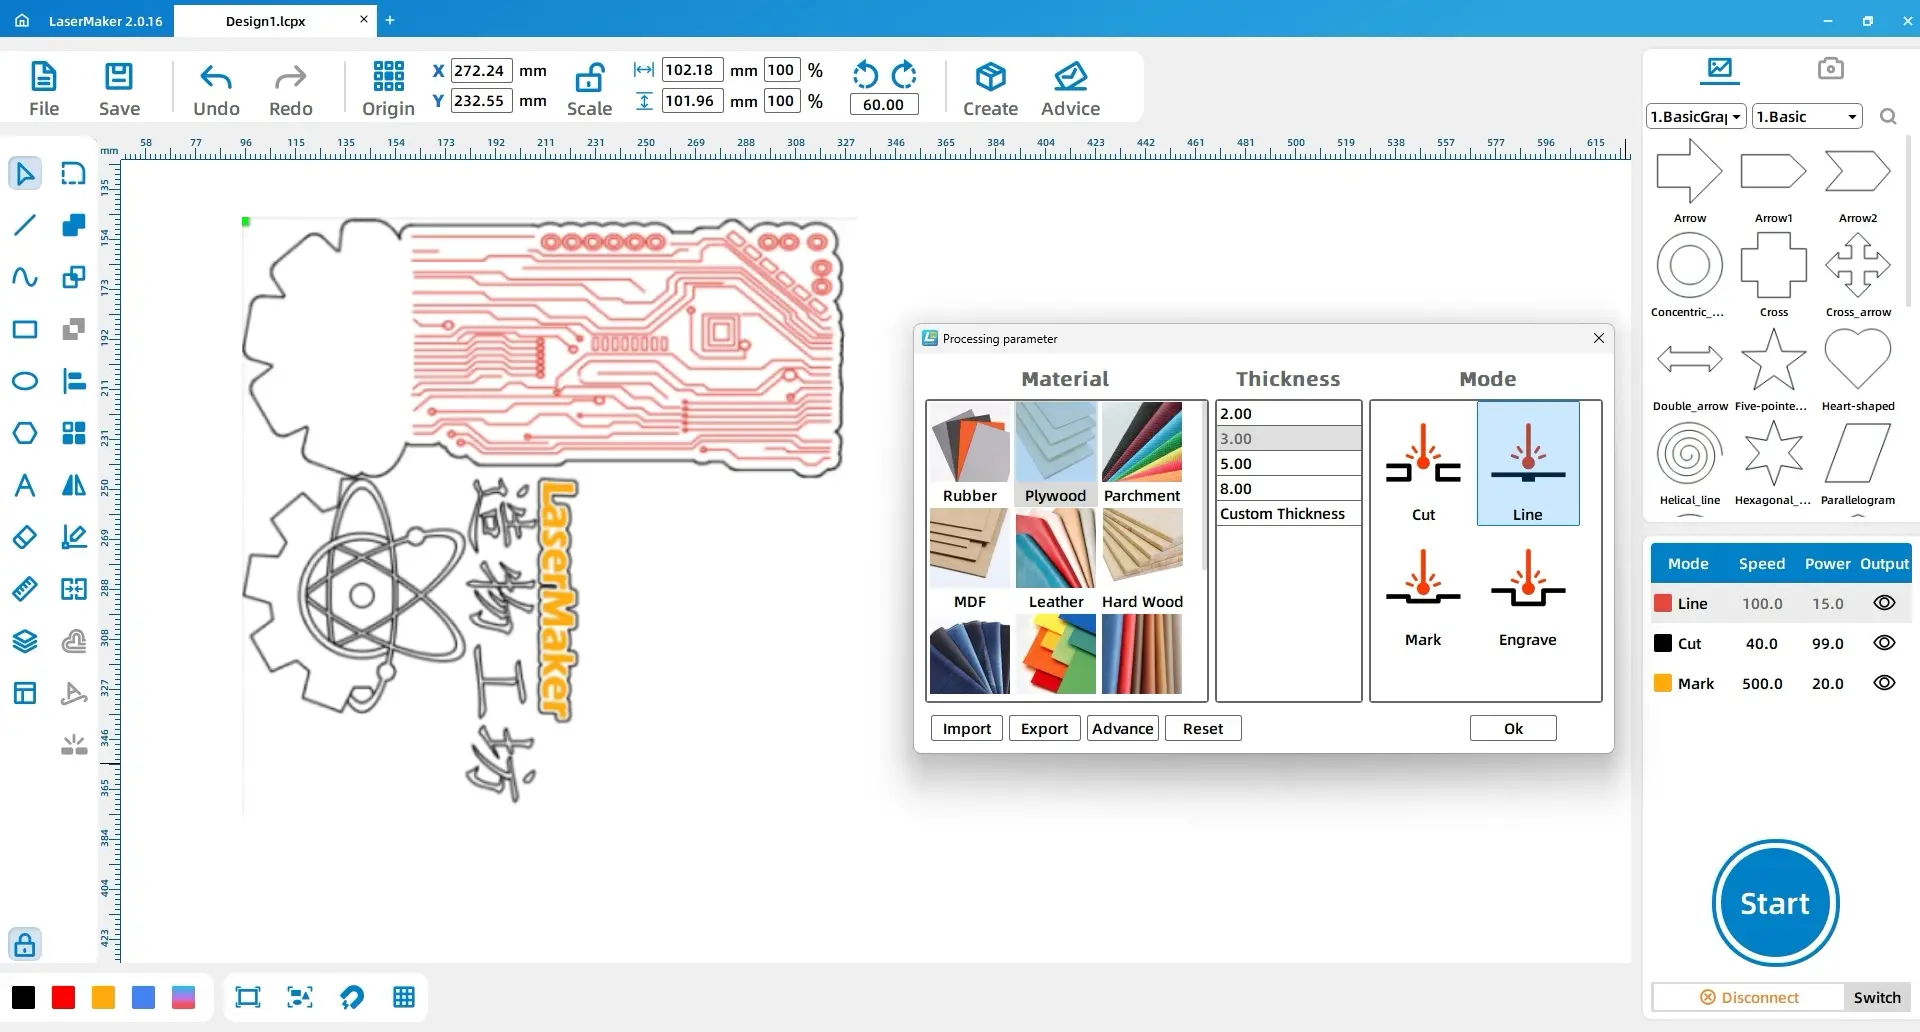
In the layer order panel, arrange the process order as red, yellow, and black. Set the red layer to basswood, 3mm, and outlining. Set the yellow layer to basswood, 3mm, and light engraving. Set the black layer to basswood, 3mm, and cutting.
| Layer Colour | Material | Thickness | Process | Doorplate Part |
|---|---|---|---|---|
| Red | Basswood | 3mm | Outlining | Atomic structure and circuit pattern |
| Yellow | Basswood | 3mm | Light engraving | LaserMaker text |
| Black | Basswood | 3mm | Cutting | Base outline, gear and hexagram, and doorplate text |
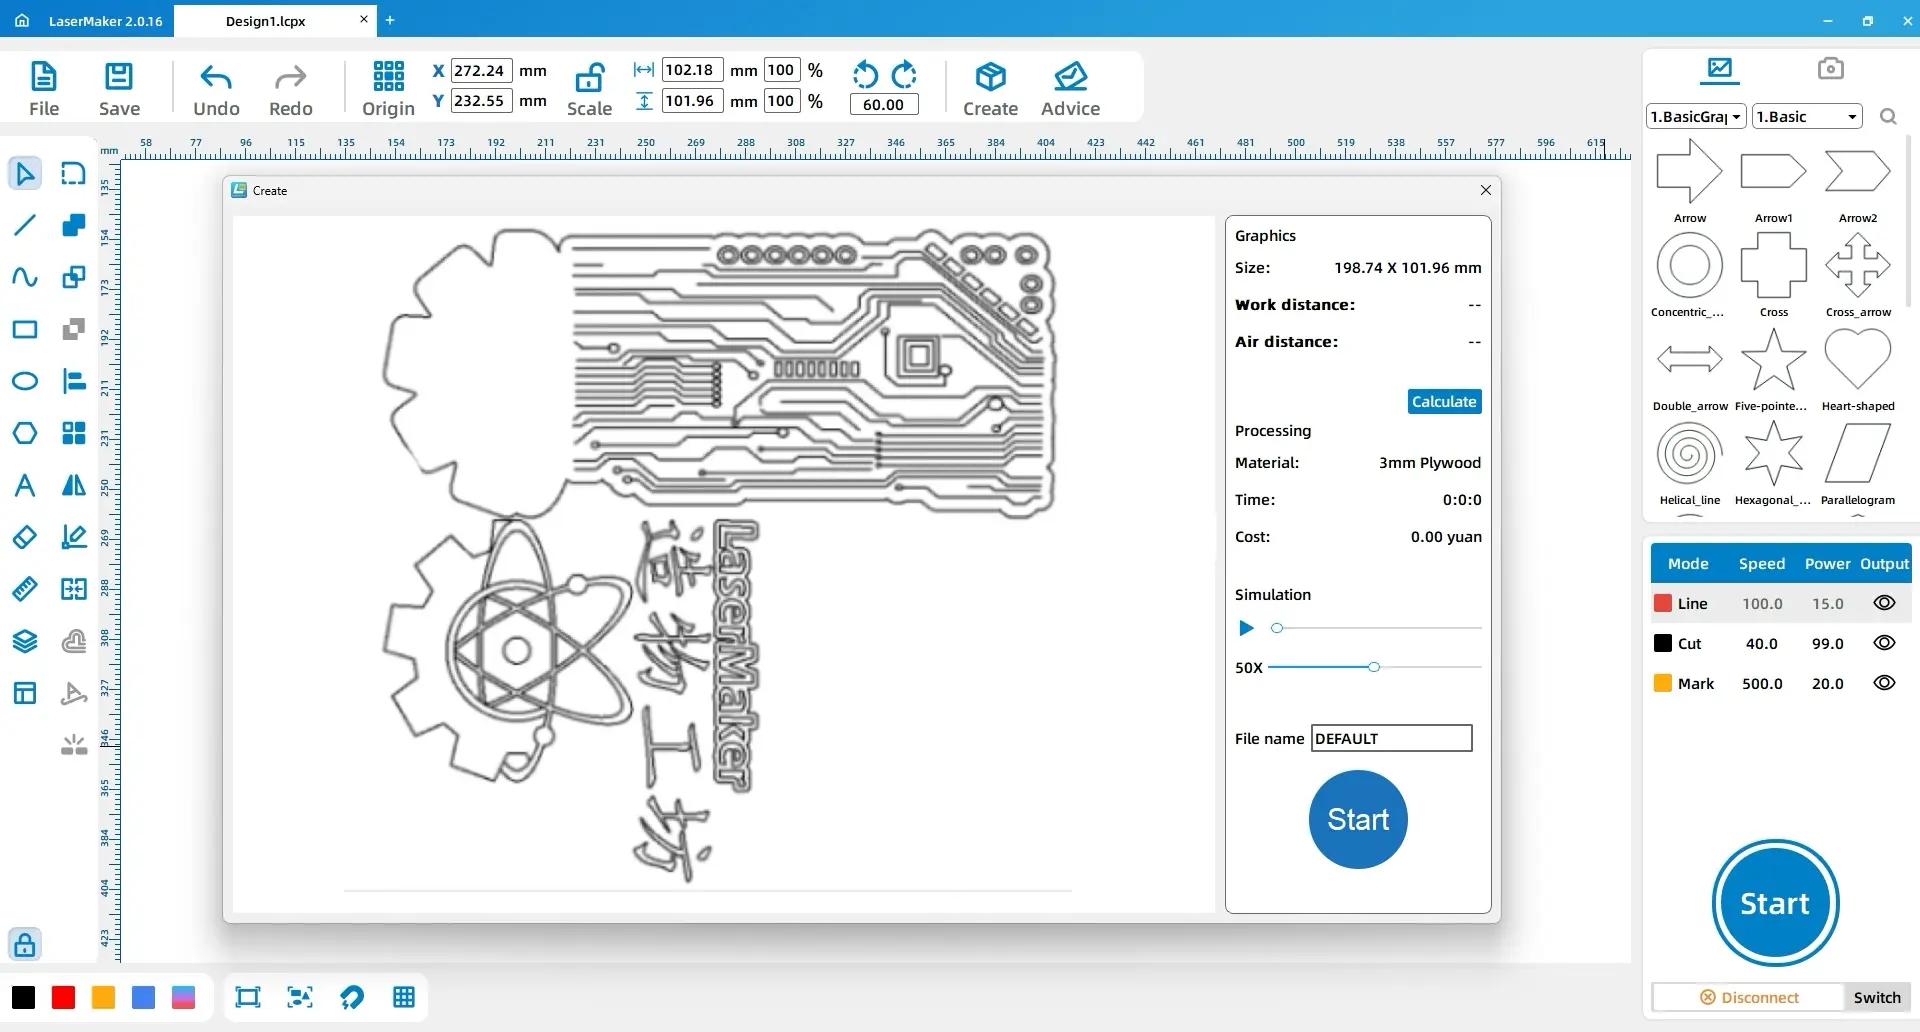
Before producing the final doorplate, students should check the design layout, the layer order, and the connection between the stacked parts. A small test cut or engraving sample can help verify whether the basswood process settings create the desired effect.
After cutting and engraving, students assemble the doorplate by stacking and bonding the layers. This “stacked carving” method creates a three-dimensional effect from flat basswood components.
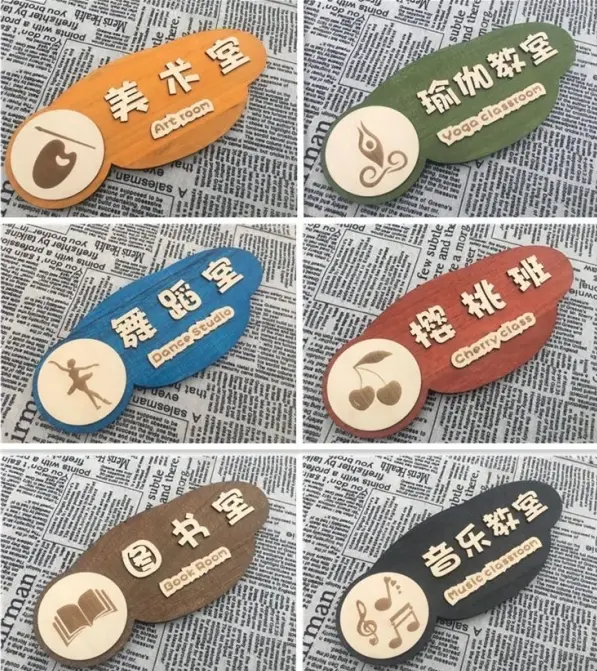
Once students understand the workflow, they can create doorplates in different styles. They can redesign the base shape, change the text, choose different icons, add club logos, or create a sign for a classroom, library, art room, science lab, or personal workspace.
Extension idea: Ask students to create a doorplate for a real school space. They should explain the symbols they chose and how the design communicates the purpose of that room.
In this DIY doorplate project, students practise using LaserMaker tools such as contour extraction, ellipse drawing, text conversion, offset curves, grouping, automatic sorting, layer settings, engraving, outlining, and cutting. They also learn how to assemble flat laser-cut parts into a layered three-dimensional object.
The activity connects STEAM concepts through symbolic design: science through the atomic structure, technology through the circuit pattern, engineering through the gear, art through the hexagram and layout, and mathematics through alignment, rotation, spacing, and geometry. With practice and experimentation, students can use the same workflow to create many original doorplate designs.
Create More LaserMaker STEAM Projects
Explore Thunder Laser machines for classroom laser cutting projects, basswood signs, student maker activities, and hands-on digital fabrication lessons.
Explore Bolt SeriesTalk To Our Experts Now!
Please leave your contact information so that we can serve you better.
TAKE THE NEXT STEP WITH THUNDER LASER

 Stable & Consistent MachinesUnlimited ApplicationRobust After-sales SupportFactory Direct Supply