Introduction
Every pet has a story, and every story deserves to be remembered.
Imagine turning your pet’s outline into a simple yet heartfelt piece of art—an acrylic ornament that captures their presence in the most timeless way. Whether it’s to honor a beloved companion, create a meaningful gift, or add a personal touch to your home, this laser-cut ornament is more than decoration—it’s a reminder of the love and joy your pet brings every day.
Ready to roll into your next creative idea with style and precision? Hold on and keep reading!
Machine Used
Thunder Bolt 30W
Material Needed
3mm Acrylic
Settings
- Laser Cutting
- Speed:30mm/s
- Max Power:90%
- Frequency:20kHz
Passes:1
Before your work begins
- Verify the lens is clean or there's no problem in the laser.
- Make sure the exhaust fan is working well.
- Ensure the air assist is on.
Step 1: Place the Acrylic Sheet
- Put the acrylic sheet flat on the work bed and make sure it’s secured in place. You can use pins or magnets to hold it steady. Then, peel off the protective film from the acrylic surface to avoid burn marks during cutting.
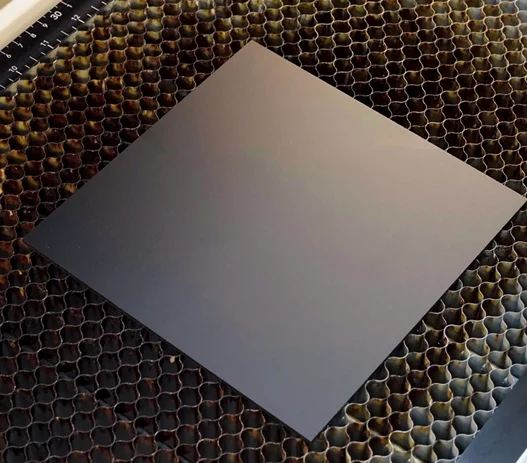
Tips:
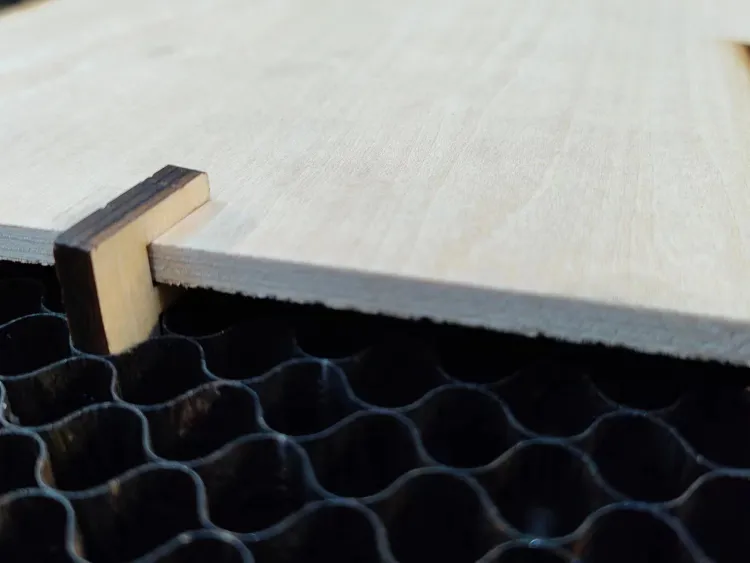
- There are three common types of pins: T-shaped, L-shaped, and F-shaped. A special use for F-shaped pins is clamping up the plywood to prevent burn marks. When using pins or magnets, pay attention to their height. If they’re too tall, the machine’s sensor or laser head could collide with them and cause damage.
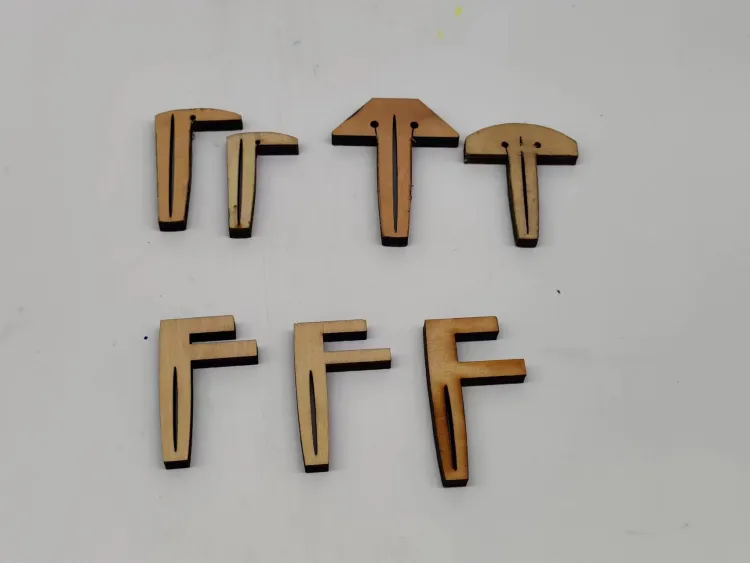
3 common types of pins
F-shaped pin usage
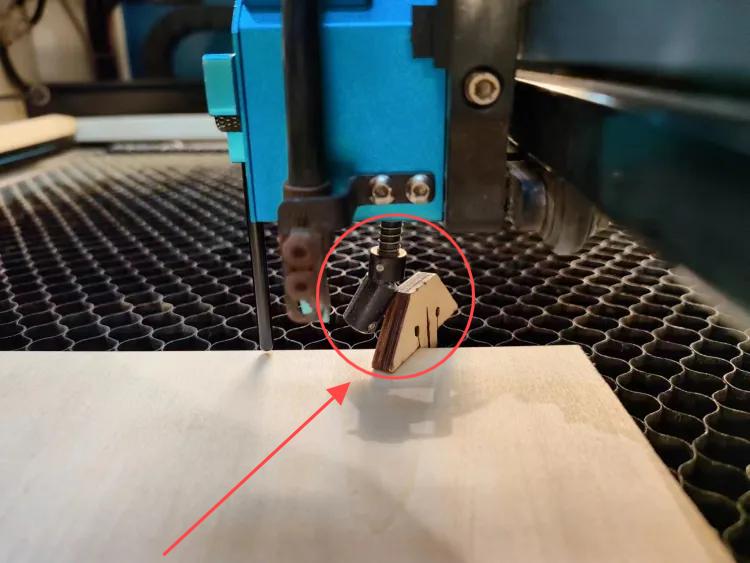
Sensor hits a too high pin
Step 2: Import the Acrylic Pet Outline Decor File and Check the Settings
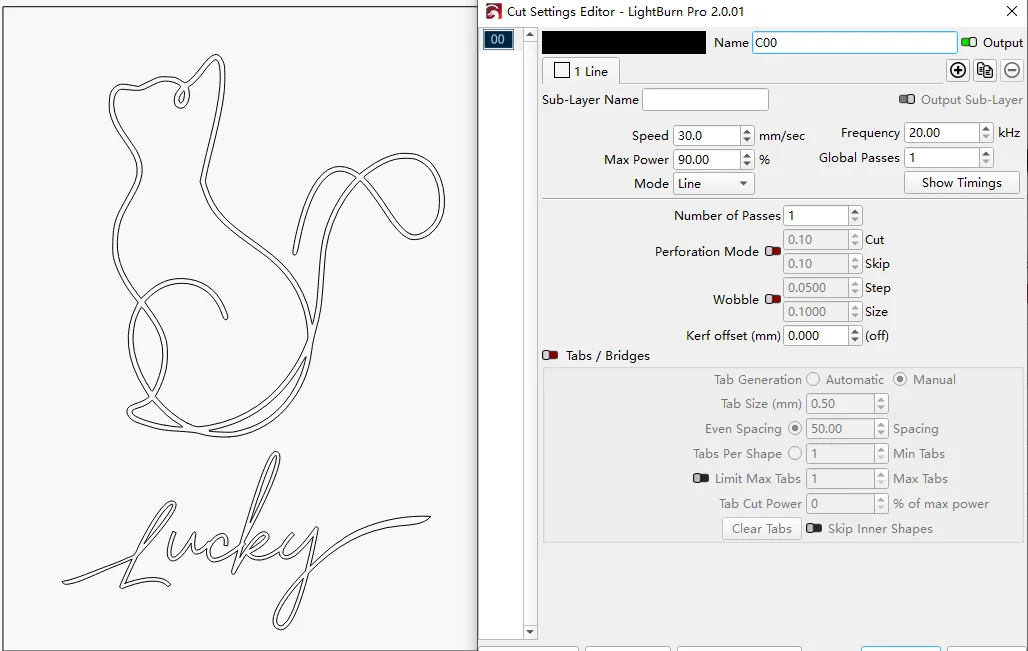
- Import your pet line art file into the laser software (e.g., LaserMaker or LightBurn) and adjust the size and position to match your acrylic sheet. Double-check everything, and decide if you want to add or subtract elements according to your preferences. Ensure that the parameters are set correctly to achieve the ideal laser cutting results.
- For the laser cutting layers, pay extra attention to the minimum power setting. If the min power is too low, it will cause the cutting corners will not cut through; if the min power is too high, the laser cutting will be bad at the corners.
Step 3: Focus Your Laser Machine
- Accurate focusing is critical for achieving smooth, clean cuts on acrylic. The Thunder Bolt offers two focusing methods:
- ·Auto Focus: With one click, the laser head automatically adjusts to the optimal focal distance. This is fast and convenient for flat materials like acrylic sheets.
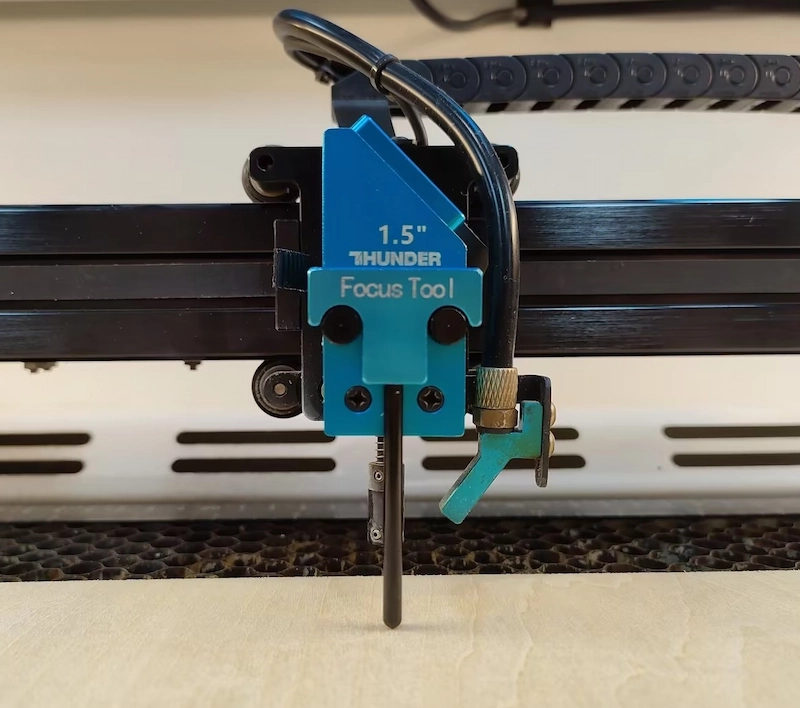
- ·Manual Focus: For more control or when working with uneven materials, use the focus stick. Lower or raise the laser head until the focus stick stands perfectly vertical against the acrylic surface—this indicates the correct distance.
- Tip: If your material is slightly warped or not perfectly flat, manual focus is recommended for more precise results.
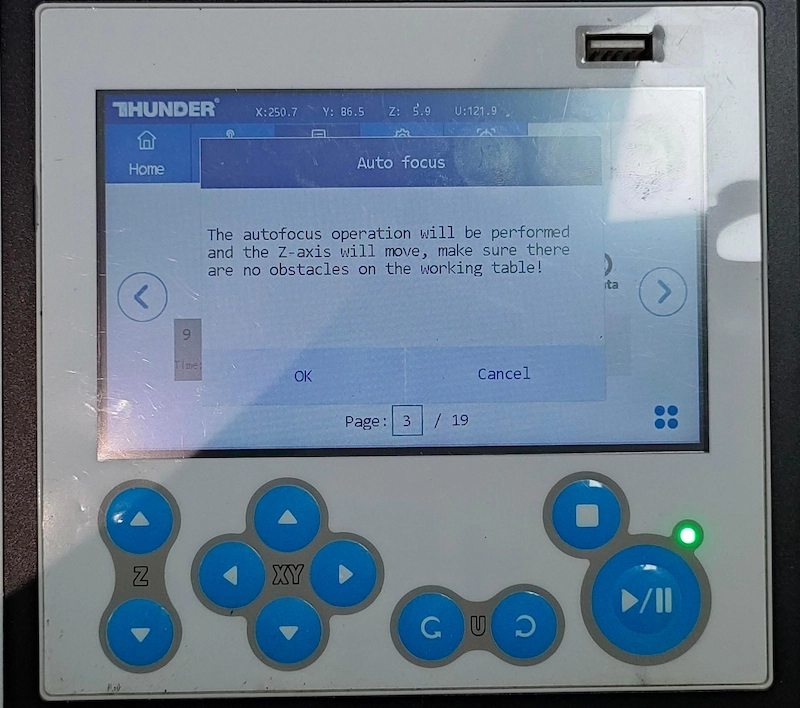
Auto focus
Manual focus
Step 4: Frame the Design and Start Laser Cutting
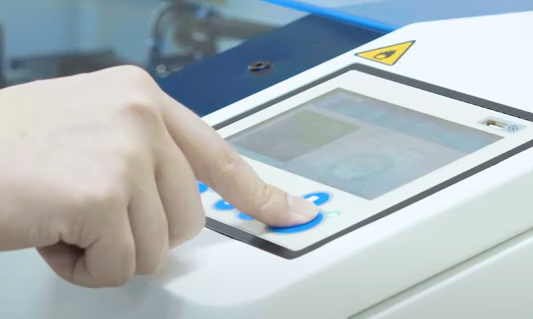
- When we click the “Frame” , we can see red light show the outline of cutting area. It’s safe, and the frame will be on the surface of the acrylic. Once it isn’t, move your acrylic or design until they are at a proper position.
- Once everything is adjusted, simply hit ‘Start’ to begin laser cutting the acrylic with the Thunder Bolt.
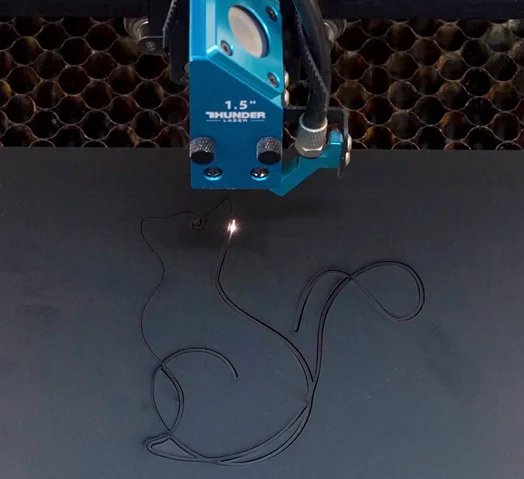
Step 5: Monitor the Laser Cutting Process
- Keeping an eye on the machine allows you to spot unusual conditions—such as error alarms, smoke build-up, or unexpected pauses—before they become problems.
- While observing, remember that the laser beam is extremely powerful. Even with the protective lid closed, avoid staring directly at the marking spot for too long. A quick glance to check progress is fine, but prolonged gazing should be avoided for safety reasons.
Step 6: Remove the Protective Film and Attach
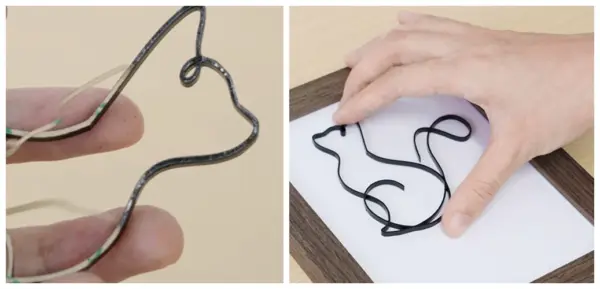
- After the job is finished and the acrylic cools down, peel off the protective film from the back of the cut piece. Use adhesive or double-sided tape to attach the outline to a photo frame—or any surface where you want to display it.
Step 6: Complete the laser cutting
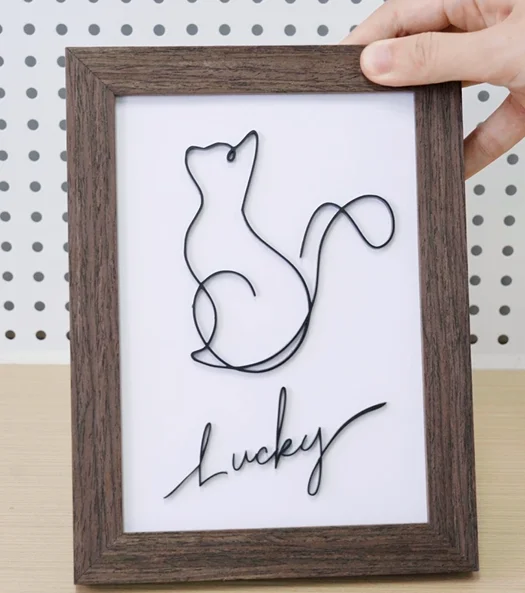
- Now, your custom acrylic pet otline desk décor is complete. Place it, gift it, or showcase it—it’s ready to shine!
Come and Try!
Why settle for ordinary decorations when you can create a one-of-a-kind acrylic pet outline décor? With the Thunder Bolt, every cut is precise, every edge is clean, and every design feels truly yours.
Don’t just watch—make it! Prepare a sheet of acrylic, import your design, and see how quickly you can turn a simple idea into a sleek piece of art. Your next favorite home décor item is just one laser cut away.

.png) International
International
 United States
 Brasil
 Canada
 Costa Rica
 Mexico
 Česká
Česká
 Romania
 Polska
 Ireland
 Portugal
 Lietuva
 Россия
 Deutschland
 Britain
 Україна
 France
 Sverige
 Italia
 Norway
 Denmark
 Ελλάδα
 한국
한국
 中国
中国
 ประเทศไทย
 中国香港
中国香港
 Israel
 中國臺灣
中國臺灣
 India
India
 پاکستان
 پශ්රී ලංකා
 ジャパン
ジャパン
 Australia
 New Zealand
 South Africa