Introduction
Let’s brighten up your space with the Corky Sun Memo Board—a cheerful blend of cork and acrylic that turns everyday notes into a moment of joy! Featuring a layered sunburst background made from vibrant orange and white acrylic, this memo board radiates warmth and style.
Ready to turn your reminders into sunshine? This laser-cut memo board makes it easy to stay cheerful and organized all at once.
Machine Used
Thunder Bolt 30W
Material Needed
3mm white & orange acrylic, cork
Settings
Laser Cutting
- Speed:10mm/s
- Max Power:800%
- Min Power:10%
Laser Engraving
- Speed:1000mm/s
- Max Power:30%
- DPI: 300
Before your work begins
- Verify the lens is clean or there's no problem in the laser.
- Make sure the exhaust fan is working well.
- Ensure the air assist is on.
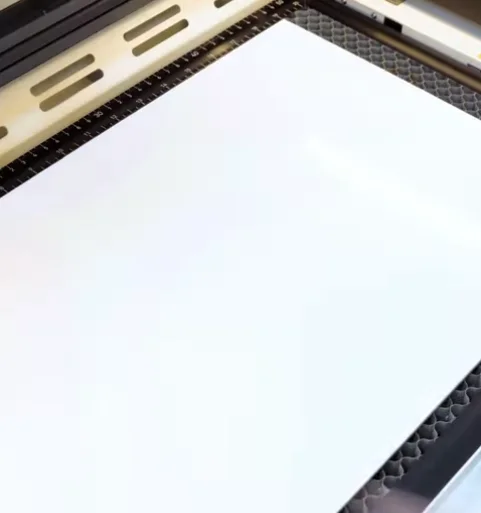
Step 1: Place Your Acrylic and Cork for Laser Cutting
Pick cheerful, sun-inspired materials to bring your Corky Sun Memo Board to life. This design uses two layers of acrylic—white and orange—to form the glowing rays of the sun, creating a bright and playful base. At the center, a cork circle features a smiling face that’s both functional and fun. The combination of vivid acrylic and warm cork brings contrast, texture, and a little sunshine to your space.
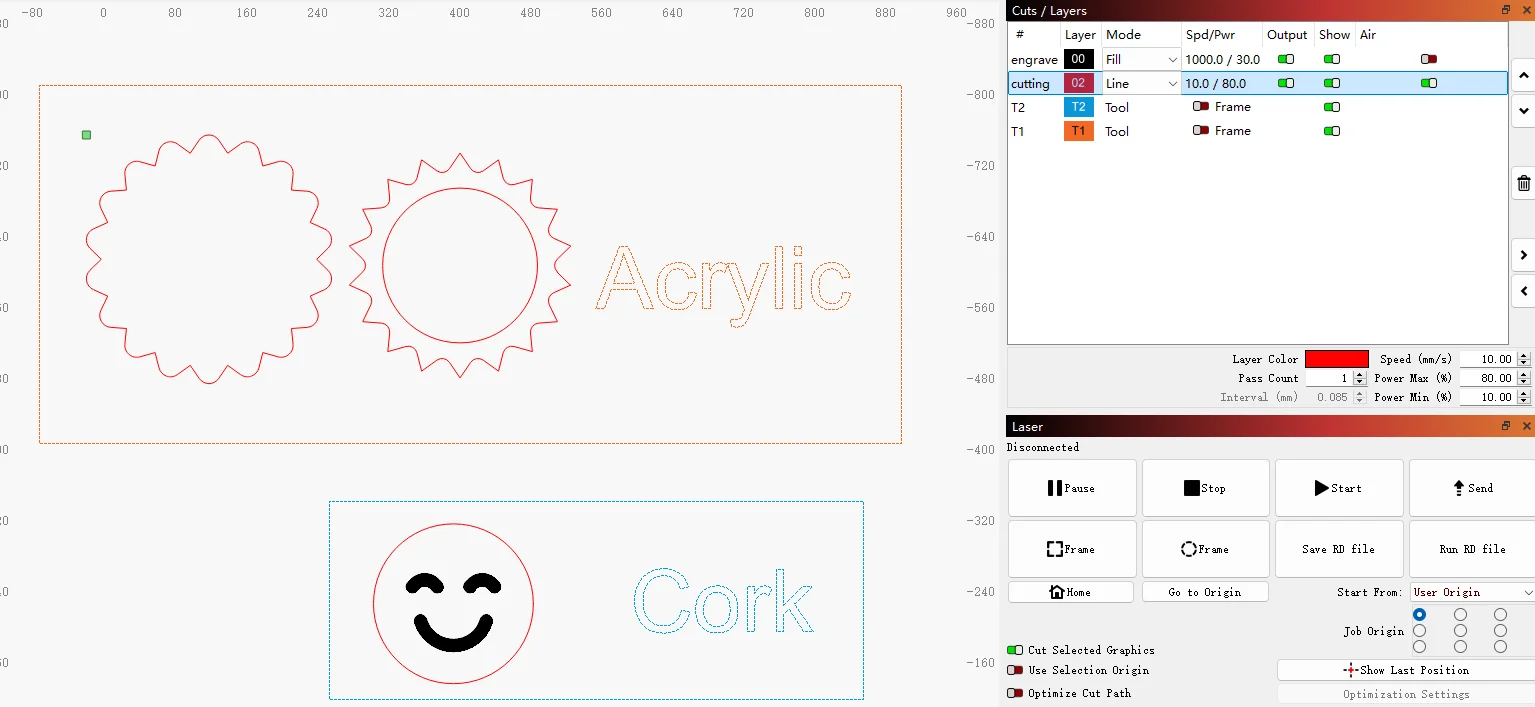
Step 2: Open the Sun Memo Board File and Check the Laser Settings
Import the corky sun memo board design in LightBurn and check if your material size is large enough. To make sure the decoration sits perfectly at the center of the base, here’s a handy tip: add a outline to the center of the base layer. This way, you can easily align the decoration during assembly.
For laser cutting corky sun memo board with a lot of elements, ensure there are no misalignments or unnecessary overlaps in the file. Double-check everything, and decide if you want to add or subtract elements according to your preferences.
Ensure that the parameters are set correctly:
If the min power is too low, the cutting corners will not cut through; if the min power is too high, the laser cutting will be bad at the corners.
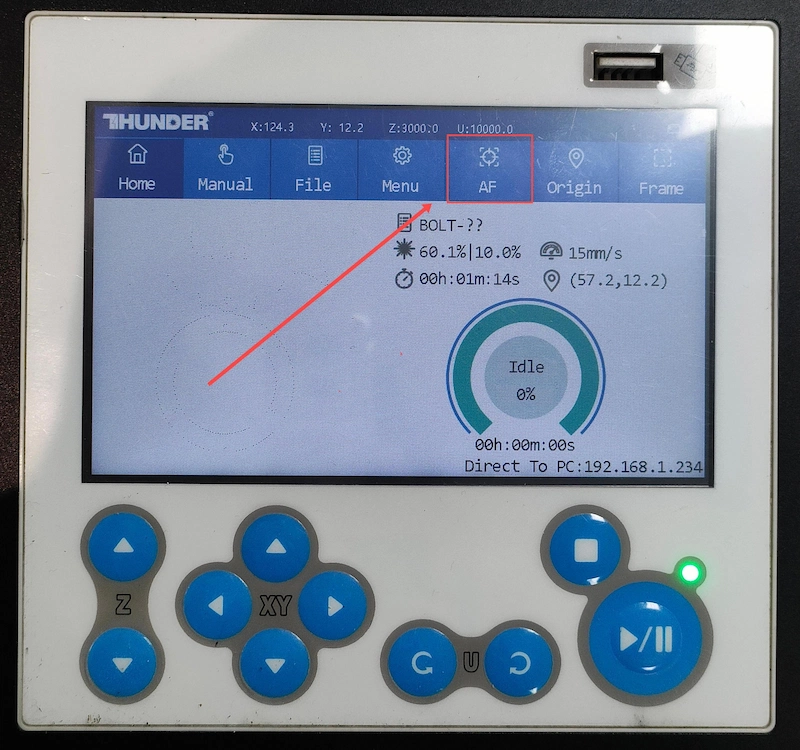
Step 3: Focus on the Acrylic and Cork
When you click “Frame”, the red light will display the laser cutting area. This is a safe process, and the frame will align with the material. Once aligned, simply press “Start” to begin the corky sun memo board laser cutting with the Thunder Bolt!
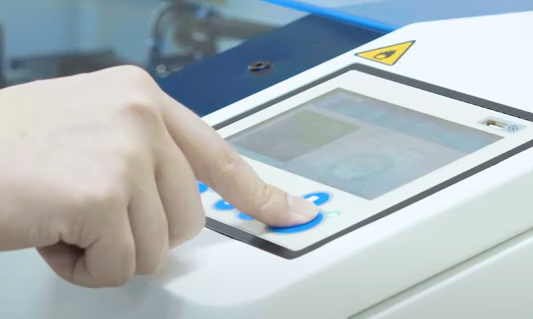
Step 4: Frame the Design and Start and Cutting
When you click “Frame”, the red light will display the laser cutting area. This is a safe process, and the frame will align with the acrylic. Once aligned, simply press “Start” to begin the corky sun memo board laser cutting with the Thunder Bolt!
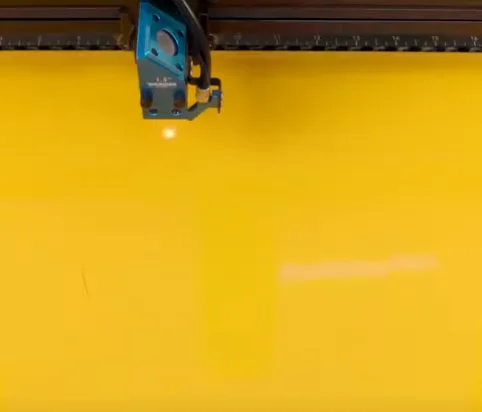
Step 5: Monitor the Laser Cutting Process
To avoid any issues, carefully monitor the laser cutting, especially when unusual conditions like alarms arise.
Considering the laser cutting energy, for safety reasons, we advise against staring directly at the process, even with the laser door closed.
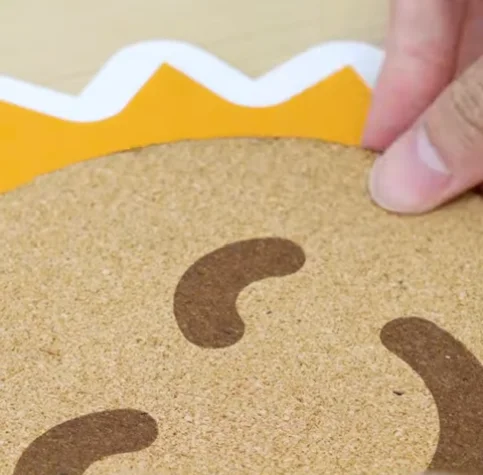
Step 6: Assemble the Corky Sun Memo Board
When the acrylic laser cutting is complete, it’s time to bring your corky sun memo board to life. Remeber, assemble it layer by layer.
Start by gluing the light white and red pieces on the white base, making sure to align them precisely with the outline for a clean look. Next, the orange layer and the cork smile face.
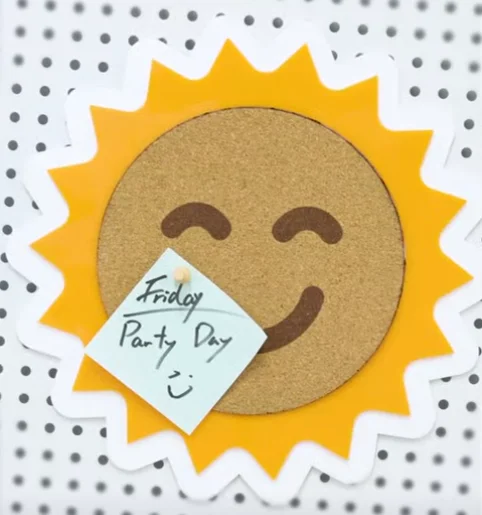
Come and Try!
Laser cutting on layered acrylic and cork brings warmth, precision, and everyday charm to this cheerful Corky Sun Memo Board. With a radiant two-layer base—orange and white acrylic cut into a playful sunburst—and a smiley cork face at the center, it’s a bright and functional accent for any space.
Whether you’re adding personality to your home office, creating a fun classroom tool, or gifting a little sunshine to someone’s day, this memo board blends style with utility in the most delightful way.
.png "laser cutter Globle") International
International
 United States
 Brasil
 Canada
 Costa Rica
 Mexico
 Česká
Česká
 Romania
 Polska
 Ireland
 Italia
 Lietuva
 Россия
 Deutschland
 Britain
 Україна
 France
 Sverige
 Norway
 Denmark
 Ελλάδα
 Portugal
 한국
한국
 中国
中国
 中国香港
中国香港
 Israel
 中國臺灣
中國臺灣
 ジャパン
ジャパン India
India
 پاکستان
 پශ්රී ලංකා
 ประเทศไทย
 Australia
 New Zealand
 South Africa