Nova Pass-Through Door and LightBurn Print and Cut Guide
 2024-06-05
WHAT ARE YOU LOOKING FOR?
Search Across Products, Blog Posts, Support Content, And Resources.

Nova Pass-Through Door and LightBurn Print and Cut Guide
2024-06-05

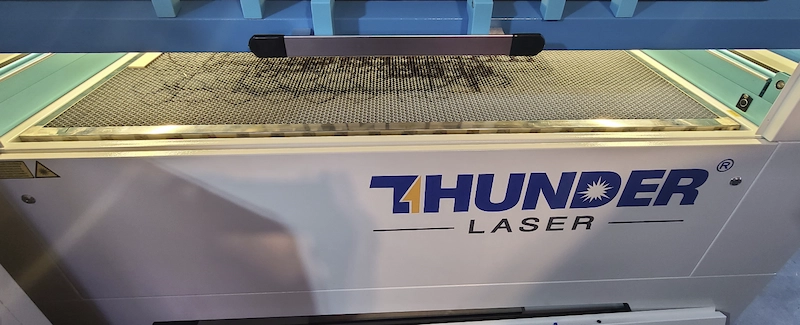
When a material is larger than the laser work table, the Nova pass-through door can help users process oversized sheets or long workpieces. The material can extend outside the machine while the operator indexes it through the work area in sections.
For multi-section laser cutting or engraving, the pass-through door is often used together with LightBurn’s Print and Cut feature. Print and Cut uses physical marks or target points on the material to align the next section of the design, making it possible to process projects larger than the machine’s standard working area.
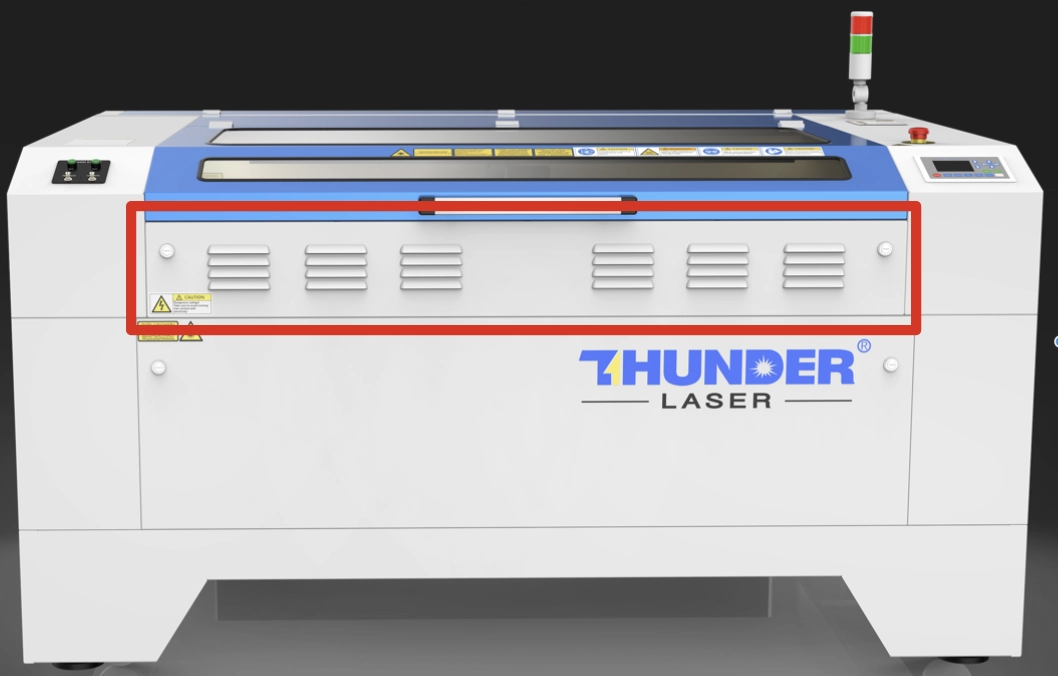
The pass-through feature allows oversized materials to fit through the machine. A Thunder Nova machine has a removable front door and a rear removable slot. The clearance is around 0.8 inches, depending on the model.
With the pass-through open, longer material can hang outside the machine and be moved through the work area as each section is processed. This is useful for signs, panels, decorative pieces, large patterns, and other jobs that exceed the work table size.
Print and Cut is a LightBurn software feature that can be used with the pass-through door. It allows the operator to use physical marks or points on the material to align additional cut lines or engraving sections.
This feature is helpful when cutting or engraving objects larger than the machine’s working area. It can also be used to align existing objects for additional laser work. Successful Print and Cut results depend on careful operation, accurate marks, and a well-tuned laser machine.
You can also review LightBurn’s official Print and Cut overview for more software details.
Nova Pass-Through and Print and Cut Reference Video
If you are using the pass-through for Print and Cut, you need to remove the panels, set the correct honeycomb position, and focus the laser head manually. If you are only using Print and Cut to align a job that fits on the honeycomb, you can skip the pass-through preparation steps.
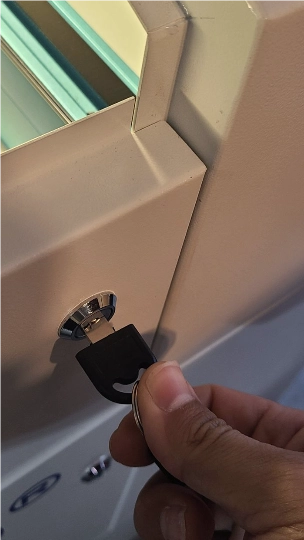
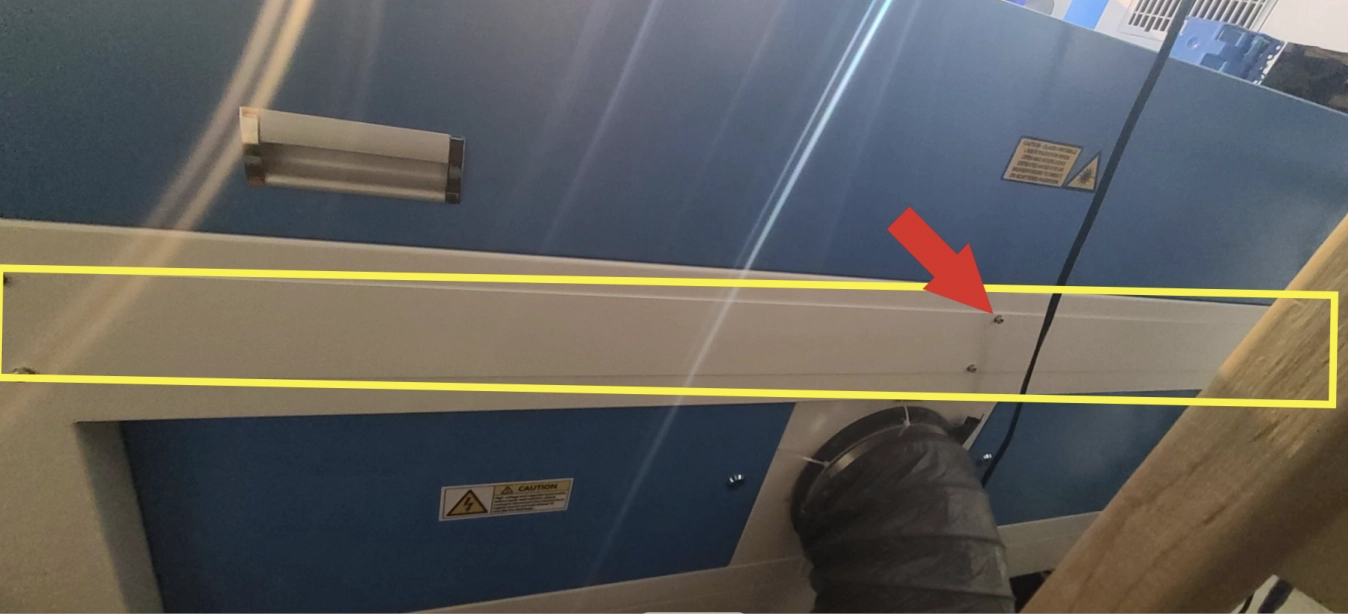
Start by locating the front pass-through on your machine. Make sure the machine is powered down or in a safe condition before removing any panels.
Front Panel Removal Reference Video
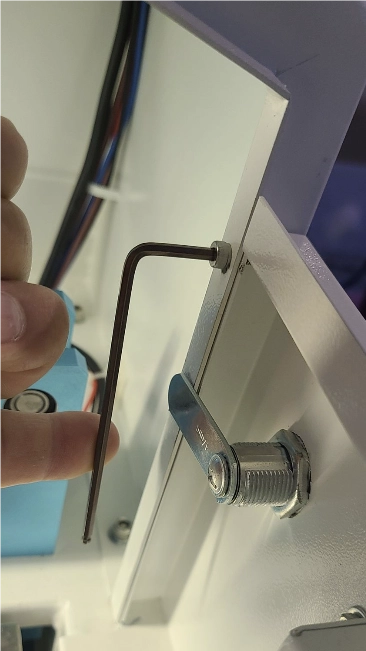
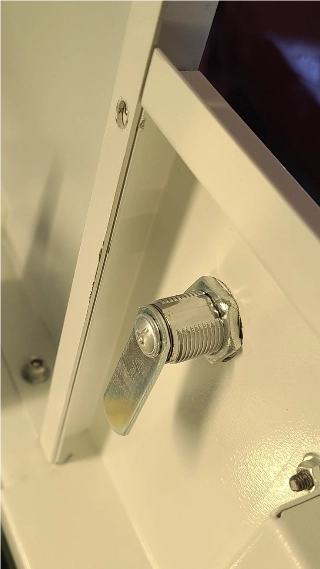
If you do not need to push the material through the rear pass-through, you can leave the rear panel installed. If the material needs to extend through the rear, remove the bolts holding the rear pass-through with a 3 mm wrench, then remove and store the panel.
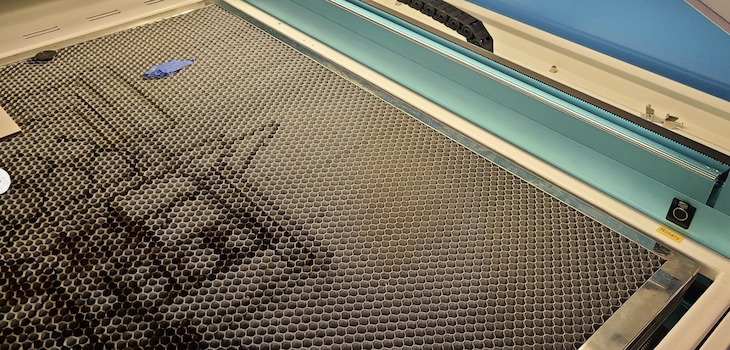
The honeycomb should be level with the main deck so the material can lay flat on both the honeycomb and the deck as it passes through the machine. A flat, supported material position helps reduce misalignment during multi-section processing.
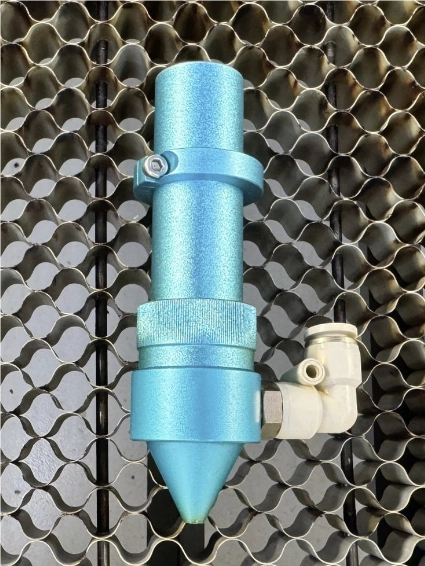
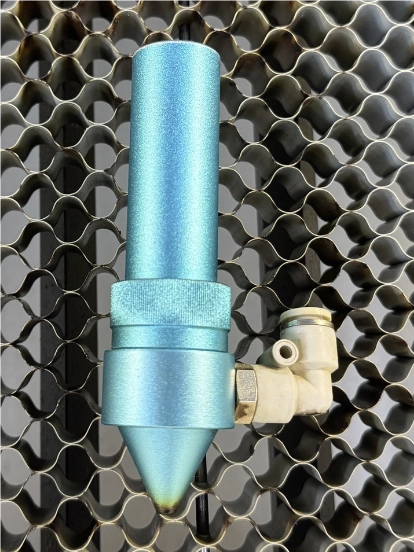
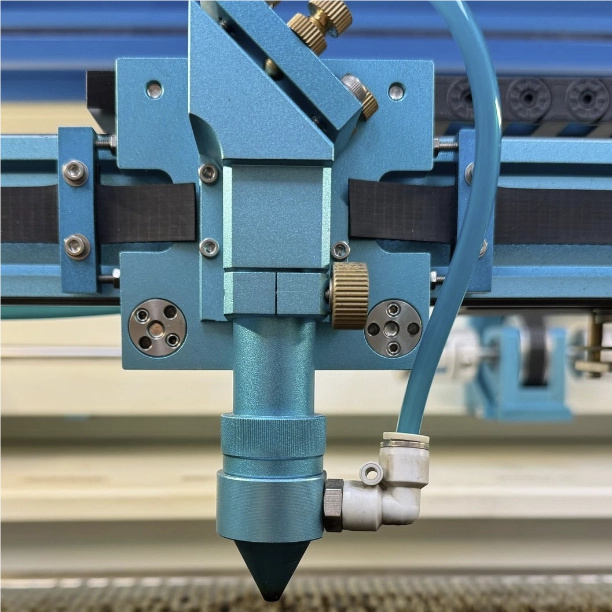
When using the pass-through, you will use manual focus because the material may sit higher than the optical focus eyes. To achieve full pass-through depth, you may need to adjust or remove the stop ring on the lens.
After finishing pass-through work, recalibrate the stop ring before using auto focus again.
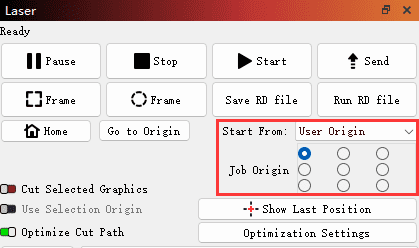
After the pass-through is prepared, the next step is file preparation and Print and Cut alignment. Vector files are recommended because they are suitable for patterned designs and large engraving or cutting jobs.
Send the first file to the laser machine for processing. After the first file is complete, move the red light focus to the cross mark. Switching from continuous movement mode to jog mode can help avoid misalignment.
The Nova pass-through door and LightBurn Print and Cut feature work together to help users process materials larger than the standard work table. The pass-through supports oversized material handling, while Print and Cut helps align each processing section with physical marks.
For the best result, prepare the panels correctly, keep the material flat, use manual focus, divide the file into clear sections, and align each new file carefully with target marks. With careful setup, oversized cutting and engraving projects can be completed accurately and efficiently.
Need Help with Nova Pass-Through or Print and Cut?
Contact Thunder Laser for guidance on oversized laser cutting, Nova pass-through setup, LightBurn Print and Cut alignment, and large-format laser projects.
Contact UsTalk To Our Experts Now!
Please leave your contact information so that we can serve you better.
NOVA PASS-THROUGH AND PRINT AND CUT FAQS
TAKE THE NEXT STEP WITH THUNDER LASER

 Stable & Consistent MachinesUnlimited ApplicationRobust After-sales SupportFactory Direct Supply