LightBurn Installation Guide
 24-05-20
WHAT ARE YOU LOOKING FOR?
Search Across Products, Blog Posts, Support Content, And Resources.

LightBurn Installation Guide
24-05-20

LightBurn is commonly used for preparing and sending laser cutting and engraving jobs. Before using it with your laser machine, you need to install the software, install the required driver, add your laser device, and confirm that the connection status is ready.
This guide shows the basic Windows installation process for LightBurn, including setup, FTDI driver installation, device configuration, origin setting, and final device selection.
Before installation, make sure you have downloaded the correct LightBurn installer and prepared the connection cable required for your laser machine.
The following video provides a visual reference for installing LightBurn on Windows.
LightBurn Windows installation reference video
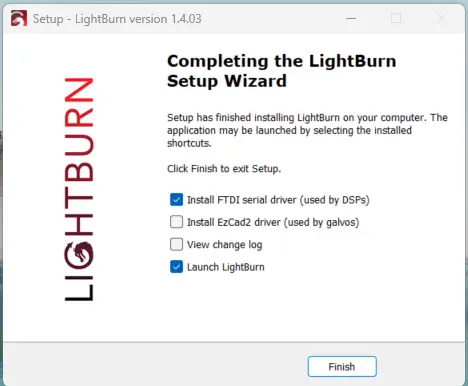
Start by double-clicking the LightBurn installer file. Follow the setup prompts to begin the installation process.
During installation, use the LightBurn installer to install the FTDI driver. This driver helps the computer communicate with compatible laser devices.
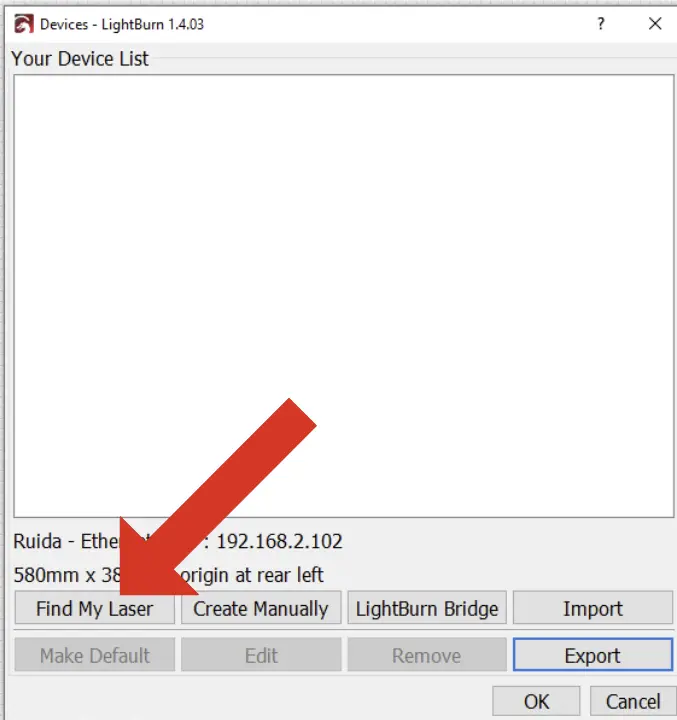
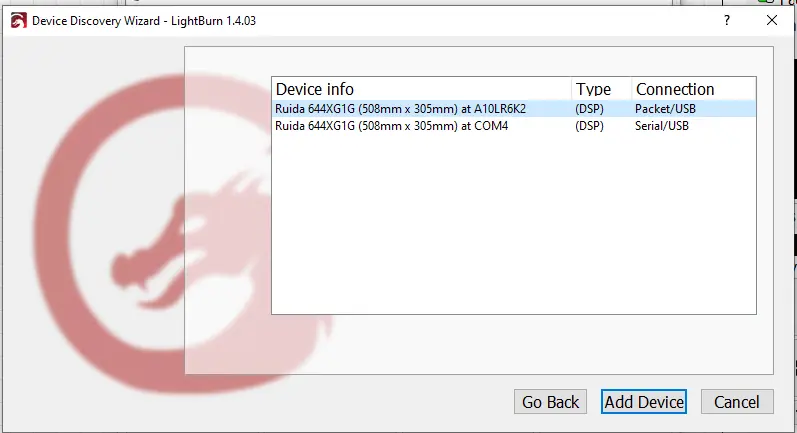
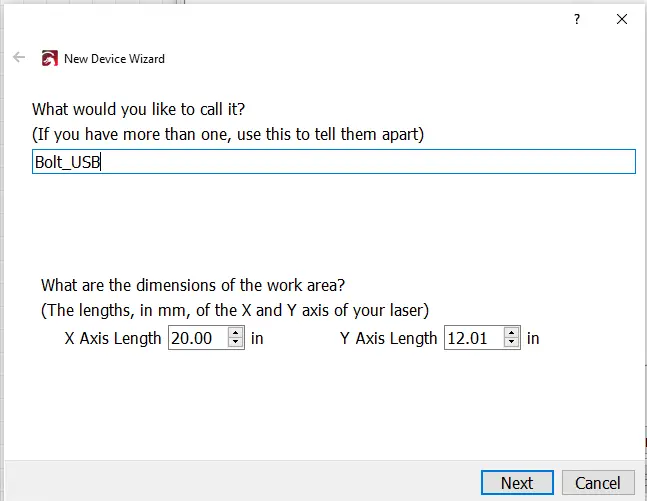
After installation, open LightBurn and add your laser device. Follow the device setup prompts so LightBurn can recognize and communicate with the machine.
Rename your device so it is easy to identify in LightBurn. This is especially useful if you may connect more than one machine or profile in the future.
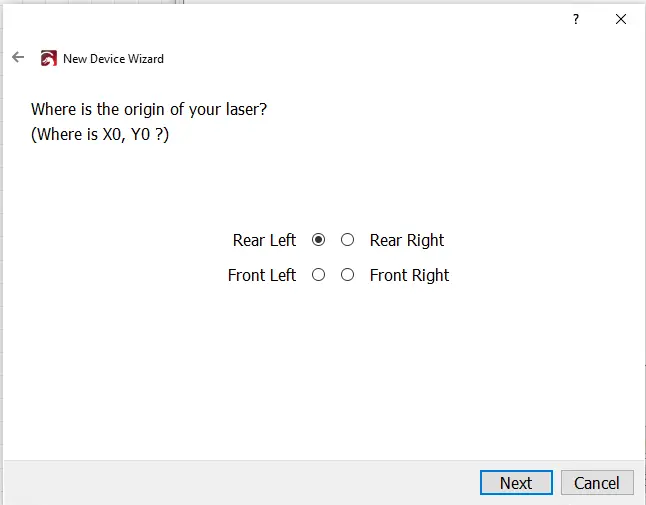
Set the origin of your laser according to the machine configuration. Correct origin settings help LightBurn place jobs in the expected position on the work area.
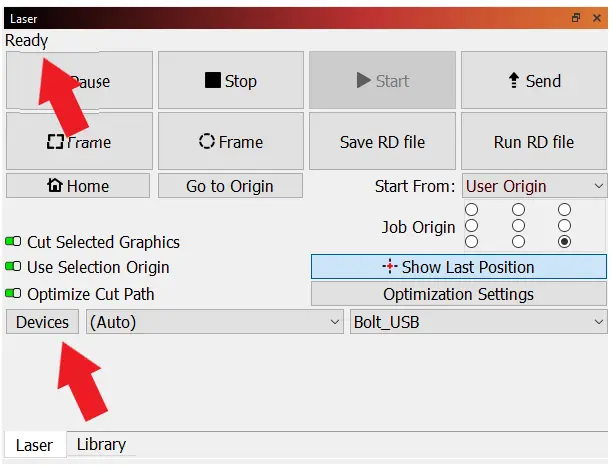
Select your device in LightBurn and check the sending status. When the status shows ready, the software and device connection are prepared for use.
For detailed installation instructions and more device installation guides, please visit the official LightBurn documentation.
Visit the official LightBurn detailed installation guide
Installing LightBurn on Windows mainly involves running the installer, installing the FTDI driver, opening LightBurn, adding your laser device, renaming the device, setting the laser origin, and confirming that the sending status is ready.
After completing these steps, LightBurn should be ready to communicate with your laser machine. Check the official LightBurn documentation if you need more detailed installation instructions or additional device setup guidance.
A smooth LightBurn setup starts with the correct installer, the required driver, and the correct device profile. Confirm the device status before sending your first laser job.
Talk To Our Experts Now!
Please leave your contact information so that we can serve you better.
LIGHTBURN INSTALLATION FAQS
TAKE THE NEXT STEP WITH THUNDER LASER

 Stable & Consistent MachinesUnlimited ApplicationRobust After-sales SupportFactory Direct Supply