






Laser Engraving a Gun: Process, Compliance, and Machine Selection
 2025-01-08
WHAT ARE YOU LOOKING FOR?
Search Across Products, Blog Posts, Support Content, And Resources.

Laser Engraving a Gun: Process, Compliance, and Machine Selection
2025-01-08
Laser engraving a gun can involve permanent metal marking, coating removal, decorative engraving, identification details, or mixed-material customization. A reliable result depends on more than choosing a laser by material category. The operator must also consider the exact alloy or polymer, surface finish, required mark, part geometry, fixture method, focus range, production volume, ventilation, and applicable compliance requirements.
This guide focuses on the gun laser engraving process, machine selection, fixtures, material testing, and production setup. For a deeper review of legal, safety, and part-specific restrictions, read Laser Engraving a Gun: Legal, Safety & Part Considerations before accepting or processing a regulated item.
Quick Answer: What Is the Best Laser for Gun Engraving?
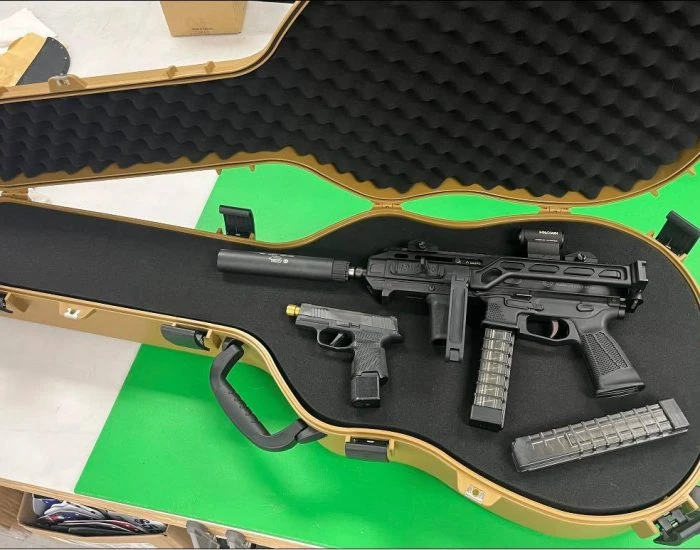
A fiber laser is generally the primary choice for marking and engraving steel, stainless steel, aluminum, and other metal gun parts. A MOPA fiber laser adds greater pulse-width and frequency control for high-contrast marking, selected color effects, black marking on suitable anodized aluminum, and process-sensitive metal surfaces. A CO2 laser is more suitable for verified wood, leather, and selected non-metal accessories. The final choice should also account for engraving depth, coating, part geometry, fixture setup, work area, production volume, and firearm marking requirements.
The gun laser engraving process uses a focused laser beam to create text, logos, identification details, decorative artwork, surface contrast, or measurable engraving on a firearm component or compatible accessory. The exact process changes according to the material, finish, required depth, and the geometry of the part.
A professional workflow should separate design preparation, material identification, fixture setup, focusing, test marking, production, cleaning, and inspection. Treating all of these steps as one simple engraving action can lead to poor contrast, distorted artwork, inconsistent depth, coating damage, or an unsuitable mark.
Start by defining whether the job requires a surface mark, coating removal, shallow engraving, deep engraving, decorative texture, or a regulated identification mark. These outcomes require different laser behavior and should not share one generic setting.
Identify both the base material and the visible finish. A dark firearm component may be painted steel, anodized aluminum, blued metal, coated polymer, plated metal, or another material. The visible color alone is not enough to select the laser source or process.
Check artwork size, line thickness, text legibility, engraving position, orientation, and clearance from existing markings or functional areas. Vector artwork is generally easier to scale and position for text, logos, borders, and line graphics. Raster artwork may require additional image preparation and test work.
Use a stable fixture that supports the component without scratching, crushing, or distorting it. Confirm the highest point of the engraving surface, set the correct focus, and run a frame or positioning test before applying full laser power. For a new material or finish, use a representative test coupon or non-critical sample rather than the final customer part.
After processing, remove residue using a method compatible with the material and coating. Inspect contrast, edge quality, depth, alignment, legibility, surface condition, and consistency. When the job is repeated, document the approved material, fixture, lens, focus method, artwork version, and inspection criteria.

Gun laser engraving can create text, logos, identification details, and decorative artwork when the material and process are correctly matched.
The phrase "gun engraving" is often used for several different processes. Distinguishing them makes machine selection, testing, pricing, and quality control more accurate.
Surface marking changes the appearance, color, or contrast of the material with limited material removal. It is commonly used for logos, text, identification, barcodes, decorative lines, and fine graphics. The result depends on the alloy, coating, pulse behavior, focus, and process settings.
Coating removal removes or modifies paint, anodizing, bluing, plating, Cerakote, or another surface finish to reveal or contrast with the layer below. It can create a clean visual result, but it is not the same as engraving the base material. The exposed surface may require corrosion protection or refinishing.
Shallow engraving removes a limited amount of material and is often used for decorative details or durable identification. Deep engraving removes measurable material and may require multiple passes, stable focus, debris control, and heat management. Any required depth should come from the applicable technical or regulatory specification rather than a generic online setting.
Large filled areas, textures, relief effects, and background removal place different demands on the machine than small text or line artwork. They can increase cycle time and require more attention to residue, surface finish, heat input, and edge quality.
Firearm engraving laws vary by country, state, province, and locality. This section provides a short operational overview and is not legal advice. Review the dedicated legal and safety guide for a more complete discussion.
In the United States, the ATF states that a person conducting firearm engraving, customizing, refinishing, or repairing as a business is considered a gunsmith within the definition of a dealer. Businesses should confirm the appropriate Federal Firearms License, intake procedures, recordkeeping, storage, transfer, and local requirements before accepting regulated items.
Required identification markings are different from decorative personalization. Under applicable U.S. federal rules for certain licensed manufacturers, importers, or makers, required markings may need a minimum depth of .003 inch, while the serial number and any associated license number may need a print size no smaller than 1/16 inch. These requirements should not be treated as universal settings for every decorative engraving project.
Official references: ATF Gunsmith Questions and Answers and ATF eRegulations, 27 CFR Part 478.
The best laser for gun engraving depends on the base material, finish, mark type, part size, geometry, and production requirements. Avoid selecting a machine only because a part appears to be metal or plastic.
| Material or Surface | Common Laser Choice | Typical Objective | Main Limitation |
|---|---|---|---|
| Steel and stainless steel | Fiber or MOPA fiber | Permanent marking, contrast, controlled engraving, or relief | Depth, heat input, finish, and corrosion behavior must be validated |
| Aluminum | Fiber or MOPA fiber | Marking, engraving, or surface contrast | Results vary by alloy and surface treatment |
| Anodized aluminum | Fiber, MOPA, or another validated source | High-contrast marking or coating interaction | Anodizing type, color, and thickness affect the result |
| Painted, blued, plated, or coated metal | Depends on the coating and objective | Coating removal, contrast marking, or substrate engraving | Removing a coating is not the same as engraving the base metal |
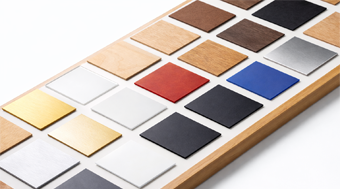
| Verified wood | CO2 laser | Decorative engraving and personalization | Scorching, smoke, resin, and finish variation require testing |
| Verified leather | CO2 laser | Text, logos, and decorative patterns | Odor, smoke, darkening, and composition must be considered |
| Polymer or composite | Material-dependent; may involve CO2, fiber, MOPA, or UV | Contrast, surface marking, or controlled engraving | Do not generalize all polymers; composition and emissions must be verified |
A practical material-selection table for gun laser engraving, coating removal, and compatible accessories.
A Q-switched fiber laser is a strong general-purpose option for marking and engraving many metal firearm components. It is commonly used for logos, text, barcodes, serial-style identification, and decorative patterns on steel, aluminum, brass, and other compatible metals.
For workshops focused mainly on small metal parts, a fiber system offers fast scanning, a compact footprint, and repeatable positioning. Final results still depend on the alloy, coating, lens, focus, artwork, and validated process.
A MOPA fiber laser provides adjustable pulse width and frequency, giving the operator more control over how energy is delivered to the surface. This flexibility can be useful for high-contrast marking, selected stainless-steel color effects, black marking on suitable anodized aluminum, delicate surface work, and applications where a standard Q-switched process offers too little control.
MOPA is not automatically the best choice for every metal job. A standard fiber laser may be more economical for routine marking and identification. Select MOPA when the required finish, material response, or production process benefits from its wider pulse-control range.
A CO2 laser is commonly used for wood, leather, rubber, acrylic, and other compatible non-metal materials. In gun-related customization, it may be suitable for verified wooden stocks, grip panels, leather accessories, cases, templates, and selected non-metal components.
CO2 compatibility should never be assumed for every polymer or coating. Some materials can melt, char, discolor, or release hazardous fumes. Use the Thunder Laser material compatibility guide as a starting point and confirm the exact composition before processing.
A mixed-material business may receive steel, aluminum, wood, leather, coated parts, cases, and other accessories. One option is to operate a dedicated fiber marker and a separate CO2 system. Another is a dual-laser platform that combines fiber and CO2 sources in one machine.
A dual-laser system can reduce machine changes and support a broader material mix, but it should still be selected according to the required work area, part size, production volume, fixture needs, and mark quality.
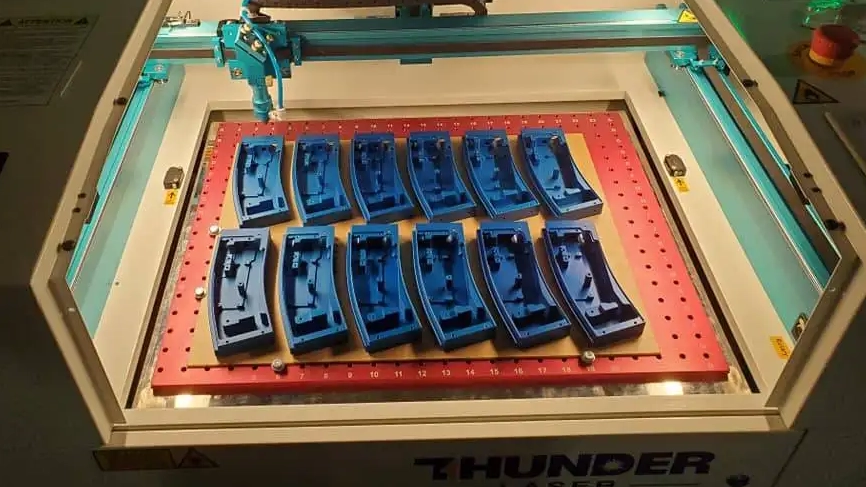
Different gun parts may require different laser sources, fixtures, focus methods, and validation steps.
Gun parts vary significantly in shape, material, wall thickness, surface treatment, and function. The same laser process should not be applied to every component without evaluation.
Slides, plates, grip panels, handguards, and other relatively flat parts are easier to align than curved components. Use a positioning block, nest, or jig to keep the engraving area level and repeatable. Confirm whether the intended result is coating removal, surface marking, shallow engraving, or deeper material removal.
Cylindrical parts may require a chuck rotary, roller rotary, indexed fixture, or another controlled holding method. A laser rotary attachment can help align wraparound or multi-position artwork, but the fixture must match the diameter, weight, balance, and clamping requirements of the part.
Curvature changes the distance between the lens and the surface. For narrow marks, segmented positioning may be sufficient. Wider designs may require rotary movement, a different lens, or a system with suitable curved-surface compensation.
Irregular parts may include angled surfaces, texture, recesses, changing height, or limited clamping areas. A custom fixture may be required to present the target area consistently. Separate setups are often more repeatable than trying to process multiple faces in one position.
Small parts are easy to rotate or misalign. A multi-position fixture can hold several pieces in known locations, reduce manual measurement, and improve batch consistency. The fixture should not contact sensitive surfaces or allow residue to accumulate near the engraving area.
Verified wood and leather accessories may be suitable for CO2 laser engraving. Grain, resin, stain, coating, leather treatment, and surface curvature can all affect the result. Test for contrast, scorching, odor, smoke, and finish damage before processing the final item.
A suitable gun laser engraving machine must match the materials and results the business actually needs. It should also provide enough space for the part and fixture, suitable focus control, compatible software, repeatable positioning, and a controlled extraction workflow.
| Selection Factor | Why It Matters | Questions to Ask |
|---|---|---|
| Laser source | Determines material compatibility and available process types | Are most jobs metal, non-metal, coated, or mixed-material? |
| Marking or work area | Limits the maximum part and design size | Can the machine handle the largest intended component without repositioning? |
| Z clearance and working distance | Affect tall parts, fixtures, and irregular components | Is there enough room for the part plus the holding fixture? |
| Rotary and fixture support | Improve control on cylindrical, curved, and repeated parts | Do the controller, software, and machine support the required accessory? |
| Enclosure and interlocks | Support controlled operation and reduce exposure risk | Is the machine suitable for the intended commercial workspace? |
| Fume extraction | Controls smoke, particles, odors, and coating byproducts | What materials and finishes will be processed, and how will emissions be captured? |
| Software and positioning | Affect artwork preparation, alignment, variable data, and repeatability | Does the workflow support fixtures, batch jobs, and required file formats? |
| Training and technical support | Reduce setup time and help validate new materials | Can the supplier provide testing, documentation, and application support? |
A machine-selection checklist for gun laser engraving, marking, fixtures, and mixed-material production.
Choose a fixture based on part geometry, weight, surface protection, repeatability, and engraving orientation. Flat nests, positioning blocks, soft jaws, custom jigs, chuck rotaries, and multi-part fixtures each serve different jobs.
Keep the target area within the machine's usable focus range. A large height change across the artwork can create inconsistent line width, contrast, or depth. Repositioning, a different lens, rotary motion, or another machine configuration may be required for curved parts.
Use a representative sample with the same alloy, coating, color, surface treatment, and thickness whenever possible. A successful setting on bare aluminum does not automatically transfer to anodized aluminum, painted aluminum, coated steel, or a different polymer.
Coatings, oils, adhesives, polymers, leather, and wood can release smoke, particles, odors, and chemical byproducts. Use an appropriate enclosure and laser exhaust system. Clean residue using a method compatible with the material and finish.
For repeated jobs, record the machine, laser source, lens, fixture, focus method, artwork version, material specification, finish, inspection criteria, and approved process. Documentation helps maintain consistency when different operators or production batches are involved.
Thunder Laser also provides a material testing service for users who want to evaluate a specific sample before choosing a machine or production method.
There is no reliable universal price or processing-time range for gun engraving. Total cost and turnaround depend on design preparation, material and coating, marking area, required depth, fixture design, part preparation, compliance handling, testing, cleaning, inspection, finishing, shipping, and whether the job is a one-off project or a repeat batch.
The laser cycle may be short for a simple mark, but total project time can be much longer once intake, design approval, fixturing, focusing, testing, engraving, cleaning, and final inspection are included. Commercial providers should quote the complete workflow rather than only the laser-on time.
The Thunder Laser Aurora Series includes Q-switched fiber, MOPA fiber, UV, and Lite configurations. Aurora Fiber and Aurora Lite support general metal marking, while Aurora MOPA provides adjustable pulse-width and frequency control for high-contrast, detailed, and process-sensitive metal applications. The series supports rotary processing and offers working areas up to 200 x 200 mm.
Aurora is a strong fit for workshops that mainly process smaller metal components and need a compact, high-speed marking platform.
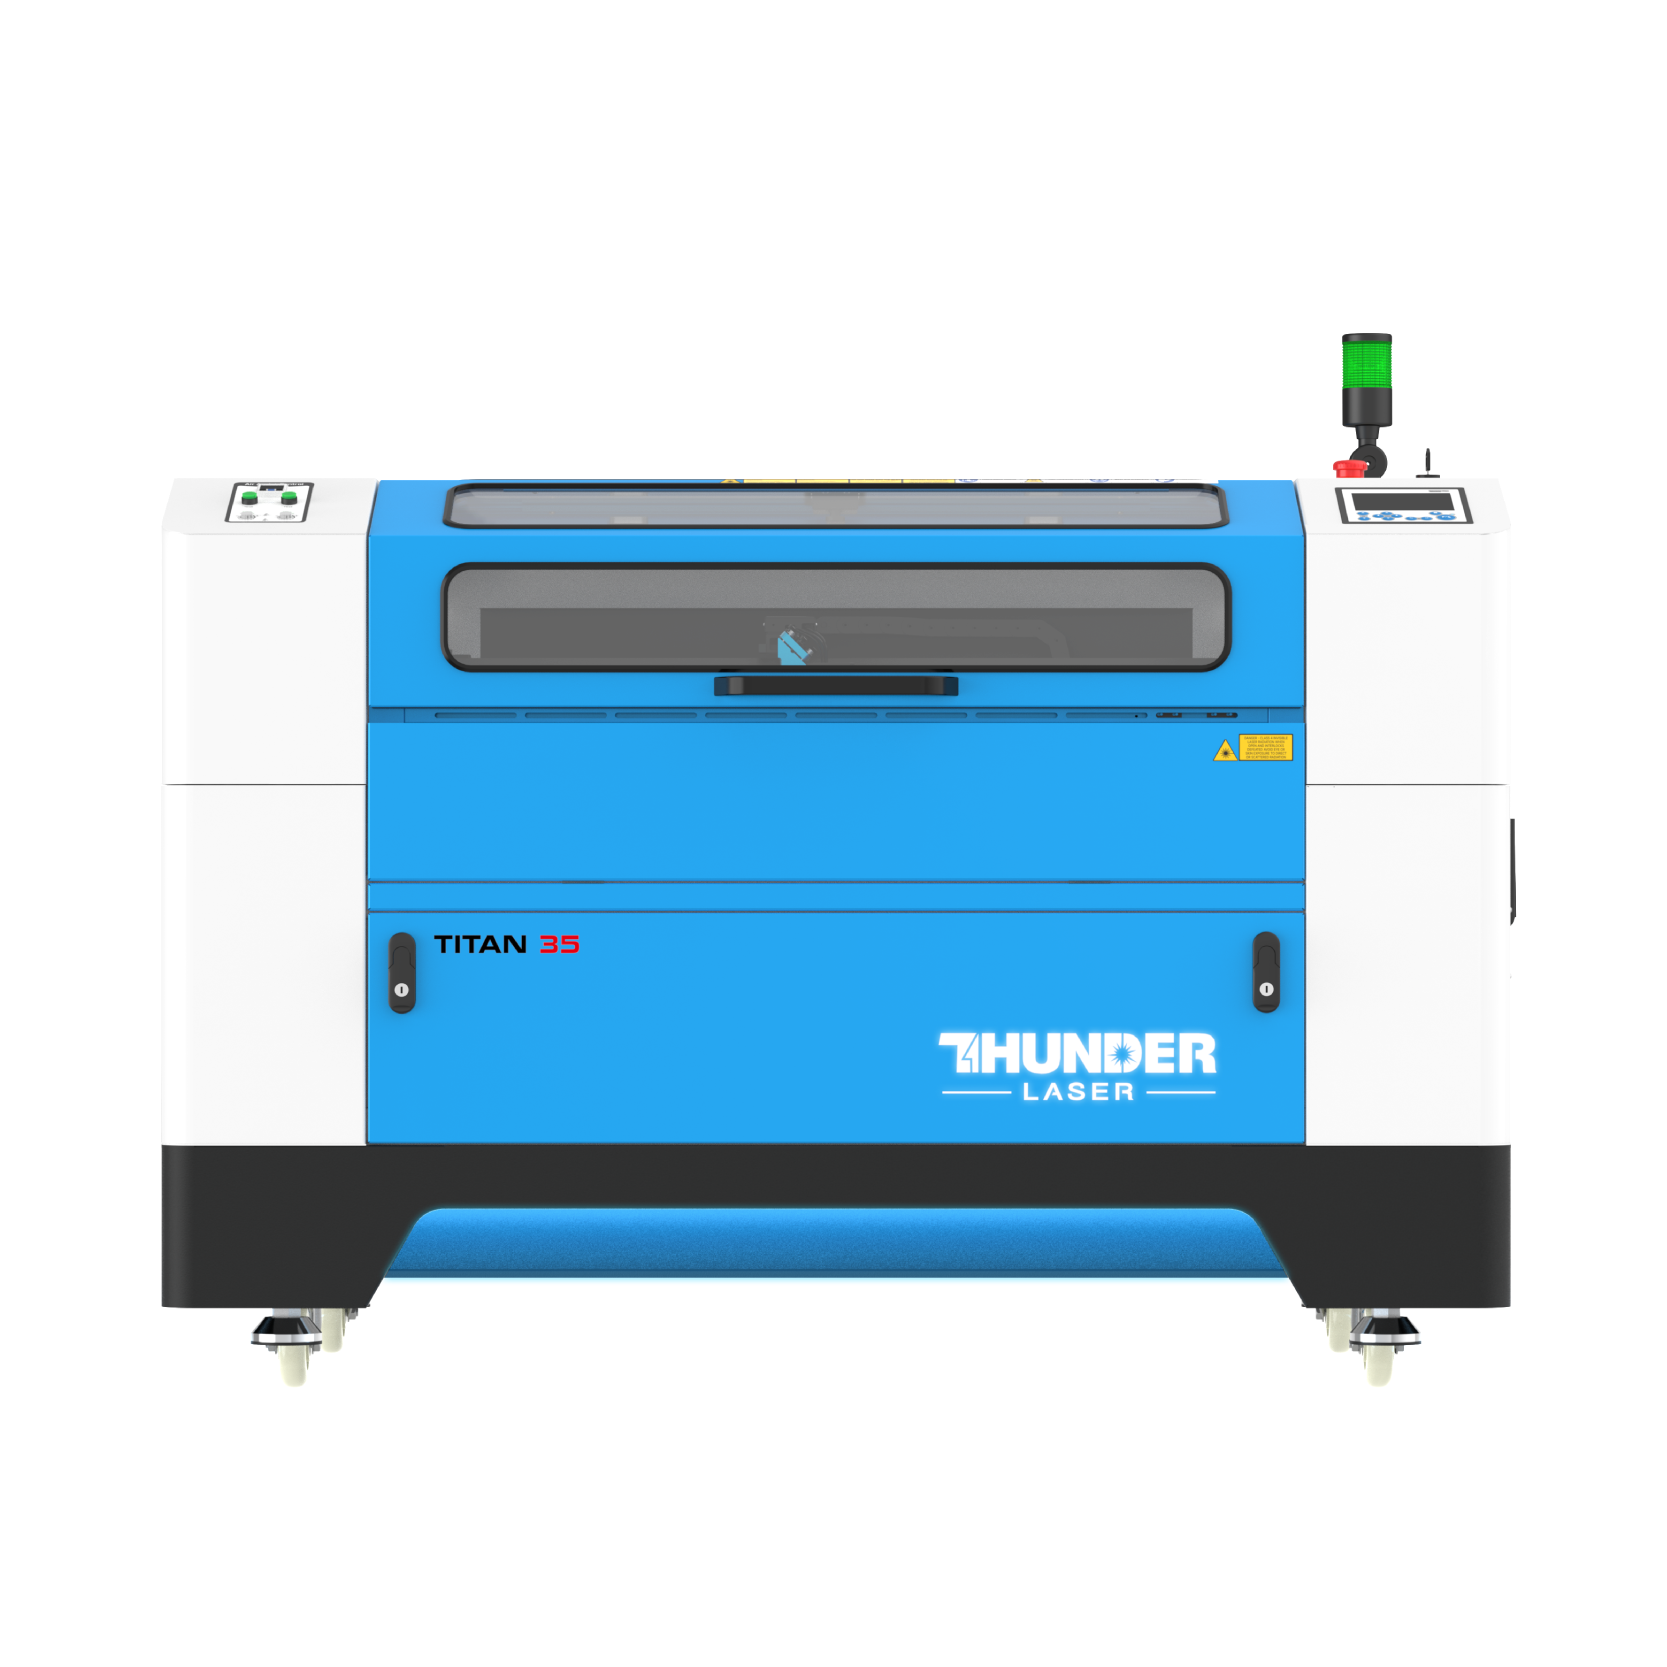
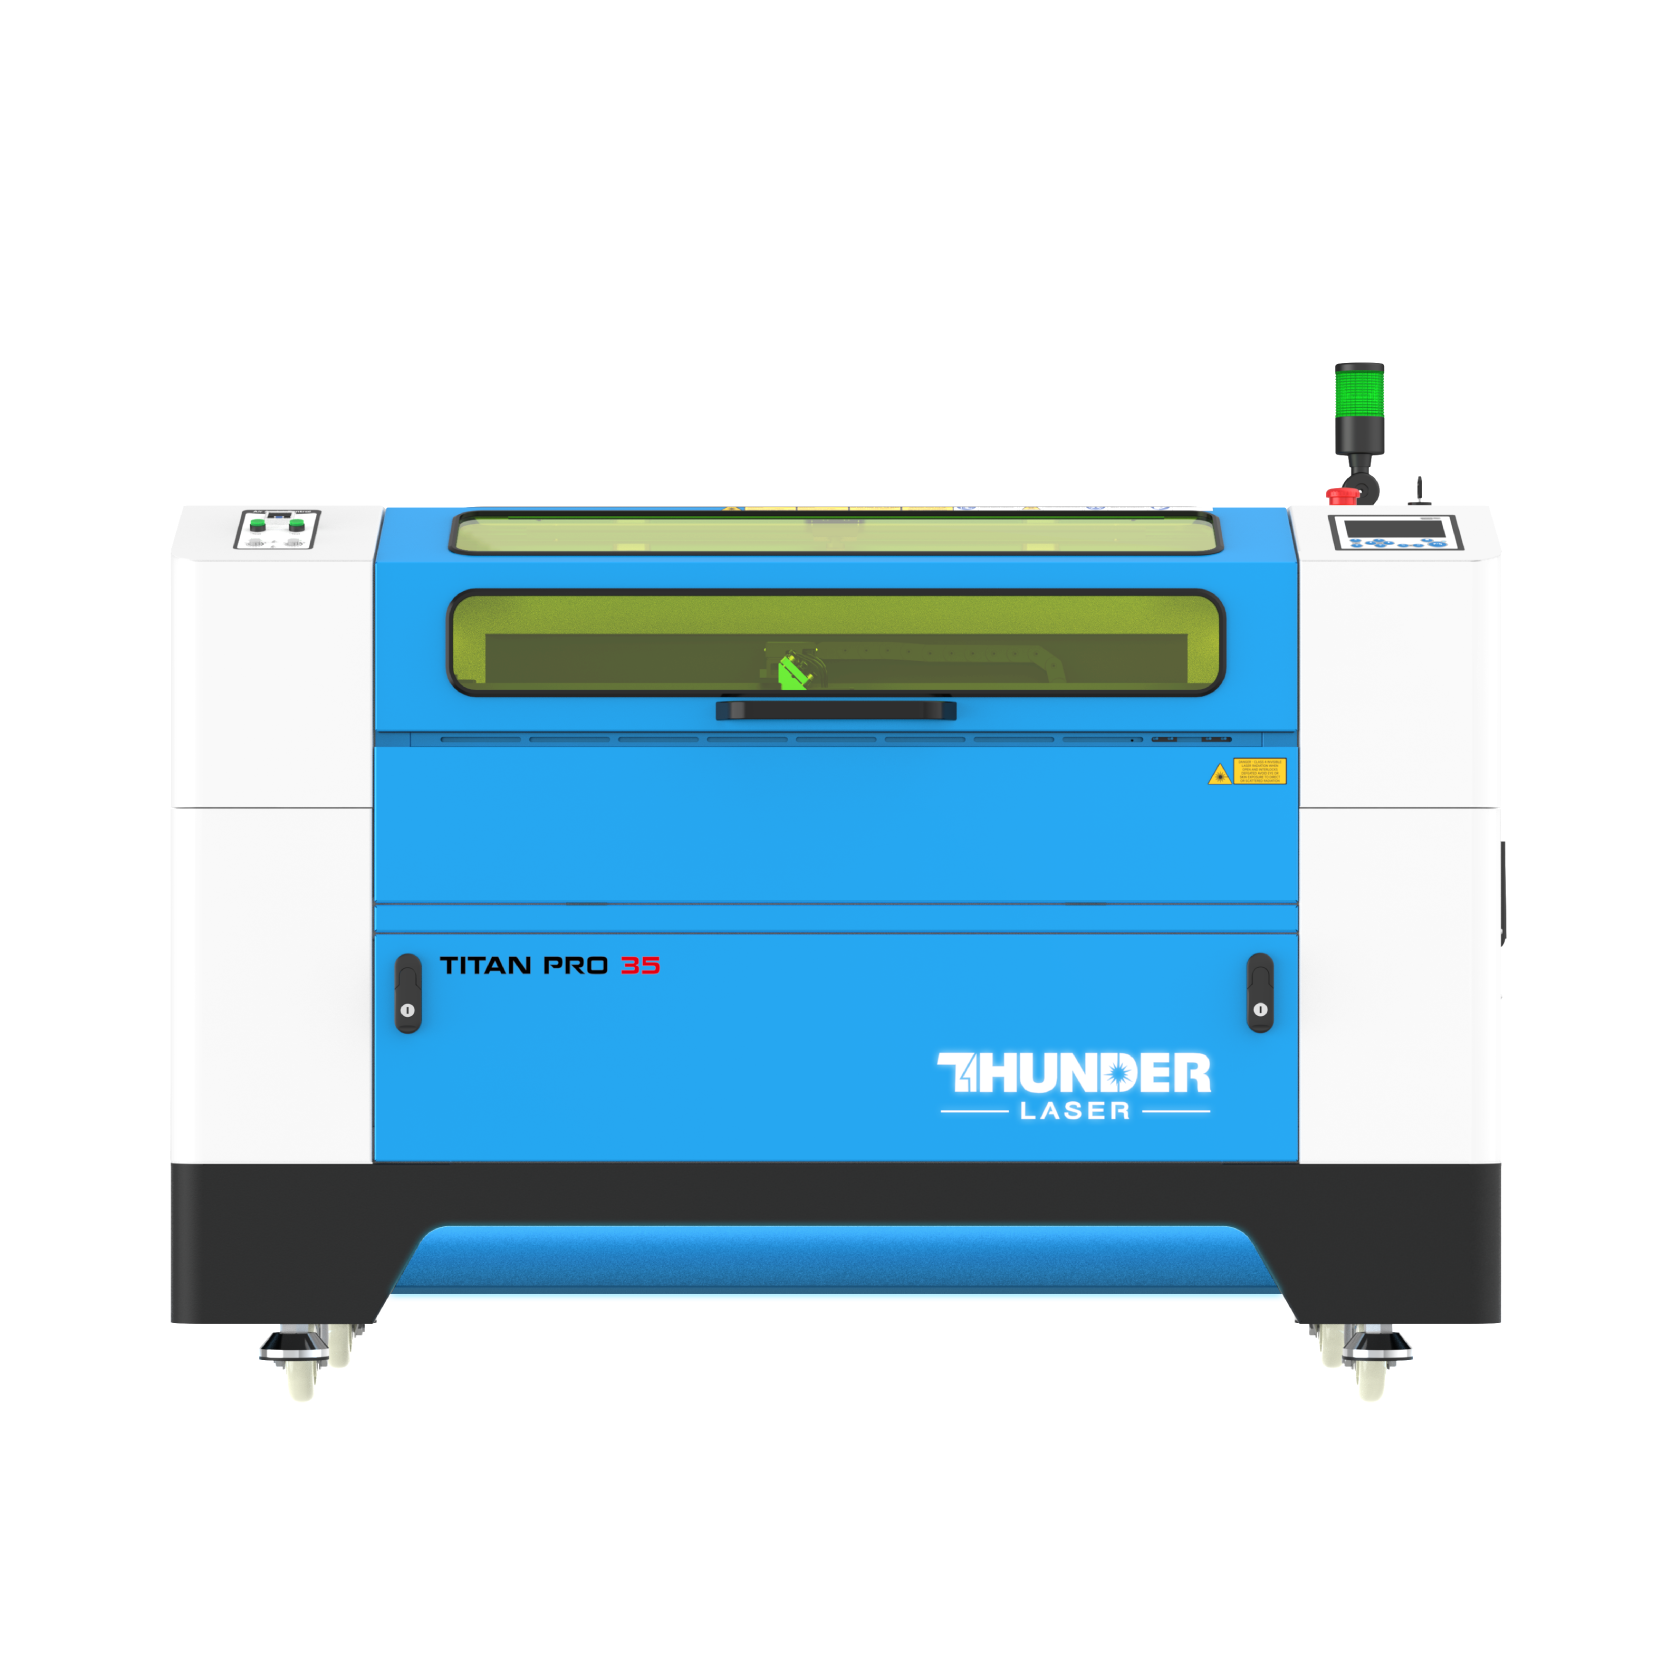
The Thunder Laser Titan Pro Series combines RF CO2 and MOPA fiber sources in one platform. It is designed for mixed-material production and provides larger work areas than a compact galvo marker. This can be useful when a workshop handles metal parts together with wood, leather, coated materials, cases, templates, or other compatible non-metals.
Titan Pro is more appropriate when larger parts, a broader material mix, or production-scale workflows justify a dual-source system. A compact Aurora may still be more efficient for small, high-speed metal marking jobs.
The Thunder Laser Nova Plus Series is an RF CO2 laser system for engraving and cutting compatible non-metal materials. It may be considered for verified wooden stocks, grip panels, leather accessories, cases, templates, and other non-metal customization work.
Do not use the product category alone to assume compatibility with an unknown polymer or coating. Confirm the material first and request testing when needed.
The best gun laser engraving machine is the one that matches the materials, part geometry, required result, workspace, and production workflow. Review the legal and safety considerations, then contact Thunder Laser to discuss your materials, part sizes, fixture requirements, and testing needs.
Talk To Our Experts Now!
Please leave your contact information so that we can serve you better.
FAQS ABOUT LASER ENGRAVING A GUN
FIND THE RIGHT LASER FOR YOUR NEXT PROJECT
Explore Thunder Laser solutions designed for different materials, workflows, and production needs.


 Stable & Consistent MachinesUnlimited ApplicationsRobust After-sales SupportFactory Direct Supply


