How to Use a Rotary Device?
 24-05-24
WHAT ARE YOU LOOKING FOR?
Search Across Products, Blog Posts, Support Content, And Resources.

How to Use a Rotary Device?
24-05-24

During laser processing, many objects can be placed flat on the honeycomb platform. However, cylindrical objects are often difficult to fix and engrave evenly with a standard flat setup.
In this situation, a rotary device can help the laser machine process cylindrical objects more easily. By rotating the object during engraving, the rotary fixture helps keep the engraving position consistent around the curved surface.
Before using a rotary device, make sure the fixture is placed level, the object is secured firmly, and the engraving file is checked on the object before starting the job.
Using a rotary device mainly includes three parts: installing the fixture, preparing the file settings, and operating the machine. The following steps explain the basic workflow.
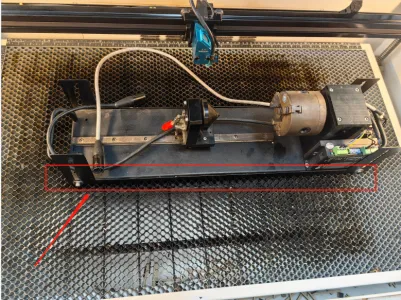
Start by lowering the honeycomb platform to create enough space for placing the rotary fixture inside the machine.
Use a horizontal line that intersects the honeycomb holes as a reference to align the rotary axis. After the position is confirmed, connect the rotary fixture cable to the laser machine socket.
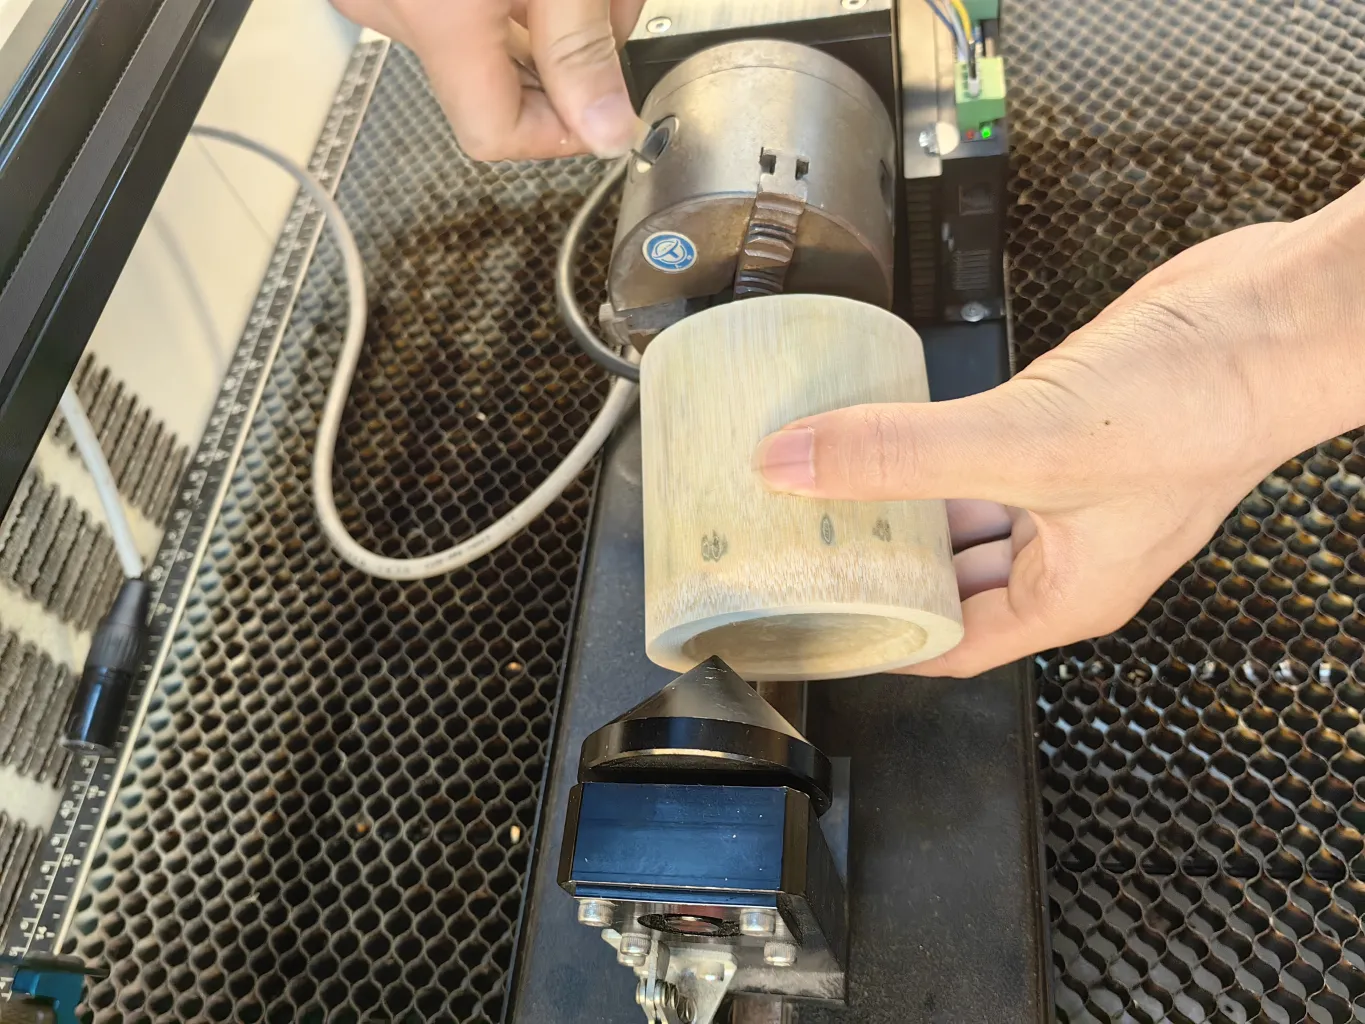
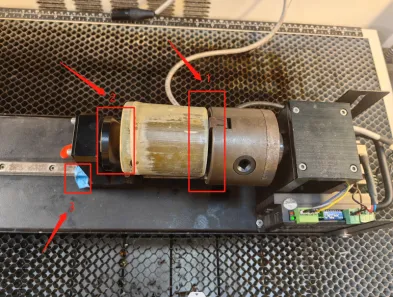
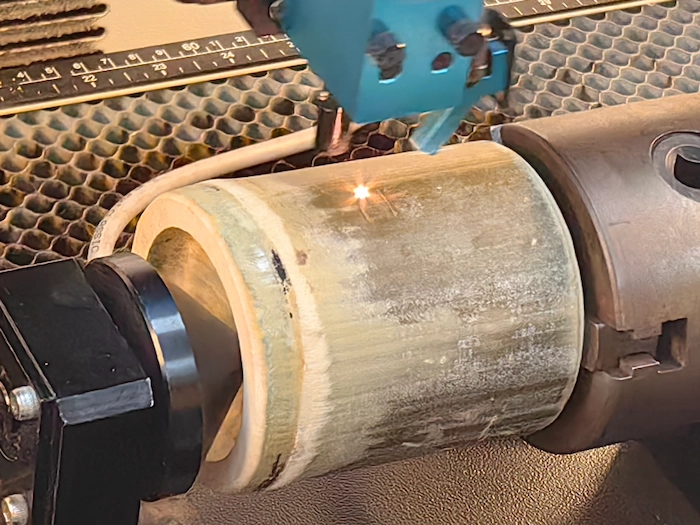
Next, secure the object to be engraved between the two sides of the rotary fixture by adjusting the clamp tightness. For smooth objects, attach sandpaper to increase friction. At this stage, the clamps may still be slightly loose, so use a magnet at the back to secure the entire fixture and prevent the clamps from loosening. This step is very important.
Confirm that the three key points are secured. After this check is complete, the fixture installation part is finished.
Before sending the file to the laser, prepare the rotary settings in the software. Click the rotary setting, select the chuck type, and enable start rotation.
The object diameter needs to be measured before installation. The first data value to fill in is fixed because it is related to the bearing gear. After the rotary settings are complete, send the file to the laser.
On the laser control panel, click the menu, select Z-axis rotation, and use the left and right arrow keys to control the rotation direction of the rotary fixture.
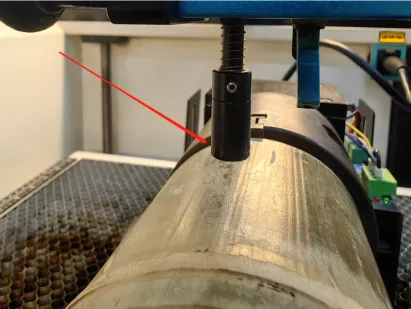
Move the auto-focus probe to the center point of the test object before focusing. Correct focus helps keep the engraving result more stable on the cylindrical surface.
Press the file key to select the engraving file and confirm that it is the correct file. Then click position and run border to check whether the engraving file range is fully located on the object.
If the border check confirms that the engraving range is correct, click the start switch to begin laser engraving.
You can also watch the video tutorial for a more intuitive explanation of how to use a rotary device.
Rotary device operation video tutorial
For more laser-related tutorials, you can follow the Thunder Laser YouTube channel.
A rotary device makes it easier to laser engrave cylindrical objects that cannot be placed flat on the honeycomb platform. The key steps include placing the fixture level, aligning it with the honeycomb holes, securing the object, setting the rotary parameters, focusing correctly, and checking the engraving border before starting.
Careful setup is especially important for rotary engraving because the fixture angle, object stability, and file range directly affect the final engraving result.
Before starting rotary engraving, always confirm three things: the fixture is stable, the object is secure, and the engraving border stays fully on the object.
Talk To Our Experts Now!
Please leave your contact information so that we can serve you better.
ROTARY DEVICE LASER ENGRAVING FAQS
TAKE THE NEXT STEP WITH THUNDER LASER

 Stable & Consistent MachinesUnlimited ApplicationRobust After-sales SupportFactory Direct Supply