How to Laser Cut Acrylic for Clean Signs and Displays
 2024-07-30
WHAT ARE YOU LOOKING FOR?
Search Across Products, Blog Posts, Support Content, And Resources.

How to Laser Cut Acrylic for Clean Signs and Displays
2024-07-30

Acrylic is one of the most popular materials for laser cutting and engraving. It is widely used for advertising signs, displays, illuminated signage, printed signs, exhibition stands, shopfitting, decorative panels, and custom display products.
With a laser cutting machine, a printed acrylic sheet or acrylic board can be transformed into a finished product with a clean outline and higher visual value. From simple rectangular signs to complex contours and detailed markings, acrylic laser cutting gives creators and businesses a flexible way to produce professional results.
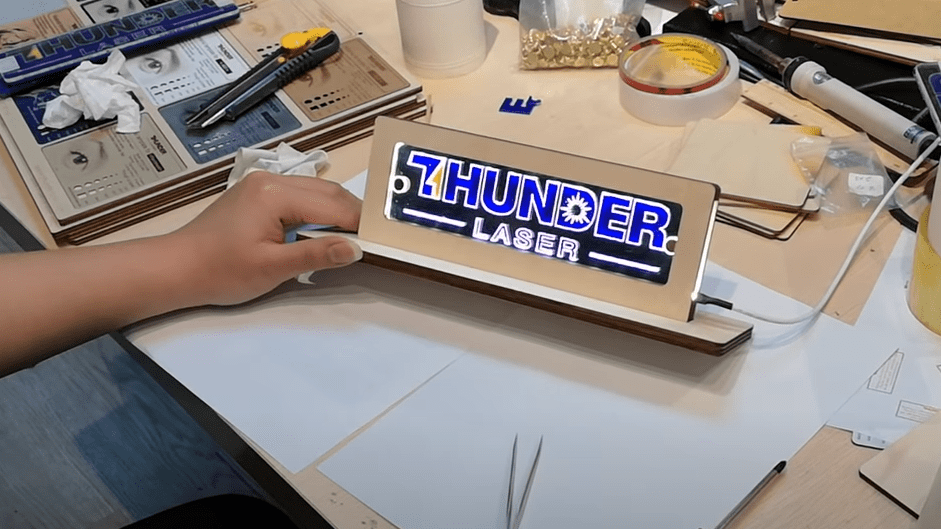
Laser cutting acrylic signs, displays, and advertising materials.
The best acrylic laser cutting settings depend on the acrylic type, thickness, laser power, lens, machine condition, and desired edge quality. Before cutting the final piece, always run a small test to confirm the correct balance of power and speed.
Use laser power that matches the thickness of the acrylic. In general, thicker acrylic requires higher power. For example, 3 mm acrylic may need around 30–40 W of laser power, while 10 mm acrylic may require around 60–100 W, depending on the machine and material.
Cutting speed also plays an important role. If the speed is too fast, the laser may not fully cut through the acrylic. If the speed is too slow, the material may overheat, melt, or create rougher edges. Several test cuts can help you find the most suitable setting.
Tip: Beginners can refer to Thunder Laser acrylic settings as a starting point, but final settings should always be tested and adjusted according to the actual acrylic sheet and machine.
Acrylic can produce beautiful polished edges when the laser settings and workflow are correct. The following tips can help reduce burn marks, rough edges, and material damage during processing.
Acrylic sheets usually come with a protective film. For many cutting jobs, it is recommended to remove the top protective film before cutting while keeping the bottom film in place. This can help reduce scratches and burn marks on the underside of the acrylic.
Air assist helps cool the material, reduce fire risk, and improve cutting stability. However, too much air can sometimes make acrylic edges look white or rough. For smooth acrylic edges, adjust the airflow carefully and test the result before cutting the final sign or display.
Tips for cutting smoother acrylic edges with a laser machine.
Before cutting the actual project, perform several test cuts on a small piece of acrylic. Adjust laser power, speed, focus, and airflow until the cut is complete and the edge quality meets your requirements.
Material selection has a major impact on acrylic laser cutting quality. Different acrylic types can react differently to heat and may produce different edge finishes.
Cast acrylic is generally more suitable for laser cutting when a smoother edge is desired. Extruded acrylic can also be cut, but it may produce more burrs or rougher edges depending on the sheet quality and laser settings.
Choose the acrylic thickness based on the product design and the power of your laser cutter. Thicker acrylic normally needs higher power and slower cutting speed, while thinner acrylic can usually be processed more quickly.
Laser-cut acrylic is used in many creative and commercial applications. Because acrylic is available in clear, colored, frosted, and printed forms, it is especially popular for signage and display production.
Acrylic can catch fire during laser cutting, especially if the settings are incorrect or the material overheats. Never leave the machine unattended while cutting acrylic.
Always monitor the laser cutting process, use appropriate air assist, keep the machine clean, and make sure the exhaust system is working properly before processing acrylic.
Laser cutting acrylic can produce clean, professional signs and displays when the right settings, material, and workflow are used. Power, speed, air assist, protective film, and material type all affect the final cutting quality.
For the best results, start with test cuts, choose suitable acrylic, adjust airflow carefully, and monitor the machine throughout the process. With proper setup, acrylic laser cutting can support everything from simple signs to complex custom display products.
Want to Create Acrylic Signs with a Laser?
Contact Thunder Laser to find the right laser cutting machine for acrylic signs, displays, advertising products, and custom production.
Contact UsTalk To Our Experts Now!
Please leave your contact information so that we can serve you better.
LASER CUTTING ACRYLIC FAQS
TAKE THE NEXT STEP WITH THUNDER LASER

 Stable & Consistent MachinesUnlimited ApplicationRobust After-sales SupportFactory Direct Supply