How to Clean a Honeycomb Laser Bed Without Disassembly
 24-09-20
WHAT ARE YOU LOOKING FOR?
Search Across Products, Blog Posts, Support Content, And Resources.

How to Clean a Honeycomb Laser Bed Without Disassembly
24-09-20

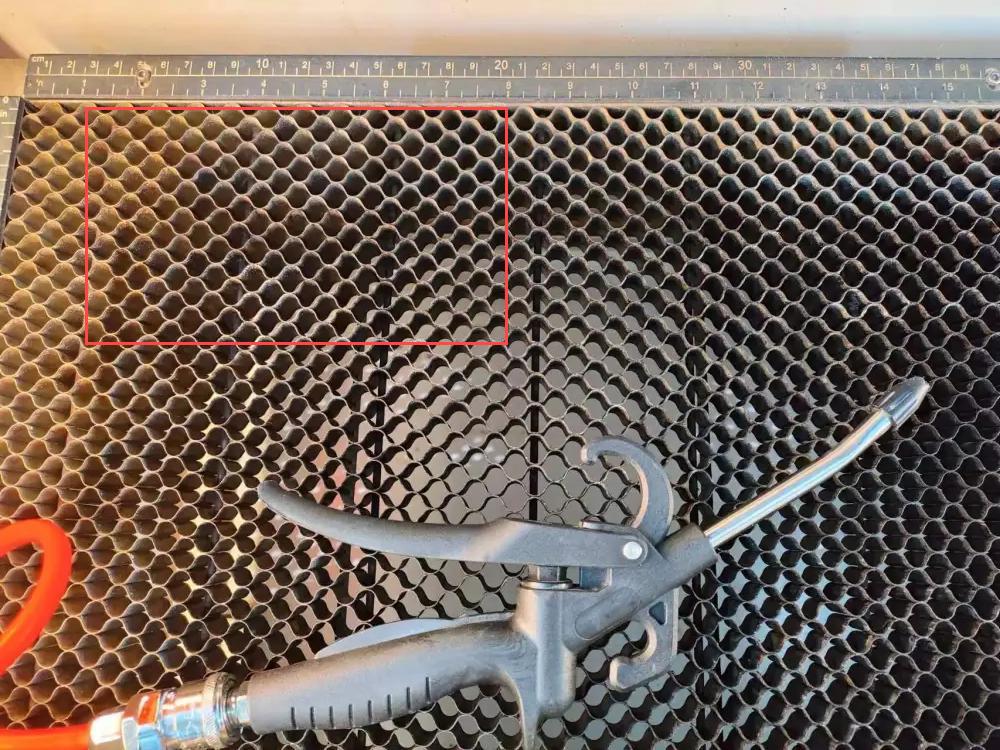
After laser cutting, dust, stains, and material debris often remain on the honeycomb laser bed. If the workbed is not cleaned regularly, the buildup can make the laser cutter dirty, affect production quality, and create a fire risk when combustible debris is exposed to laser heat.
For routine maintenance, cleaning the whole laser cutter once a week is recommended. The following tools and methods can help you clean a honeycomb laser bed quickly without removing it from the machine.
Before cleaning, move the laser head to a safe position, adjust the honeycomb bed to a comfortable working height, and turn off the laser machine to ensure safe operation.
These five methods are suitable for quick cleaning across the whole honeycomb laser bed. You can choose one method or combine several methods based on the type of debris left after cutting or engraving.
A vacuum cleaner is not only useful for household cleaning; it can also be a practical tool for cleaning a honeycomb laser bed. If you have a vacuum cleaner on hand, you can quickly remove small debris, dust, and loose particles from the honeycomb table.
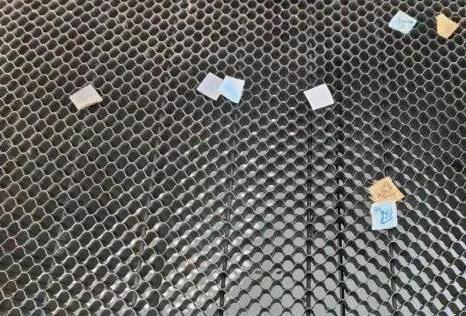
Cutting hard materials often leaves shaped debris on the honeycomb laser bed, especially after cutting complex patterns. Some pieces may be too large for a vacuum cleaner, while picking them out by hand can be time-consuming and risky because sharp edges may cause injuries.
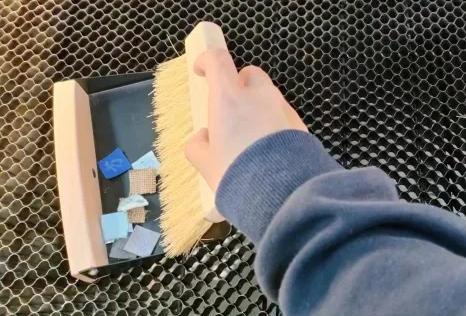
A desk brush is a convenient tool for sweeping away debris quickly and safely. If you do not have a desk brush, a large brush can serve the same purpose. This method is also useful for removing soft fabric scraps.
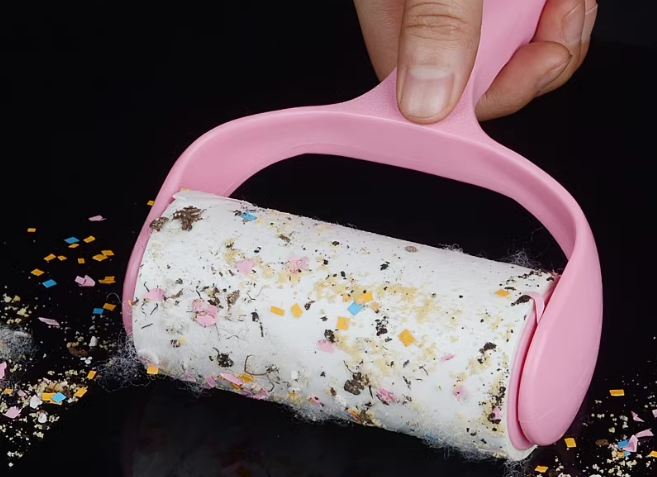
When cutting paper or fabric, thin and soft debris often remains on the honeycomb table. A lint roller or dust roller can quickly pick up lightweight scraps. Roll it over the honeycomb laser bed to collect small material pieces and make cleaning faster and safer.
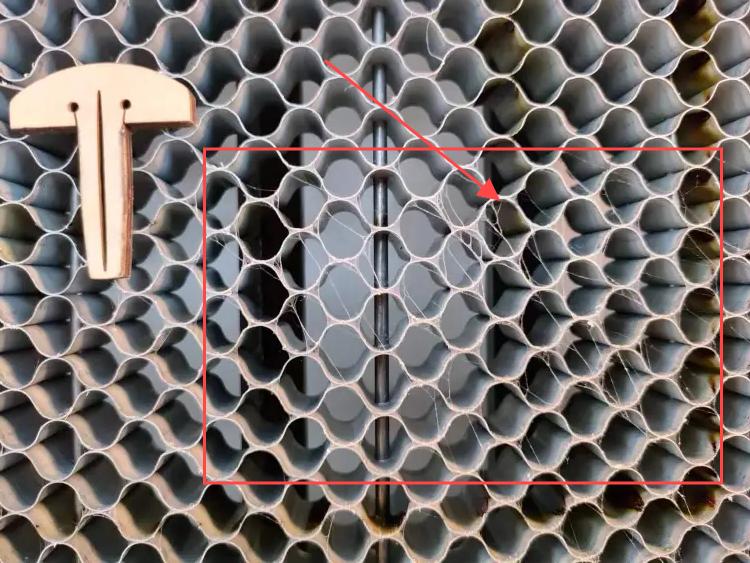
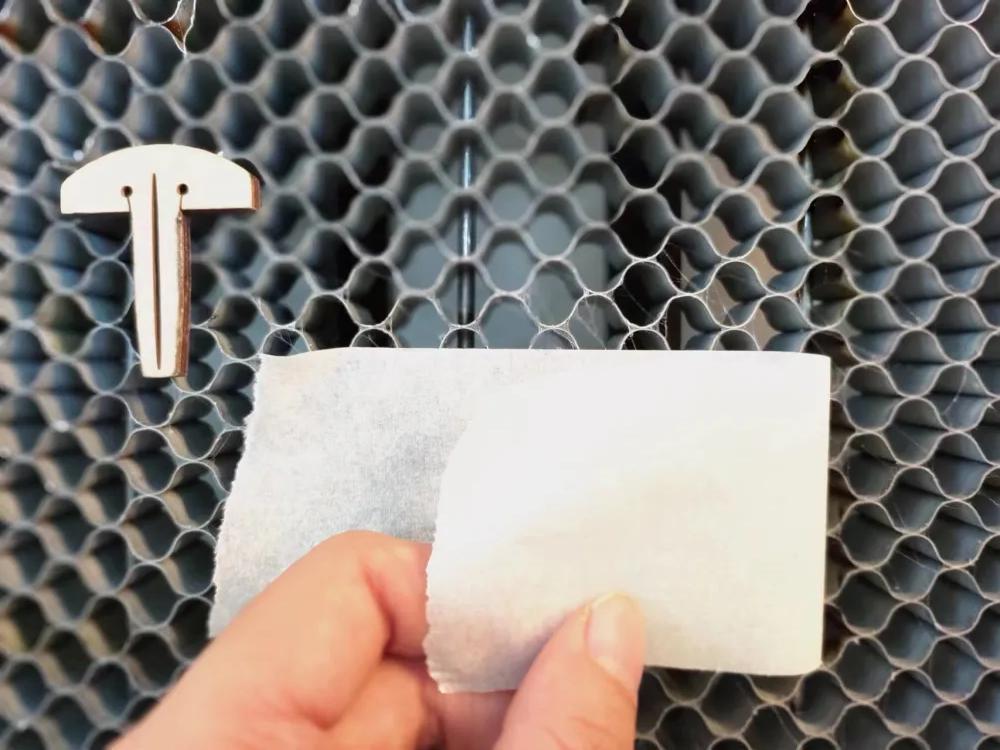
Masking tape is easy to use and normally does not leave glue residue behind. Press a piece of tape onto light debris, then peel it away for quick cleaning.
This method can also help remove stubborn dirt, such as spiderweb-like residue left on the honeycomb laser bed after cutting and engraving a batch of acrylic.
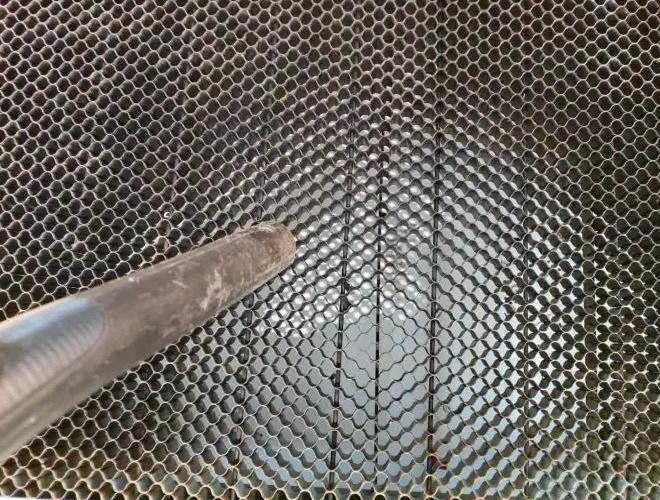
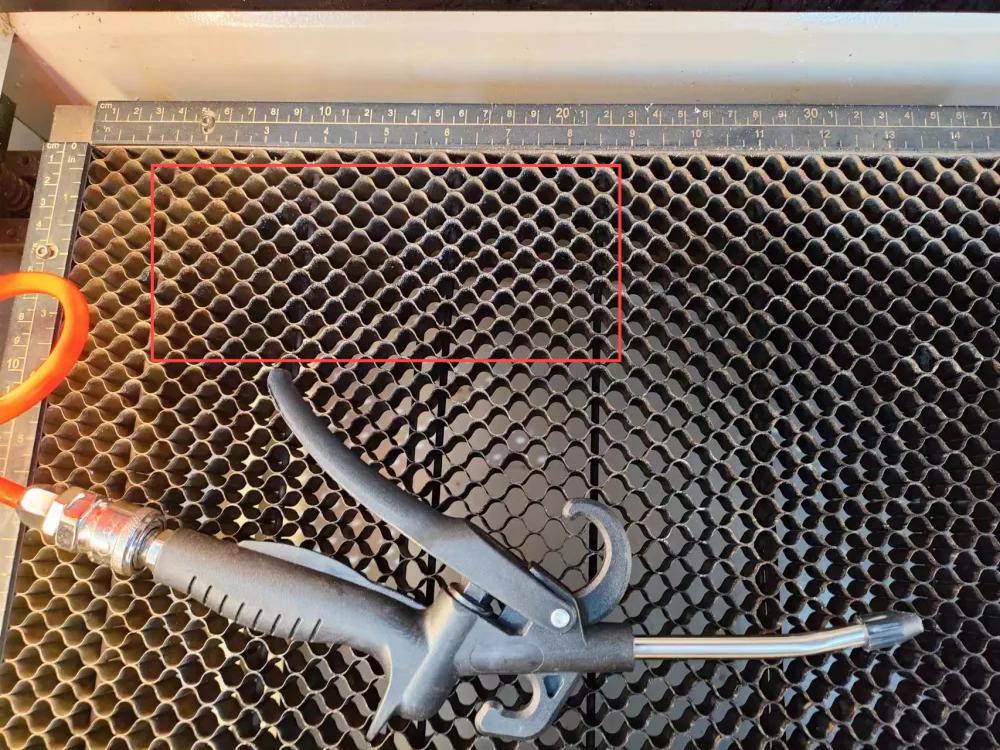
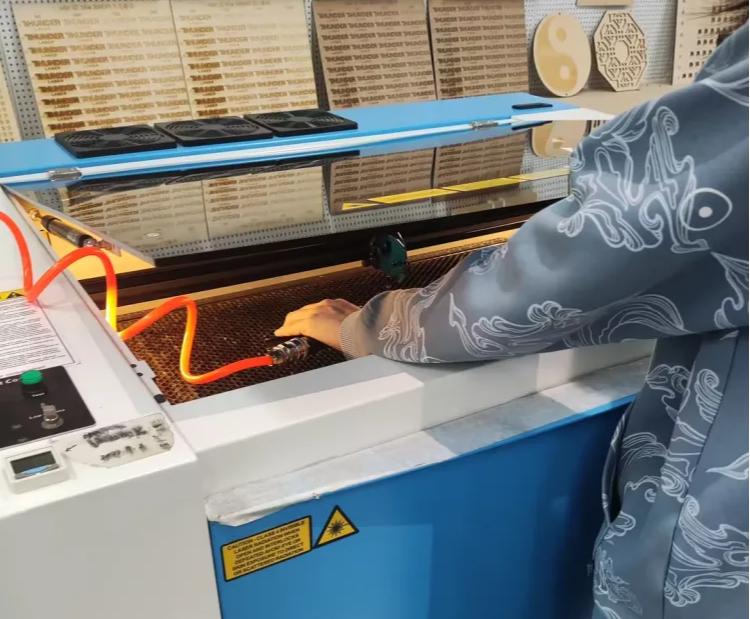
Materials such as acrylic and ABS often leave powder and dust after laser processing, and this residue can cling to the honeycomb cells. An air gun can blow away dirt with a stream of high-speed, dry air, making it effective for cleaning the honeycomb table.
The methods above are useful for cleaning large areas. If only a few honeycomb cells need extra cleaning, try the following spot-cleaning tools.
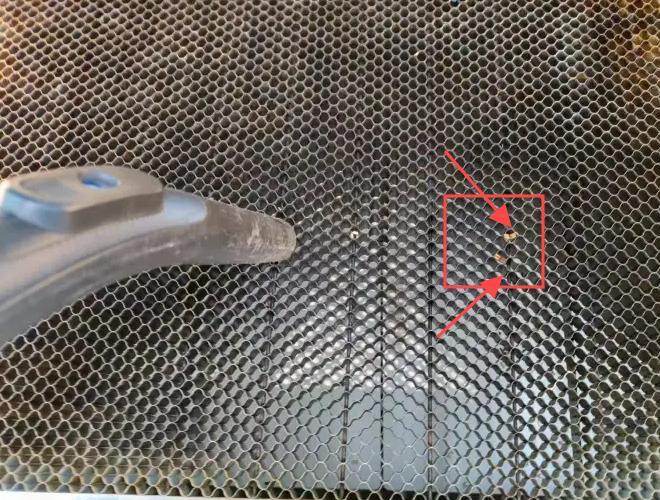
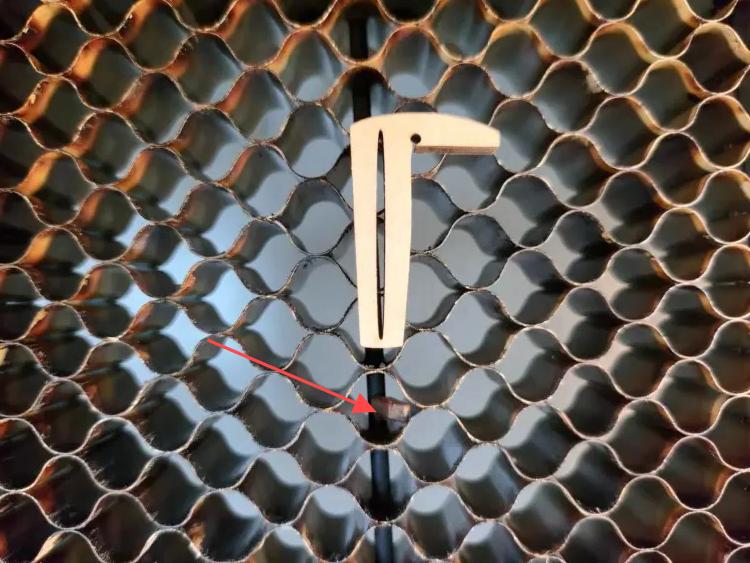
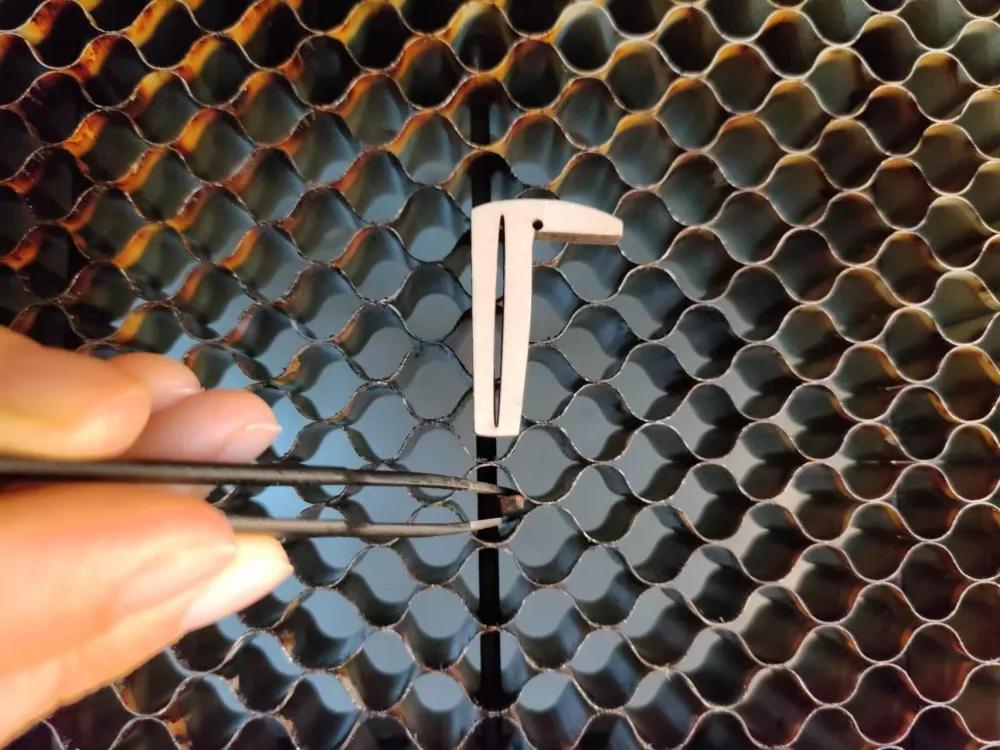
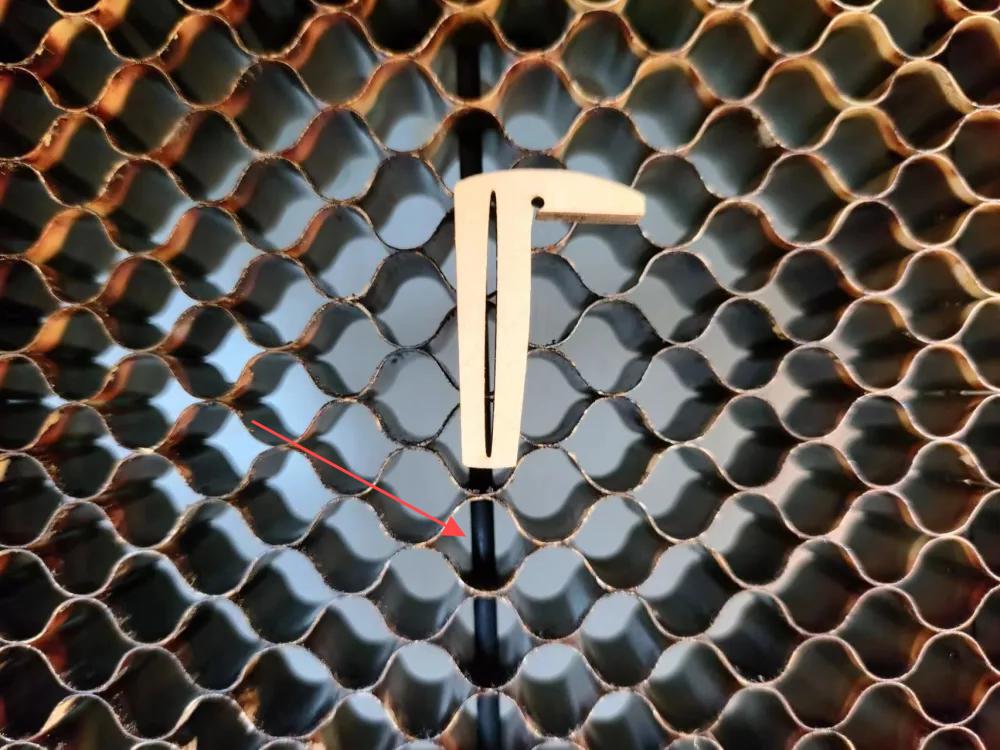
Cutting complex patterns can leave small debris stuck inside the honeycomb cells. Tweezers can help remove debris from hard-to-reach spots. If metal tweezers feel too risky, you can use plastic-tipped or child-safe tweezers instead.
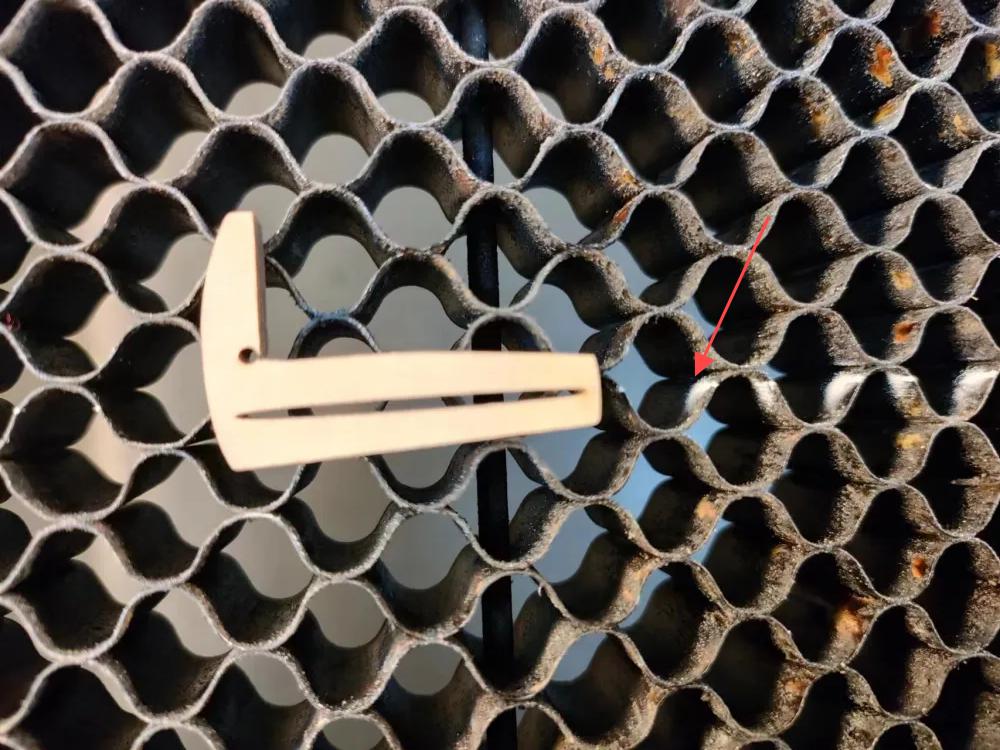
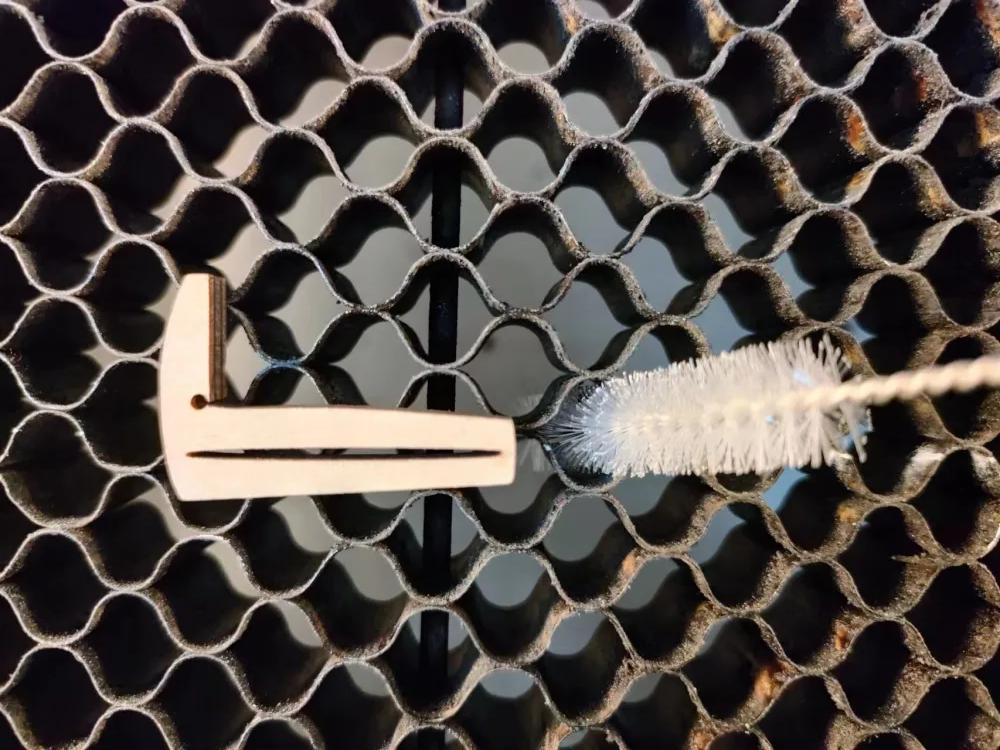
For honeycomb laser bed cells that are especially dirty, insert a straw brush or small test tube brush into the cell and rotate it to remove dirt. You can use the brush dry, or dip it in water or detergent when stronger cleaning is needed.
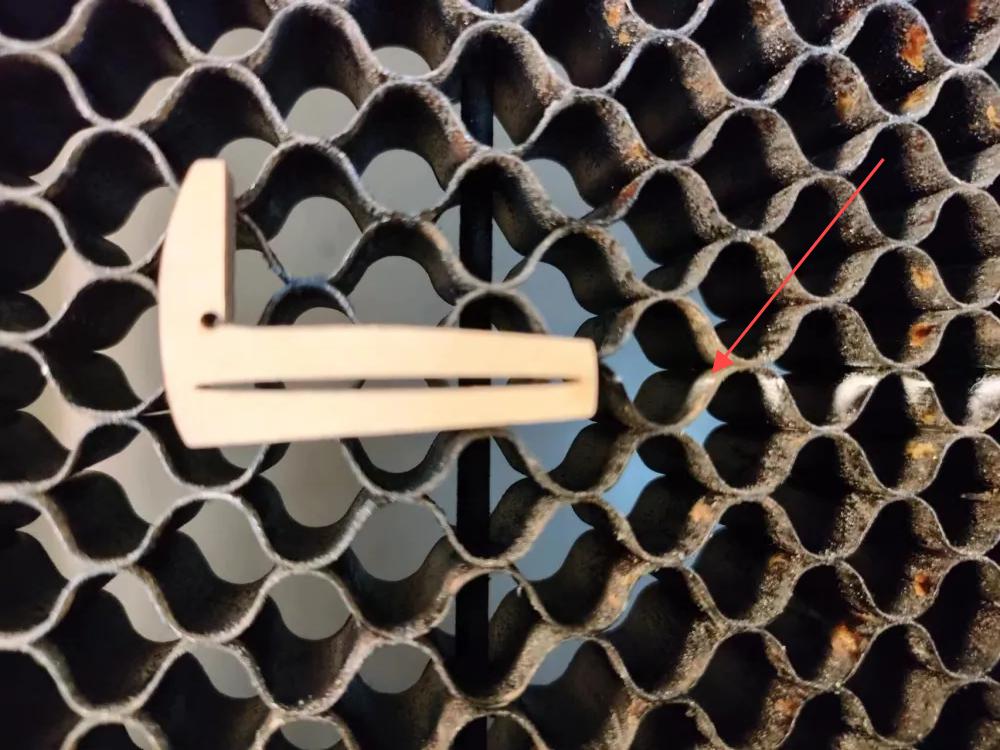
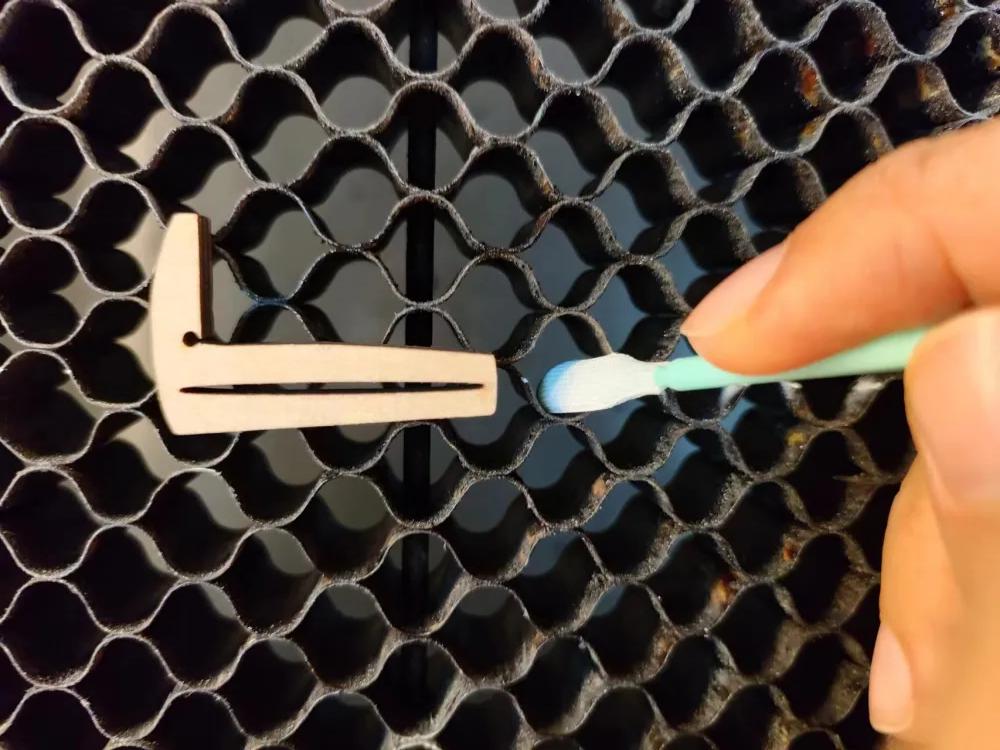
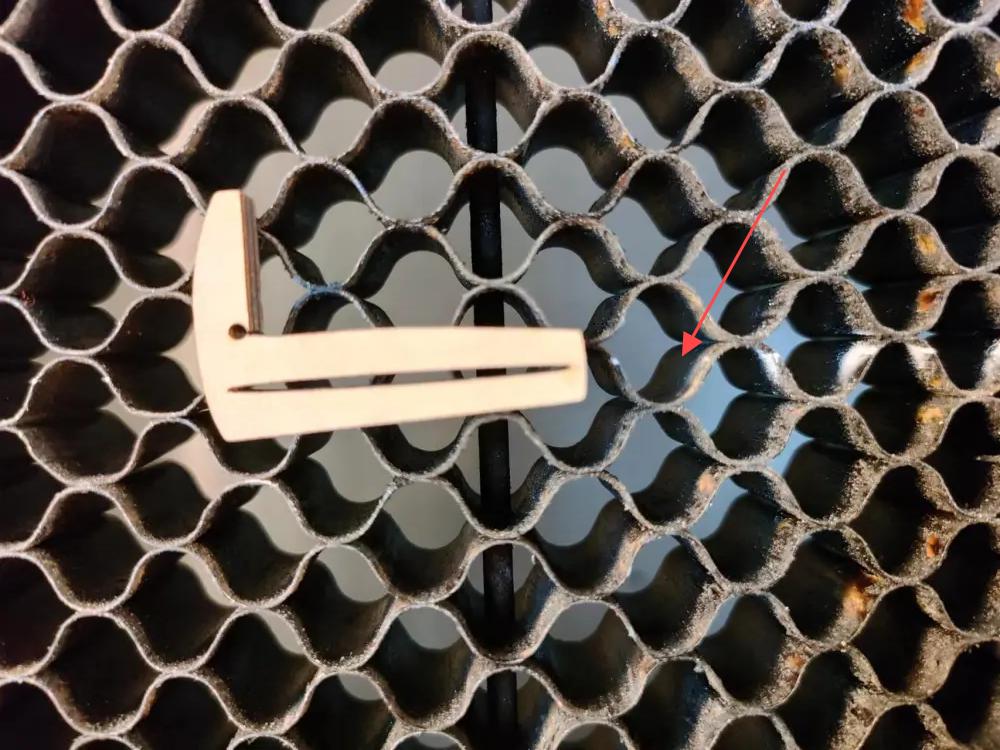
For stubborn debris that tweezers or brushes cannot reach, cotton swabs can be used. Dip the swab in water or detergent for better results, then scrub the dirty area carefully.
Cleaning with cotton swabs is time-consuming, so this method is best suited for spot cleaning rather than cleaning the entire honeycomb laser bed.
Talk To Our Experts Now!
Please leave your contact information so that we can serve you better.
HONEYCOMB LASER BED CLEANING FAQS
TAKE THE NEXT STEP WITH THUNDER LASER

 Stable & Consistent MachinesUnlimited ApplicationRobust After-sales SupportFactory Direct Supply