


Guitar Pick Display Night Light
 2026-07-08
WHAT ARE YOU LOOKING FOR?
Search Across Products, Blog Posts, Support Content, And Resources.

Guitar Pick Display Night Light
2026-07-08
Key Information
Introduction
A guitar pick is small, but it can hold a lot of memories from songs, bands, and favorite moments.
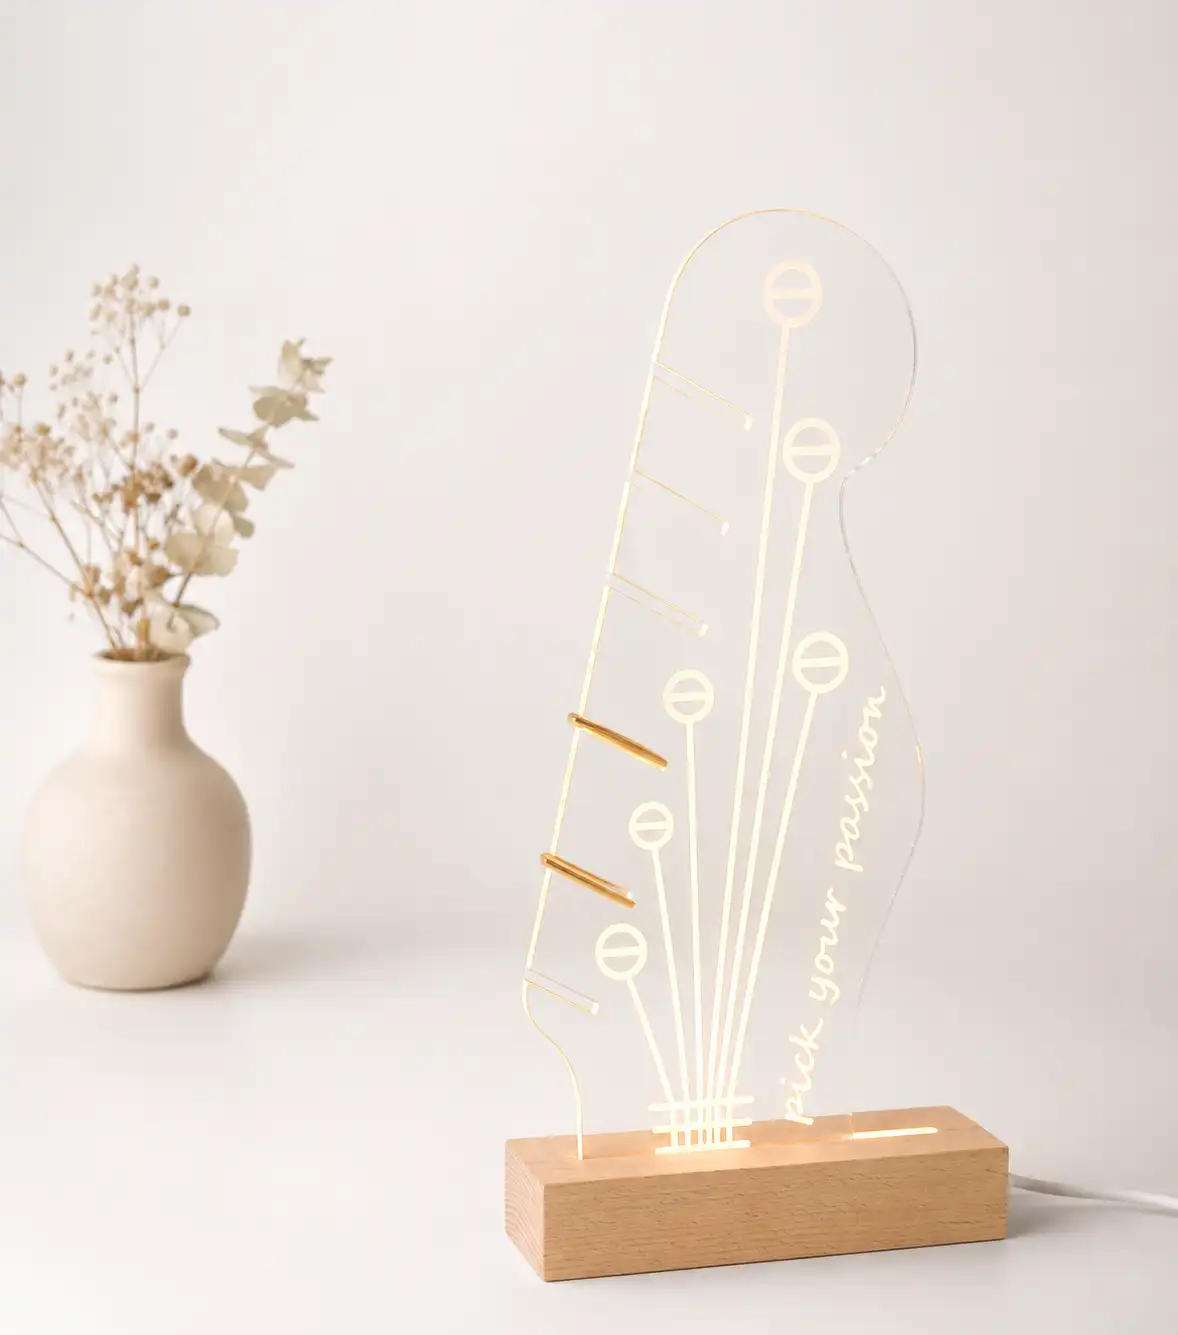
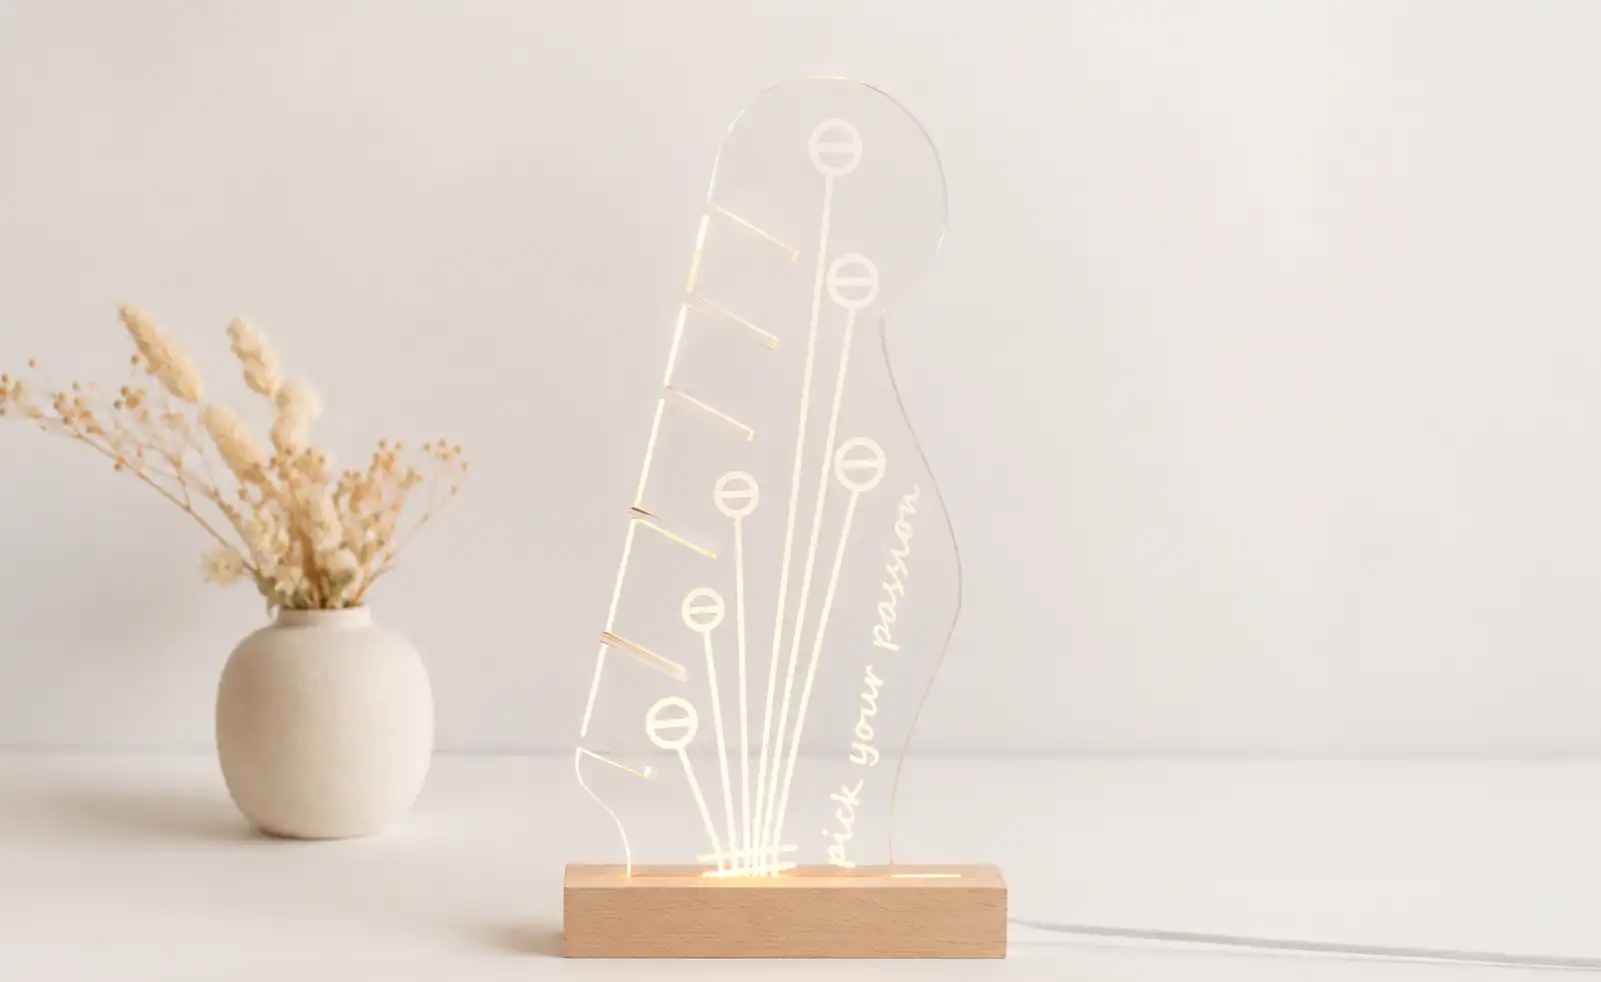
In this tutorial, you’ll make a guitar pick display night light with laser-engraved acrylic, turning your picks into a glowing piece of music-themed decor.
This simple laser project uses 5mm acrylic and a night light stand to create a creative display piece for music lovers, bedrooms, studios, or personalized gifts.
Before your work begins
 Make sure the Thunder Bolt is connected and operating normally
Prepare a clean and flat 5mm acrylic sheet
Prepare the night light stand and guitar picks for final display
Check ventilation before engraving and cutting acrylic
Make sure the Thunder Bolt is connected and operating normally
Prepare a clean and flat 5mm acrylic sheet
Prepare the night light stand and guitar picks for final display
Check ventilation before engraving and cutting acrylic

Operational Process
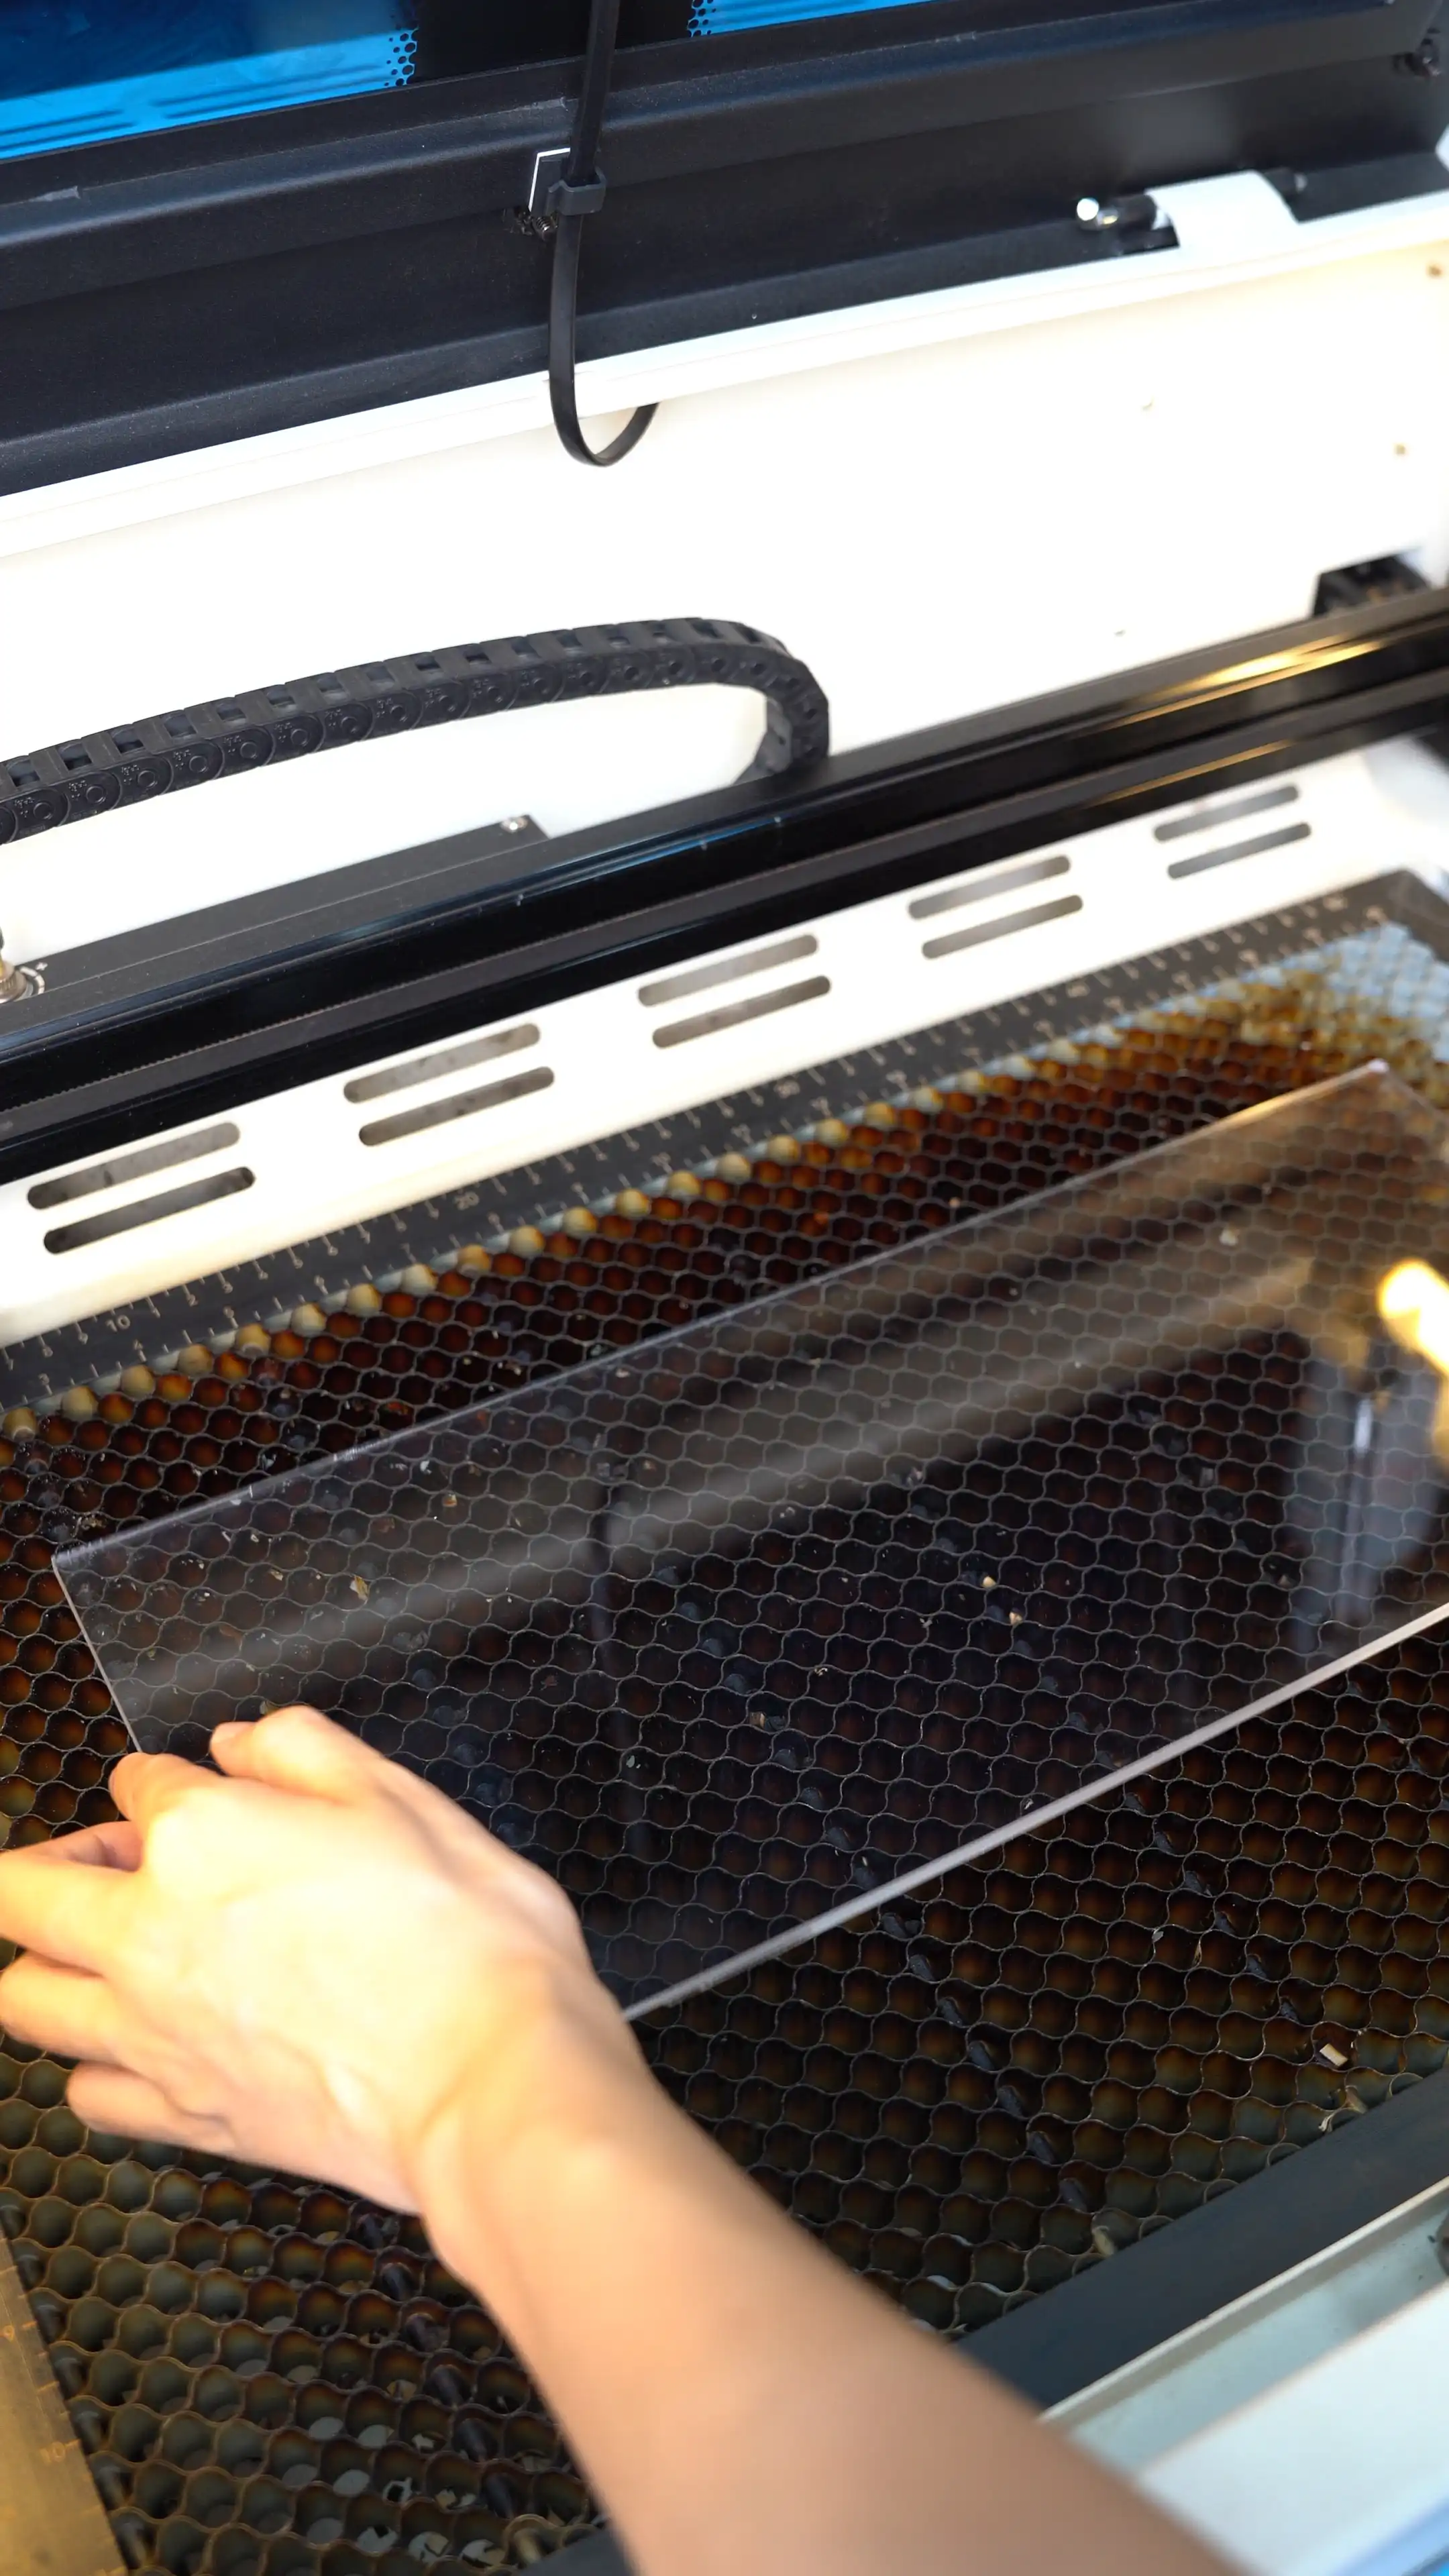
Peel off the protective film from the top surface of the acrylic first, then place the 5mm acrylic flat on the laser work bed.
Keep the sheet stable with pins or magnets, and make sure the area for the night light design is clean and ready for processing.

Import your guitar pick display design into the laser software.
Adjust the size, position, and pick slots to match your acrylic sheet and the night light stand. Make sure the bottom edge fits the stand properly before processing.

Set the correct focus before engraving and cutting.
Good focus helps the engraved details stay clear and allows the acrylic edges to cut smoothly.


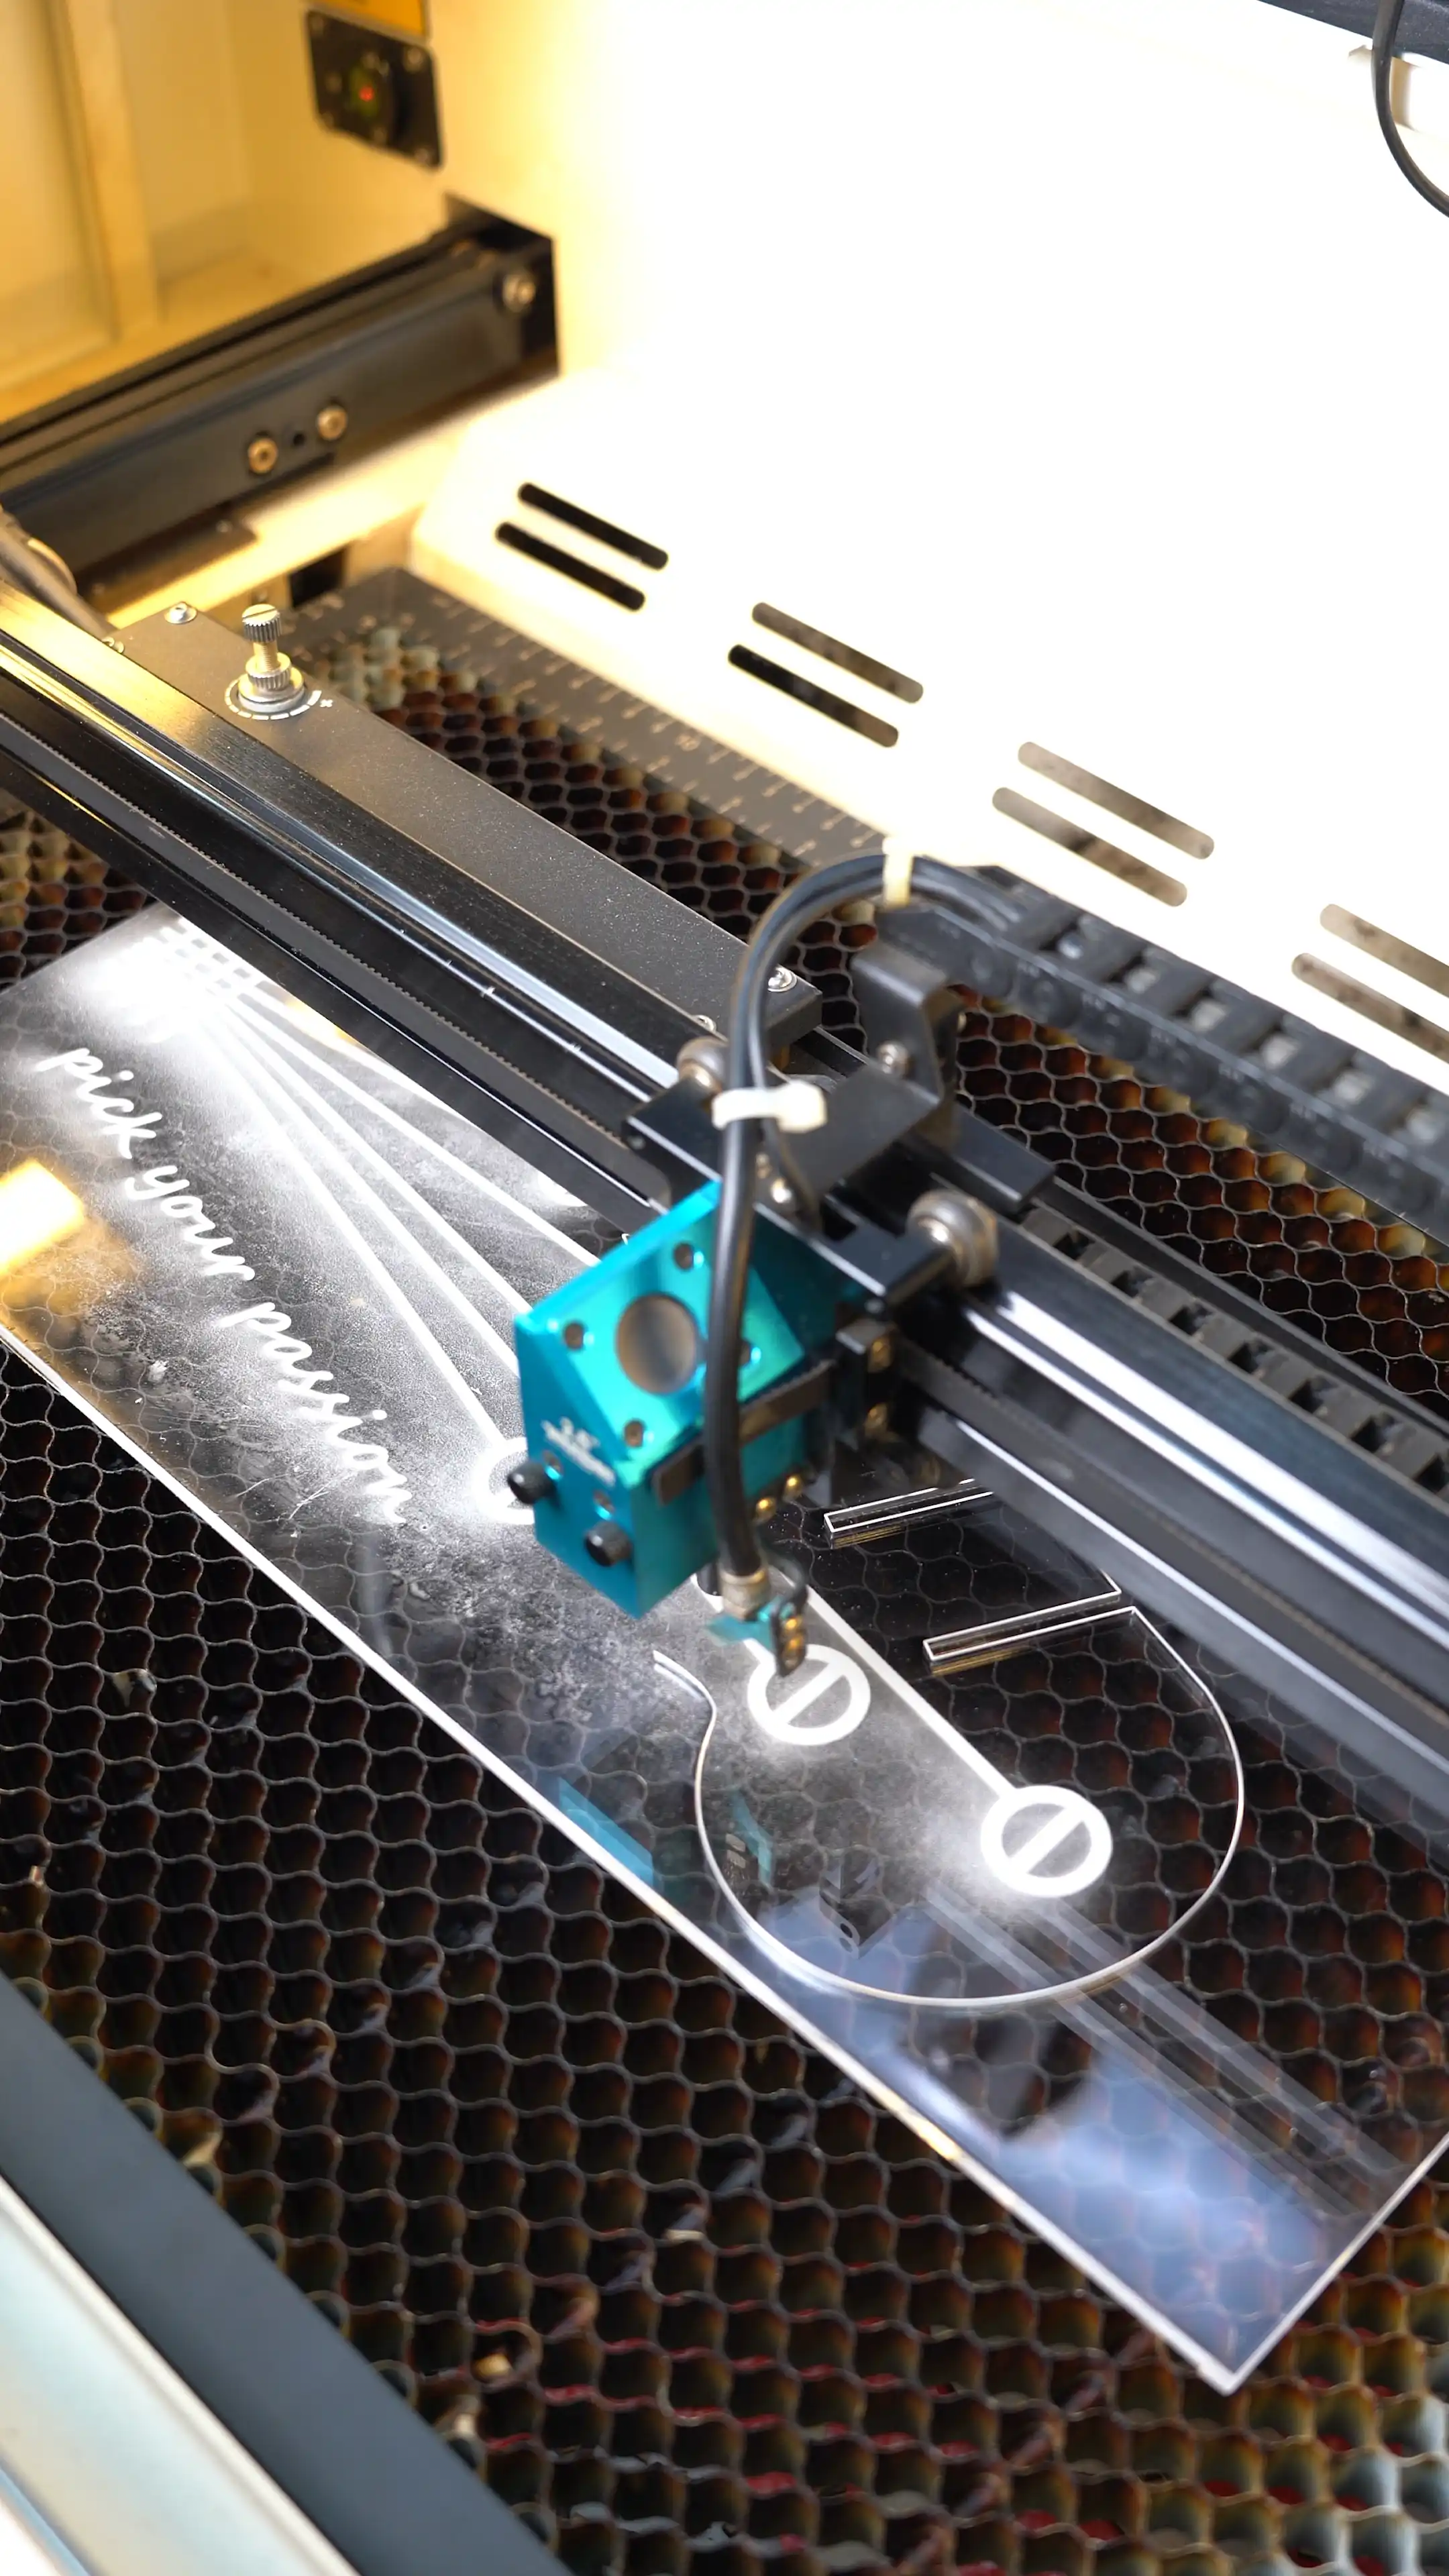
Run the Frame function first to check that the design fits within the acrylic sheet and lines up with the material.
Once the position looks right, start the engraving and cutting process. Stay nearby and watch for material shifting, smoke, or any unusual condition while the machine is running.

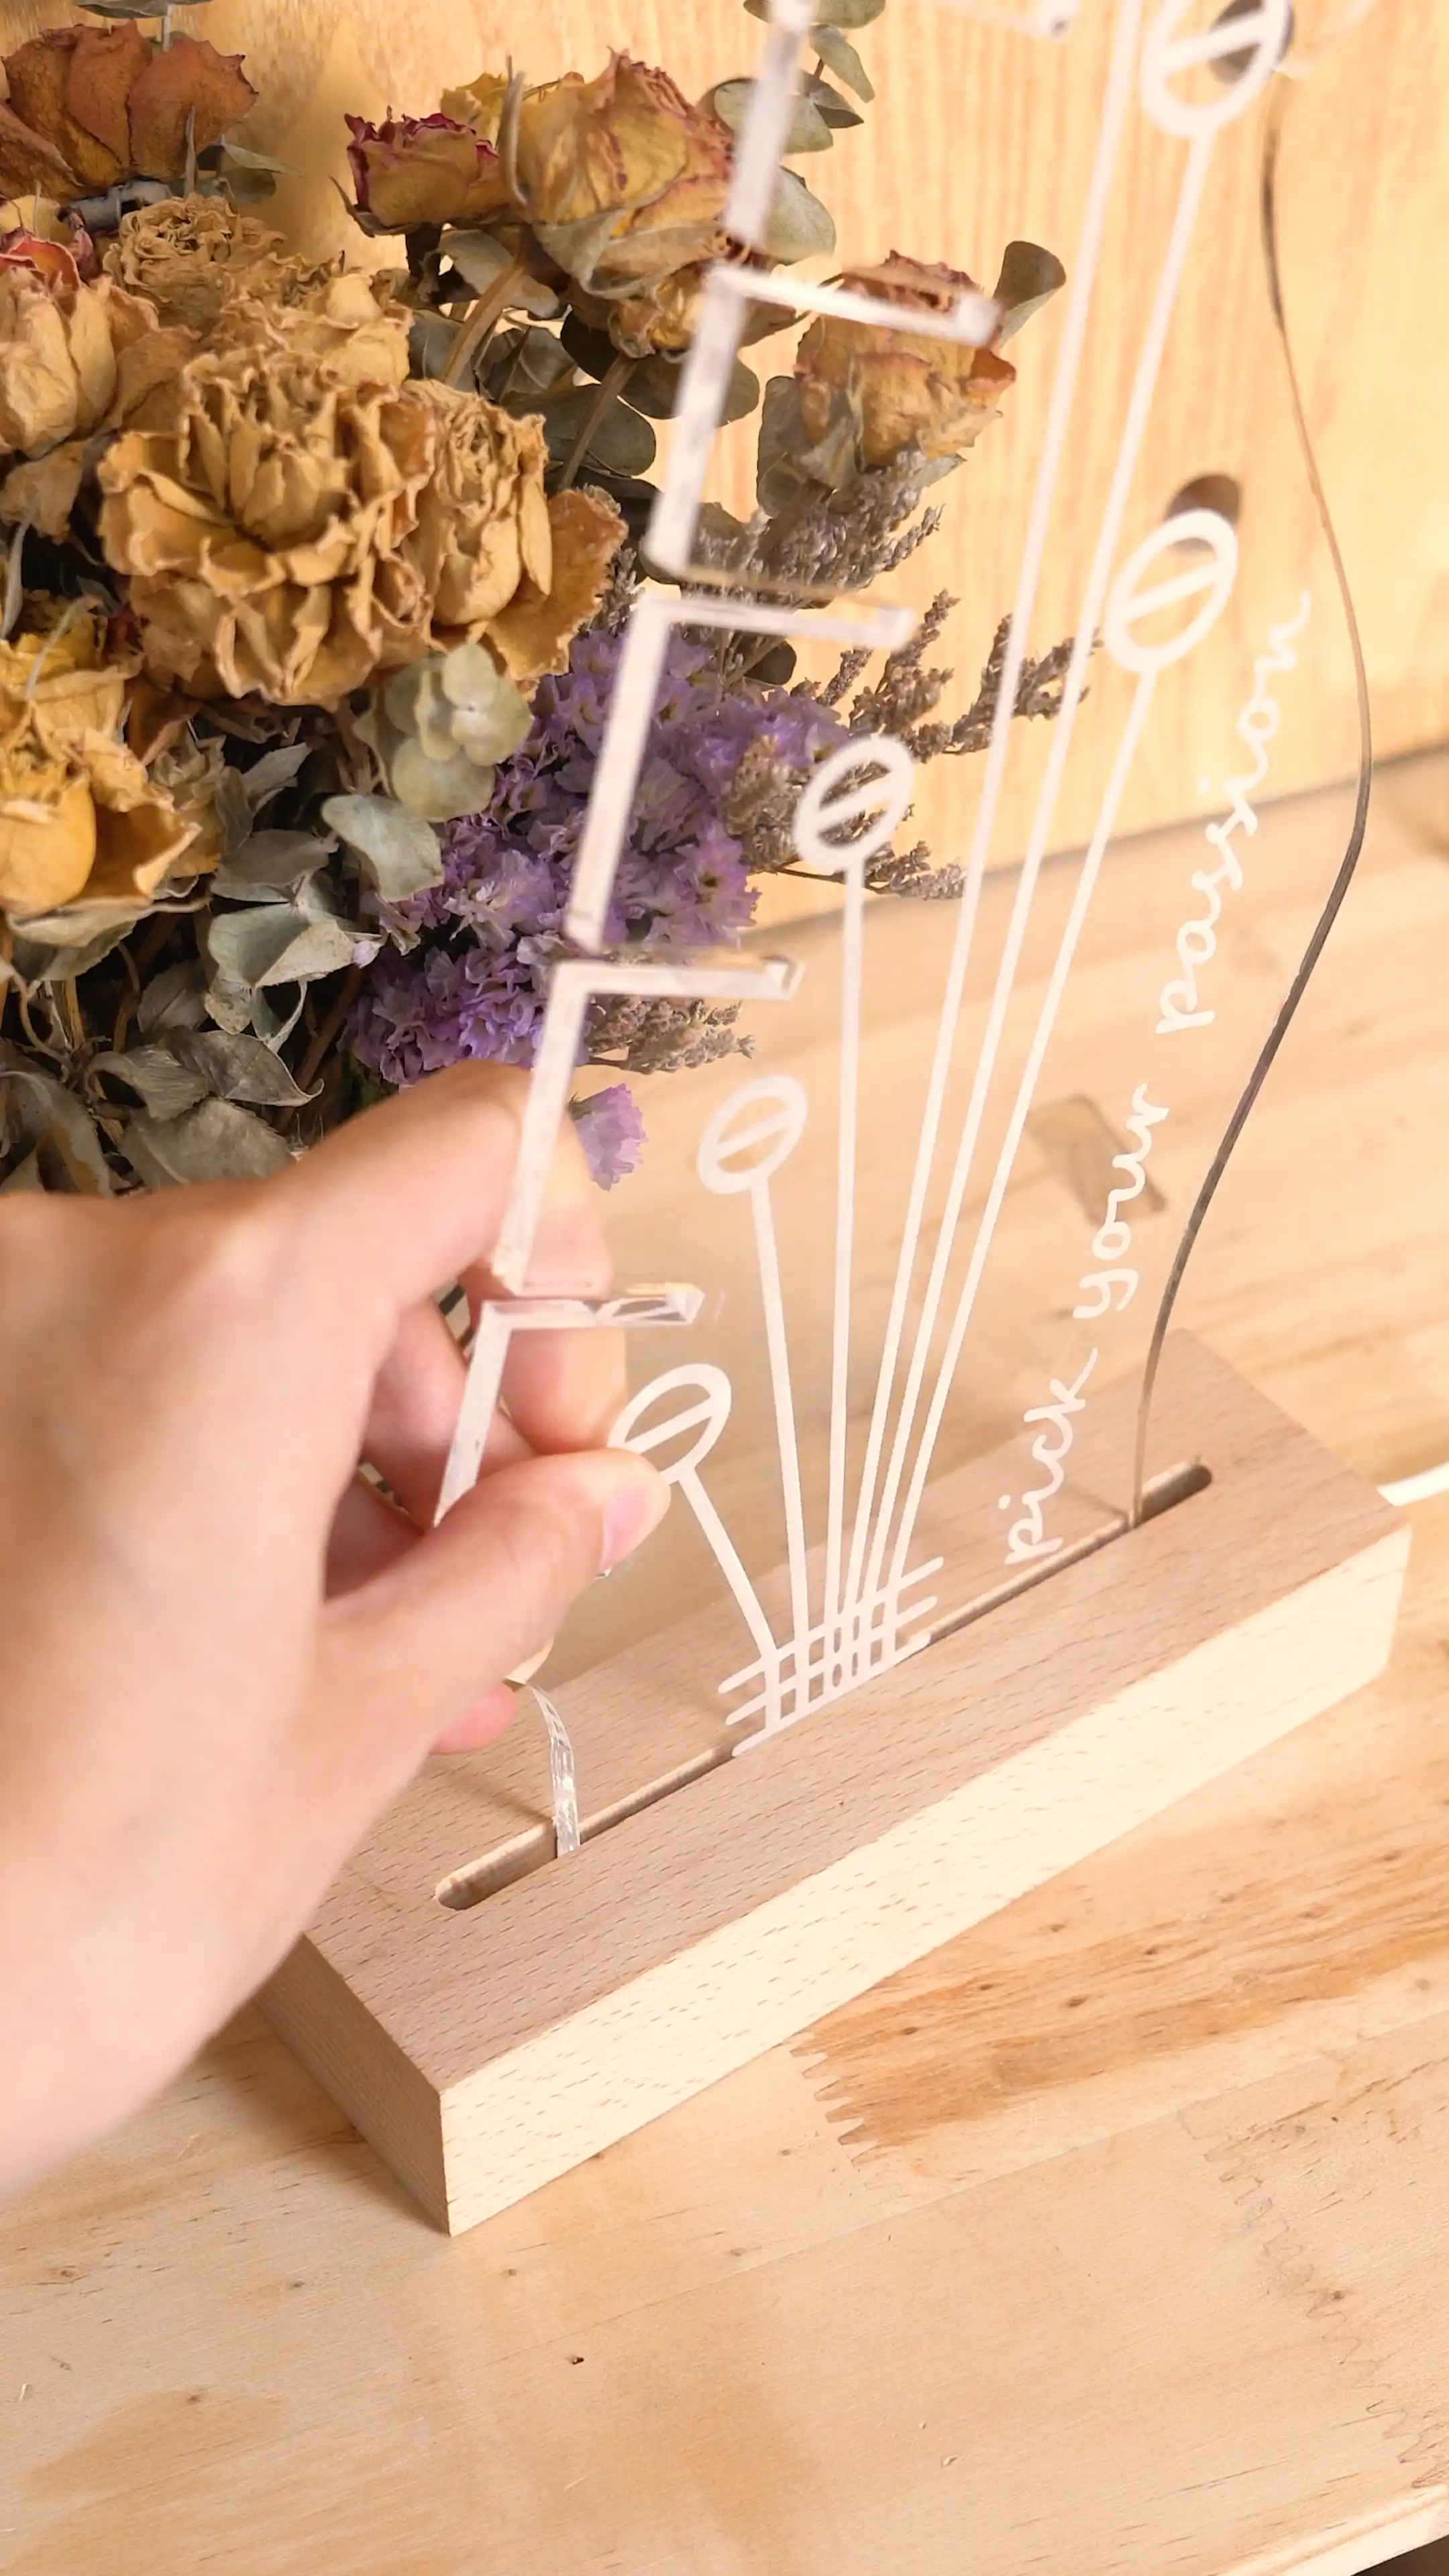
After processing, remove the acrylic piece and peel off any remaining protective film.
Wipe the surface gently with a soft cloth, then insert your guitar picks into the display slots. Finally, place the acrylic panel into the night light stand and turn it on to check the final effect.
Come and Try!
My guitar pick display night light is glowing. What about yours?
Try using your favorite picks, band-inspired graphics, or a custom name to make a light that feels personal every time you turn it on.


Precision Starts with the Right Parameters
Find recommended material settings for your laser machine.
Projects You May Also Like
Share. Connect. Get Inspired.
Your Creativity Fuels Our Community—let's Build Something Amazing Together!

Share on Social Media
Post your laser project and tag @thunderlaser.official to get featured.

Join Thunder Family
Learn, share, and get real support from the community.

Follow for More Ideas
Stay tuned for tutorials, material tips, and latest news.
Ready for Your Next Creation?
Ready to take the next step? Explore more tutorials or find the right machine for your work.

 Stable & Consistent MachinesUnlimited ApplicationsRobust After-sales SupportFactory Direct Supply


