Acrylic Night Lamp
 2025-02-28
WHAT ARE YOU LOOKING FOR?
Search Across Products, Blog Posts, Support Content, And Resources.

Acrylic Night Lamp
2025-02-28

Key Information
Introduction
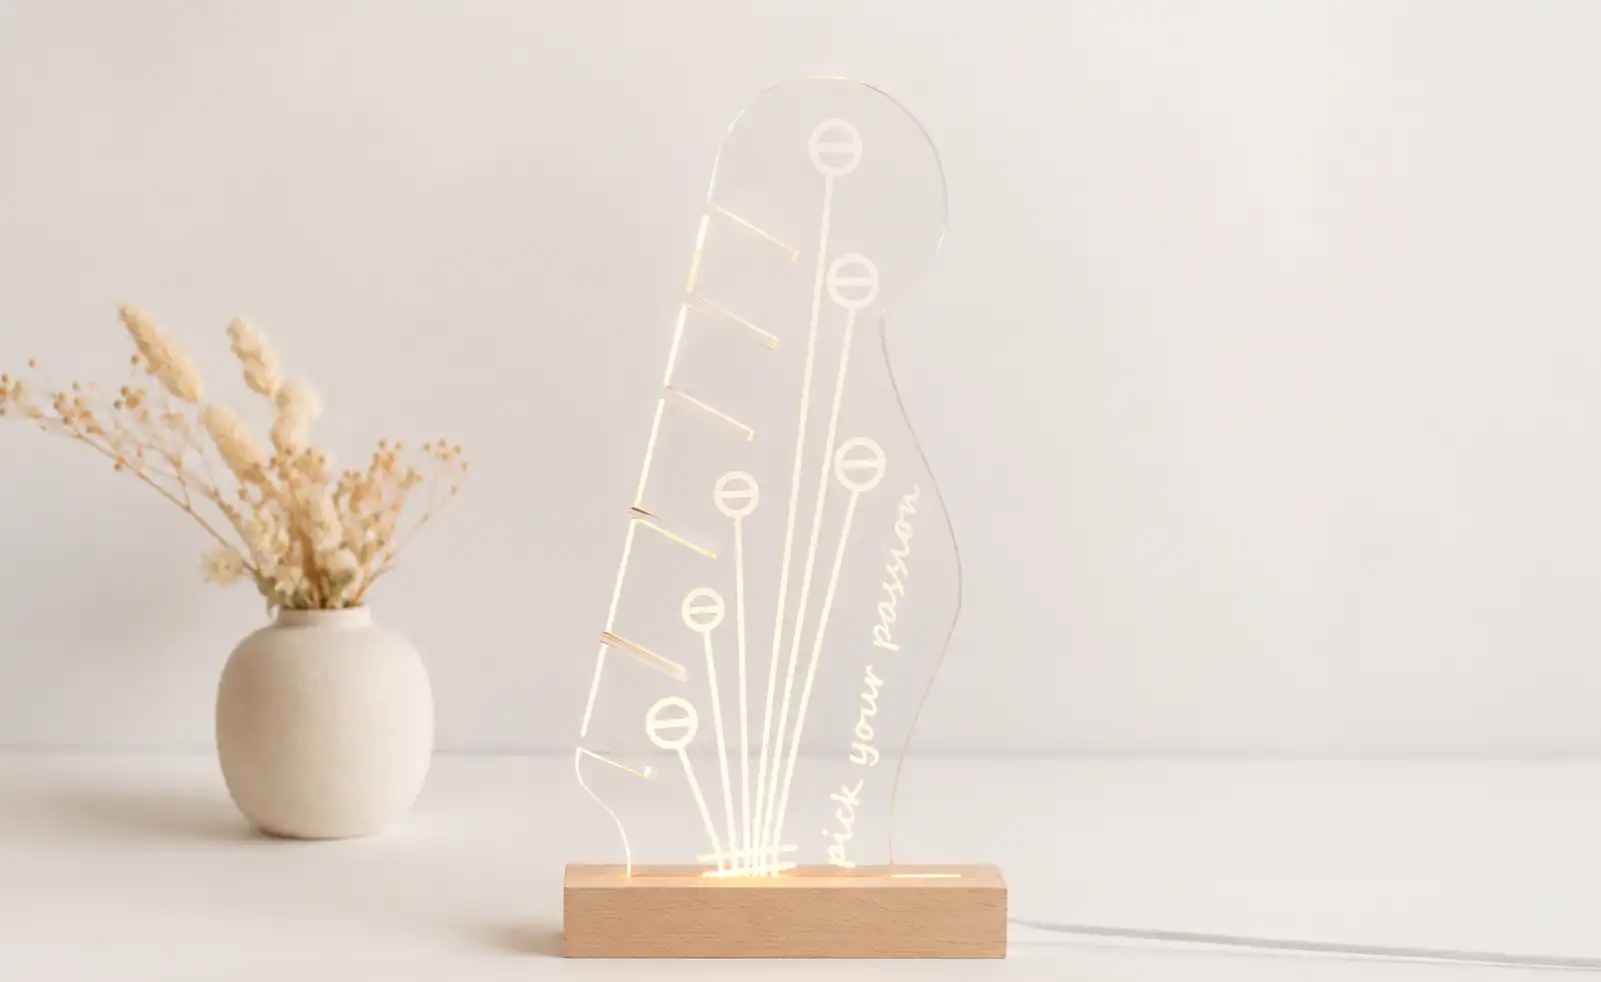
Let's craft a laser engraving acrylic night lamp!
The acrylic night lamp presents intricate layers that add a unique look to your room. With precise engraving and clean cutting, the finished lamp creates a beautiful decorative glow.
Read this post and have a pleasant laser engraving time!
Before your work begins
 Clean the lens and mirrors
Check the laser head and nozzle for dust or buildup
Ensure ventilation and air assist are working properly
Confirm the machine is running smoothly and normally
Clean the lens and mirrors
Check the laser head and nozzle for dust or buildup
Ensure ventilation and air assist are working properly
Confirm the machine is running smoothly and normally

Operational Process
Choose a 3mm acrylic sheet and place it flat on the laser honeycomb bed. A stable, flat sheet helps keep the engraved details clear and the cutting result accurate.
Secure the acrylic if needed to prevent shifting during engraving and cutting, especially when working with detailed night lamp graphics.


Import the night lamp design into LightBurn and check whether your acrylic size is large enough. For a design with many elements, make sure there are no misalignments or unnecessary overlaps.
Double-check the engraving and cutting parameters before starting. Proper settings help keep the engraved lines clear and the acrylic edges clean.

Accurate focusing is important for achieving clear engraving and clean cutting edges on acrylic. If your machine has auto focus, use it for quick setup. For manual focusing, lower the laser head with the focus stick until it touches the acrylic surface at the correct angle.


Use the Frame function to outline the engraving and cutting area. Make sure the projected frame matches your acrylic sheet and the design stays within the material boundary.
Once everything is aligned, start the laser job. Stay near the machine while it’s running and monitor the engraving and cutting process carefully.


When the laser engraving and cutting are complete, carefully remove the acrylic night lamp piece from the laser bed.
Insert the engraved acrylic panel into the lamp base and check that it sits securely. Once powered on, your acrylic night lamp is ready to brighten your room.


Come and Try!
Laser engraving night lamp is perfect for home décor, especially when you're enjoying a family bonding moment.
You can create your own private acrylic night lamp for a one-of-a-kind room style, turning simple acrylic into a glowing decoration with personality.


Projects You May Also Like
Share. Connect. Get Inspired.
Your Creativity Fuels Our Community—let's Build Something Amazing Together!

Share on Social Media
Post your laser project and tag @thunderlaser.official to get featured.

Join Thunder Family
Learn, share, and get real support from the community.

Follow for More Ideas
Stay tuned for tutorials, material tips, and latest news.
Ready for Your Next Creation?
Ready to take the next step? Explore more tutorials or find the right machine for your work.
 Stable & Consistent MachinesUnlimited ApplicationRobust After-sales SupportFactory Direct Supply