Acrylic 3D Illusion Lamp
 2026-03-13
WHAT ARE YOU LOOKING FOR?
Search Across Products, Blog Posts, Support Content, And Resources.

Acrylic 3D Illusion Lamp
2026-03-13

Key Information
Introduction
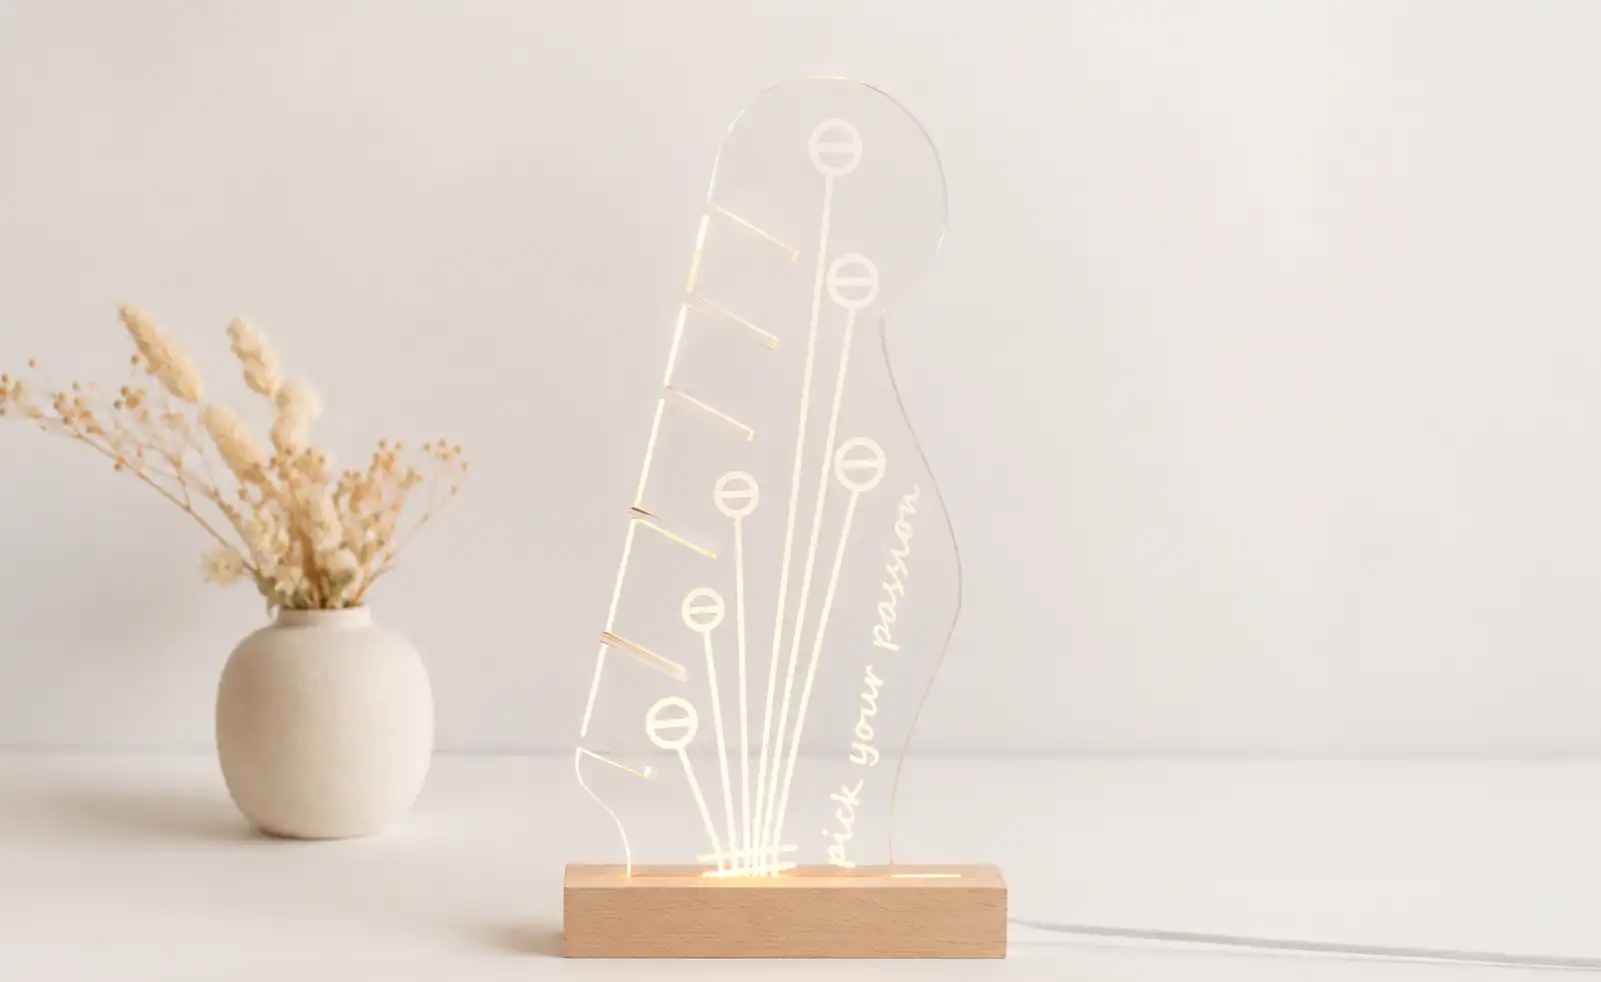
Women’s Day is a perfect moment to celebrate strength, kindness, and beauty. A glowing flower lamp can turn those feelings into something you can actually see and share.
In this tutorial, you’ll learn how to laser engrave a naked-eye 3D flower lamp that lights up with delicate floral details. With just an acrylic sheet and a few simple steps, you can create a meaningful decoration—or a thoughtful handmade gift for someone special.
Before your work begins
 Clean the lens and mirrors
Check the laser head and nozzle for dust or buildup
Ensure ventilation and air assist are working properly
Confirm the machine is running smoothly and normally
Clean the lens and mirrors
Check the laser head and nozzle for dust or buildup
Ensure ventilation and air assist are working properly
Confirm the machine is running smoothly and normally

Operational Process
Peel off the protective film from the top surface of the acrylic sheet. Leave the back film on to reduce scratches while cutting. Place the sheet flat on the work bed and secure it with pins or magnets so it doesn’t shift during engraving.


Open your preferred laser software, such as LaserMaker, and import your design file. Adjust the size and positioning so it fits perfectly within the working area of your acrylic sheet.
Before you start, double-check both your engraving and cutting parameters. For acrylic, make sure the speed, power, and line interval match the thickness of your material. Engraving settings should be tuned for crisp text and fine details, while cutting settings should deliver smooth, clean edges without excessive melting.

Proper focusing is essential for achieving crisp engravings and smooth cuts. If your machine supports auto focus, use it for quick setup. If you prefer manual focus, use the focus stick to adjust the laser head until it touches the surface of the acrylic at the correct angle.


Use the border or frame function to preview the working area. This helps confirm that the design is correctly aligned before starting the job.
Stay near the machine while it’s running and watch the cutting and engraving progress. Keep an eye out for excessive smoke, small flame-ups, or any movement of the material that could affect the outcome. Make sure your workspace is well ventilated, and rely on air assist if available to achieve cleaner edges on the acrylic.


After the engraving process is finished, carefully remove the acrylic panel from the laser bed. Use a soft, slightly damp cloth to gently wipe the acrylic panel. This helps remove any engraving dust, smoke residue, or fingerprints that may affect the clarity of the design.
Make sure the panel is completely dry before moving on to the next step. Insert the acrylic panel into the slot of the lamp base and ensure it sits securely and stands upright. Connect the LED base or power source according to the lamp design. When the light turns on, the engraved lines will glow softly, making the floral design appear more dimensional and vivid.


Come and Try!
Your Women’s Day 3D flower lamp is now finished. The combination of laser engraving and acrylic illumination creates a beautiful decorative piece that works perfectly on a desk, bedside table, or gift display. Create a glowing flower lamp to celebrate Women’s Day. With just a laser engraving machine and a simple acrylic sheet, you can transform a flat design into a beautiful illuminated tribute—perfect for decorating your space or giving as a thoughtful handmade gift.


Projects You May Also Like
Share. Connect. Get Inspired.
Your Creativity Fuels Our Community—let's Build Something Amazing Together!

Share on Social Media
Post your laser project and tag @thunderlaser.official to get featured.

Join Thunder Family
Learn, share, and get real support from the community.

Follow for More Ideas
Stay tuned for tutorials, material tips, and latest news.
Ready for Your Next Creation?
Ready to take the next step? Explore more tutorials or find the right machine for your work.
 Stable & Consistent MachinesUnlimited ApplicationRobust After-sales SupportFactory Direct Supply