Hand-in-Hand Acrylic Decor
 2025-11-15
WHAT ARE YOU LOOKING FOR?
Search Across Products, Blog Posts, Support Content, And Resources.

Hand-in-Hand Acrylic Decor
2025-11-15

Key Information
Introduction
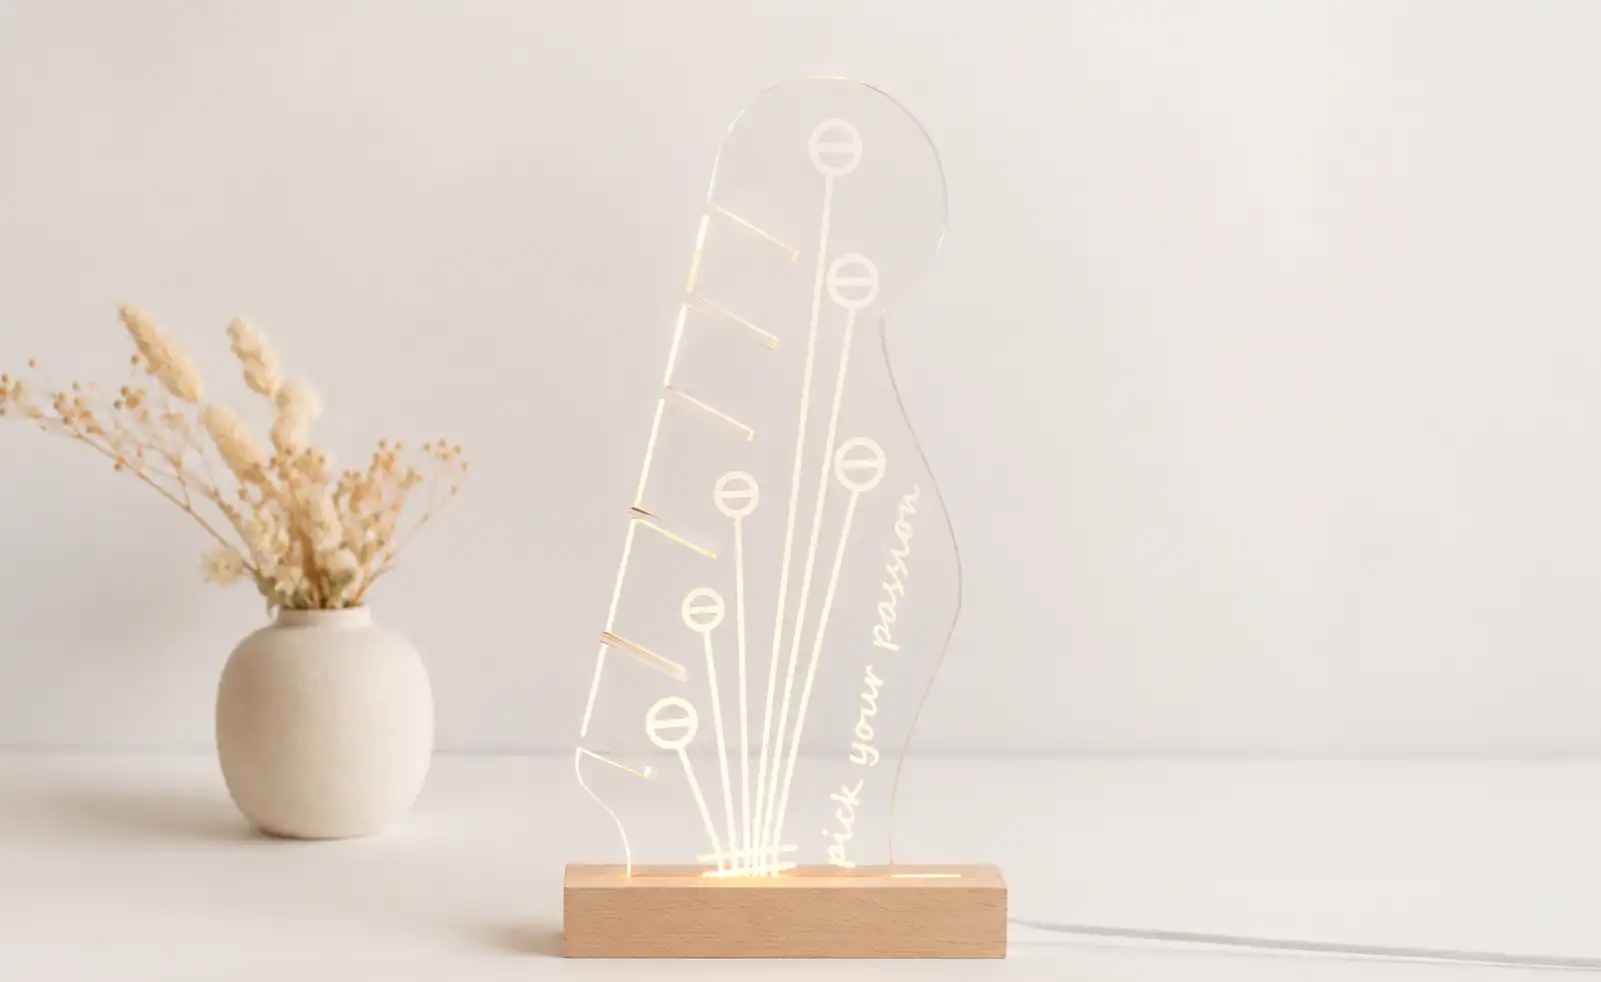
Celebrate connection and creativity with this charming hand-in-hand acrylic decoration.
Using a laser cutter, you can bring this delicate design to life with precision and clarity. Perfect as a decorative piece or a thoughtful gift, this project is simple to follow and rewarding to complete. Let’s create something beautiful together!
Before your work begins
 Clean the lens and mirrors
Check the laser head and nozzle for dust or buildup
Ensure ventilation and air assist are working properly
Confirm the machine is running smoothly and normally
Clean the lens and mirrors
Check the laser head and nozzle for dust or buildup
Ensure ventilation and air assist are working properly
Confirm the machine is running smoothly and normally

Operational Process
Start by peeling off the protective film from the top surface of the acrylic sheet—the side that faces the laser. This prevents burn marks or smoke stains from forming on the visible surface during cutting.
You can leave the bottom film on to protect the underside while it rests on the workbed. Once ready, place the acrylic flat on the laser cutter’s bed and secure it with pins or magnets.


Open your preferred laser software, such as LaserMaker, and import the design file. Adjust the size and layout as needed, making sure the designs are evenly spaced to make the most of your acrylic sheet.
For the laser cutting layers, pay extra attention to the minimum power setting. If the min power is too low, the corners may not cut through; if the min power is too high, the corners may not look clean.

Accurate focusing is critical for achieving smooth, clean cuts on acrylic. If your machine has auto focus, use it for quick setup. For manual focusing, lower the laser head with the focus stick until it touches the acrylic surface at the correct angle.


Before starting the job, run the Frame or Border function in your software. The laser head will trace the outline of the design with a visible guide light, helping confirm that the design fits within your acrylic sheet and avoids wasting material.
Once everything is adjusted, start the job and monitor the process as it runs. Watch for excessive smoke, movement of the acrylic sheet, or any warning alarms, and never leave the laser unattended while it’s operating.


Once the cutting is complete, remove the acrylic carefully from the laser bed. Peel off any remaining protective film on the back side to reveal the clean, polished surface.
Check the edges and surface, then clean away any dust or residue. Your hand-in-hand decoration is ready to display or gift.
(1).jpg")
Come and Try!
Bring a little warmth and elegance into your space! Try making your own hand-in-hand acrylic decoration and create a small token of connection for yourself, friends, or loved ones. This simple project is not only a fun way to practice your laser cutting skills but also a beautiful piece to display or gift.


Projects You May Also Like
Share. Connect. Get Inspired.
Your Creativity Fuels Our Community—let's Build Something Amazing Together!

Share on Social Media
Post your laser project and tag @thunderlaser.official to get featured.

Join Thunder Family
Learn, share, and get real support from the community.

Follow for More Ideas
Stay tuned for tutorials, material tips, and latest news.
Ready for Your Next Creation?
Ready to take the next step? Explore more tutorials or find the right machine for your work.
 Stable & Consistent MachinesUnlimited ApplicationRobust After-sales SupportFactory Direct Supply