Souvenir Photo Laser Engraving Project with LaserMaker
 2024-06-26
WHAT ARE YOU LOOKING FOR?
Search Across Products, Blog Posts, Support Content, And Resources.

Souvenir Photo Laser Engraving Project with LaserMaker
2024-06-26

In this STEAM classroom project, students turn a meaningful photo into a laser-engraved souvenir using image selection, photo editing, LaserMaker picture adjustment, shallow engraving, and cutting. The lesson connects digital media, memory preservation, image quality, material processing, and hands-on making.
This project is useful for teaching students how photo quality, contrast, resolution, material choice, and laser parameters affect the final engraving result.
| Item | Details |
|---|---|
| Project | Laser-engraved souvenir photo |
| Software | LaserMaker and image editing software |
| Main Skills | Photo selection, image editing, contrast adjustment, sketch effect processing, DPI setup, shallow engraving, cutting, and parameter testing |
| Suggested Material | Basswood plywood board |
| Classroom Fit | Digital design, photo engraving, maker education, art-integrated STEAM lessons, memory-themed projects, and beginner laser processing practice |
Students will select and process a photo, prepare it for laser engraving, set LaserMaker picture and processing parameters, and create a physical photo souvenir such as a small ornament, display piece, or keepsake.
Photo projects should be handled respectfully. Students should not use another person’s photo as a prank, and they should ask for permission before engraving, publishing, or displaying photos of other people.
A photo can record a meaningful moment, a graduation memory, a family event, or a special place. By turning a photo into an engraved object, students can explore how digital images can become long-lasting physical keepsakes.
In this lesson, students consider how to process a photo so the laser engraving effect is clearer and more suitable for the selected material.
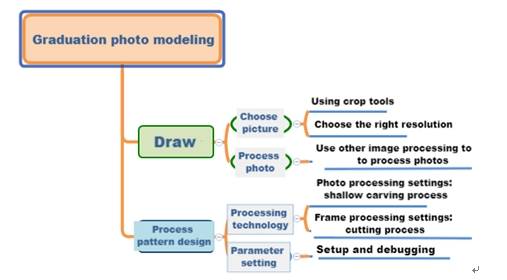
Before editing the photo or setting laser parameters, students should analyze the souvenir as both a digital image and a physical workpiece.
Start by choosing the photo and deciding the finished size. Students should record the length and width in millimeters before processing the image.
| Measurement Data Recording / Unit: mm | |
|---|---|
| Length: | Width: |
Students can also sketch the planned workpiece shape and photo placement before moving into image processing and LaserMaker setup.
Photo engraving results are affected by material, laser power, laser speed, and photo quality. When selecting a photo, students should consider resolution, subject clarity, contrast, and output size.
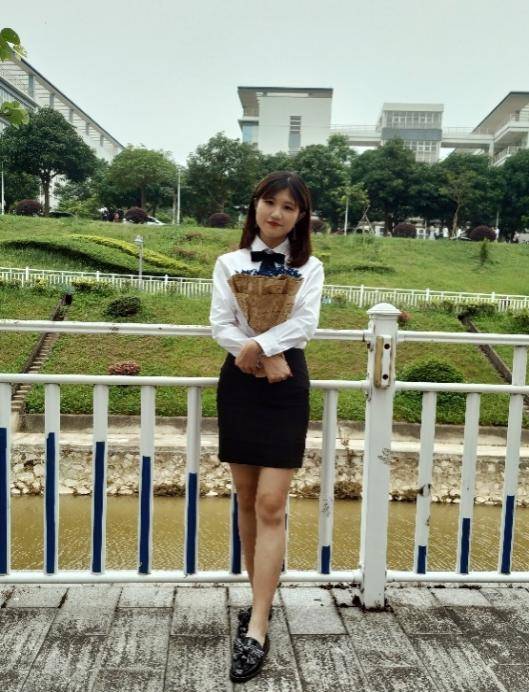
If the photo comes from scanning or a digital camera, students should pay attention to pixels, sharpness, and scan quality. The source lesson uses a sample photo with a resolution of 1920 × 1200 pixels and a clear outline.
Even a good photo may need editing before it can produce a clear engraving effect. Students can use image processing software to improve contrast, apply a sketch-style effect, and sharpen the line details.
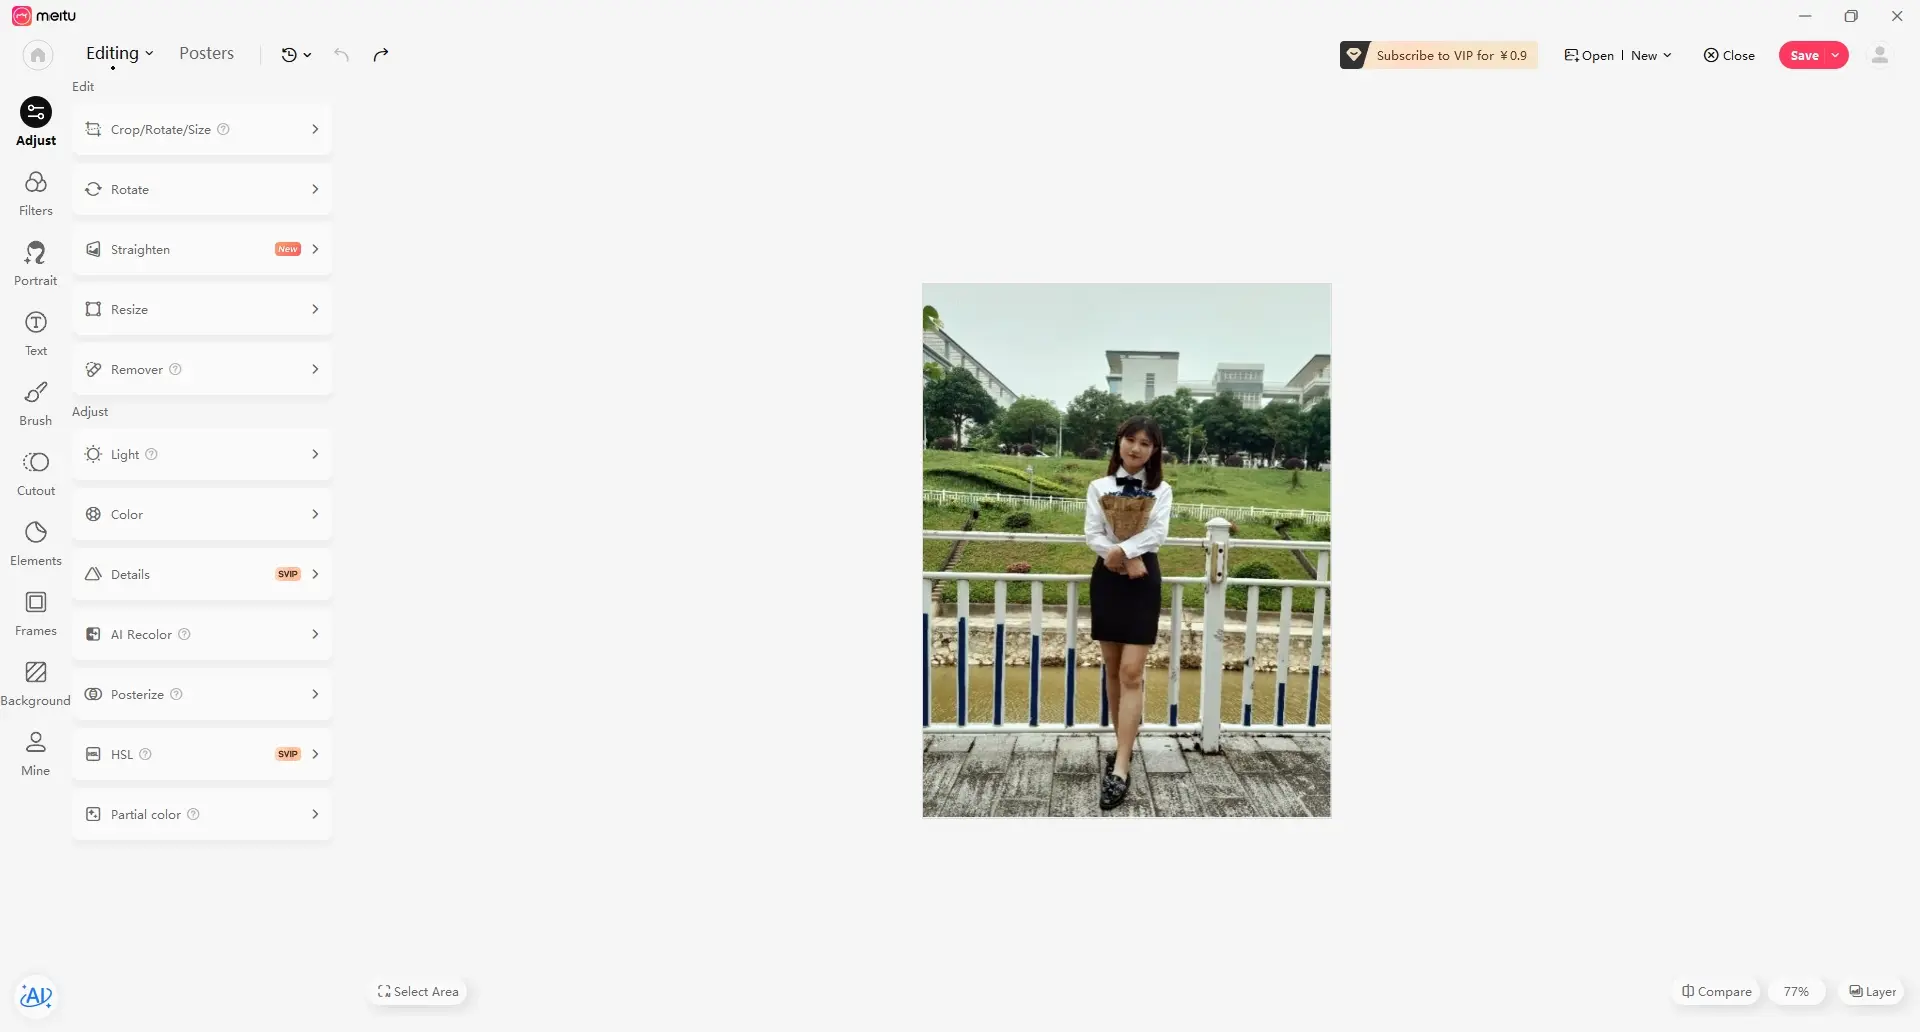
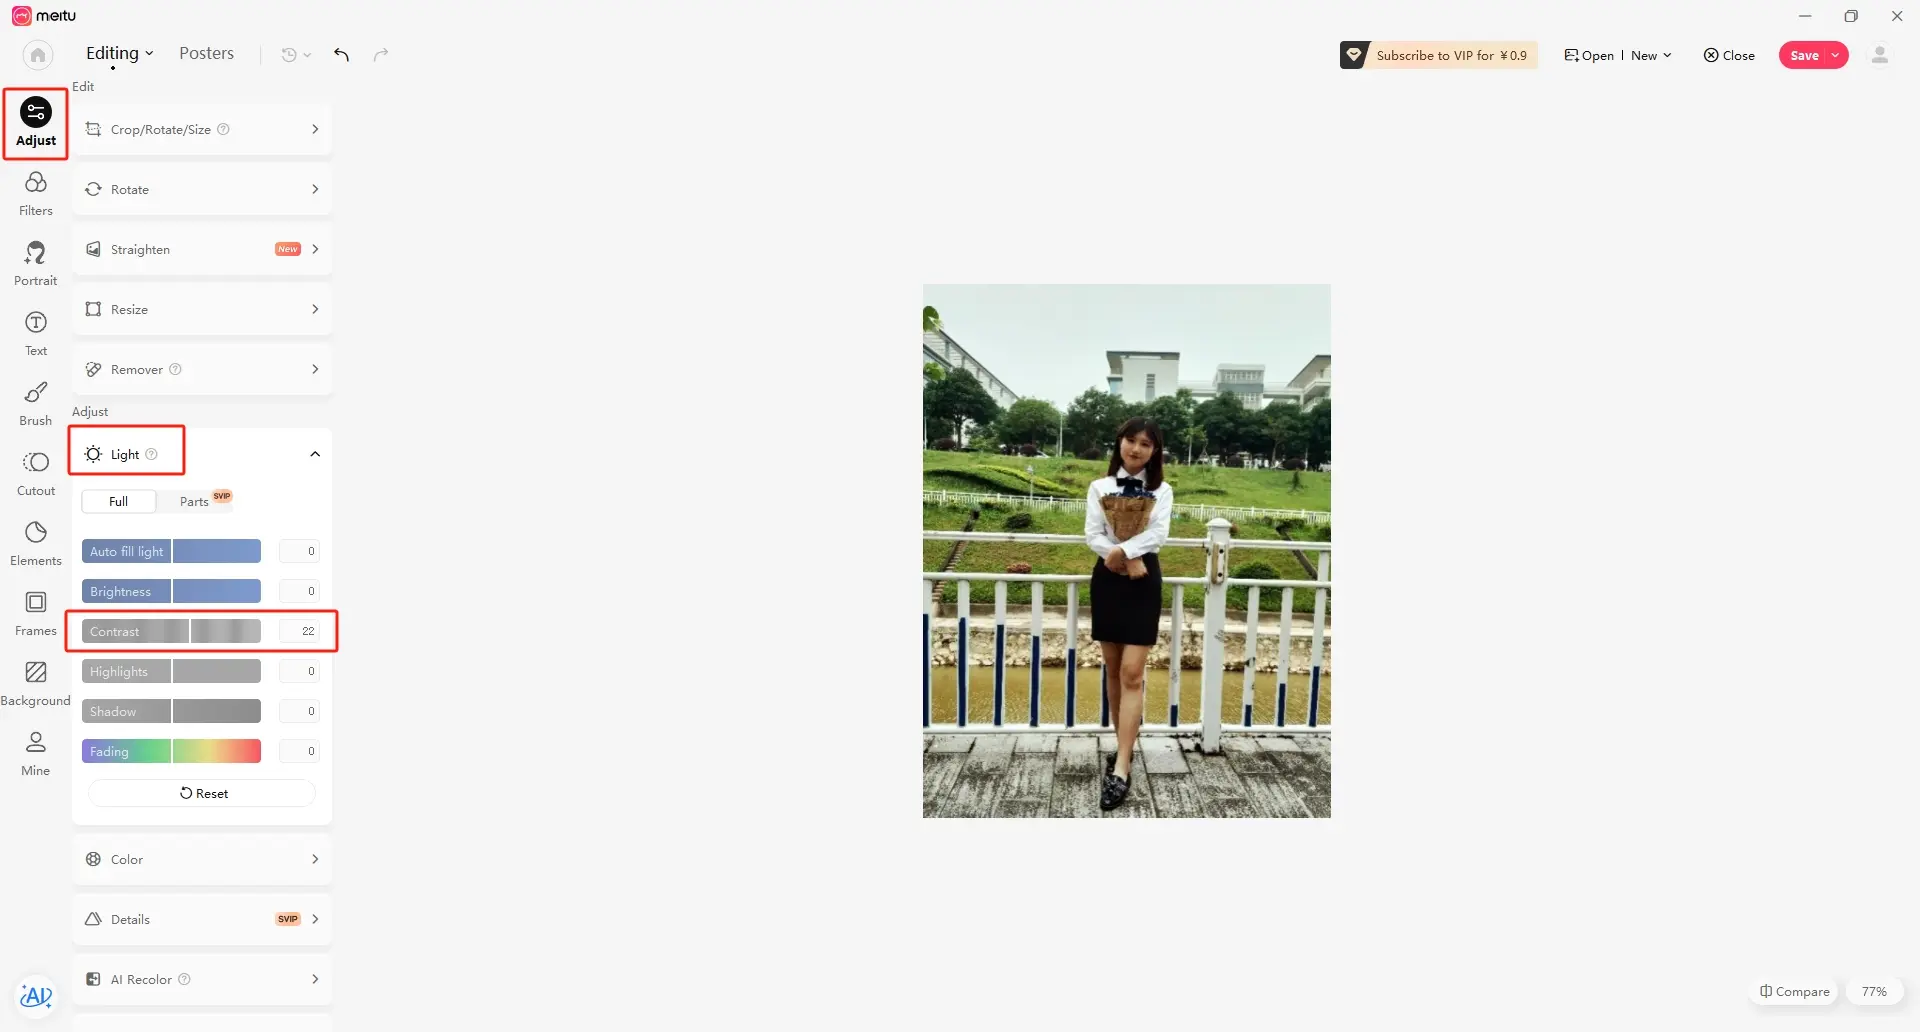
Open the photo in the image editing software and prepare it for engraving. The source lesson demonstrates this workflow using Meitu Xiuxiu.
Increase the contrast under the basic adjustment menu so the subject and background become more distinct.
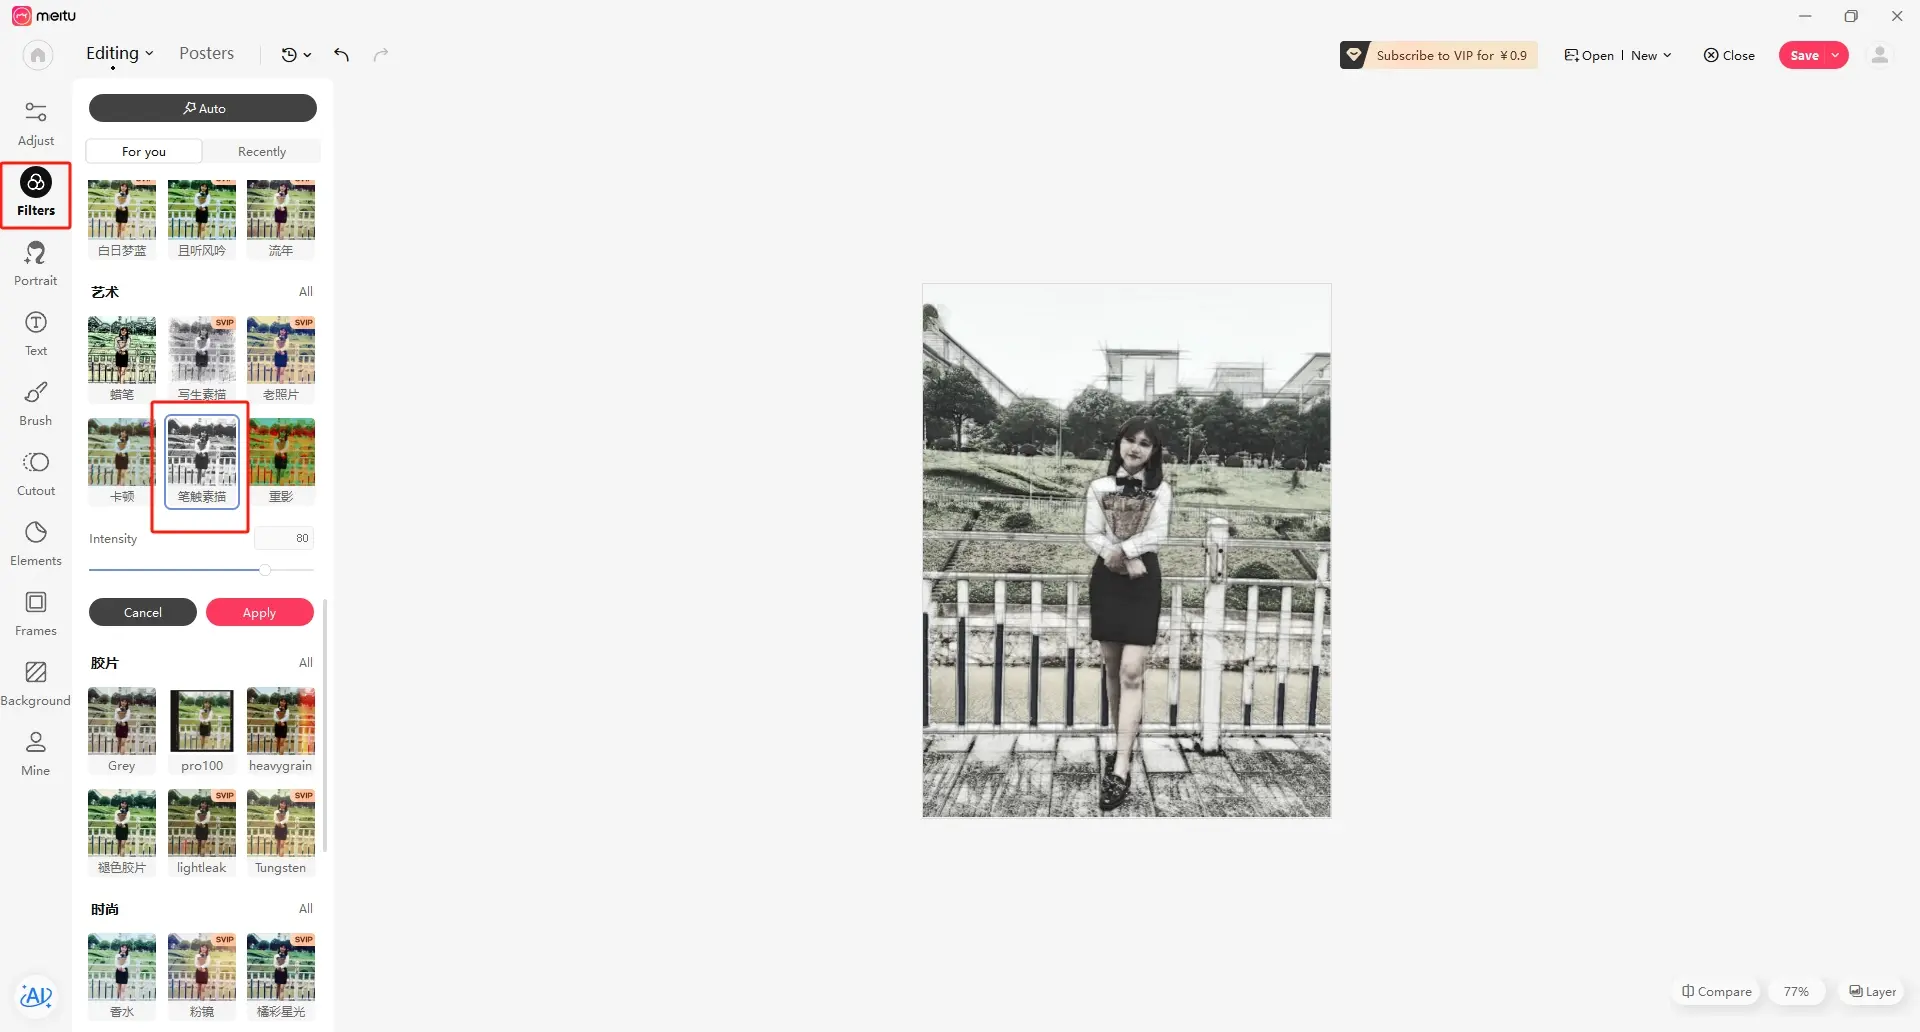
Apply an artistic sketch effect to convert the photo into a style that is easier to engrave clearly.
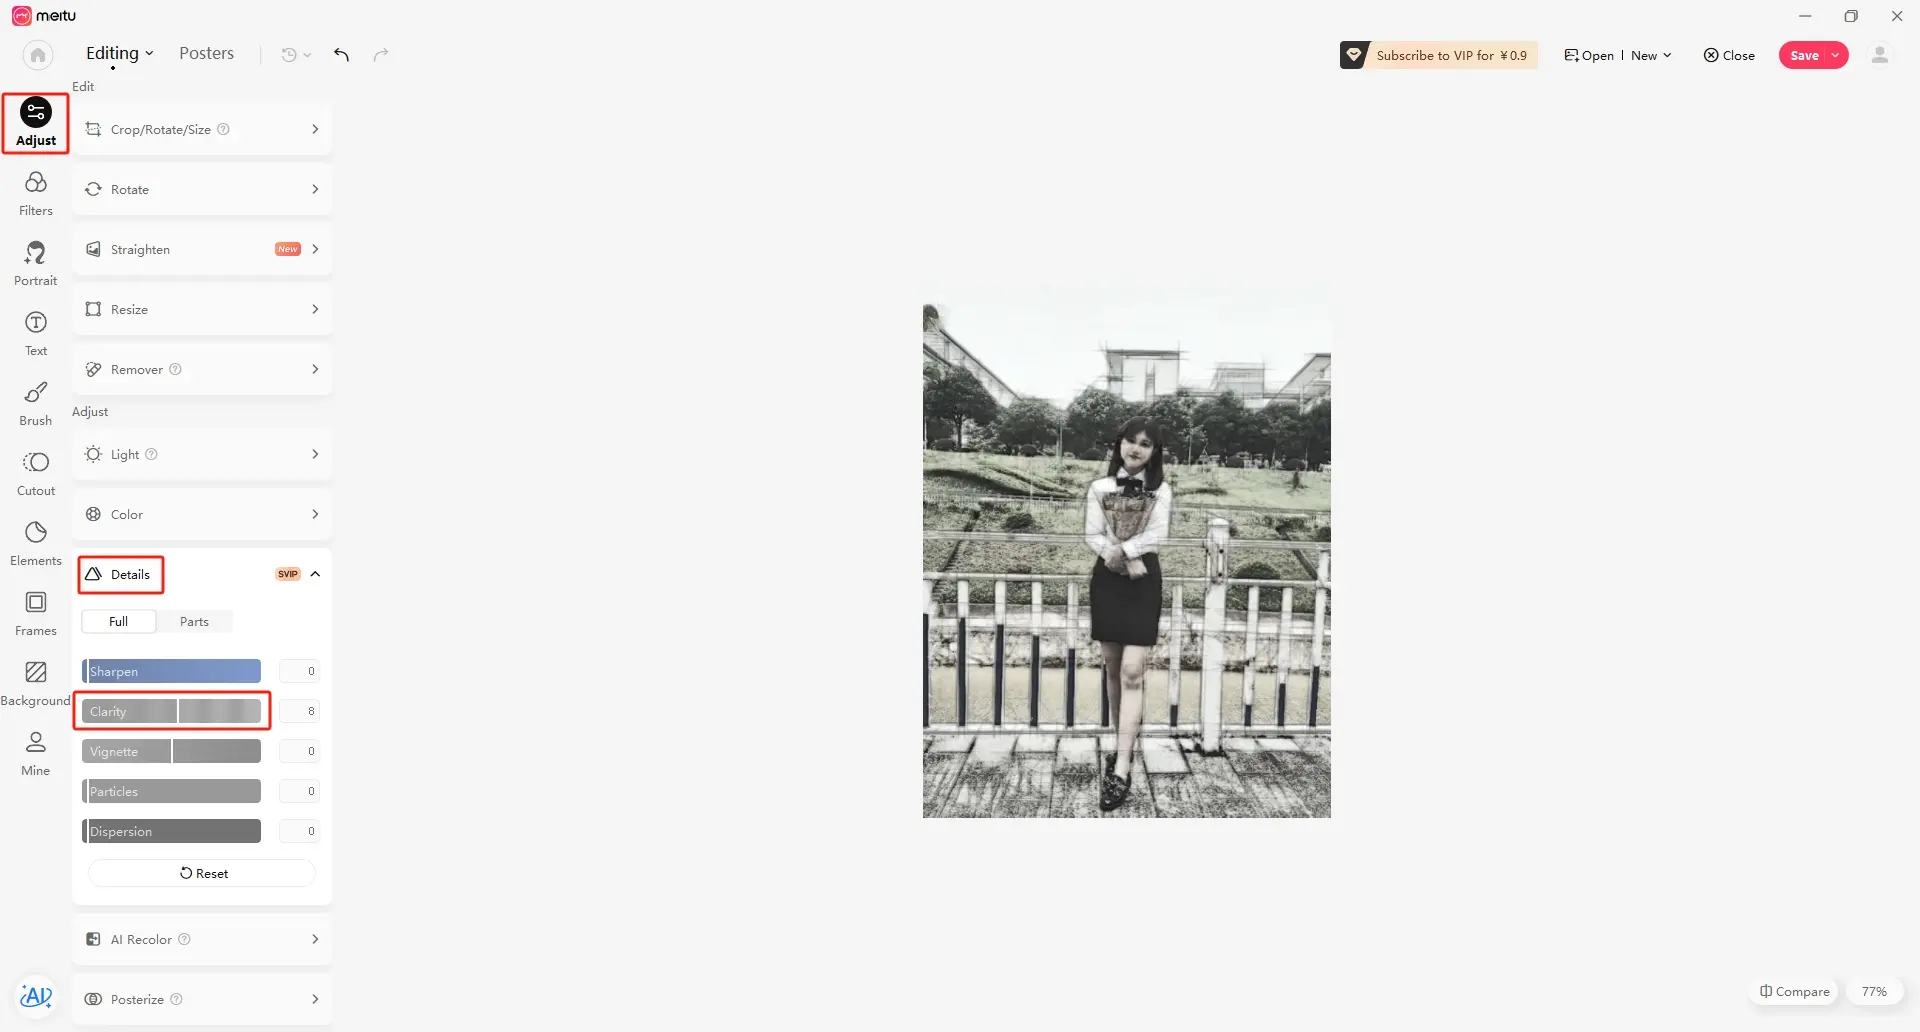
Increase sharpness to strengthen the line outline and improve detail visibility.
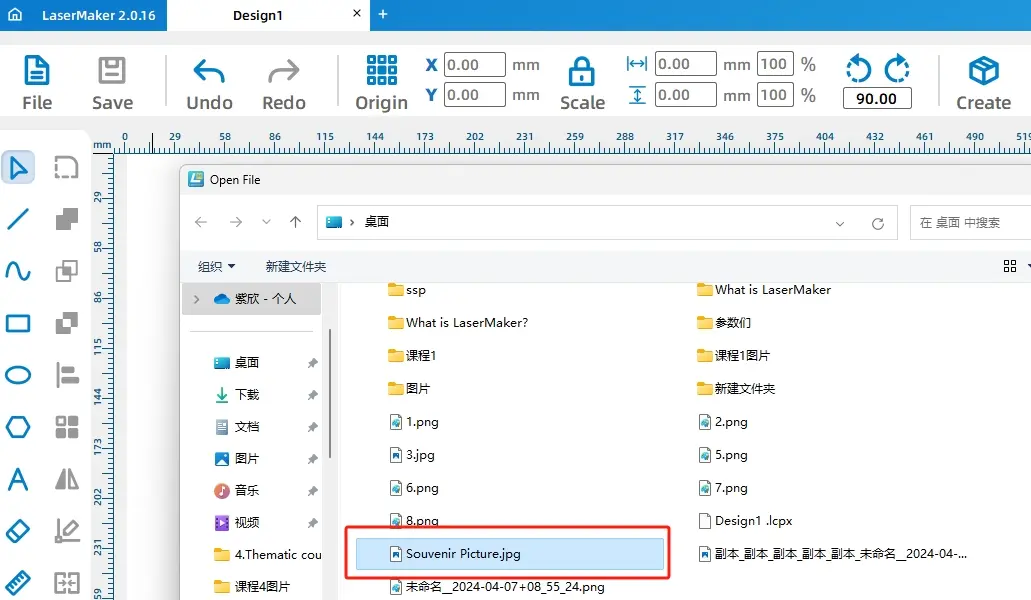
Save the edited image with a clear file name so it can be imported into LaserMaker.
Open LaserMaker, click Open on the toolbar, and select the processed photo file.
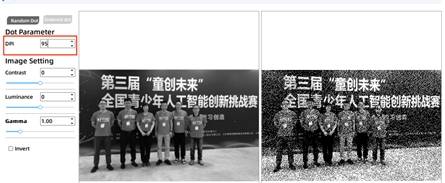
Select the opened picture, click Picture on the toolbar, and open the Picture Adjustment window. In the source workflow, the DPI value is set to 95 as a suitable image resolution parameter.
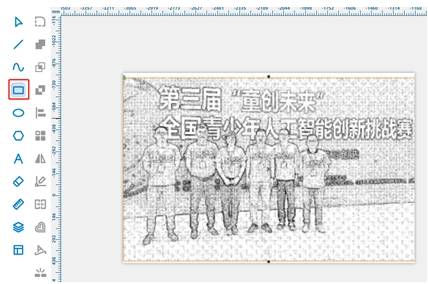
Use the Rectangle Tool to draw a rectangle along the picture border. This rectangle can be used as the outer cutting path for the engraved photo piece.
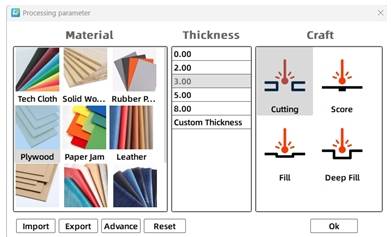
Select the photo object and open the processing layer settings for shallow engraving. In the source workflow, the material is set to basswood plywood, the process is set to shallow engraving, and the processing thickness is set to 0.1 mm.
Select the rectangular outline and assign it to the black cutting layer. In the source workflow, the material is set to basswood plywood, the process is set to cutting, and the processing thickness is set to 3 mm.
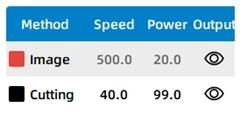
Finally, arrange the processing order as shallow engraving first and cutting second. This keeps the workpiece stable while the image is engraved.
Before making the final photo souvenir, students should test the engraving effect on the selected material. The source lesson suggests testing shallow engraving with a speed value of 400 and a power value of 20, then observing the result and adjusting parameters as needed.
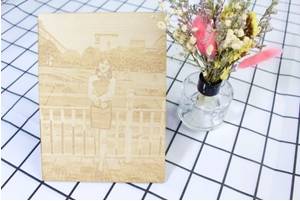
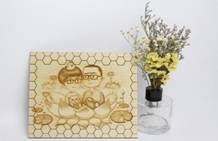
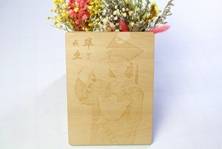
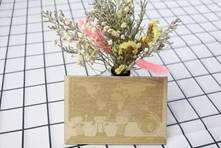
After the final settings are confirmed, students can complete the shallow engraving and cutting process. The finished piece should preserve the photo’s main visual information while showing a clear engraved effect on the selected material.
After completing the souvenir photo project, students can select other photos suitable for laser engraving, such as family photos, building photos, school activity photos, or travel memories.
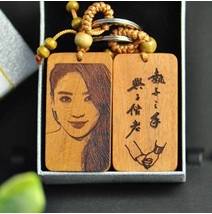
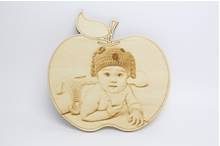
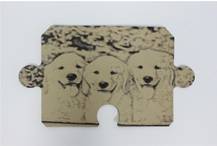
They can also use the same workflow to create photo ornaments, keychains, small display plaques, or other memory-themed laser projects.
The following examples can be used for classroom discussion, design inspiration, and student reflection. Encourage students to compare photo choice, contrast, engraving clarity, material effect, and final presentation.
This project is suitable for classroom laser cutters that support small-format photo engraving and cutting on sheet materials. For schools, makerspaces, and beginner STEAM labs, projects like photo souvenirs, engraved ornaments, keychains, display plaques, and student keepsakes can be completed with a classroom laser cutter such as the Thunder Laser Bolt Series.
Teachers can choose the machine and material setup based on classroom space, project size, material choice, and learning goals. The same photo engraving workflow can also be adapted for other CO2 laser machines when students move on to larger photo boards, wall displays, or more advanced maker projects.
SOUVENIR PHOTO LASER ENGRAVING PROJECT FAQS
The new Bolt Series has been upgraded with faster engraving speeds (up to 2000 mm/s), higher RF power options (up to 80W), larger working areas, improved Z-axis height, and Standard dual-air assist. We also added a recessed tray design for larger rotary objects and included new accessories such as a conical nozzle.
Talk To Our Experts Now!
Please leave your contact information so that we can serve you better.
SOUVENIR PHOTO LASER ENGRAVING PROJECT FAQS
NEED HELP FINDING THE RIGHT SOLUTION?
Talk to our team for machine recommendations, application advice, and support based on your needs.

 Stable & Consistent MachinesUnlimited ApplicationRobust After-sales SupportFactory Direct Supply