Self-Portrait Contour Tracing Project with LaserMaker
 24-06-26
WHAT ARE YOU LOOKING FOR?
Search Across Products, Blog Posts, Support Content, And Resources.

Self-Portrait Contour Tracing Project with LaserMaker
24-06-26

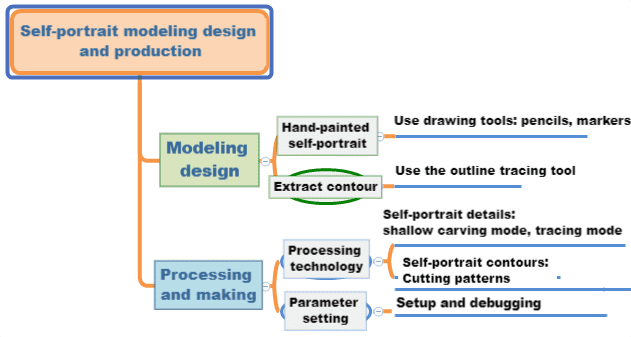
In this STEAM classroom project, students create a laser-processed self-portrait by combining hand drawing, image scanning, contour tracing, engraving, line tracing, and cutting in LaserMaker. The lesson connects visual art, digital design, personal expression, and laser processing through a practical creative activity.
This course is especially useful for introducing students to contour extraction, digital cleanup, processing layers, and ethical design practices when working with portraits and personal images.
| Item | Details |
|---|---|
| Project | Laser-processed self-portrait |
| Software | LaserMaker |
| Main Skills | Hand drawing, image scanning, Contour Tracing, processing parameter setup, shallow engraving, line tracing, and cutting |
| Suggested Materials | Basswood plywood or acrylic board |
| Classroom Fit | Digital design, art-integrated STEAM lessons, LaserMaker drawing courses, maker education, and beginner laser engraving projects |
Students will create a self-portrait design by drawing a simple portrait by hand, scanning or importing it into LaserMaker, extracting the contour, setting processing layers, and producing a finished engraved or traced portrait piece.
Portrait-based projects should be handled respectfully. Students should not use someone else’s portrait as a joke or prank, and they should ask for permission before publishing, sharing, or displaying a portrait of another person.
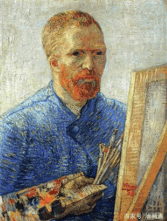
A self-portrait is an artwork an artist creates to represent themselves. It can show appearance, style, personality, mood, or a particular moment in the artist’s life. In this lesson, students use a simplified self-portrait as the starting point for a laser design project.
Self-portraits are also a useful way to explore identity and visual expression. By translating a drawing into a laser-processed object, students can see how a personal artwork changes when it moves from paper to digital design and then to a physical material.
Before working in LaserMaker, students should think about the portrait as both an artwork and a physical object. The final result may be used as a keychain, sign, tag, display piece, or branded design sample.
Start by deciding the purpose and size of the self-portrait piece. Students should calculate the length and width based on how the finished work will be used, then record the measurements in millimeters.
| Measurement Data Recording / Unit: mm | |
|---|---|
| Length: | Width: |
Students should draw a simple self-portrait that reflects their own features or style. A bold marker drawing works well because clear lines make scanning and contour tracing easier.
Ask students to draw their self-portrait on paper with a marker. After the drawing is complete, scan the image and save it to the computer. The source lesson recommends black-and-white scanning because it can create a clearer outline for the next step.
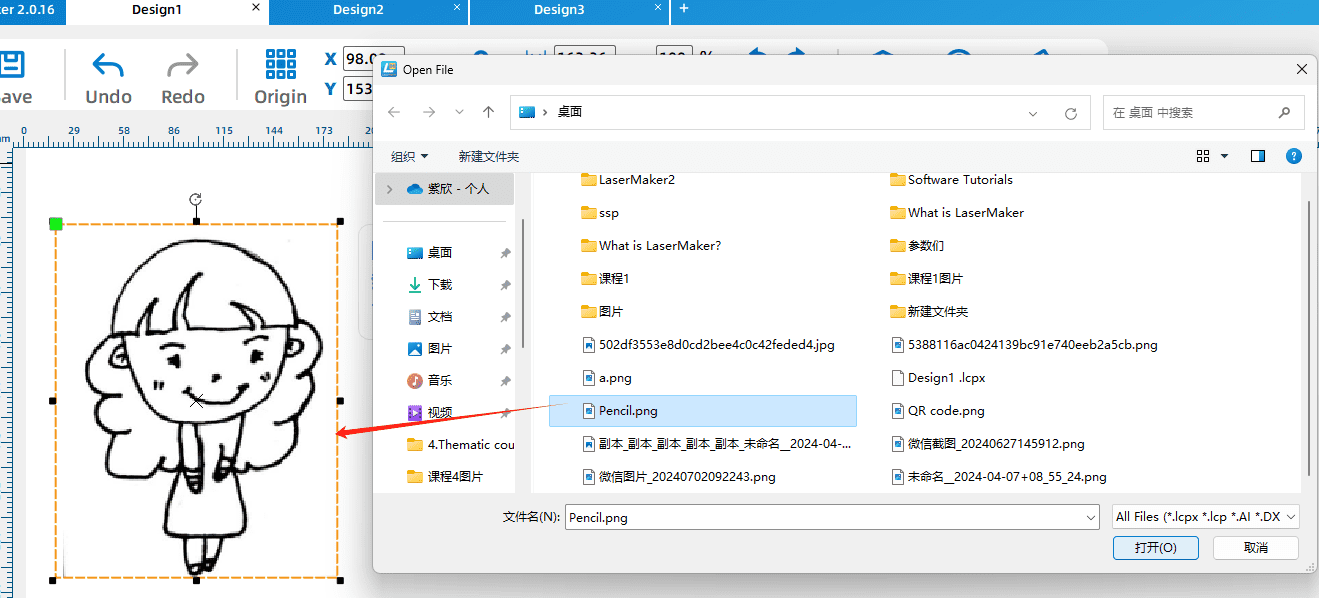
In LaserMaker, click Open on the toolbar and select the scanned self-portrait file. After the image is imported into the drawing area, use the Contour Tracing tool to extract the outline of the portrait.
Keep the extracted outline and delete the original bitmap image when it is no longer needed. This leaves a cleaner line-based portrait design that can be assigned to different processing layers.
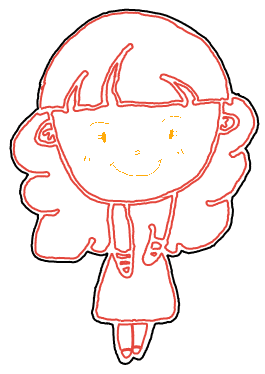
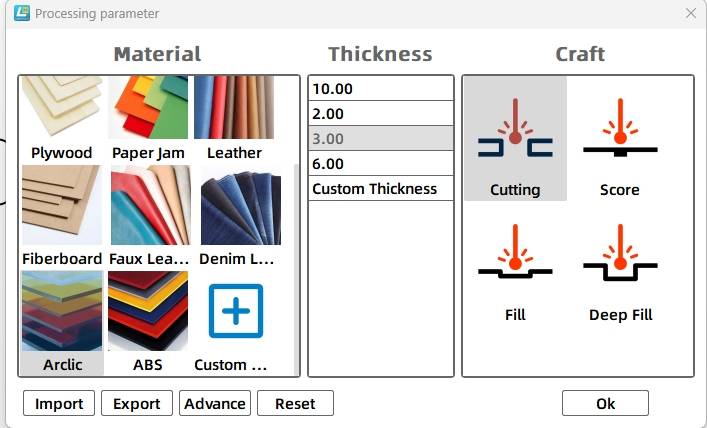
Select the facial expression objects and assign them to the yellow shallow engraving layer. In the source workflow, the material is set to acrylic plate, the process is set to shallow engraving, and the processing thickness is set to 0.1 mm.
Select the internal portrait outline and assign it to the red tracing layer. Then select the external contour and assign it to the black cutting layer. In the source workflow, the external contour uses acrylic plate, cutting, and a processing thickness of 3 mm.
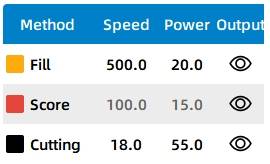
Finally, arrange the process sequence as shallow engraving → tracing → cutting. This order helps process the surface details first, then completes the outline and final cut.
Before making the final self-portrait, students should test the processing effect on the selected material. The source lesson suggests testing shallow engraving with a speed value of 400 and a power value of 30, then observing the result and adjusting the parameters as needed.
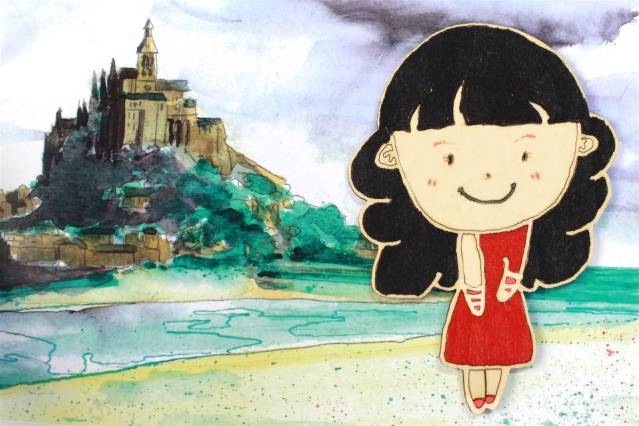
After the final settings are confirmed, students can complete the engraving, tracing, and cutting process. The finished work should preserve the character of the hand-drawn portrait while showing a clean laser-processed effect.
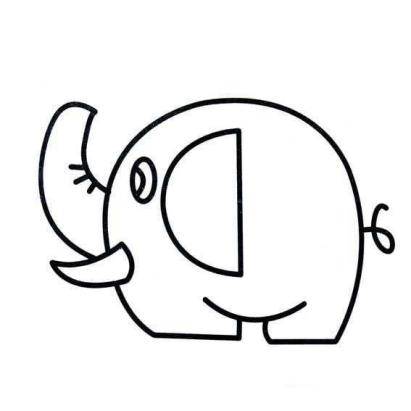
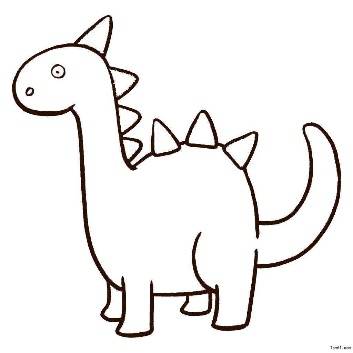
After learning contour extraction with a self-portrait, students can draw another simple image by hand and repeat the same workflow. For example, they can create an elephant, another animal, or a symbolic classroom icon.
Encourage students to compare different drawing styles and think about which types of lines produce the clearest contour tracing and engraving effect.
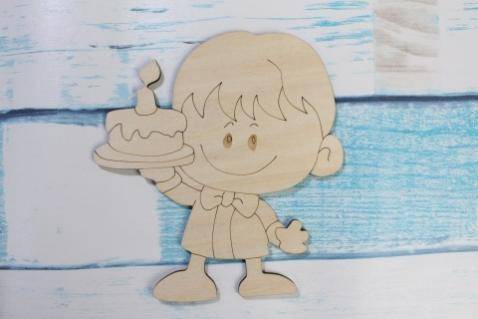
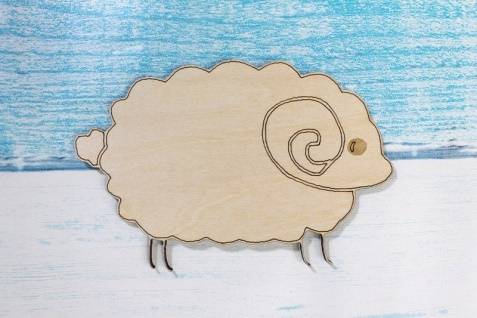
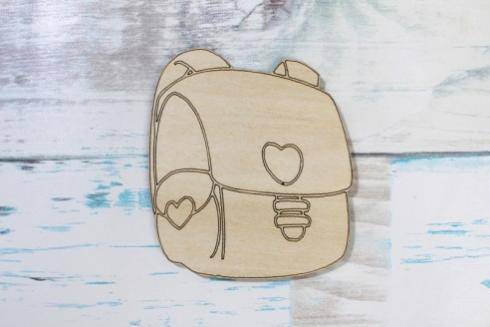
The following examples can be used for classroom discussion, design inspiration, and student reflection. Encourage students to compare the drawing style, contour clarity, material effect, and final laser-processed appearance.
This project is suitable for classroom laser cutters that support small-format engraving, tracing, and cutting. For schools, makerspaces, and beginner STEAM labs, projects like self-portraits, art tags, classroom signs, keychains, and student design pieces can be completed with a classroom laser cutter such as the Thunder Laser Bolt Series.
Teachers can choose the machine and material setup based on classroom space, project size, material choice, and learning goals. The same contour tracing workflow can also be adapted for other CO2 laser machines when students move on to larger artwork, display boards, or more advanced maker projects.
Talk To Our Experts Now!
Please leave your contact information so that we can serve you better.
TAKE THE NEXT STEP WITH THUNDER LASER

 Stable & Consistent MachinesUnlimited ApplicationRobust After-sales SupportFactory Direct Supply