






How to Laser Engrave Rubber Stamps: LightBurn, Settings & Depth
 25-09-18
WHAT ARE YOU LOOKING FOR?
Search Across Products, Blog Posts, Support Content, And Resources.

How to Laser Engrave Rubber Stamps: LightBurn, Settings & Depth
25-09-18
Laser engraving rubber stamps is a precise and repeatable way to create custom logos, address stamps, business marks, packaging designs, craft patterns, and personalized artwork. A CO₂ laser removes the non-printing background from the rubber while leaving the text or design raised, then cuts the finished stamp into its required outer shape.
The final result depends on more than laser power and speed. The artwork must be mirrored correctly, the background must be prepared for engraving, the engraving and cutting paths must use separate LightBurn layers, and the finished rubber must be cleaned, mounted, and tested on paper. This guide explains the complete LightBurn rubber stamp workflow, tested rubber stamp laser settings, troubleshooting methods, and how to choose the best stamp laser engraving machine.
Quick Answer: Start with verified laser-safe stamp rubber and prepare the design so the printable text or graphic remains raised while the surrounding background is engraved away.
Mirror the complete design horizontally, assign the background to a Fill layer, and place the final outer contour on a separate Line layer.
Use Preview to confirm the engraved area and processing order, then Frame the job on the rubber sheet. Engrave first, cut second, clean the residue, mount the rubber evenly on a stamp base, and test the impression on paper before beginning batch production.
Successful rubber stamp laser engraving begins with the correct material. Use rubber that is clearly identified by the manufacturer or supplier as suitable for CO₂ laser stamp engraving. General-purpose rubber may contain additives, coatings, backing layers, or polymers that are not suitable for laser processing.
Dedicated laser stamp rubber normally produces more predictable engraving depth, edge quality, cleaning, and printing performance than an unidentified rubber sheet. Before processing, record the exact brand, product name, thickness, color, hardness if available, adhesive backing, and recommended cleaning method.
Do not assume that all rubber can be engraved safely. PVC, vinyl rubber, chlorine-containing rubber, PTFE, unidentified recycled rubber, and products with unknown coatings or adhesives should not be placed in a laser machine.
The broader laser cutting and engraving rubber guide explains how to evaluate different rubber materials, review safety documentation, and distinguish cutting, deep engraving, and surface marking applications. The rubber material application page can also help users understand common rubber laser processing use cases before testing a specific sheet.
Material safety: Do not rely on smell alone to determine whether rubber is safe for laser processing. Use clearly documented laser stamp rubber and maintain effective exhaust throughout engraving and cutting.
| Field | Information to Record |
|---|---|
| Manufacturer | Brand or supplier name |
| Product | Exact stamp rubber product name |
| Thickness | Material thickness in millimeters or inches |
| Hardness | Shore A value, if supplied |
| Color | Rubber color used in the test |
| Backing | None, adhesive, fabric, or another backing layer |
| Cleaning Method | Supplier-approved cleaning process |
Recording the exact stamp rubber product helps avoid copying settings across different materials.

A laser-engraved rubber stamp contains a raised printing area and a recessed background. The raised text, logo, or illustration receives ink and transfers the design to paper, while the surrounding background is engraved deeply enough to remain below the printing surface.
The parts of the design that should appear on paper must remain raised. The surrounding negative space is removed by the laser. If the background is too shallow, it may also touch the ink pad and create unwanted marks around the intended design.
Excessive engraving can create a different problem. Very small text, isolated dots, and thin lines may become weak when too much surrounding material is removed. The correct result is a balance between sufficient background depth and stable printable details.
A rubber stamp reverses the image again when it is pressed onto paper. Text, numbers, directional logos, and asymmetric graphics must therefore be mirrored horizontally before engraving.
Mirror the complete stamp design rather than reversing only the text. This prevents a directional icon or logo from remaining in the wrong orientation while the words print correctly.

For vector artwork, create a closed outer shape around the stamp design. The outer shape and the internal text or logo should be placed on the same Fill layer so LightBurn engraves the surrounding background while preserving the intended printing area.
A rectangle, circle, rounded rectangle, or custom contour may be used as the background boundary. Check all paths for gaps, duplicate lines, and overlapping objects before processing.
For a bitmap image, use an appropriate image mode and confirm the black-and-white relationship in Preview. The goal remains the same: the background must be removed while the printable graphic stays raised.
| Layer | LightBurn Mode | Purpose | Main Settings |
|---|---|---|---|
| Engraving Layer | Fill | Removes the non-printing background. | Speed, power, DPI or line interval, passes, and scan mode. |
| Cutting Layer | Line | Cuts the finished rubber stamp from the sheet. | Speed, power, passes, and air assist. |
Engraving and cutting should be placed on separate LightBurn layers because they use different processing modes.
The engraving and cutting paths must use separate layers because they require different processing methods. DPI and scanning settings belong to the Fill engraving layer, not the Line cutting layer.
The following workflow explains how to make rubber stamps with a laser using LightBurn. Menu names and available controls may vary slightly by LightBurn version and machine controller, but the file structure and processing order remain the same.
Create the design directly in LightBurn or import an SVG, AI, DXF, PDF, or high-contrast bitmap. Text, logos, icons, and line illustrations generally work well for custom rubber stamps.
Before proceeding, check for:
If the file will be moved between computers, convert the final text into paths or curves to prevent missing-font problems. Keep a separate editable copy before converting the text so spelling, size, and layout can still be changed later.
After conversion, check the internal spaces of letters such as A, B, D, O, P, and R. These enclosed areas must remain correctly defined in the engraving file.
Select the complete design and use LightBurn’s horizontal flip function. Confirm that all text, numbers, logos, and directional graphics have been mirrored together.
Important: A design that looks backward in LightBurn should print in the correct direction after the finished stamp is pressed onto paper.
Draw a closed outer boundary around the stamp artwork. Place this boundary and the internal design on the same Fill layer so the surrounding background is removed and the design remains raised.
Leave enough margin between the printable artwork and the final cutting line. A narrow margin can weaken the edge of the stamp or allow ink to reach unintended areas.
Create or duplicate a separate closed outline for cutting the completed stamp. Assign this path to a different color layer and set the mode to Line.
The cutting outline may be:
Remove duplicate cutting paths. Two identical lines in the same position may cause the laser to cut the same contour twice and apply unnecessary heat.
Double-click the engraving color in the Cuts / Layers panel and select Fill. Enter the starting speed, power, DPI or line interval, scan direction, and number of passes.
A smaller line interval or higher DPI places the scan lines closer together. This may increase coverage and engraving depth, but it also adds heat and processing time. Higher DPI is therefore not automatically better.
For a new rubber product, use a small test design containing:
The test should be evaluated after cleaning and printing, not only by inspecting the engraved rubber surface.
Set the outer contour to Line mode and enter the cutting speed, power, number of passes, and air-assist setting. Use the lowest tested energy that cuts through the rubber cleanly.
Do not include DPI, bitmap settings, or scanning direction in the normal vector-cutting parameter row. These controls apply to raster engraving rather than the outer Line cut.
Arrange the layers so the Fill engraving runs first and the Line cutting runs last.
Recommended order:
1. Fill engraving
2. Line cutting
If the rubber is cut first, the small stamp piece may move, lift, or fall into the laser bed before engraving is complete. Engraving the full sheet first keeps the material stable.
Open LightBurn Preview before sending the file to the machine. The preview should show the background being engraved, the printable design remaining unengraved, and the outer cutting line running after the engraving.
Check the following:
Place the stamp rubber flat on the laser bed and secure it if necessary. Focus the laser on the actual rubber surface, then use Frame to confirm that the complete engraving and cutting area fits inside the material.
Warped or tilted rubber can produce uneven engraving depth. For batch production, Frame the entire array rather than checking only one stamp.
Before engraving the final design, test the exact rubber product using a small parameter matrix. Change one primary variable at a time and record the result.
Evaluate:
Start the job and remain beside the laser machine. Confirm that the exhaust or fume extractor is operating correctly, and stop the process if the material produces abnormal smoke, flame, severe melting, or an unexpected odor.
Allow the Fill layer to complete before the Line layer cuts the stamp from the sheet. Avoid unnecessary cutting passes because excess heat can create sticky or melted edges.
Rubber stamp laser settings depend on the exact material, thickness, design, engraving depth, lens, machine power, focus, and desired printing result. Use tested parameters as starting references rather than universal values.
The following parameters were used for a Thunder Laser rubber stamp project completed with a Bolt 30W.
| Process | Machine | Speed | Power | DPI |
|---|---|---|---|---|
| Engraving | Thunder Bolt 30W | 150 mm/s | 80% | 500 |
| Cutting | Thunder Bolt 30W | 15 mm/s | 80% | Not applicable |
These settings were tested for one rubber stamp project and should be verified on the exact rubber before production.
The tested Thunder Laser rubber stamp project also includes a downloadable design file and the complete material preparation, focusing, framing, engraving, cutting, and cleaning workflow.
Different stamp rubber, sheet thickness, artwork, or desired depth may require different settings. Test the exact material before production.
| Observed Result | Possible Cause | Adjustment Direction |
|---|---|---|
| Engraving is too shallow | Speed is too high, power is too low, focus is incorrect, or too few passes were used. | Reduce speed, increase power gradually, refocus, or test an additional pass. |
| Details look soft or overheated | Excessive heat, high DPI, low speed, or repeated passes. | Increase speed, reduce power, reduce DPI, or use fewer passes. |
| Cut does not go through | Incorrect focus, insufficient energy, thick rubber, or an additional backing layer. | Check the material construction, refocus, reduce speed, or increase power gradually. |
| Cut edge becomes sticky | Too much heat or unnecessary repeated passes. | Increase cutting speed, reduce power, or reduce the number of passes. |
Change one major parameter at a time when adjusting rubber stamp laser settings.
Some laser stamp rubber may require approximately 0.9–1.1 mm of background removal, but the correct engraving depth depends on the material, line width, artwork, ink, and normal stamping pressure.
Do not judge depth only by measuring the rubber. The final paper impression should show no unwanted background ink while the raised letters and graphics remain clear and stable.
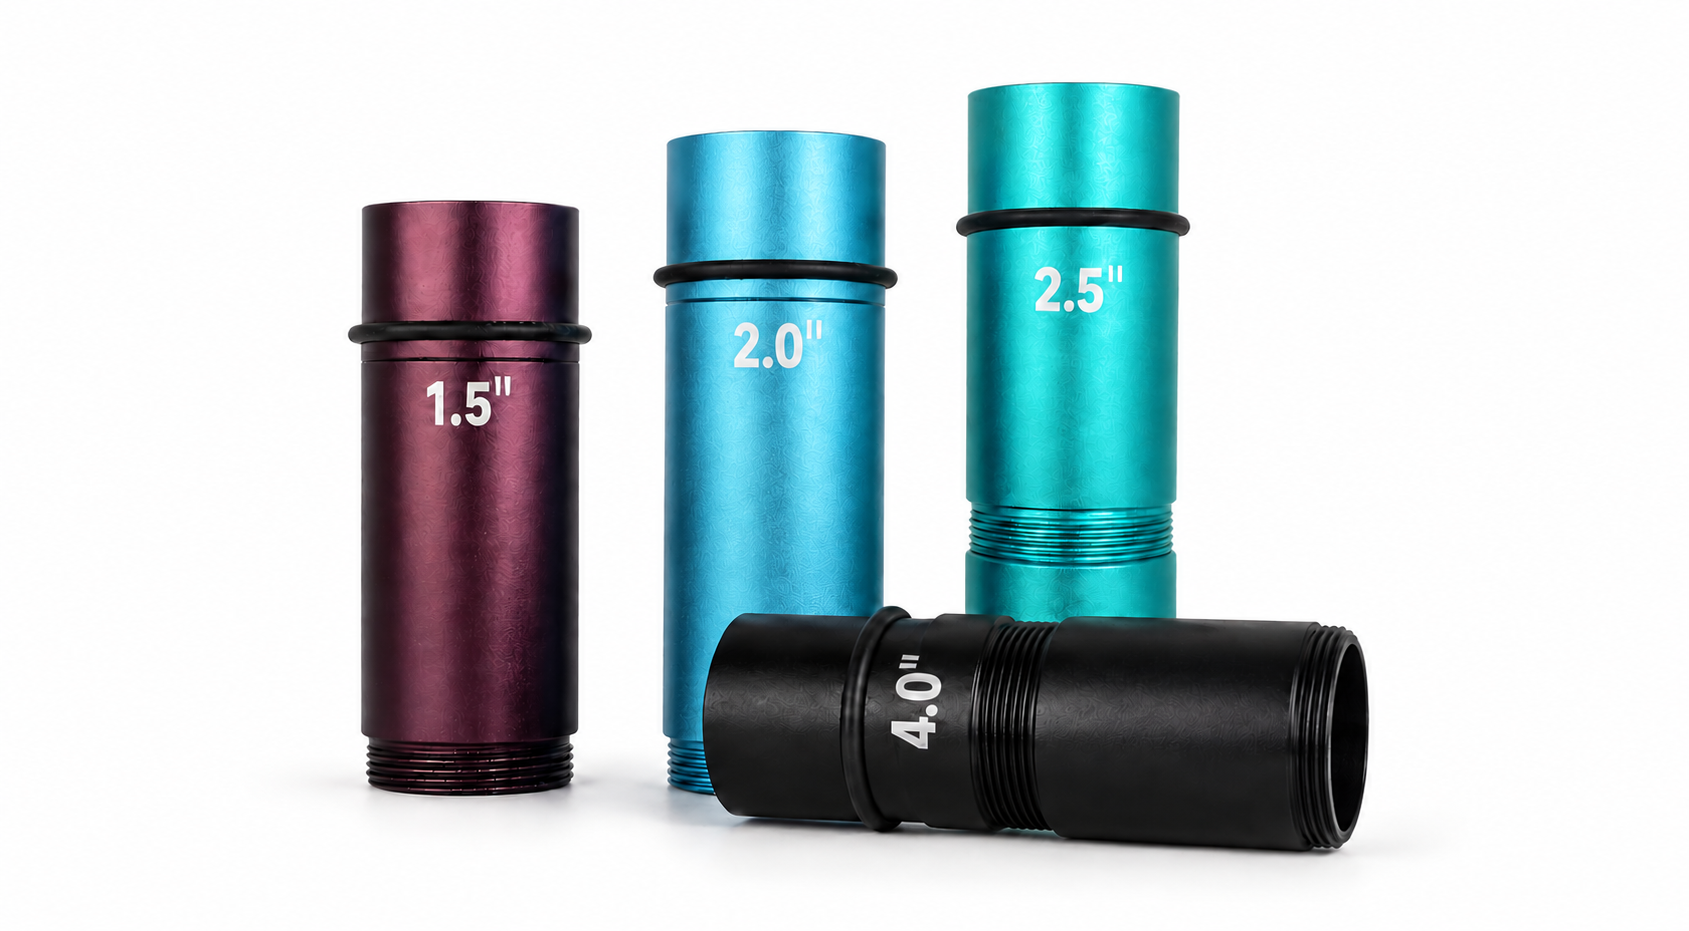
Begin with the standard lens supplied with the laser machine. A shorter-focus lens may help reproduce smaller details, while a standard lens generally provides a more forgiving focus range and a practical balance between engraving and cutting.
Do not assume that one focal length is required for every detailed stamp. Compare lenses using the same rubber, artwork, and laser settings before choosing a production configuration.
Cleaning and testing are essential parts of rubber stamp production. Dust remaining in the engraved background can transfer to the ink pad, reduce detail, and make a correctly engraved stamp appear defective.
Allow the rubber to cool before cleaning. Depending on the material supplier’s instructions, suitable methods may include:
Remove residue from the recessed background and the edges of fine details. Allow the rubber to dry completely before attaching it to the stamp base.
Do not use an unidentified solvent. A solvent that is suitable for one rubber formulation may soften, swell, discolor, or damage another.
Use a flat stamp base and an adhesive compatible with the selected rubber. Align the engraved rubber carefully and apply even pressure during mounting.
Uneven mounting can cause one side of the design to contact the paper before the other, producing incomplete text or inconsistent ink transfer.
Ink the completed stamp and test it on clean paper. The printed result, not only the engraved rubber, is the most reliable way to evaluate the project.
| Check | Successful Result |
|---|---|
| Orientation | Text, numbers, and logos print in the correct direction. |
| Background | No unintended background areas transfer ink to the paper. |
| Small Text | Letters remain readable without filling or breaking. |
| Fine Lines | Lines remain complete and stable during repeated pressing. |
| Ink Coverage | The design transfers evenly across the complete stamp. |
| Repeatability | Several impressions show similar clarity and coverage. |
The printed paper impression is the best way to confirm whether a rubber stamp is ready for production.
Most problems in rubber stamp laser engraving come from file preparation, engraving depth, focus, heat input, cleaning, or mounting. Use the printed impression to identify the likely cause.
| Problem | Likely Cause | Recommended Fix |
|---|---|---|
| Text prints backward | The complete design was not mirrored before engraving. | Flip the entire design horizontally and check it again in Preview. |
| The background appears on paper | The background is too shallow, the file structure is incorrect, or excessive pressure is used. | Check the Fill area, increase validated engraving depth gradually, and test with normal pressure. |
| Fine lines disappear | The artwork is too thin, heat input is too high, or too much surrounding material was removed. | Increase line width, reduce heat input, or simplify the design. |
| Small text is unclear | Text is too small, focus is inaccurate, DPI is unsuitable, or residue remains. | Increase text size, refocus, test the line interval, and clean the rubber thoroughly. |
| Engraving depth is uneven | The rubber is warped, the laser bed is not level, or focus changes across the sheet. | Flatten and secure the rubber, check focus, and verify bed alignment. |
| Cut edge is sticky or melted | Cutting energy is too high or too many passes were used. | Increase speed, reduce power, or reduce unnecessary passes. |
| White or powdery residue remains | Dust was not completely removed or extraction was insufficient. | Improve extraction and repeat the approved cleaning process. |
| Engraving and cutting are misaligned | The material moved or the outer contour was cut before engraving. | Engrave first, cut second, and secure the rubber sheet. |
| The impression is uneven | The rubber was mounted unevenly, ink coverage varies, or pressure is inconsistent. | Remount the stamp on a flat base and apply ink and pressure evenly. |
| Bidirectional engraving shows ghosting | The machine’s scanning alignment requires adjustment. | Check scanning offset calibration or compare a one-direction test. |
Troubleshooting should be based on the printed impression as well as the engraved rubber surface.
The best stamp laser engraving machine depends on the required engraving depth, stamp size, production quantity, cutting workflow, and available budget. Both diode and CO₂ lasers can process selected laser-safe stamp rubber, but they differ substantially in speed, cutting capability, working area, and suitability for batch production.
Before comparing individual machine models, it is useful to understand which laser source is better suited to the intended rubber stamp workflow.
Both CO₂ and diode lasers can engrave selected laser-safe stamp rubber, but they are generally suited to different users and production requirements. A diode laser can be an accessible option for hobbyists making occasional small stamps, while a CO₂ laser is usually better suited to deeper background removal, contour cutting, larger layouts, and repeated production.
| Comparison | Diode Laser | CO₂ Laser |
|---|---|---|
| Best-Fit User | Hobbyists, beginners, and users making occasional small stamps. | Small businesses, schools, workshops, and commercial stamp production. |
| Rubber Engraving | Can engrave compatible laser-safe stamp rubber, depending on wavelength, optical power, rubber color, and formulation. | Well suited to deep engraving on laser-safe stamp rubber and commonly used for professional stamp production. |
| Background Removal | Possible, but deeper engraving may require slower processing or multiple passes. | Generally more efficient for removing larger background areas and reaching useful stamp depth. |
| Outer Contour Cutting | May cut selected thin stamp rubber, but capability varies considerably by diode power and material. | Can engrave the stamp and cut its outer contour in the same workflow. |
| Working Area | Often suitable for individual stamps and smaller projects. | Available in larger working areas for multiple stamps and full rubber sheets. |
| Batch Production | Suitable for limited or occasional production. | Better suited to arranging and processing multiple stamps in one job. |
| Machine Cost | Usually offers a lower entry cost. | Requires a larger initial investment but supports a wider production workflow. |
| Fume Control | Open-frame models may require an added enclosure and a separate extraction setup. | Professional enclosed systems commonly integrate more complete exhaust and workflow controls. |
A diode laser may be sufficient when the goal is to experiment with laser-safe rubber or make a small number of simple stamps at a lower initial cost. However, processing speed, engraving depth, cutting ability, and results can vary significantly between diode machines and rubber formulations.
A CO₂ laser is the more practical choice when the workflow requires deeper background engraving, clean outer cutting, larger stamp layouts, or repeated batch production. It also allows the Fill engraving and Line cutting processes described in this guide to be completed without moving the rubber between separate machines.

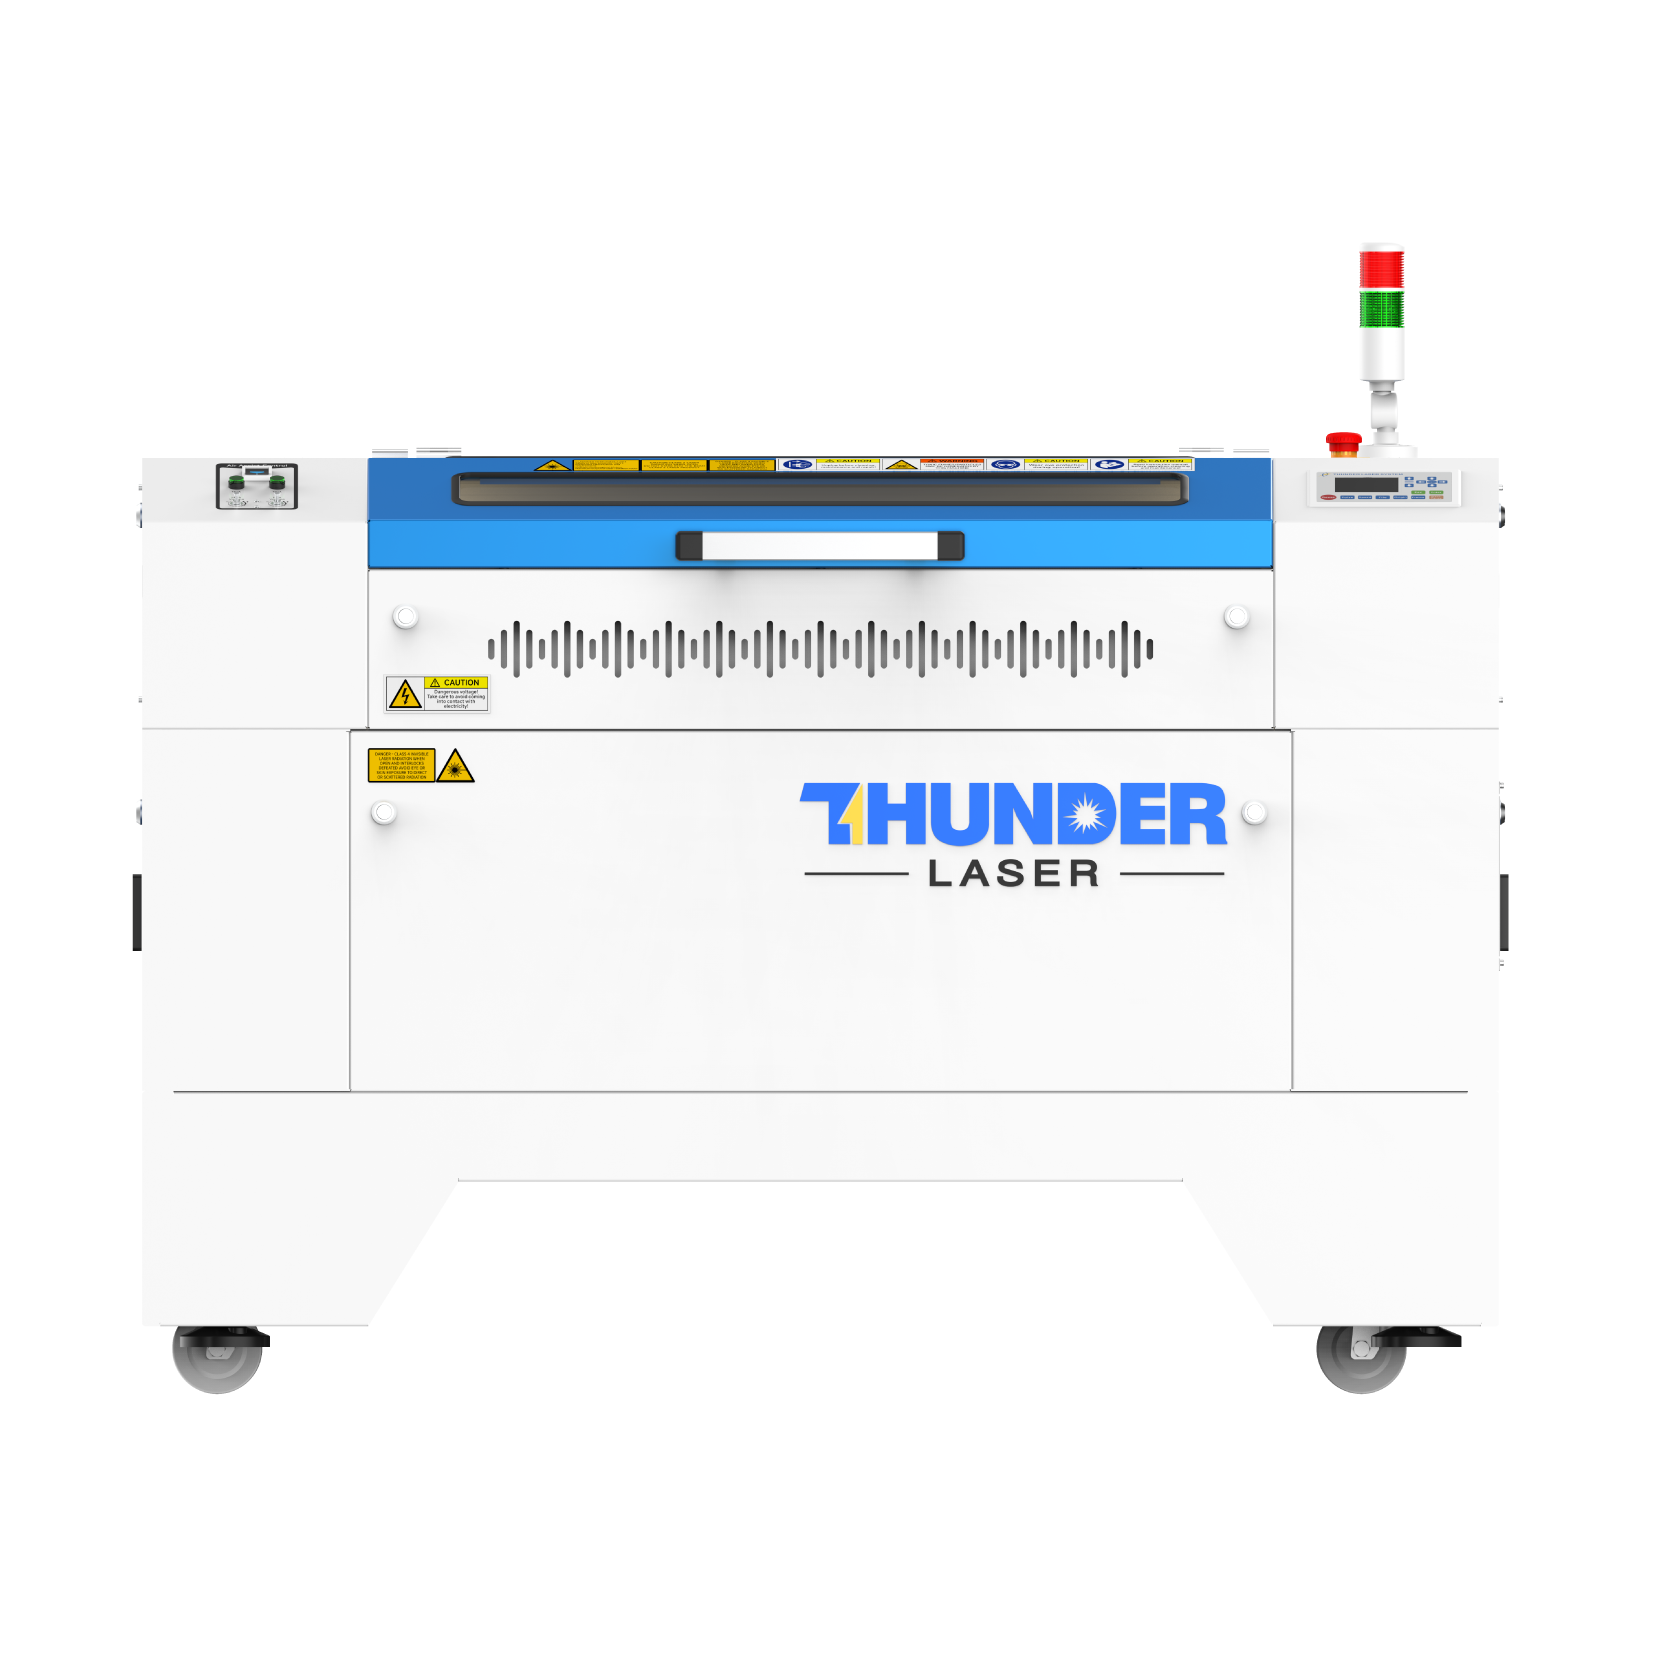
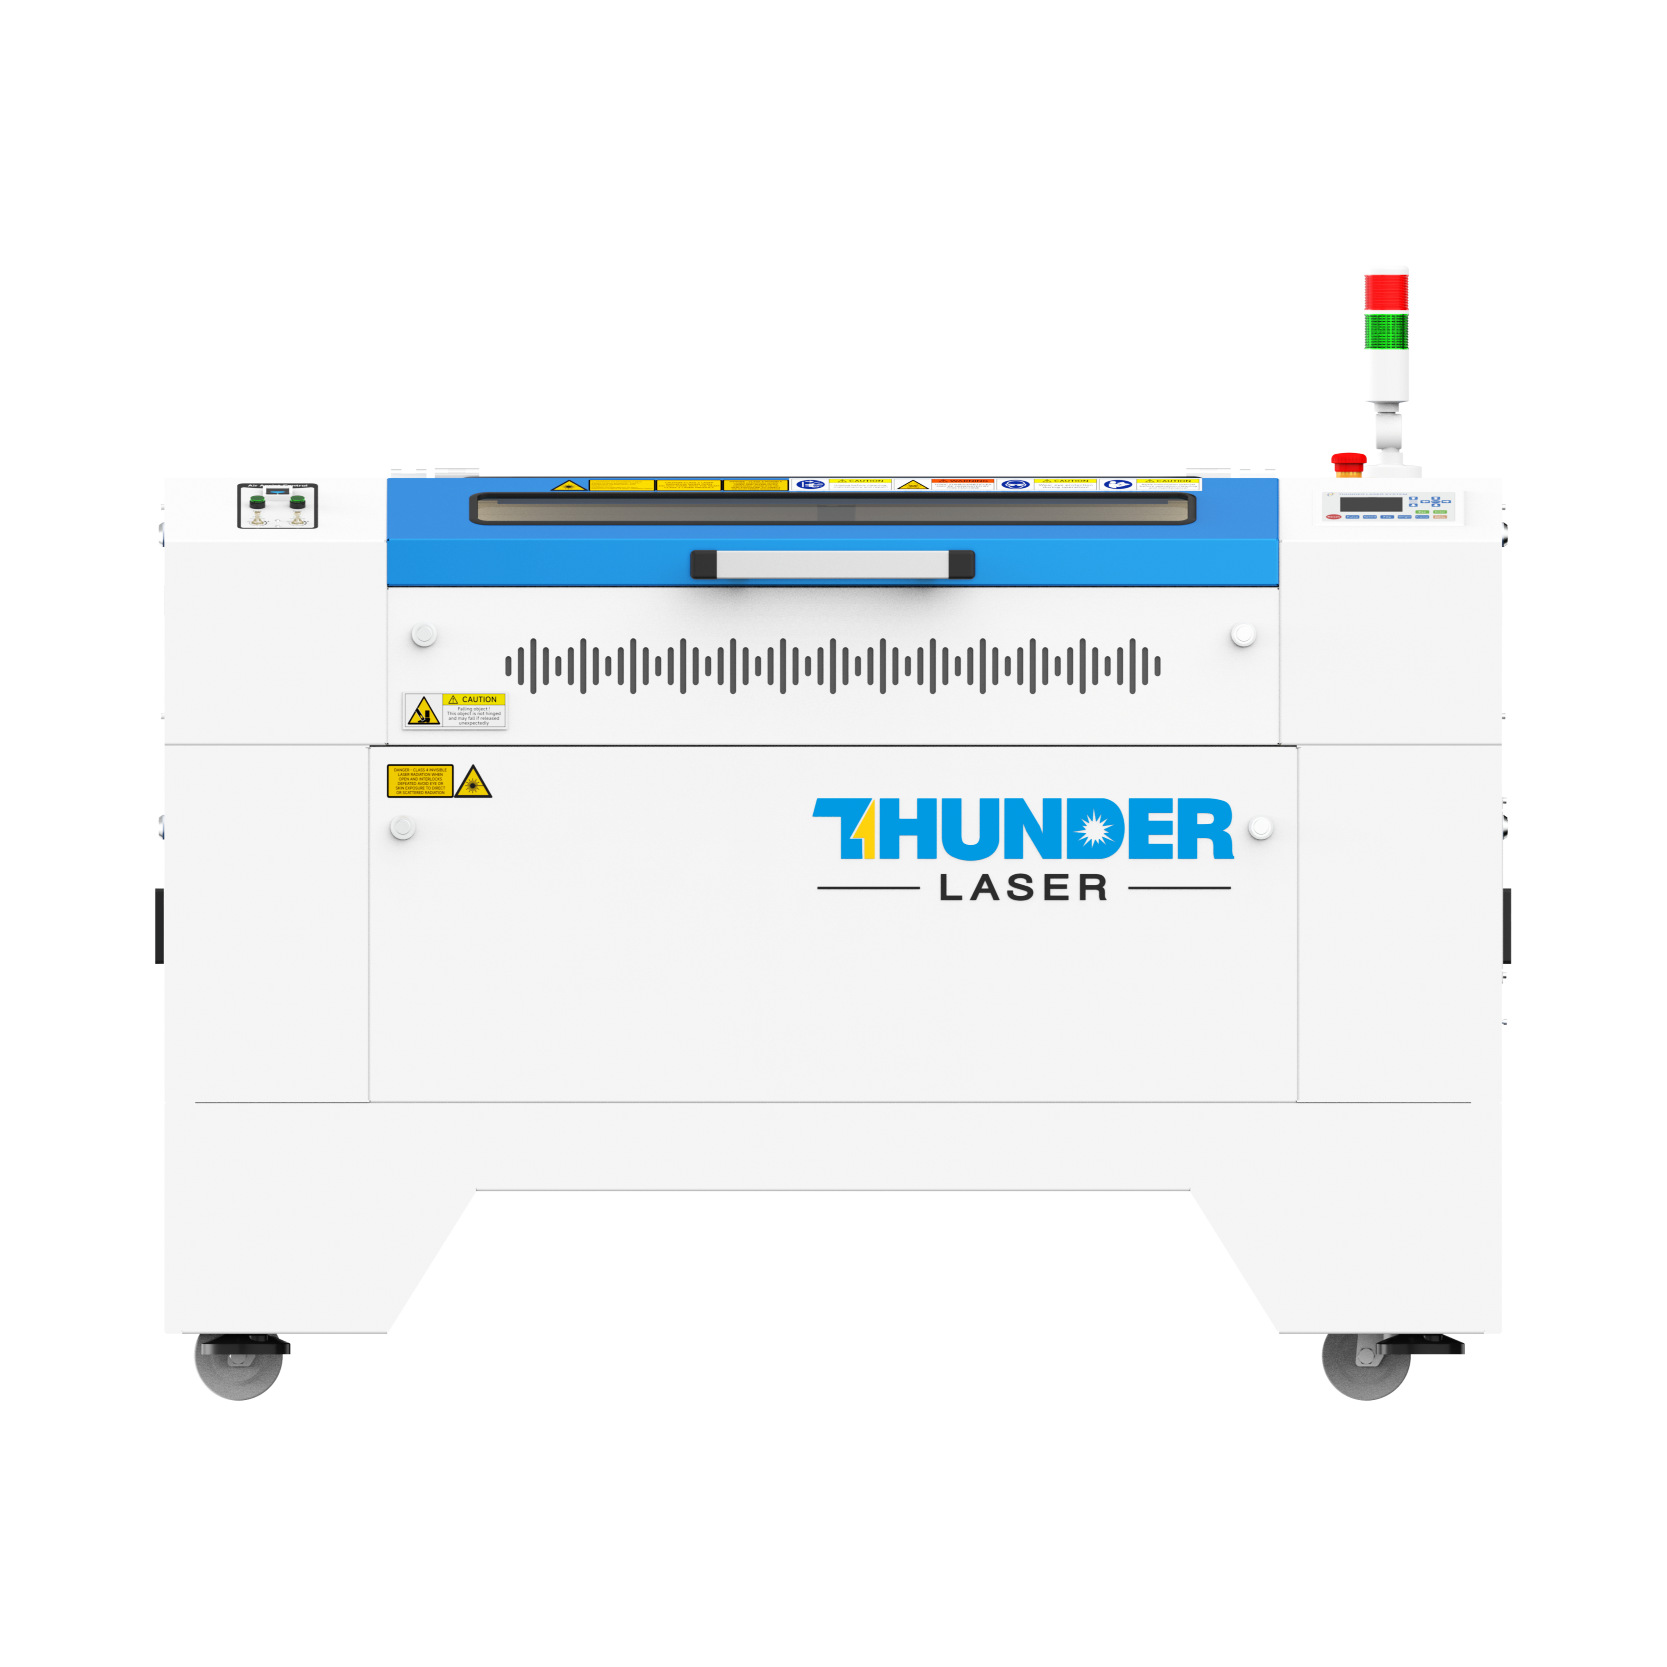
The Bolt Series is suitable for personalized rubber stamps, business logos, address stamps, craft designs, packaging stamps, and short production runs.
The Thunder Laser Bolt Series is suitable for personalized rubber stamps, business logos, address stamps, craft designs, packaging stamps, and short production runs.
Its RF CO₂ laser source supports detailed raster engraving and vector cutting in the same workflow. This makes the Bolt Series a practical stamp laser engraver for users who frequently change designs or produce small and medium batches.
The Bolt 30W settings shown earlier provide a tested starting reference for rubber stamp engraving, although the exact material must still be verified and tested.

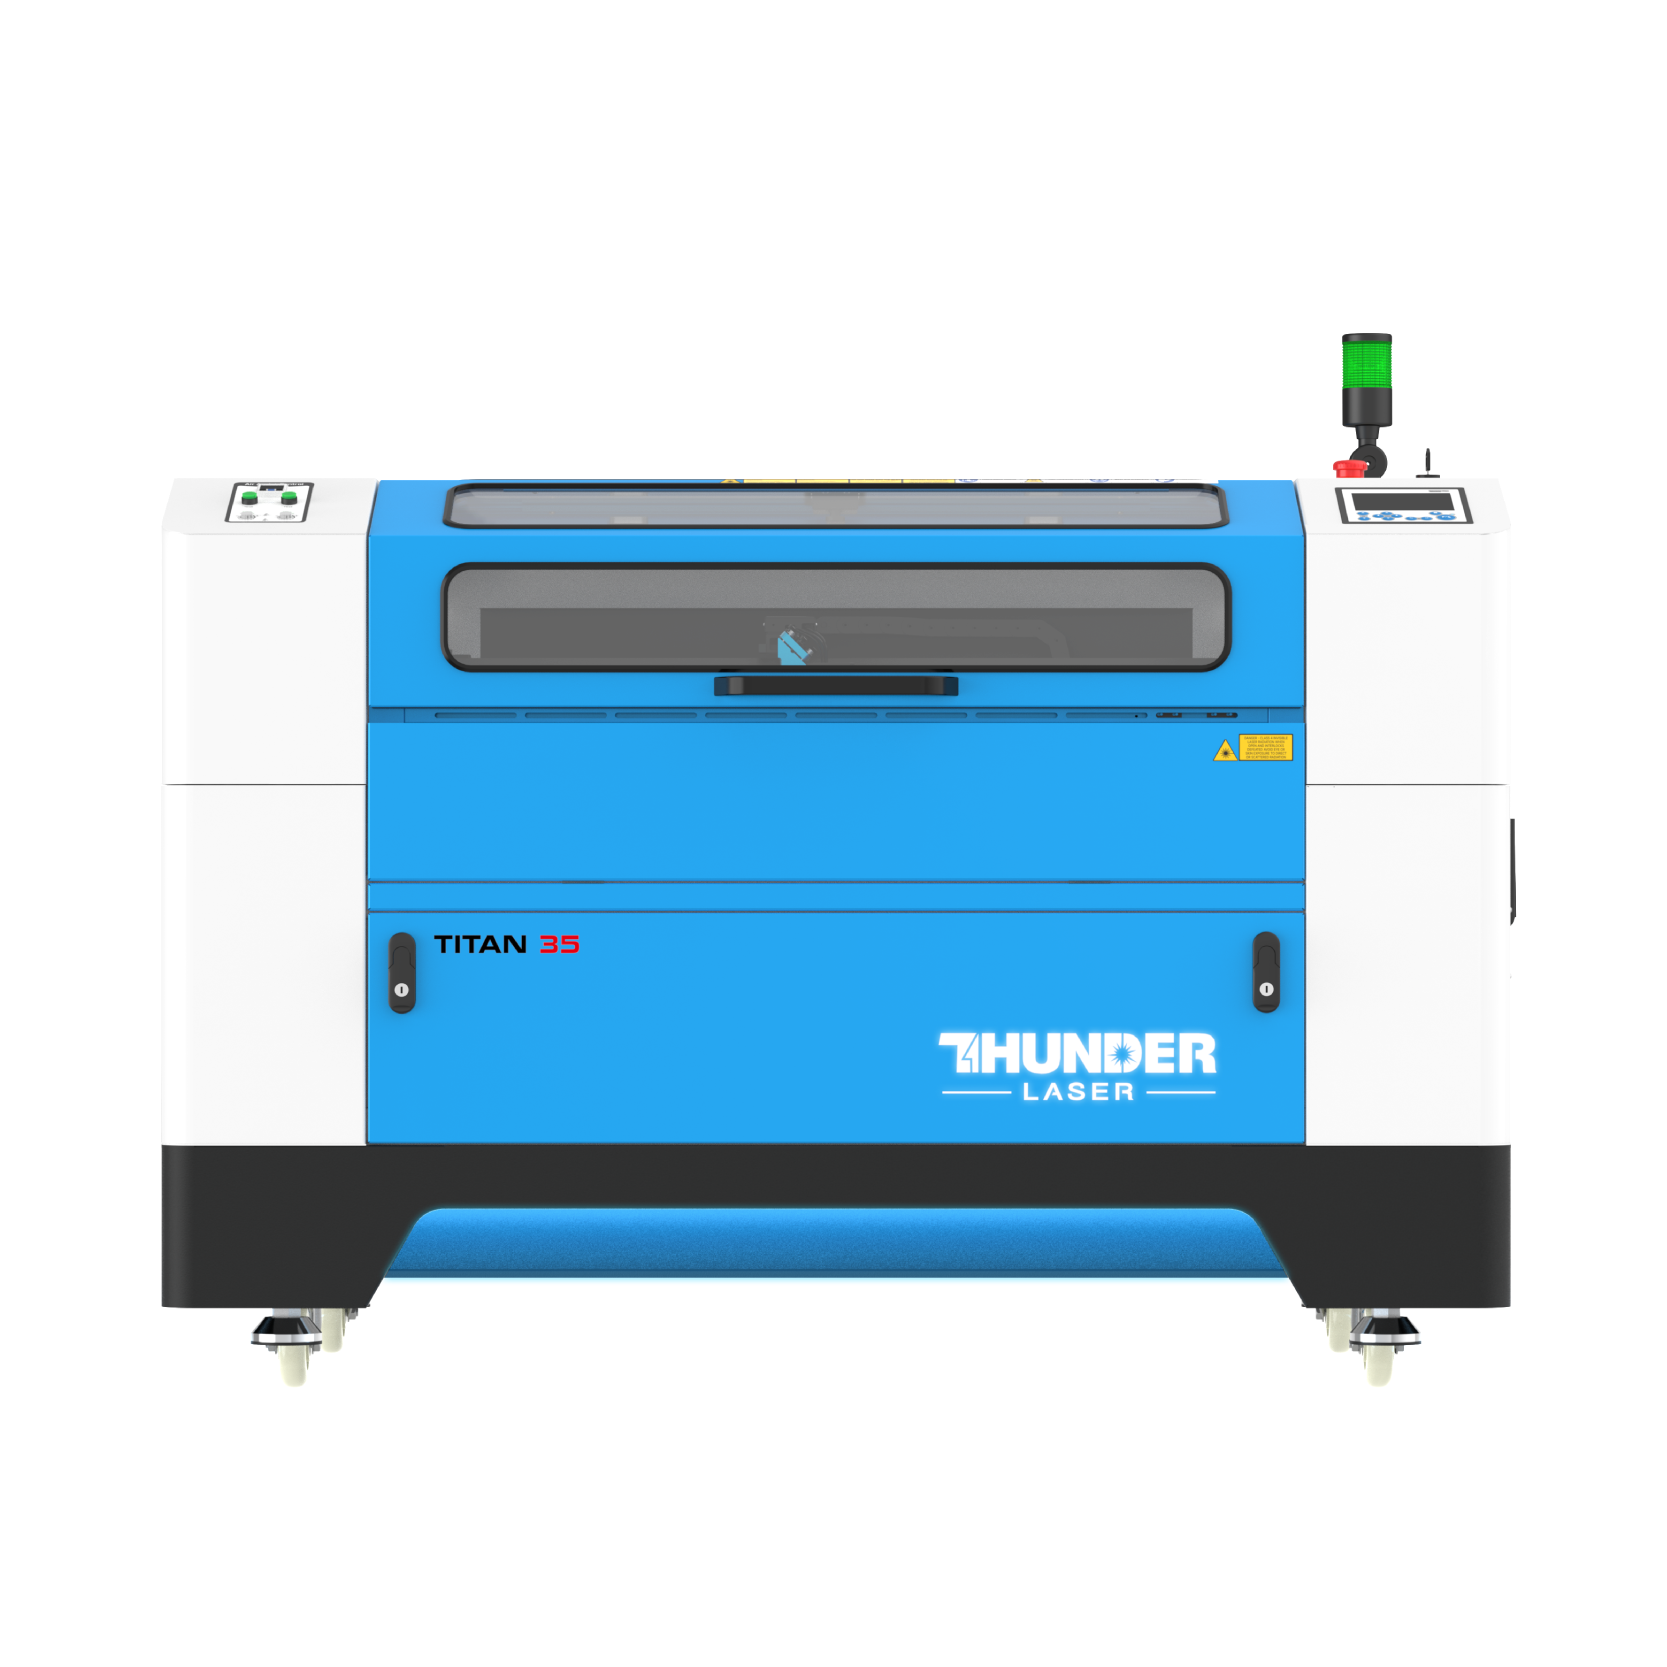
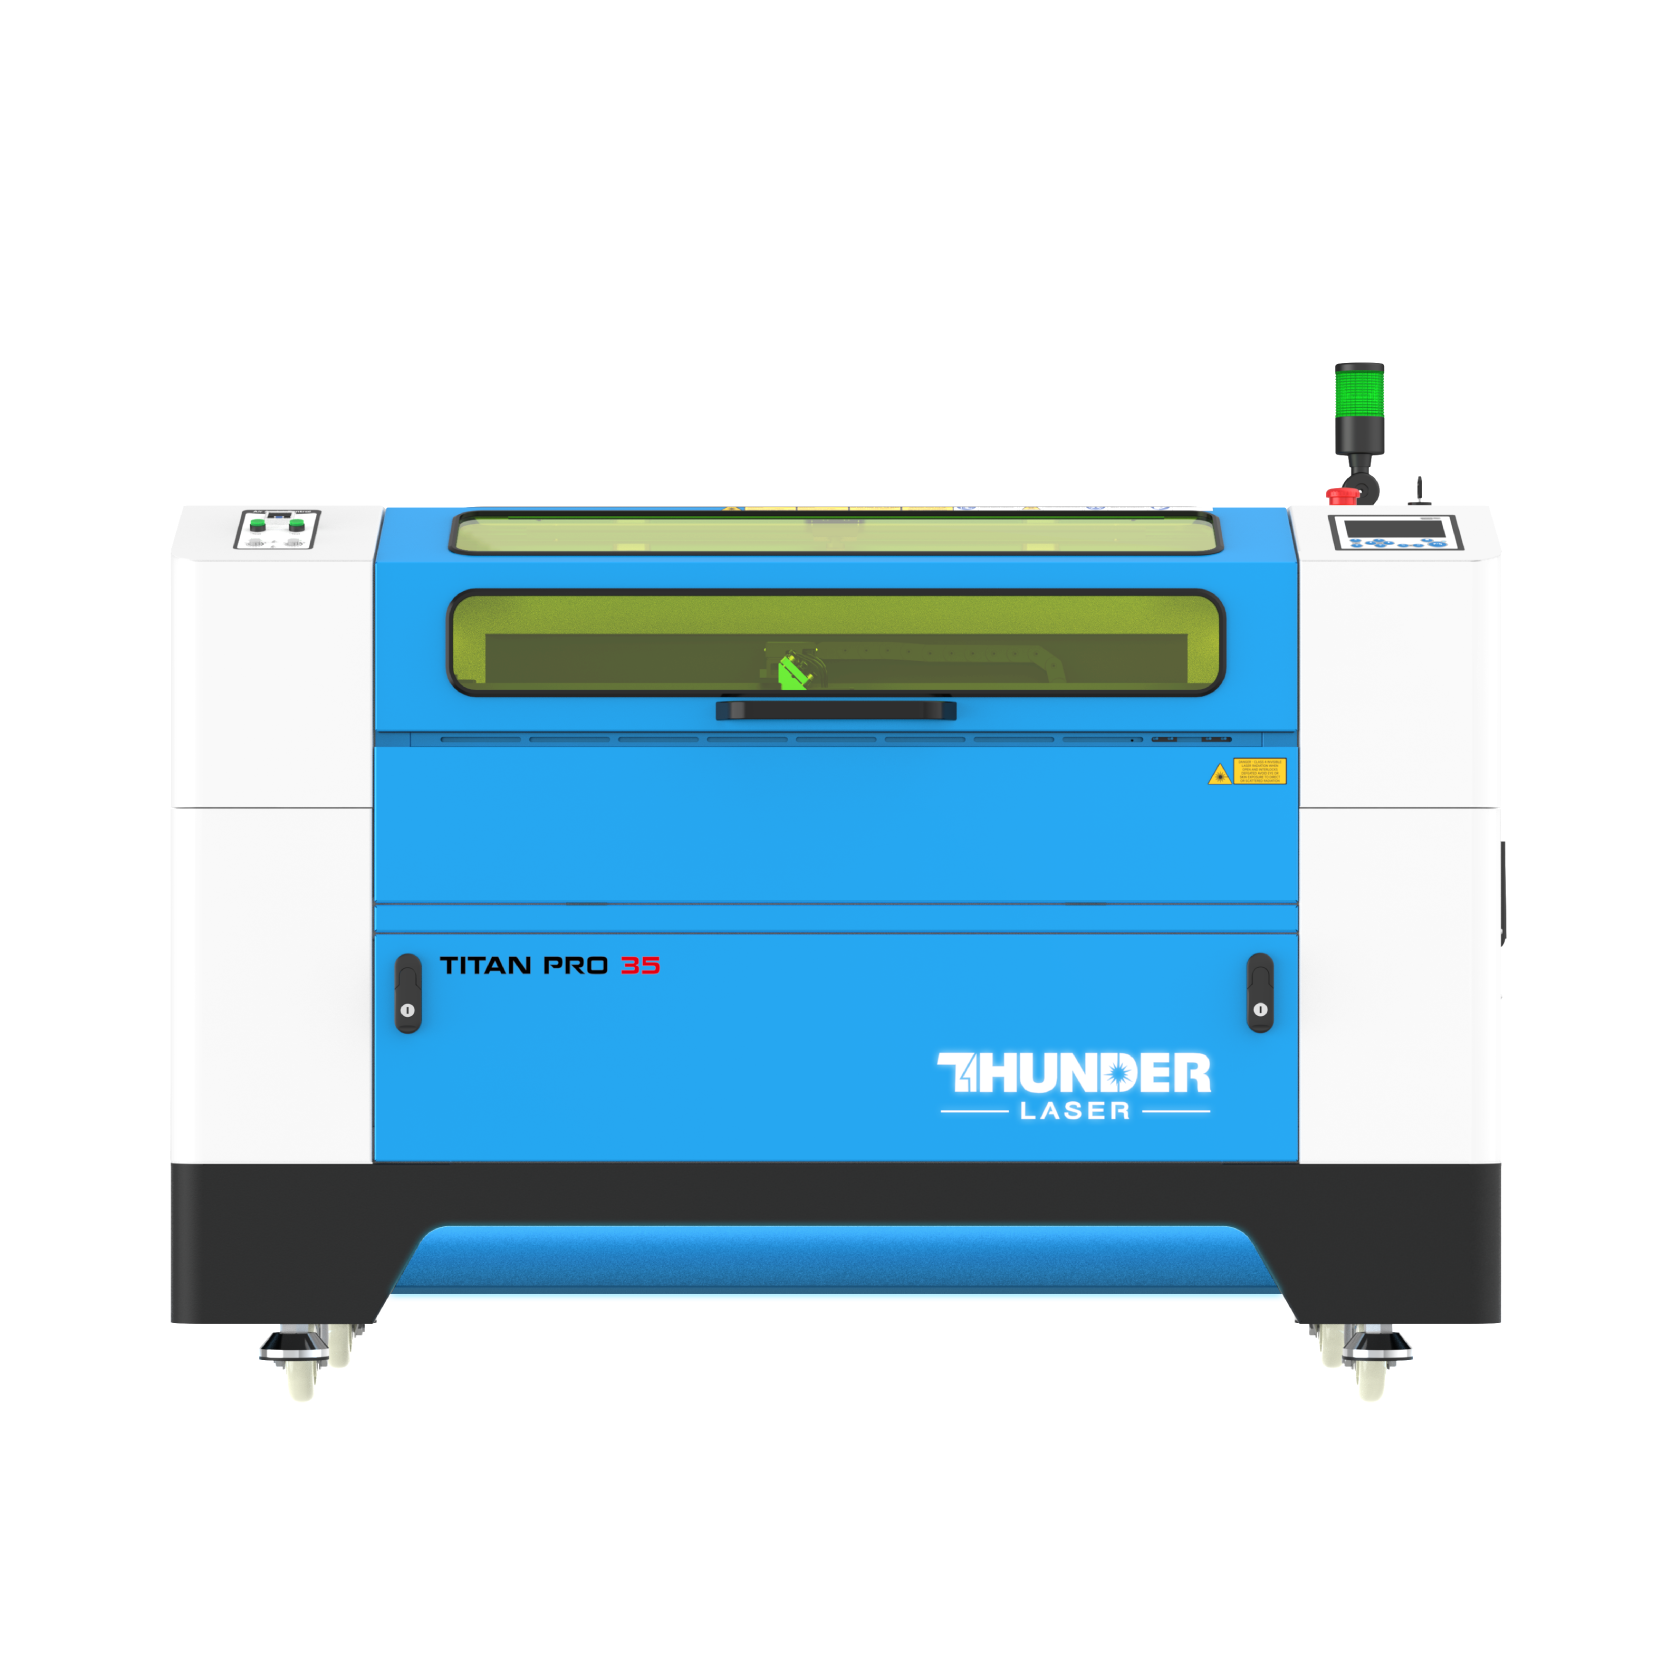
The Nova Plus Series provides more working area for larger rubber sheets, multi-stamp layouts, fixtures, and commercial batch production.
The Nova Plus Series is more suitable when the business needs to process larger rubber sheets, arrange more stamps in one job, use larger fixtures, or increase production capacity.
A larger work area allows multiple custom rubber stamps to be engraved together before the complete sheet is cut. This reduces repeated setup and loading time when the same material and settings are used.
Successful laser engraving of rubber stamps depends on correct file preparation and a controlled production workflow. Mirror the complete design, engrave the background on a Fill layer, keep the cutting outline on a separate Line layer, confirm the job in Preview, and always engrave before cutting.
Use verified laser-safe stamp rubber, test the exact material, clean the engraved surface thoroughly, and evaluate the final impression on paper. Once the material, settings, cleaning method, and print quality have been recorded, the same process can be repeated for personalized stamps or larger batch production.
Ready to Make Custom Rubber Stamps?
Explore the tested Thunder Laser rubber stamp project and download the design file, or send your stamp rubber, artwork, required size, and production quantity to our application team for testing.
Explore the Rubber Stamp Project Contact Thunder LaserTalk To Our Experts Now!
Please leave your contact information so that we can serve you better.
LASER ENGRAVING RUBBER STAMPS FAQS
The design file should be mirrored before engraving, or the final stamp impression will appear reversed. A ramp length of about 0.6 mm can also help support the stamp surface for clearer pressing.
The recommended engraving depth for rubber stamps is usually about 0.9 mm to 1.1 mm, depending on the rubber material, laser machine, artwork detail, and desired stamp quality.
A diode laser can scorch or lightly mark rubber, but it cannot reliably reach the 0.9–1.1 mm depth or cleanly cut the outline that a working rubber stamp requires. Use a CO₂ laser because its 10.6 µm wavelength is absorbed by rubber far more efficiently. See our CO₂ vs diode laser comparison for the full breakdown.
Yes. A CO₂ laser can cut verified laser-safe rubber into different shapes, such as circles, rectangles, squares, or custom outlines for stamp production. Always confirm the exact rubber material before cutting.
For rubber stamps with a lot of text or fine details, a 1.5-inch focusing lens can help achieve cleaner and more detailed engraving results. The final choice should still be tested with the exact rubber, artwork, and required engraving depth.
After engraving, clean the rubber with a brush, toothbrush, cleaning cloth, or water rinse to remove laser dust and residue. An ultrasonic cleaning machine can also be used for more thorough cleaning if it is suitable for the selected stamp rubber.
TAKE THE NEXT STEP WITH THUNDER LASER


 Stable & Consistent MachinesUnlimited ApplicationsRobust After-sales SupportFactory Direct Supply


