






Laser Cutting Art: Ideas, Materials, and Creative Techniques
 26-07-31
WHAT ARE YOU LOOKING FOR?
Search Across Products, Blog Posts, Support Content, And Resources.

Laser Cutting Art: Ideas, Materials, and Creative Techniques
26-07-31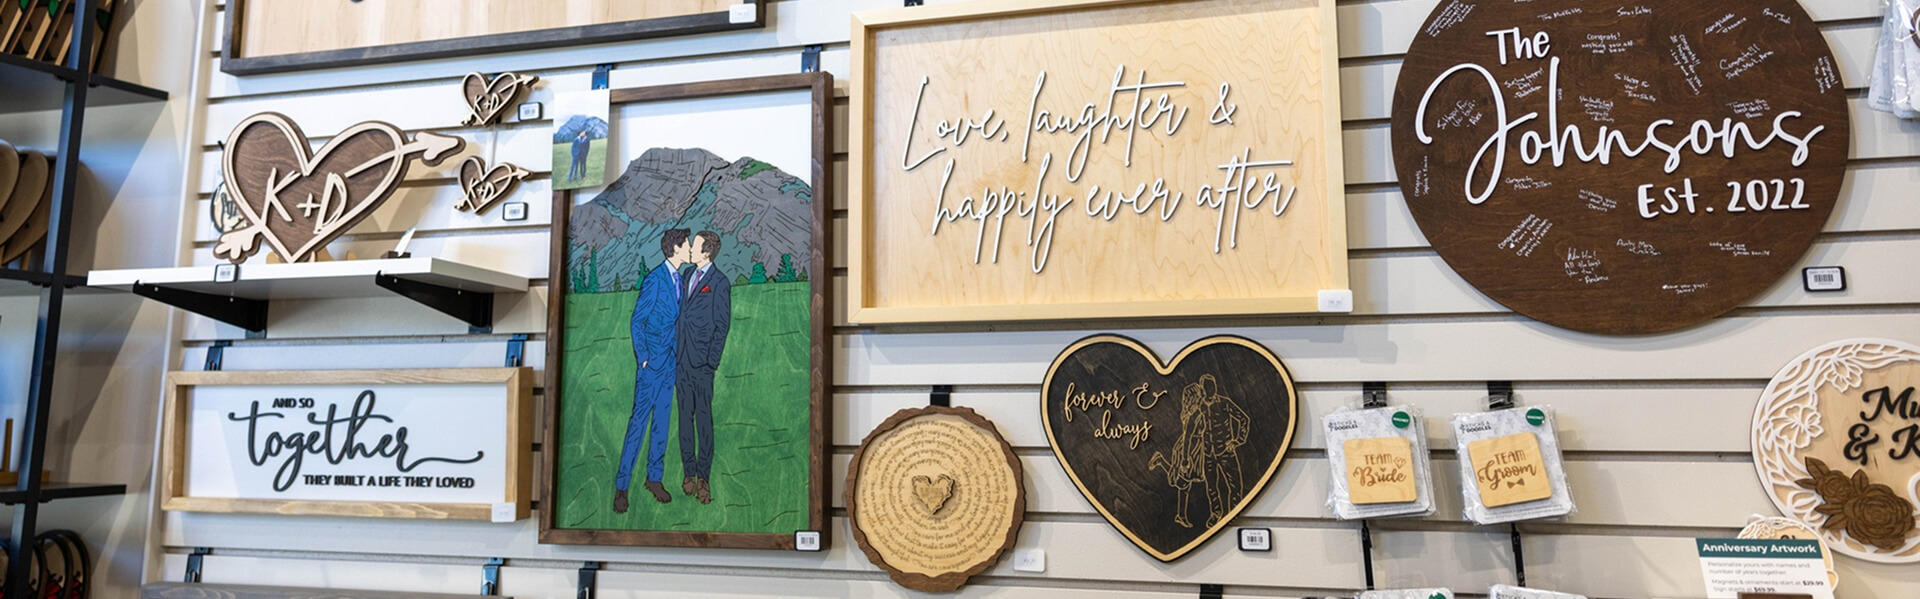
Laser cutting art combines digital design with precise material processing. Artists, makers, students, and creative businesses can use a laser cutter to transform wood, acrylic, paper, cardboard, leather, fabric, and other compatible materials into detailed physical artwork.
Projects can range from small custom gifts and layered wall pieces to illuminated acrylic designs, sculptures, architectural models, theatre props, and large installations. This guide explains the main laser processes, suitable materials, practical project ideas, artwork preparation, creative techniques, and machine-selection considerations.
Quick Answer: Laser cutting art is artwork created by cutting, engraving, or etching material with a computer-controlled laser. Vector paths can define cut shapes and outlines, while raster images can create photographs, textures, gradients, and surface details.
Artists often combine several processes in one project. A design may include engraved details, cut outer shapes, layered components, painted surfaces, lighting, inlays, or slot-fit construction.
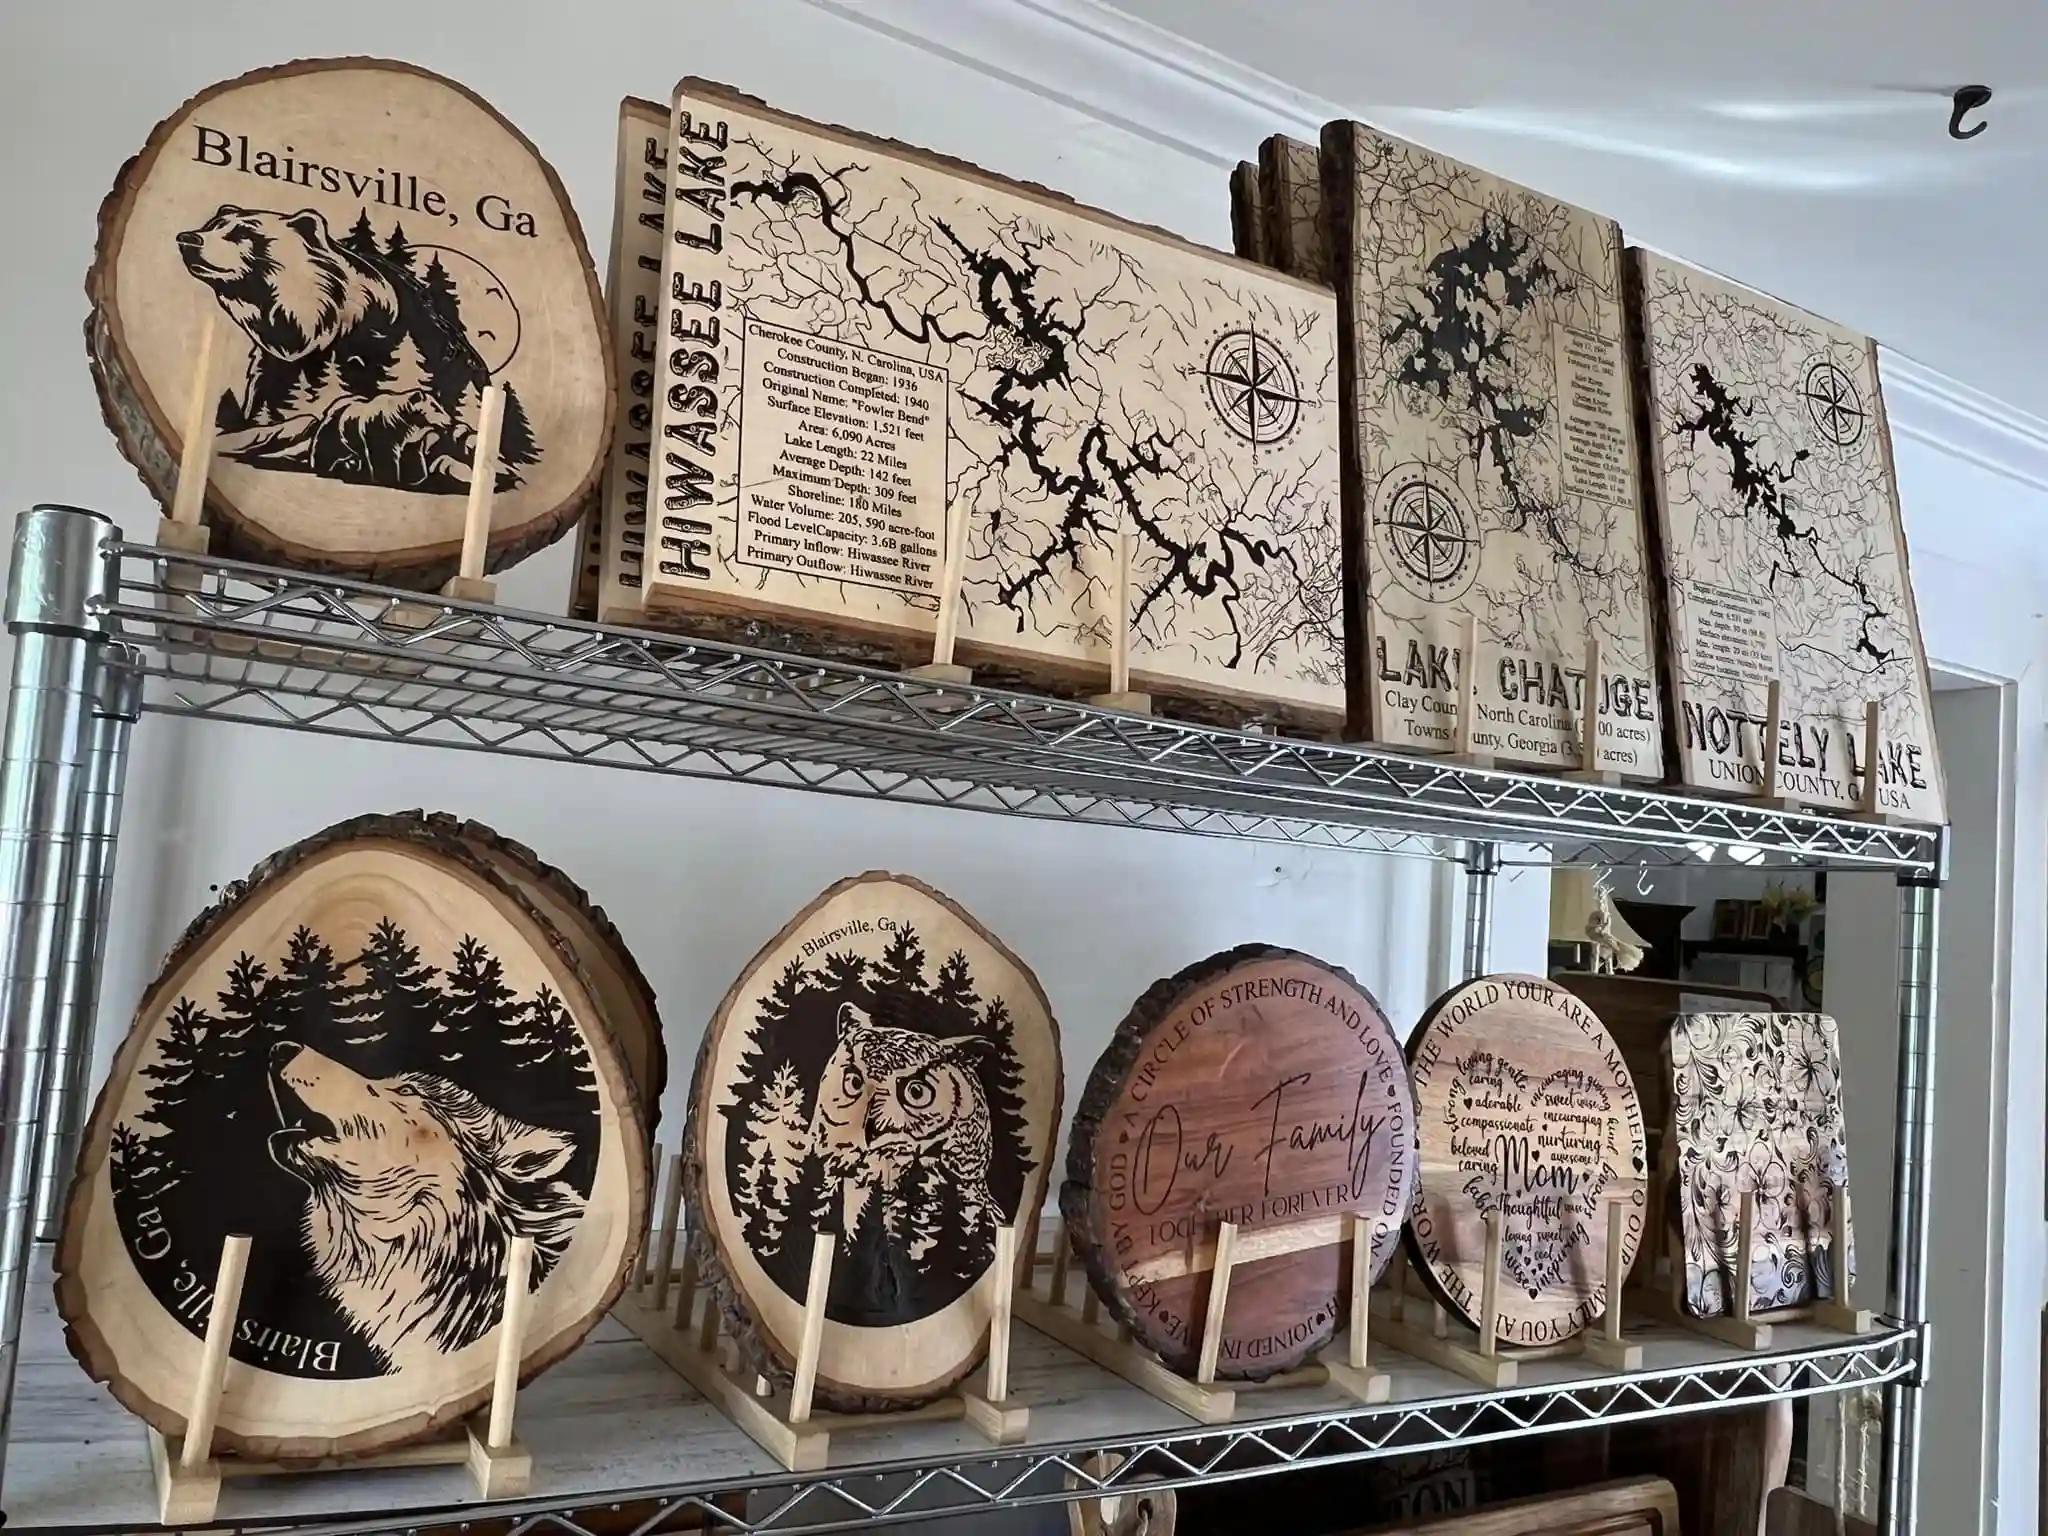
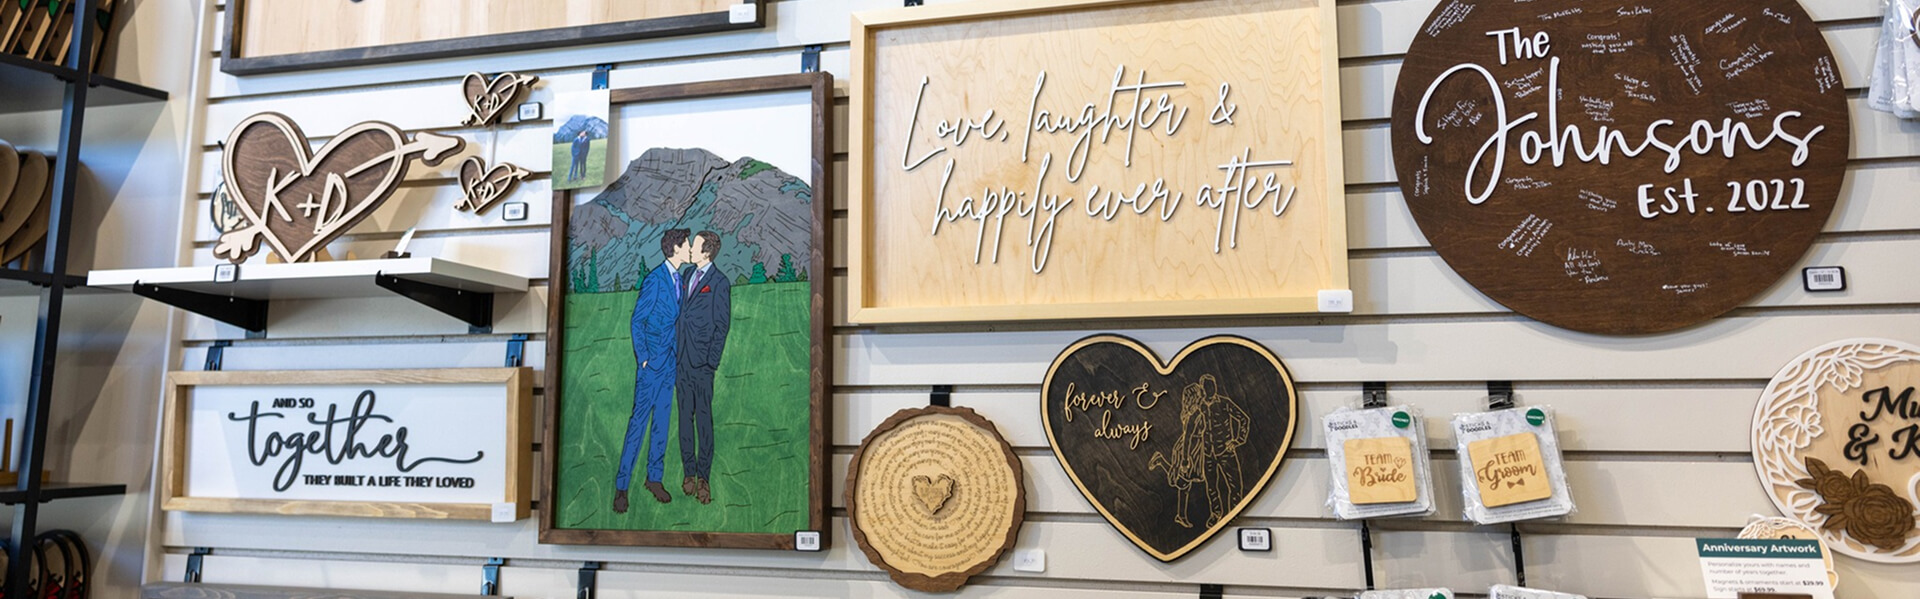
Laser cutting allows detailed digital designs to be transformed into finished physical artwork.
Laser cutting art is a form of digital fabrication in which a laser machine follows a computer-generated design to cut or modify material. It gives creators accurate control over shape, scale, repetition, pattern, and surface detail.
This process is especially useful for designs containing intricate geometry, repeated elements, small text, layered forms, or complex curves. The same design can also be reproduced consistently for editions, exhibitions, custom orders, or product collections.
| Process | How It Works | Typical Art Applications |
|---|---|---|
| Laser Cutting | The laser follows vector paths and cuts completely through the material. | Wall art, layered artwork, sculptures, models, ornaments, signs, and decorative panels. |
| Laser Engraving | The laser removes or changes the material surface to create visible depth or contrast. | Portraits, photographs, textures, names, illustrations, and decorative details. |
| Laser Etching or Marking | The laser creates a shallow surface effect or controlled contrast. | Fine line art, signatures, small details, identification, and selected coated materials. |
| Mixed-Process Art | Cutting, engraving, painting, lighting, assembly, and other processes are combined. | Layered scenes, illuminated art, inlays, installations, and dimensional sculptures. |
Laser art projects may combine cutting, engraving, etching, painting, lighting, and assembly in one finished piece.
The phrase laser etching art is often used broadly for surface designs produced with a laser. For project planning, it is more useful to identify whether each design element needs to be cut through, engraved into the surface, or marked with a light contrast effect.
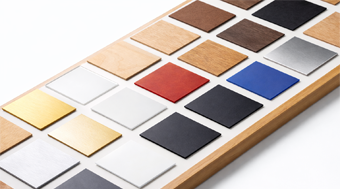
The material influences the color, texture, structure, edge appearance, assembly method, and overall visual character of the artwork. Material selection should begin before the design is finalized.
For broader material ideas, you can explore Thunder Laser material pages for wood, acrylic, leather, fabric, and cork.
| Material | Best Art Applications | Main Visual Effect | Main Consideration |
|---|---|---|---|
| Plywood | Layered wall art, maps, portraits, sculptures, ornaments, and relief designs. | Natural wood grain, visible layers, and warm dimensional depth. | Wood variation, knots, glue layers, edge darkening, and sheet flatness. |
| MDF | Painted wall art, prototypes, signs, layered designs, and decorative panels. | Uniform surface and consistent painted finish. | Smoke, edge residue, material density, and suitable extraction. |
| Acrylic | Edge-lit artwork, lamps, modern signs, geometric sculpture, and colorful installations. | Transparency, gloss, color, reflection, and illuminated edges. | Material type, protective film, reflections, surface scratches, and edge finish. |
| Paper and Cardstock | Paper-cut artwork, shadow boxes, invitations, silhouettes, and layered scenes. | Fine detail, lightweight layers, and delicate shadow effects. | Fragile features, movement during cutting, discoloration, and fire safety. |
| Cardboard | Models, prototypes, large temporary installations, and low-cost sculptures. | Visible layered construction and lightweight structural forms. | Limited durability, exposed flutes, edge darkening, and material variation. |
| Leather | Wearable art, decorative panels, jewelry, book covers, and mixed-media projects. | Organic texture and strong engraved contrast. | Confirm that the leather and finish are compatible with laser processing. |
| Fabric | Fashion, costume design, layered textiles, appliqué, and installation art. | Soft form, movement, transparency, and layered color. | Fiber composition, fraying, melting behavior, and material movement. |
| Cork | Decorative maps, coasters, natural wall art, and engraved illustrations. | Natural texture and dark engraved contrast. | Thin features may be fragile, and material density can vary. |
Material choice affects the color, texture, edge finish, strength, assembly method, and final visual style of laser cutting art.
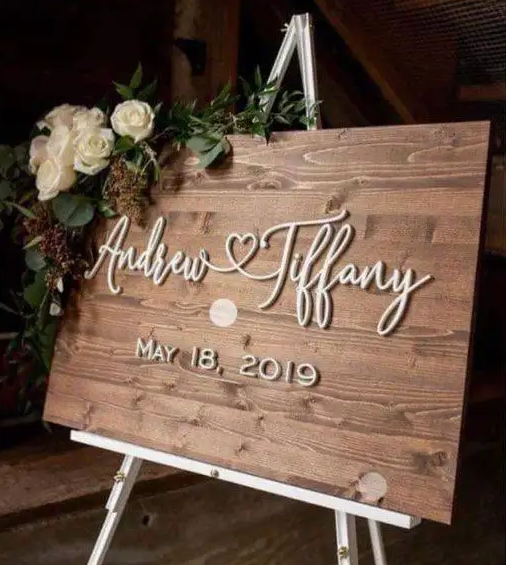
Wood is widely used for layered artwork, wall décor, maps, portraits, and dimensional designs.
Material check: Confirm the exact material composition before laser processing. Avoid unknown plastics, unidentified coatings, and materials that the supplier or laser manufacturer has not confirmed as suitable.
Laser cutting art can range from compact decorative products to large dimensional installations. The best idea depends on the chosen material, available work area, design experience, finishing method, and assembly requirements.
You do not need a different image for every possible project. Several related ideas can use the same material, layering method, or construction principle.
| Laser Art Idea | Suitable Materials | Main Technique | Best For |
|---|---|---|---|
| Layered Wall Art | Plywood, MDF, acrylic, and cardstock. | Layering, contour cutting, engraving, painting, and alignment. | Home décor, gifts, exhibitions, and personalized products. |
| Shadow Boxes | Paper, cardstock, thin wood, and translucent acrylic. | Multi-layer cutting, spacing, depth, and backlighting. | Decorative scenes, events, story art, and memorial gifts. |
| Acrylic Light Art | Clear, colored, mirrored, or translucent acrylic. | Engraving, edge lighting, cutting, and layered color. | Lamps, signs, modern décor, and branded displays. |
| Maps and Topographic Art | Plywood, MDF, cork, acrylic, and paper. | Contour layers, engraving, inlays, and color separation. | Personalized wall art, travel gifts, and location-based décor. |
| 3D Sculptures | Wood, acrylic, cardboard, and paperboard. | Slot-fit construction, stacked profiles, ribs, and modular assembly. | Exhibitions, models, installations, and decorative objects. |
| Custom Portraits | Wood, acrylic, leather, paper, and coated materials. | Raster engraving, line conversion, silhouettes, and layered outlines. | Gifts, commemorative artwork, family portraits, and pet art. |
| Jewelry and Wearable Art | Wood veneer, acrylic, leather, fabric, and suitable marking materials. | Fine cutting, engraving, assembly, and mixed-material construction. | Boutiques, fashion projects, events, and small creative businesses. |
| Architectural Models | Cardboard, plywood, acrylic, MDF, and paper. | Precision cutting, tab construction, scale control, and layered façades. | Architecture, education, exhibitions, and presentation models. |
| Theatre and Museum Installations | Wood, acrylic, fabric, cardboard, and mixed media. | Modular construction, repetition, lighting, and large-scale assembly. | Stage design, exhibitions, museums, and immersive environments. |
Laser cutting art ideas can often be adapted across materials by changing scale, layering, color, lighting, or assembly method.
Layered wall art creates depth by stacking several cut sheets. Each layer may contain part of a landscape, portrait, mandala, map, floral pattern, animal design, or abstract composition.
A typical project may use three to eight layers. Registration holes, outer alignment edges, or a positioning jig help keep the artwork aligned during assembly.

Several related wall-art ideas can share the same layering, alignment, painting, and assembly techniques.
Paper-cut art works well for fine silhouettes, botanical patterns, layered scenes, invitations, and shadow boxes. Acrylic adds transparency, reflection, color, and illuminated edge effects.
A project can combine cardstock foreground layers with a translucent acrylic background and LED lighting. This creates dimensional scenes without requiring a large number of different materials.
Laser-cut sculptures can be built from interlocking slots, repeated ribs, stacked profiles, folded components, or modular panels. These methods are useful for geometric art, animal sculptures, architectural forms, display structures, and kinetic pieces.
Measure the actual sheet thickness before designing the joints. A nominal 3 mm sheet may be slightly thinner or thicker, which directly affects how tightly the pieces fit. For a detailed thickness-adjustment workflow, see how to resize a laser cut file for different material thicknesses.
Wearable laser art includes earrings, pendants, leather accessories, costume components, textile layers, and decorative fashion pieces. Mixed-media projects can combine engraved wood, colored acrylic, fabric, paint, metal hardware, mirrors, lighting, and printed elements.
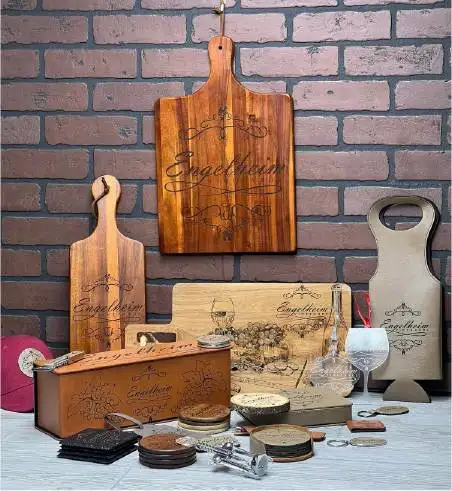
Engraving can add illustrations, names, patterns, and custom details to functional art and personalized products.
Installation art can scale these techniques into larger structures. Repeated components make it possible to create floral walls, geometric partitions, suspended forms, theatre scenery, and educational displays.
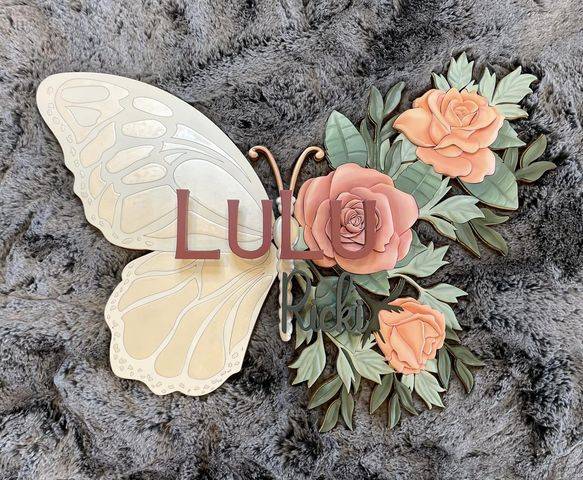
Repeated floral and geometric components can be assembled into larger wall pieces and art installations.
Artwork preparation determines whether a creative concept can be cut, engraved, assembled, and displayed successfully. A visually attractive digital design may still fail if it contains open paths, duplicate lines, unsupported shapes, or joints that do not match the material thickness.
LaserMaker can help users create, prepare, and adjust laser cutting designs before production, especially when working with templates, vector files, and material-specific workflows.
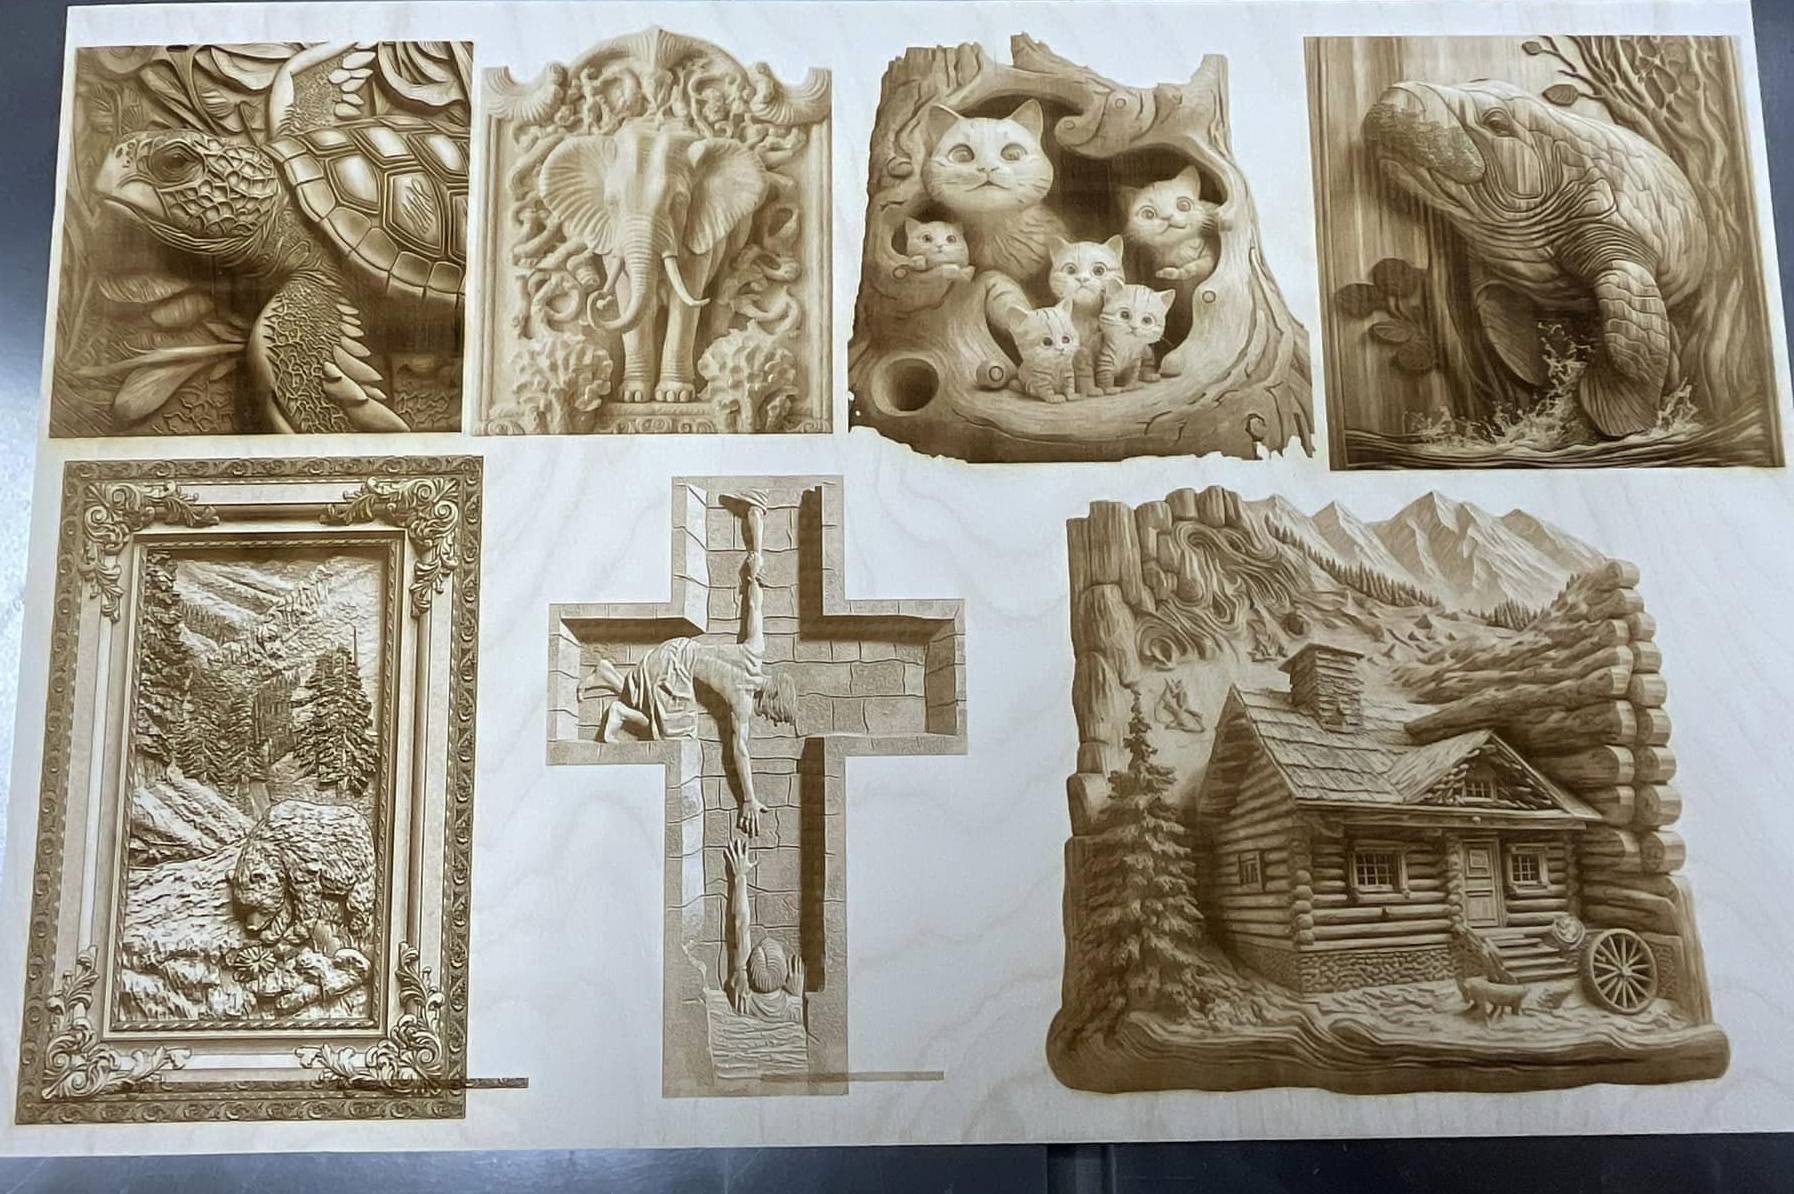
Artwork preparation includes image processing, vector cleanup, layer planning, scale checks, and material testing.
Vector files define lines and shapes that the machine follows. They are normally used for cutting, scoring, and line engraving. Common vector elements include outlines, curves, text converted to paths, and closed shapes.
Raster images are made from pixels and are commonly used for photographs, shaded illustrations, textures, and filled engraving areas. A single artwork can contain both vector cutting paths and raster engraving content.
Before sending the design to the laser, check for:
Duplicate vector lines may cause the laser to process the same location twice. This can increase edge darkening, heat input, cutting time, and the risk of small details being damaged.
Internal shapes such as the centers of letters may fall out when the surrounding material is cut. Add bridges or stencil-style connections when those pieces need to remain attached.
Thin lines, narrow branches, and tiny isolated details may also break during cutting, cleaning, painting, or assembly. Enlarge delicate features according to the selected material and project scale.
The laser removes a narrow path of material during cutting. This removed width is known as kerf. It can affect inlays, slots, press-fit joints, puzzles, stacked layers, and parts that must fit inside one another.
Run a small kerf or slot-fit test with the actual sheet before cutting the complete artwork. Use the test result to adjust slot widths, inlay offsets, and press-fit tolerances. For starting parameters, use the Thunder Laser CO₂ Laser Settings database and then test on your exact material.
For layered artwork, separate the design into clearly named processing layers. Add registration holes or alignment marks when precise stacking is required.
Engraving is generally completed before the outer shape is cut. Small internal cuts are often processed before large outlines so the material remains stable for as long as possible.
Decide what the artwork will communicate, where it will be displayed, how large it will be, and whether it will be flat, layered, illuminated, assembled, or suspended.
Choose the material according to the visual effect, required strength, thickness, finish, assembly method, and laser compatibility.
Prepare the vector and raster elements, convert fonts to paths, remove duplicate lines, add bridges, and confirm the final scale.
Test power, speed, focus, airflow, engraving resolution, kerf, and slot fit on a small sample from the same sheet or material batch.
Secure the material, set the correct focus, and use the machine’s Frame function to confirm that the design fits within the usable area.
Process engraved details first, followed by small internal cuts and final outer contours. Supervise the laser and follow the machine’s operating and material-safety procedures.
Remove residue, protective film, dust, or loose particles. Depending on the project, the parts may be sanded, painted, stained, polished, heat-formed, sealed, or color-filled.
Align layers, test all joints, and assemble the artwork using suitable adhesive, hardware, spacers, tabs, frames, or hanging systems. Check the finished piece from the intended viewing distance and lighting condition.
Creative techniques can add depth, movement, light, contrast, and texture without requiring a completely different project for every effect.
| Technique | How It Works | Typical Applications |
|---|---|---|
| Layering | Several cut sheets are stacked to create depth and visual separation. | Wall art, maps, portraits, shadow boxes, and relief artwork. |
| Inlay | One material or color is fitted into a cut recess in another layer. | Wood art, logos, decorative panels, and mixed-material designs. |
| Living Hinges | Repeated cut patterns allow a rigid sheet to bend. | Lamps, curved panels, boxes, sculptures, and wearable forms. |
| Light and Shadow | Cut patterns interact with a light source to project shapes onto surrounding surfaces. | Lamps, installations, theatre scenery, and decorative screens. |
| Edge Lighting | Engraved acrylic captures light introduced through its edge. | Signs, lamps, logos, portraits, and display art. |
| Paint Filling | Engraved areas are filled with paint or pigment for stronger contrast. | Signs, illustrations, decorative boards, and customized gifts. |
| Slot-Fit Construction | Precisely sized slots connect parts without a complex frame. | Sculptures, models, furniture-scale art, and geometric structures. |
| Mixed Materials | Wood, acrylic, paper, fabric, mirrors, lighting, and hardware are combined. | Installations, dimensional wall art, displays, and custom products. |
Layering, inlay, lighting, living hinges, and slot-fit construction can add depth and structure to laser cutting art.
| Problem | Likely Cause | Recommended Adjustment |
|---|---|---|
| Small details fall out | The design contains unsupported islands or very narrow connections. | Add bridges, enlarge connections, or simplify the smallest features. |
| Parts do not fit together | Kerf, slot width, or actual material thickness was not considered. | Measure the sheet and run a small tolerance test before recutting. |
| Layered artwork does not align | The design has no registration system, or parts shifted during assembly. | Add locating holes, alignment marks, an outer frame, or an assembly jig. |
| Wood edges are heavily darkened | Excessive heat, slow speed, weak airflow, or an inefficient cutting path. | Adjust speed and power, improve airflow, and test protective masking where suitable. |
| Acrylic edges appear cloudy | Material type, focus, settings, airflow, or protective film may be unsuitable. | Confirm the acrylic type and test focus, power, speed, and film removal. |
| Fine paper details burn | Energy is too high, movement is too slow, or small sections are processed repeatedly. | Reduce power, increase speed, and remove duplicate lines. |
| Some edges are cut twice | The vector file contains overlapping or duplicate paths. | Use file-cleanup tools to remove repeated lines before processing. |
| Text or details are missing | Fonts were not converted, paths are open, or features are below the workable size. | Convert fonts to outlines, close paths, and enlarge delicate elements. |
| Sculpture joints are too loose | The slots were designed from nominal thickness instead of actual sheet thickness. | Measure the material and adjust the slot width using a fit test. |
| Engraving looks muddy | The image has weak contrast, excessive detail, or unnecessarily high resolution. | Improve the source image, simplify the background, and test a lower DPI. |
Most laser cutting art problems can be reduced by cleaning the file, testing the material, and planning the assembly before the final cut.
The best laser cutter for art depends on the materials, project dimensions, engraving detail, cutting thickness, production volume, available space, and preferred workflow.
| Machine Series | Best-Fit Creative Work | Main Reason to Consider It |
|---|---|---|
| Bolt Series | Detailed engraving, custom artwork, small studios, gifts, signs, and frequent design changes. | Compact RF CO₂ platform suited to precise engraving and flexible creative production. |
| Nova Series | Wood and acrylic cutting, larger decorative pieces, layered art, signs, and general creative production. | Practical work areas and cutting-focused configurations for common art materials. |
| Nova Plus Series | Detailed art, larger layouts, multiple pieces per batch, and growing commercial production. | RF CO₂ processing with larger working areas and flexible engraving and cutting capability. |
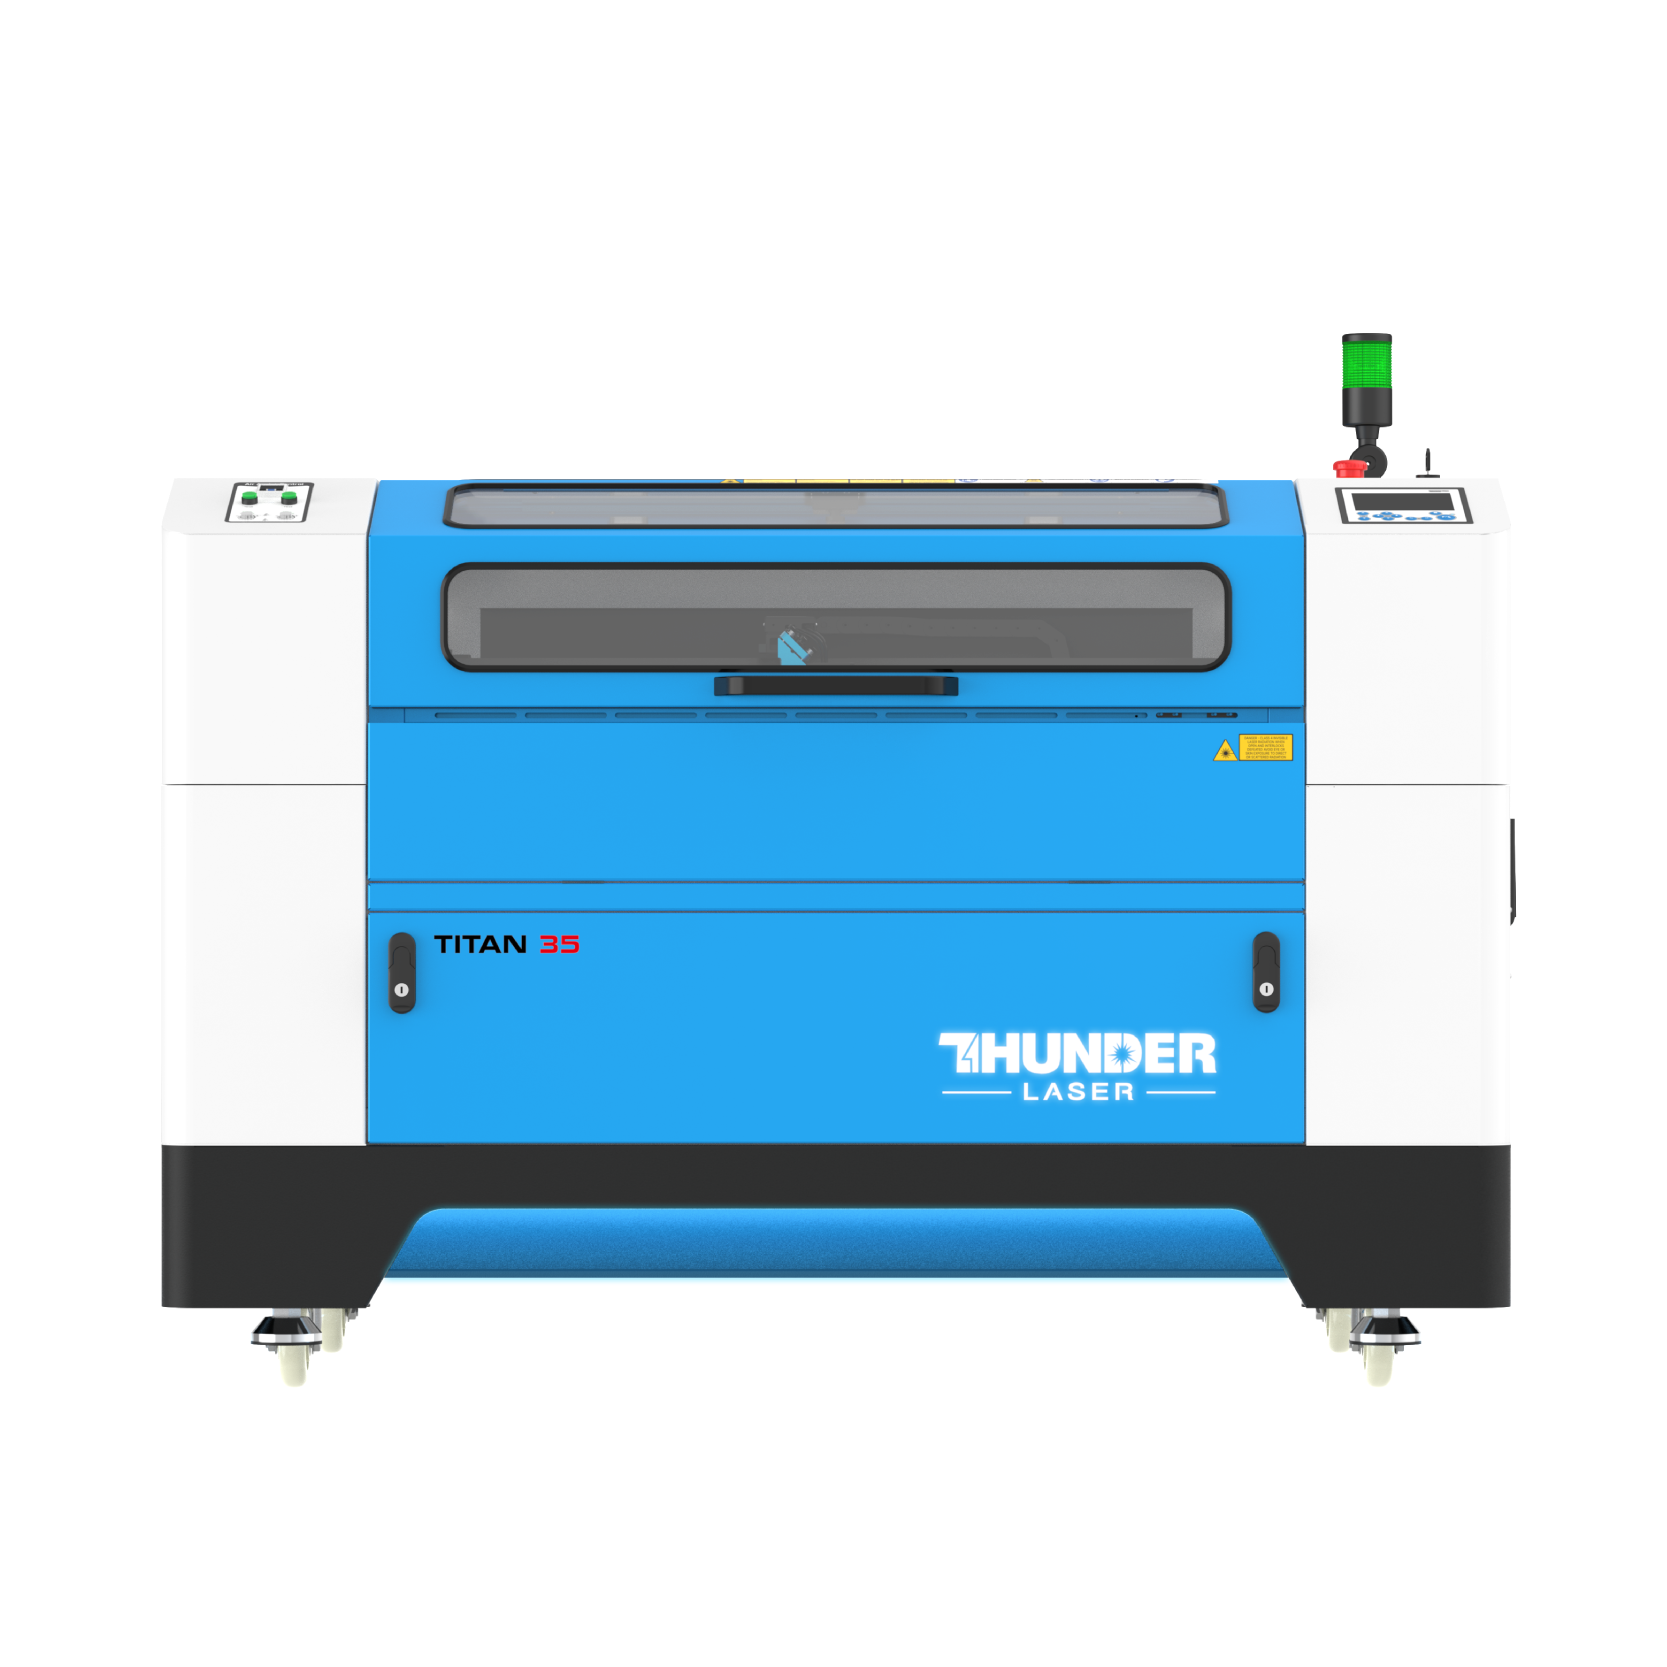
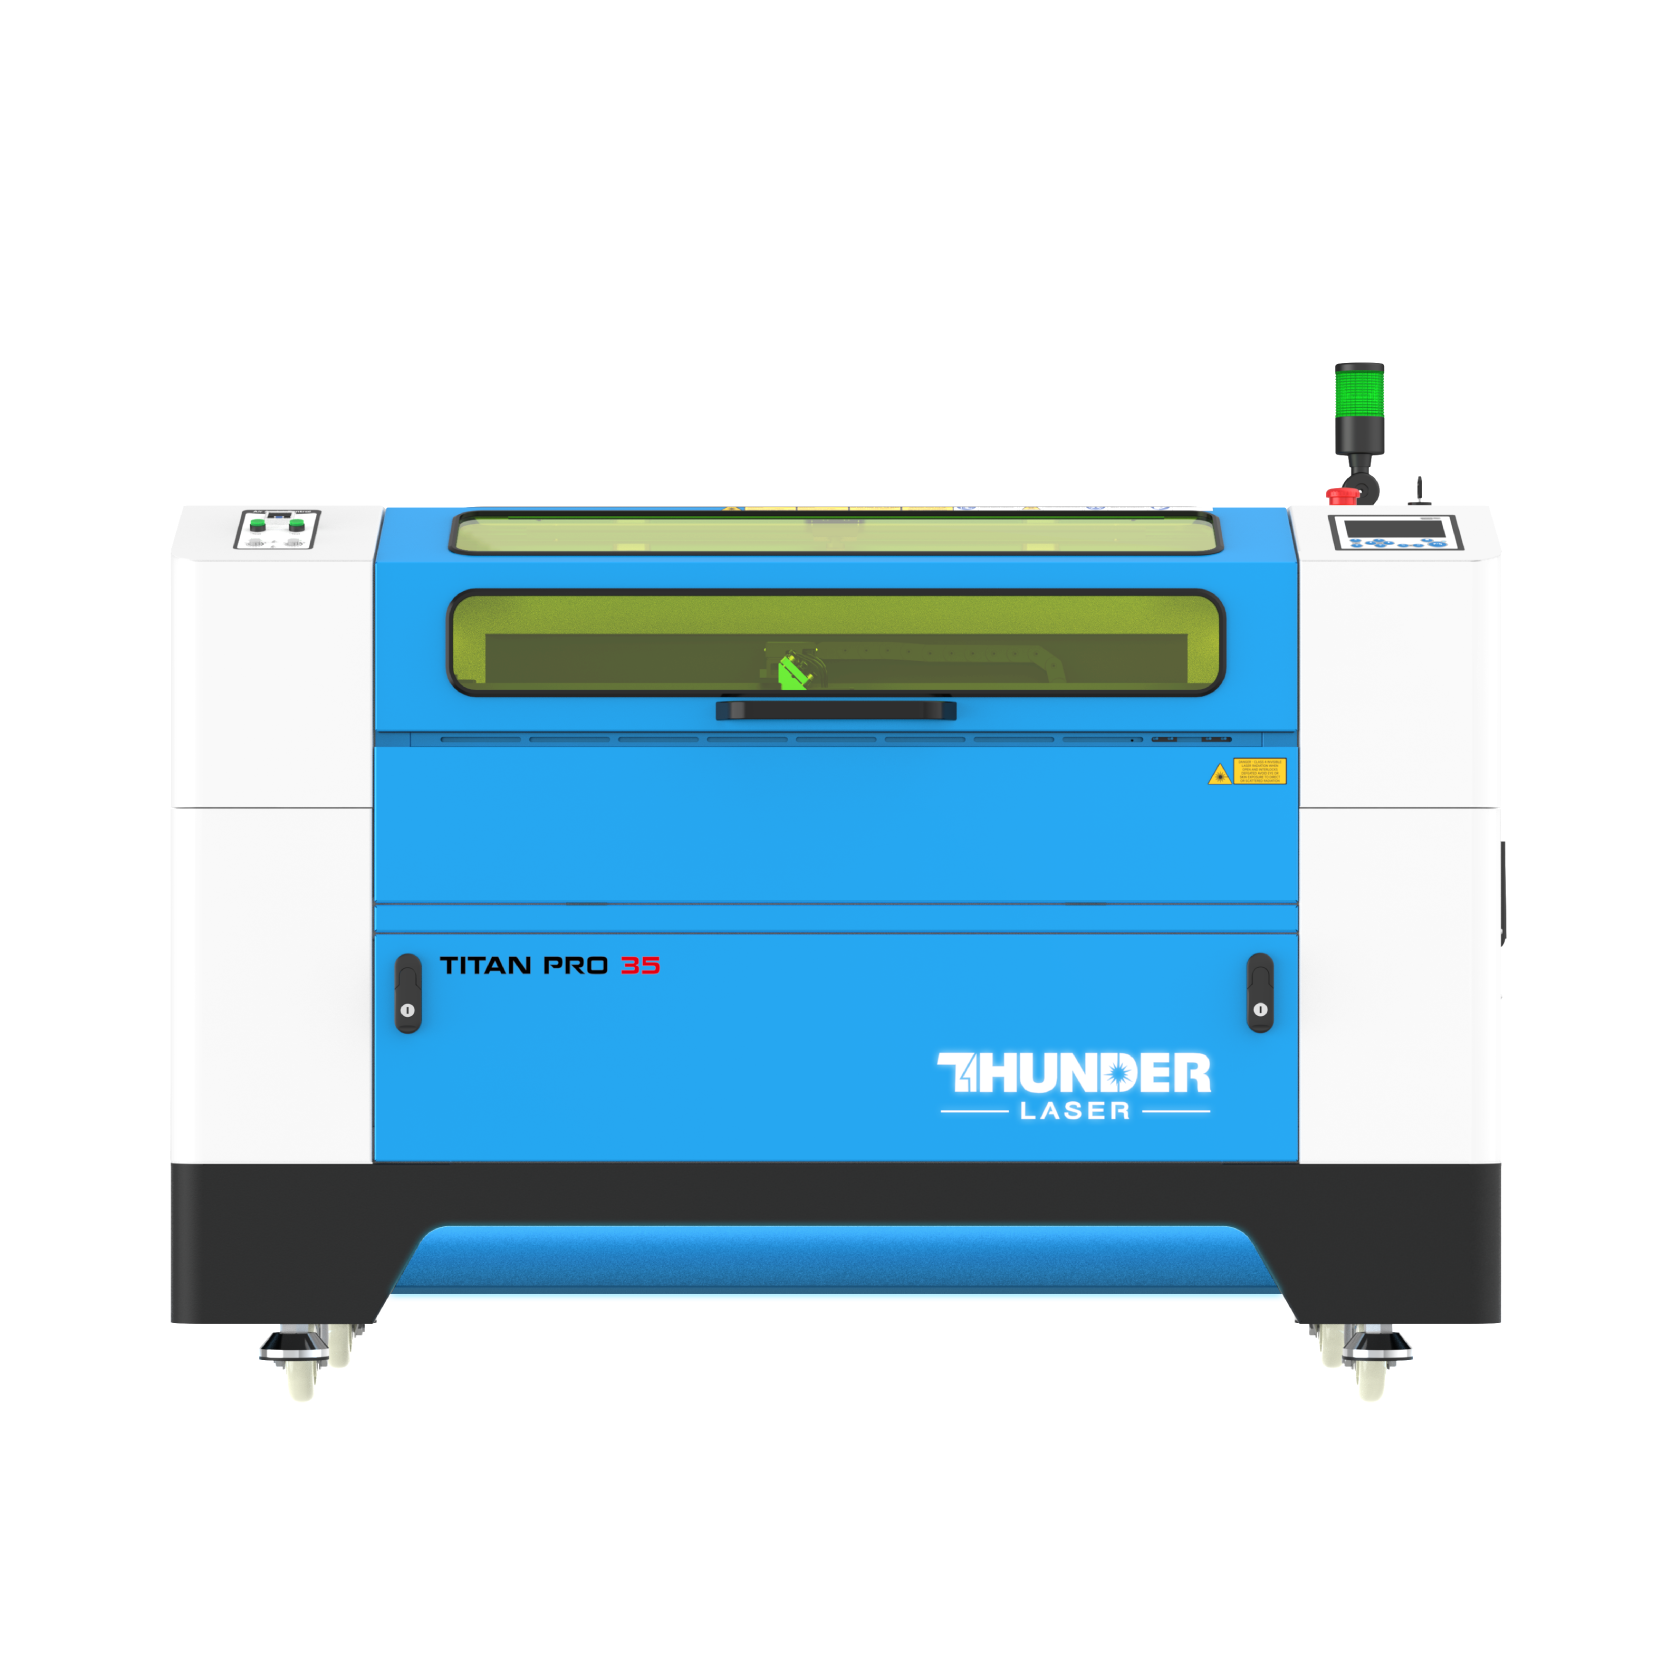
| Titan Series | Large-format art, complex installations, repeated production, and demanding studio workflows. | Higher-speed industrial processing for larger and more production-intensive projects. |
| Aurora Series | Small-format marking, fine details, metal artwork, jewelry, plastics, stone, and mixed-media components. | Compact marking options for materials and details outside standard CO₂ cutting workflows. |
Different Thunder Laser machines fit different art materials, artwork sizes, engraving details, and production requirements.

The Bolt Series is suitable for detailed engraving, custom artwork, gifts, signs, small studios, classrooms, and frequent design changes.
The Thunder Laser Bolt Series is a compact RF CO₂ laser platform for creators who need precise engraving, flexible cutting, and a smaller footprint for everyday creative production.

The Nova Plus Series provides larger RF CO₂ work areas for layered artwork, larger layouts, batch production, and mixed engraving and cutting projects.
The Nova Plus Series is suitable for detailed art, larger layouts, multiple pieces per batch, and growing commercial production that needs both engraving quality and cutting capability.

The Titan Series is suitable for larger-format artwork, complex installations, repeated production, and demanding studio or workshop workflows that require more speed, area, and industrial stability.
Consider the largest material sheet and finished artwork you expect to process. Layered wall art, architectural models, and installations may require more working area than jewelry, ornaments, or small customized products.
Projects focused on photographs, line art, textures, and small details benefit from precise engraving control. Thick plywood, acrylic parts, and structural sculptures place greater emphasis on cutting capability and material handling.
A small studio may prioritize compact size and fast setup. A commercial art business may need a larger work area, higher throughput, repeatable fixtures, multi-item layouts, and a workflow that supports several projects at once.
Confirm that the machine works with the design software and file types used in your workflow. Camera positioning can also help place artwork on irregular blanks, existing prints, reclaimed materials, and pre-cut objects.
Creative studios often process several materials in one day. Effective extraction, suitable air assist, clean optics, organized material storage, and documented settings help maintain a more consistent workflow.
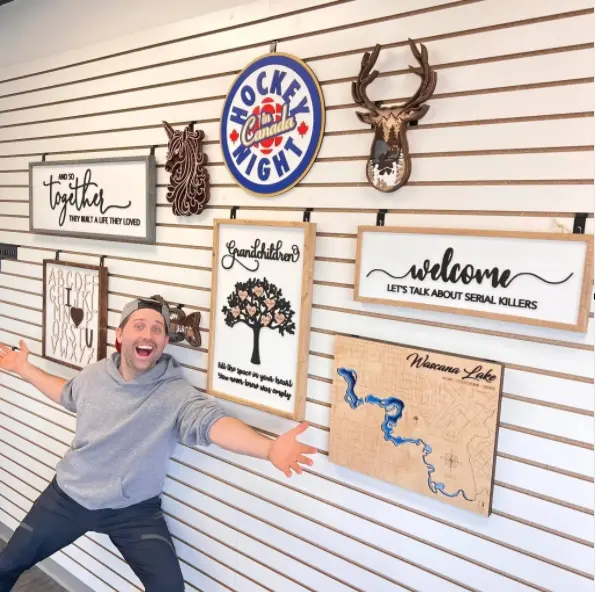
Machine selection should reflect the size, material, detail, and production requirements of the artwork.
A broad guide can explain materials, techniques, and design principles, while individual project tutorials provide more specific instructions, files, settings, and assembly details.
For more laser cut ideas, sample projects, material applications, tutorials, and downloadable design resources, explore the Thunder Laser Inspiration Library.
When reviewing project ideas, consider how the design can be adapted to your available material, work area, machine, finishing tools, and skill level. A complex installation can often begin as a smaller test piece using the same construction method.
Start with a test: Before producing the complete artwork, cut a small section containing the finest details, tightest joints, engraving textures, and key material transitions. This test can reveal most design and setting problems while using less material.
Laser cutting art gives creators a flexible way to turn digital designs into wall art, sculptures, illuminated acrylic pieces, paper scenes, architectural models, wearable objects, and mixed-media installations.
Strong results begin with a suitable material, a clean digital file, realistic feature sizes, tested joints, and a planned processing order. Layering, engraving, inlays, lighting, and modular construction can then add depth and character without requiring a separate image or tutorial for every project idea.
Bring Your Laser Cutting Art Ideas to Life
Explore Thunder Laser machines for wood art, acrylic art, layered designs, engraving projects, sculptures, signs, and custom creative production. Share your materials, artwork size, and production goals with our team to find the best laser cutting machine for art projects.
Explore Laser Cut Ideas Contact Thunder LaserTalk To Our Experts Now!
Please leave your contact information so that we can serve you better.
LASER CUTTING ART FAQS
TAKE THE NEXT STEP WITH THUNDER LASER


 Stable & Consistent MachinesUnlimited ApplicationsRobust After-sales SupportFactory Direct Supply


