RDWorks V8 Laser Cutter Software Guide
 23-02-06
WHAT ARE YOU LOOKING FOR?
Search Across Products, Blog Posts, Support Content, And Resources.

RDWorks V8 Laser Cutter Software Guide
23-02-06

Whether you are a beginner or transitioning from other design tools, mastering laser cutter software is important for achieving accurate and creative results. Among the available options, RDWorks V8 is commonly used for creating, importing, editing, and preparing designs for laser cutting tasks.
In this guide, you will learn how to use RDWorks V8 to create simple graphics, import design files, edit artwork, and prepare projects for smoother operation with your laser machine.
A laser cutter software provides tools and features for creating different types of designs. With the right tools, users can prepare engraving graphics, cutting paths, text, and basic shapes according to their project requirements.
This article uses RDWorks V8 as the example software. Many of the drawing principles, file preparation steps, and design habits also apply to other laser cutter software. We will start with software selection, then move into RDWorks V8 setup, common drawing tools, file importing, editing, and laser cutting preparation.
There are many options when choosing the right laser cutter software. Common choices include RDWorks V8, LightBurn, CorelDRAW, and Trotec JobControl. The best software depends on your machine, workflow, design needs, and budget.
RDWorks V8 Laser Cutter Software Tutorial
RDWorks V8 is a laser cutter software used by both professionals and hobbyists. It can help users design, import, edit, and prepare files for laser cutting and engraving. The software provides a practical interface and a set of drawing tools for creating laser-ready graphics.
RDWorks V8 can work with many laser cutting and engraving machines, depending on the controller and machine configuration. Before using it, confirm compatibility with your laser machine and download the correct installer from a reliable source or your machine supplier.
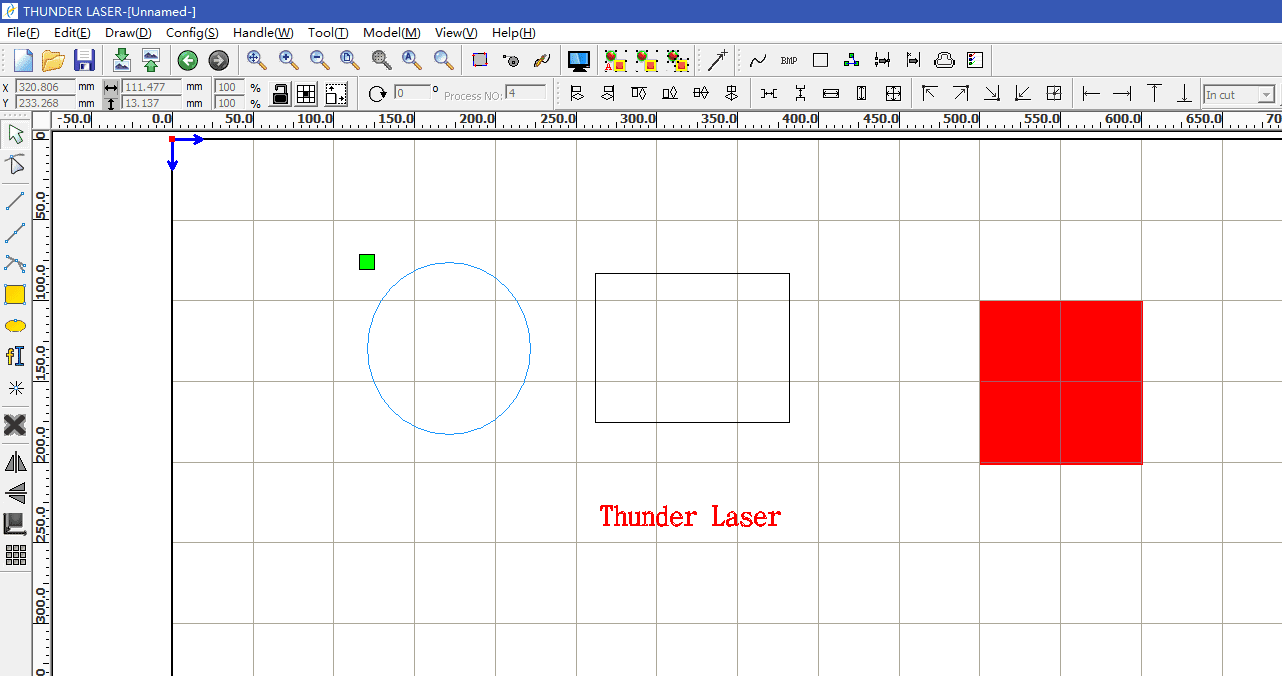
When you start RDWorks V8, you can find common drawing tools on the left side of the interface. These tools help you create simple graphics, edit shapes, organize design elements, and prepare artwork for cutting or engraving.
Laser cutter software usually works best with vector-based design files. You can create scalable designs in software such as Adobe Illustrator or Inkscape, then import compatible files into RDWorks V8 without losing design quality.
When creating your design, consider the material type, material dimensions, and laser bed size. Make sure the design fits within both the cutting area and the physical material. Common compatible file formats may include AI, DXF, or SVG, depending on your workflow and software version.
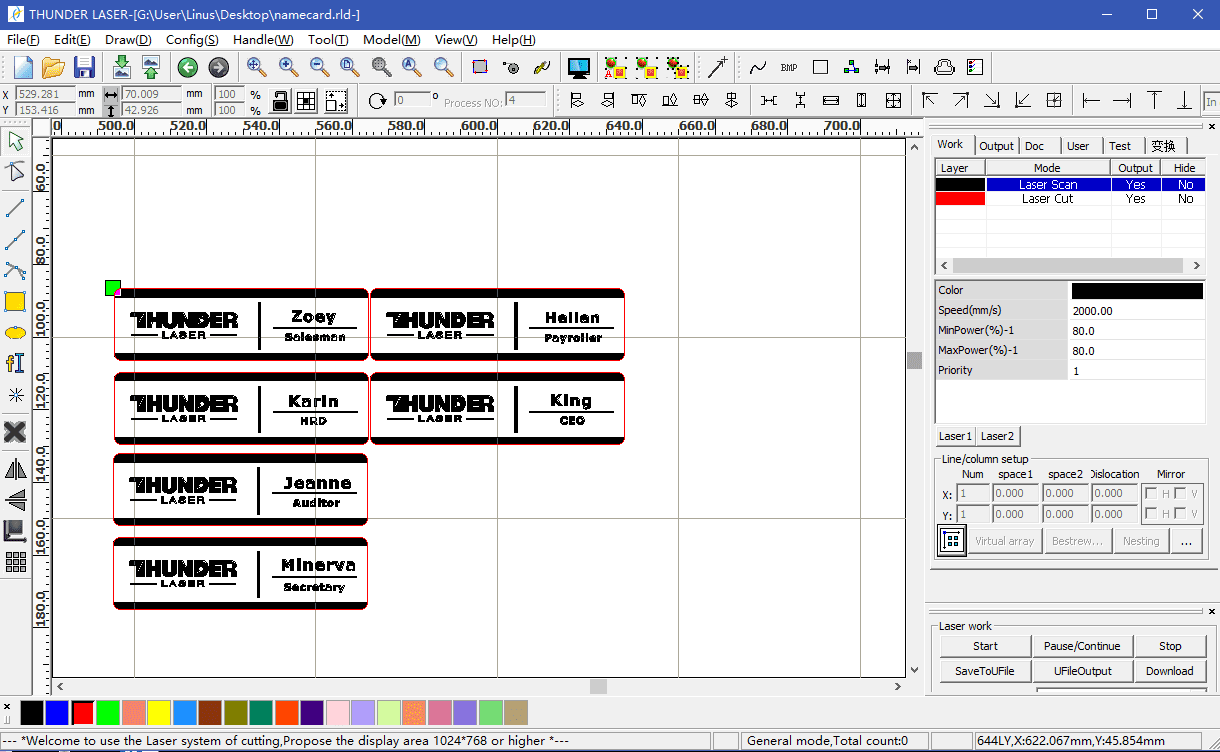
To import a file in RDWorks V8, click File, select Import, browse for the design file on your computer, and click Open. After importing, check the size, position, layers, and line settings before sending the file to the machine.
Once your design file is imported, you can edit it using the drawing and editing tools in RDWorks V8. These tools allow you to recreate lines, adjust shapes, add text, and modify design elements. Shape tools can also quickly create basic forms such as squares, circles, rectangles, and other simple graphics.
After adjusting the position, size, and structure of the design, save your changes. If you are using other laser cutter software, the exact steps may vary, so check the documentation or follow reliable video tutorials. It is also good practice to test the design on a sample material before processing the final workpiece.
After creating or editing your design, prepare it for your specific material and cutting or engraving settings. This step helps reduce cutting errors, improve edge quality, and make the final output more predictable.
Getting started with laser cutter software such as RDWorks V8 does not have to be overwhelming. With the right approach, you can quickly turn your ideas into ready-to-cut or ready-to-engrave designs.
As you continue practicing, RDWorks V8 can become a useful tool for both simple and complex laser projects. Explore its drawing tools, import workflows, layer settings, and cutting preparation steps, then test your parameters carefully to unlock the full potential of your laser cutter.
Need Help Choosing Laser Cutter Software?
Contact Thunder Laser for guidance on laser cutter software, file preparation, machine setup, and laser cutting workflows.
Contact UsTalk To Our Experts Now!
Please leave your contact information so that we can serve you better.
RDWORKS V8 LASER CUTTER SOFTWARE FAQS
TAKE THE NEXT STEP WITH THUNDER LASER

 Stable & Consistent MachinesUnlimited ApplicationRobust After-sales SupportFactory Direct Supply