
Aluminum Pen
 2026-09-04

Bolt-Serie
Professionelle Lasergraviermaschine für hochpräzise Ergebnisse
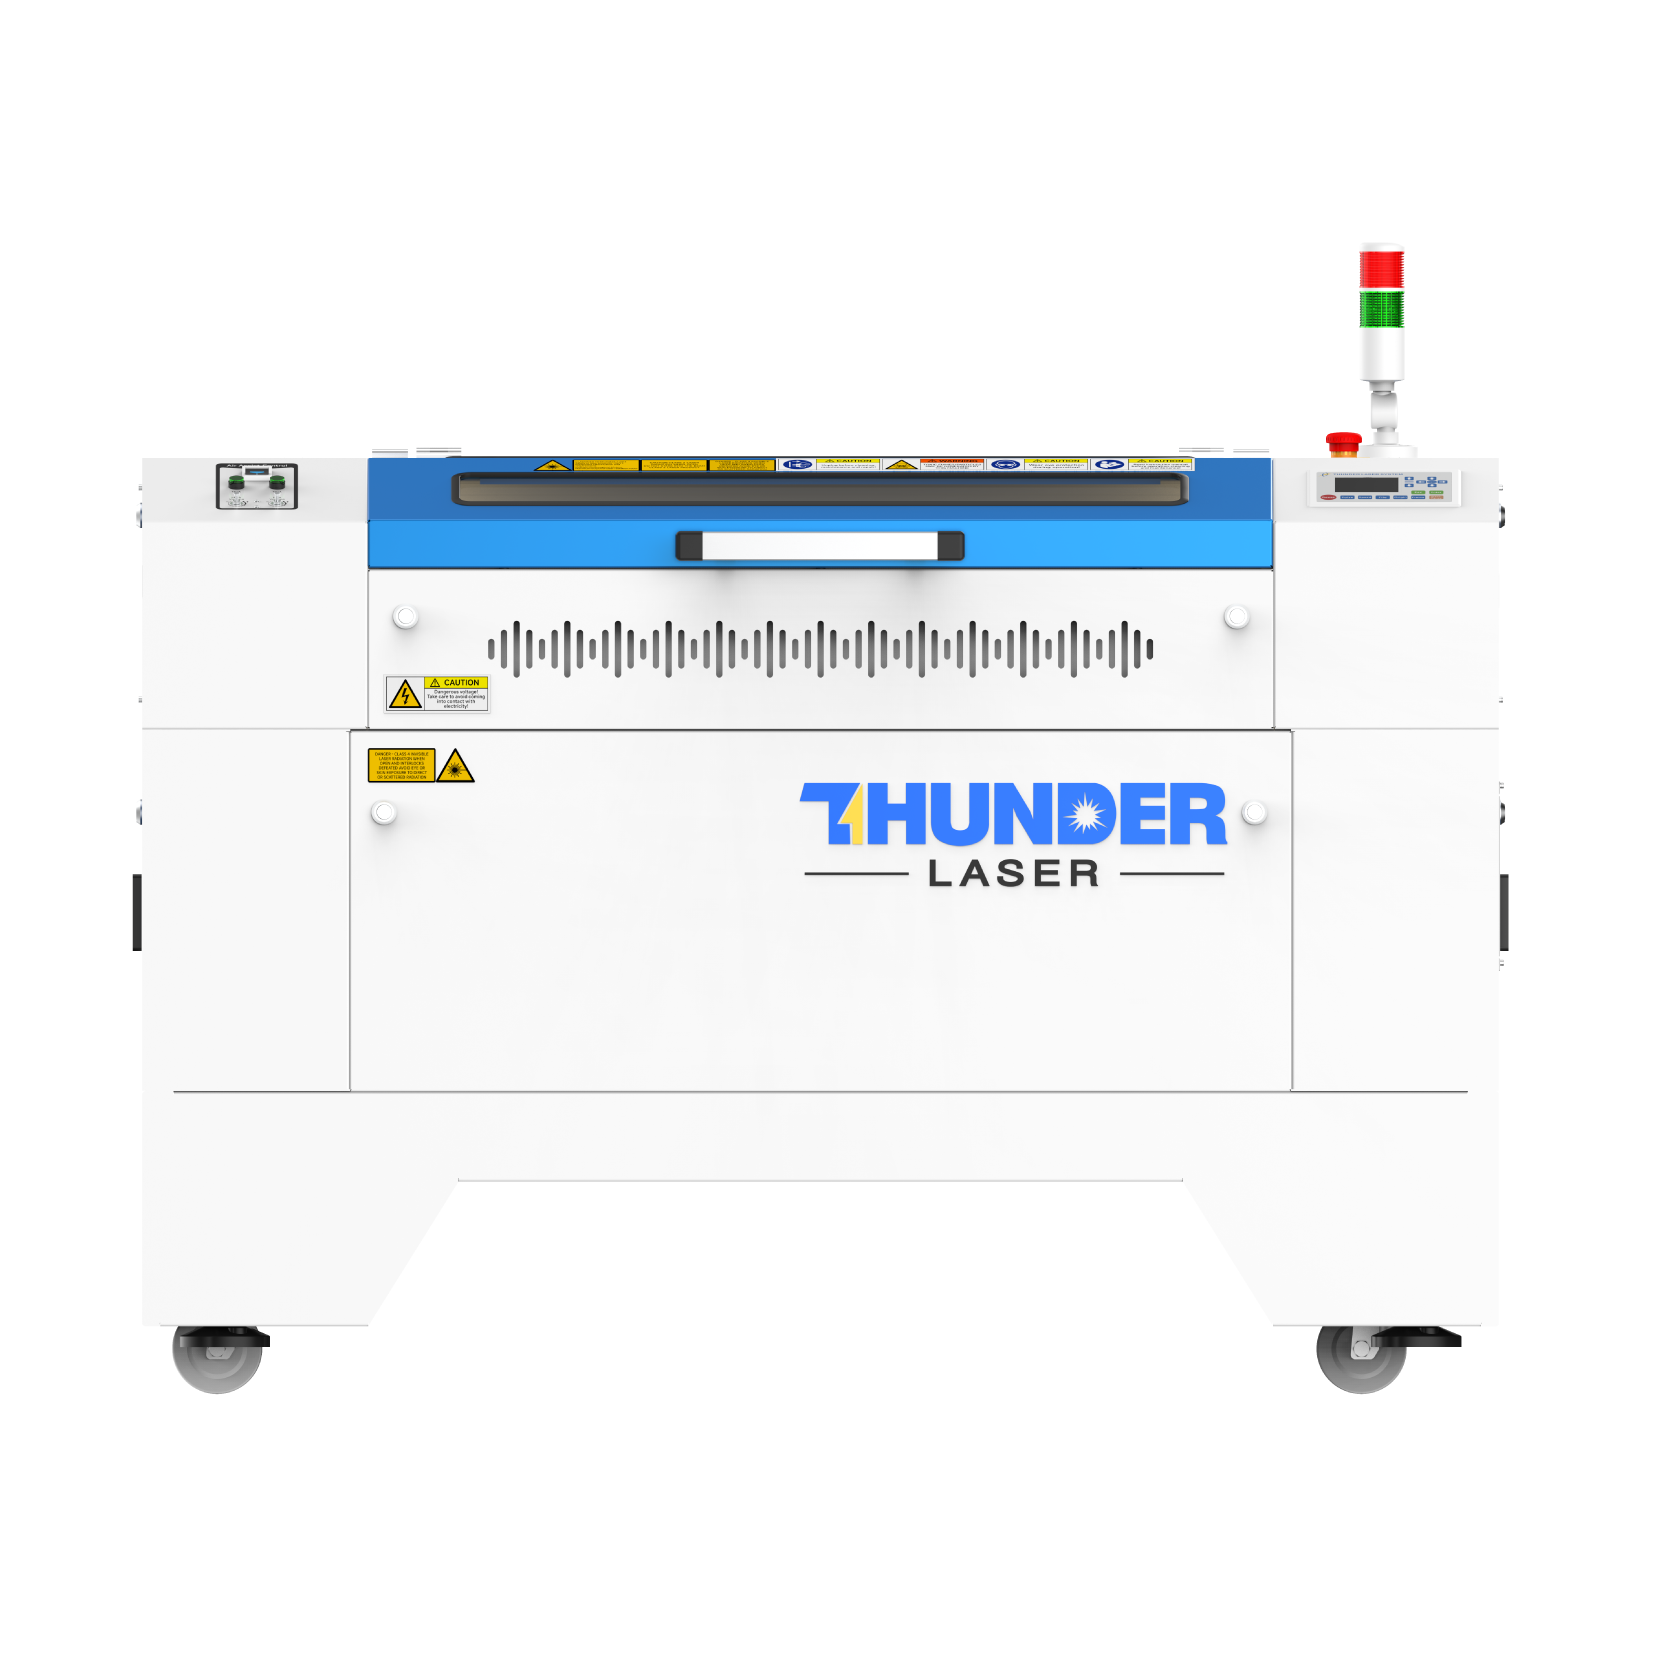
Nova-Serie
Großformat-CO₂-Laserschneider mit Glasröhre
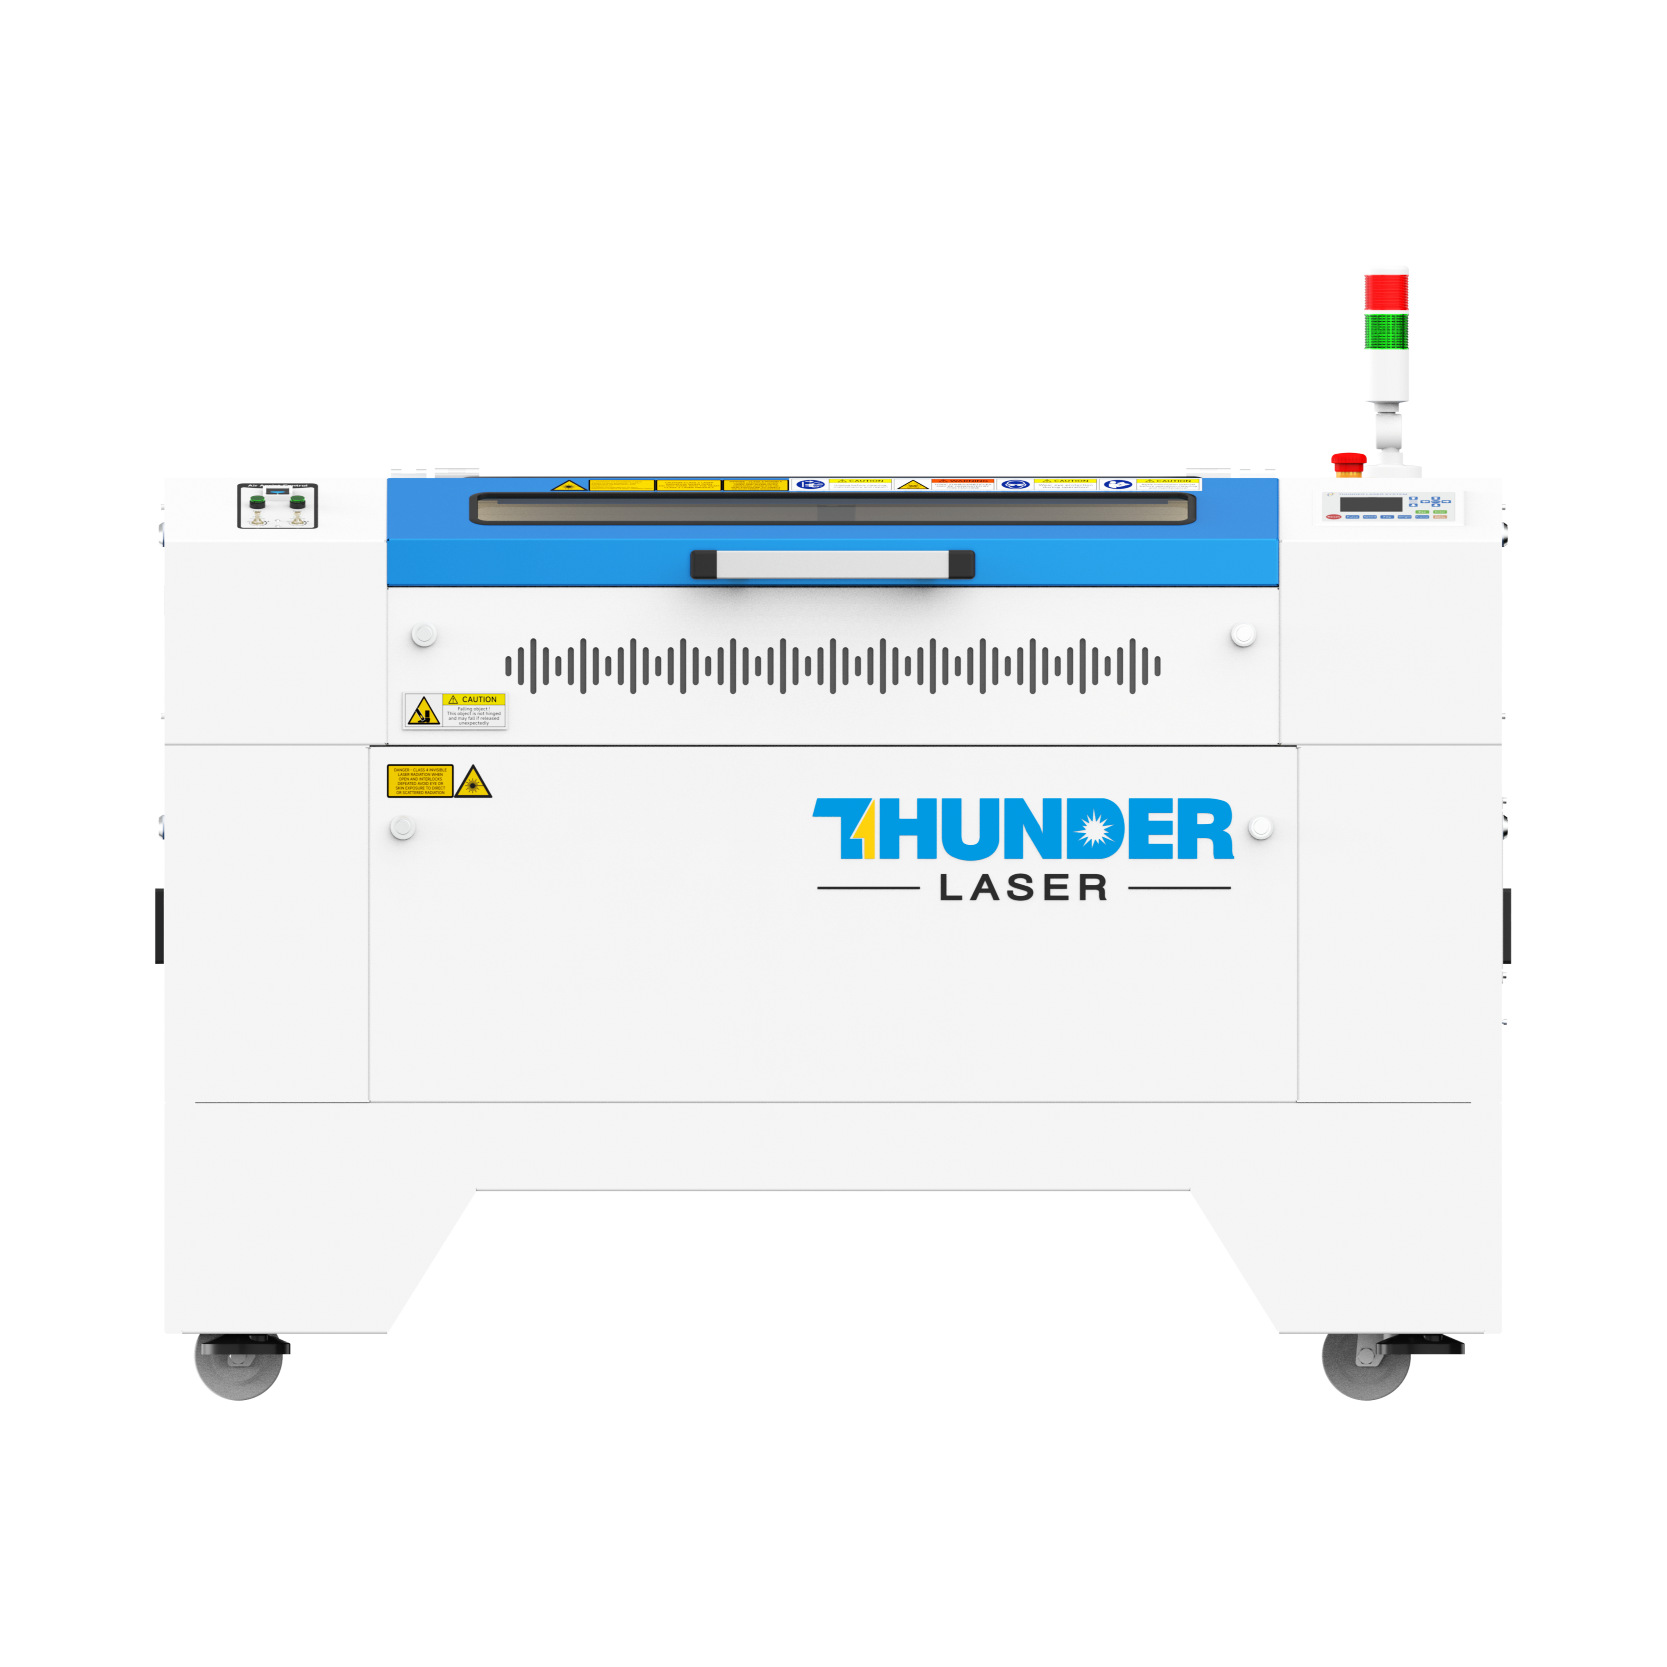
Nova Plus-Serie
Professionelle RF-CO₂-Laserschneidmaschine
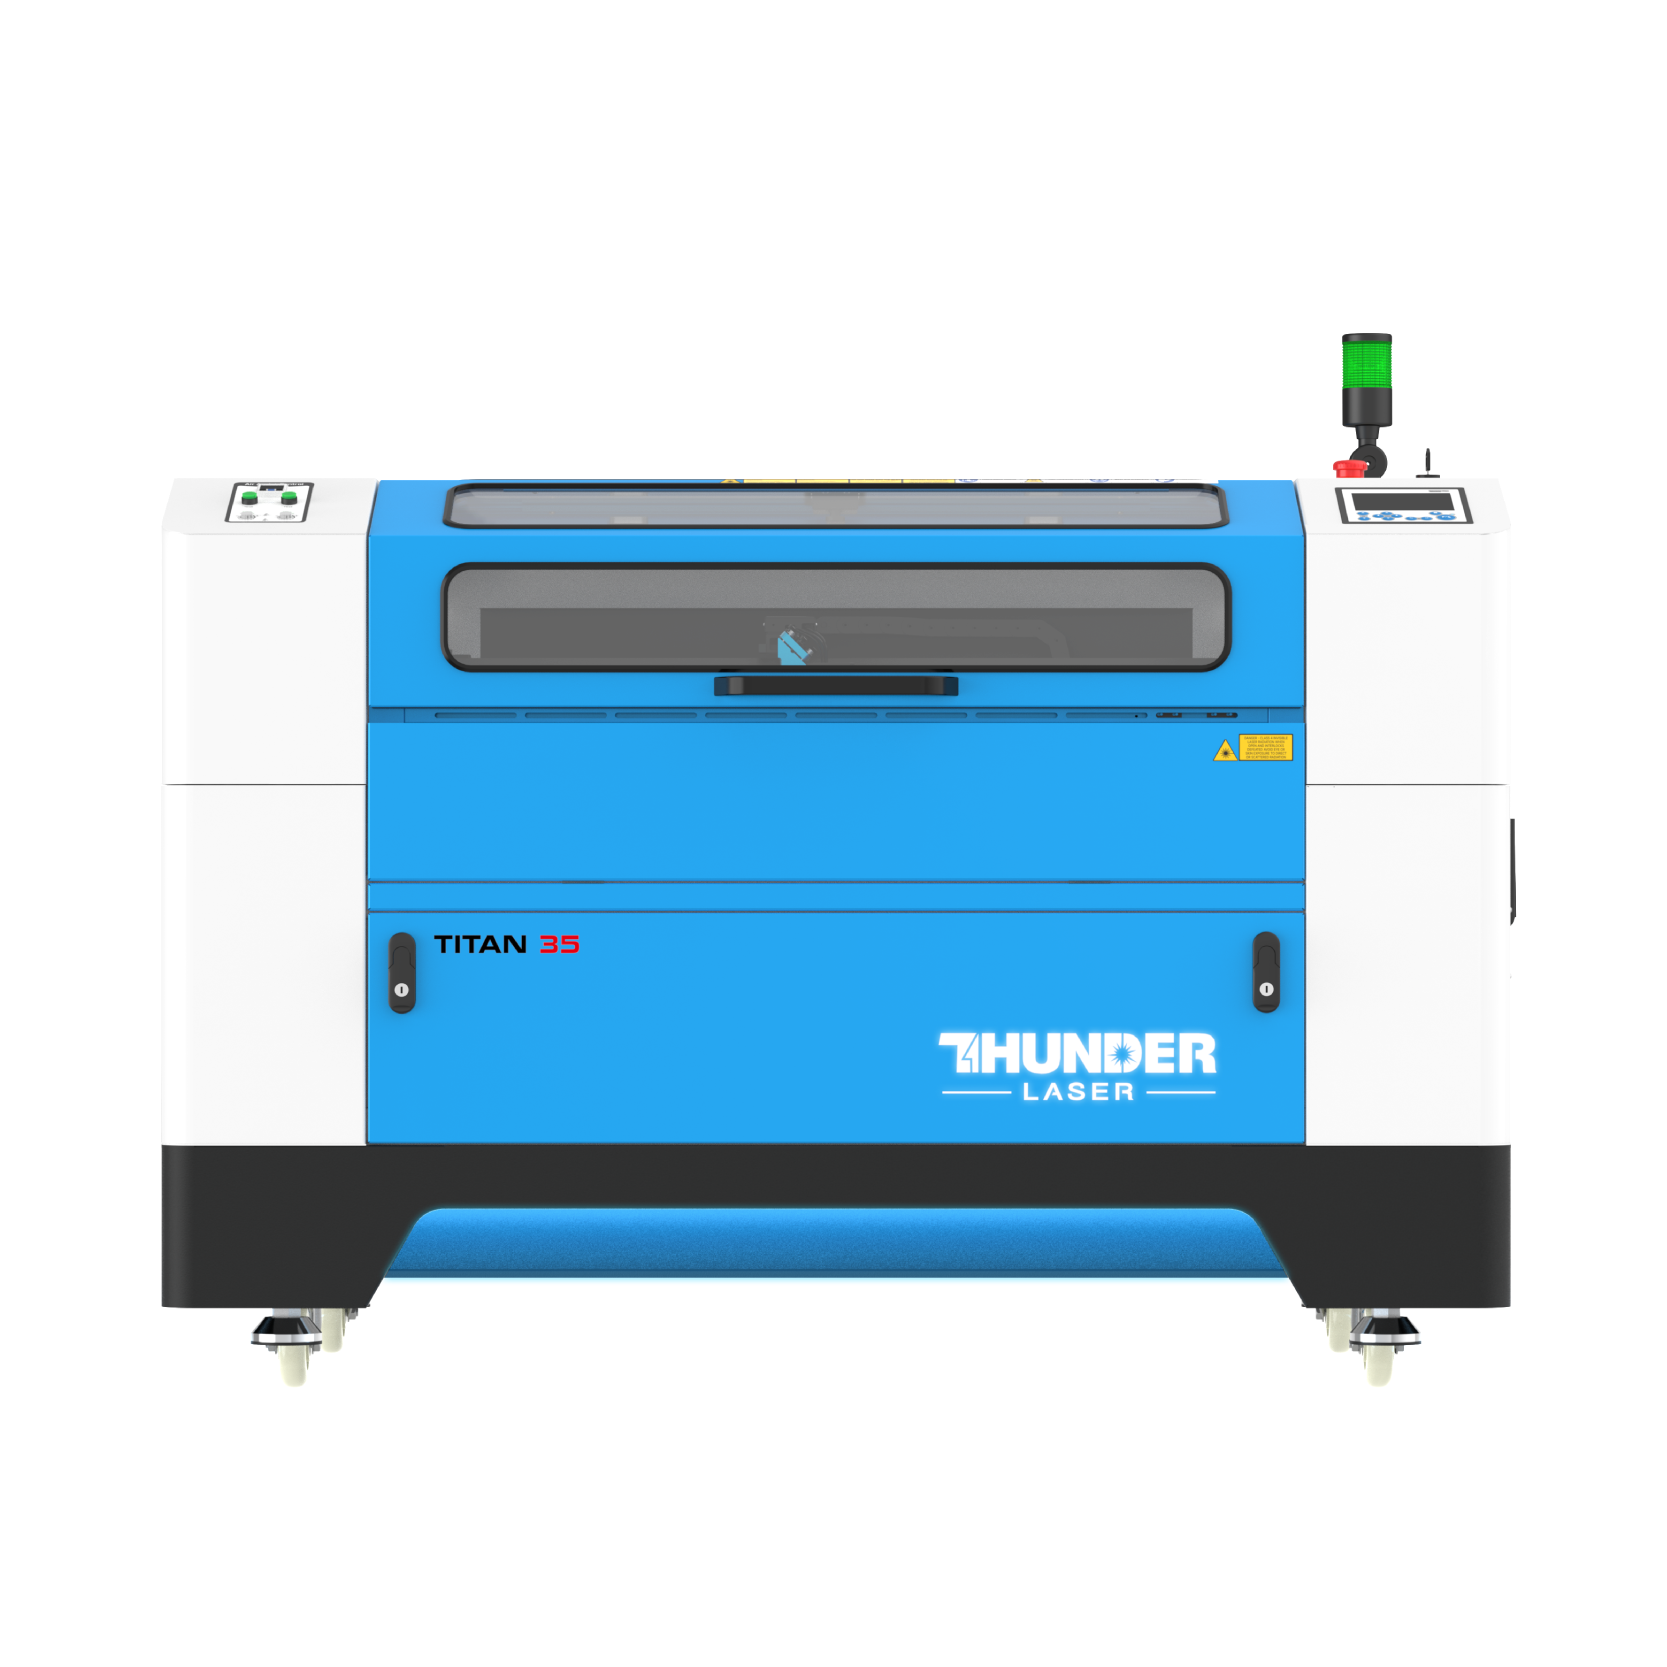
Titan-Serie
Industrielles RF-CO₂-Lasersystem
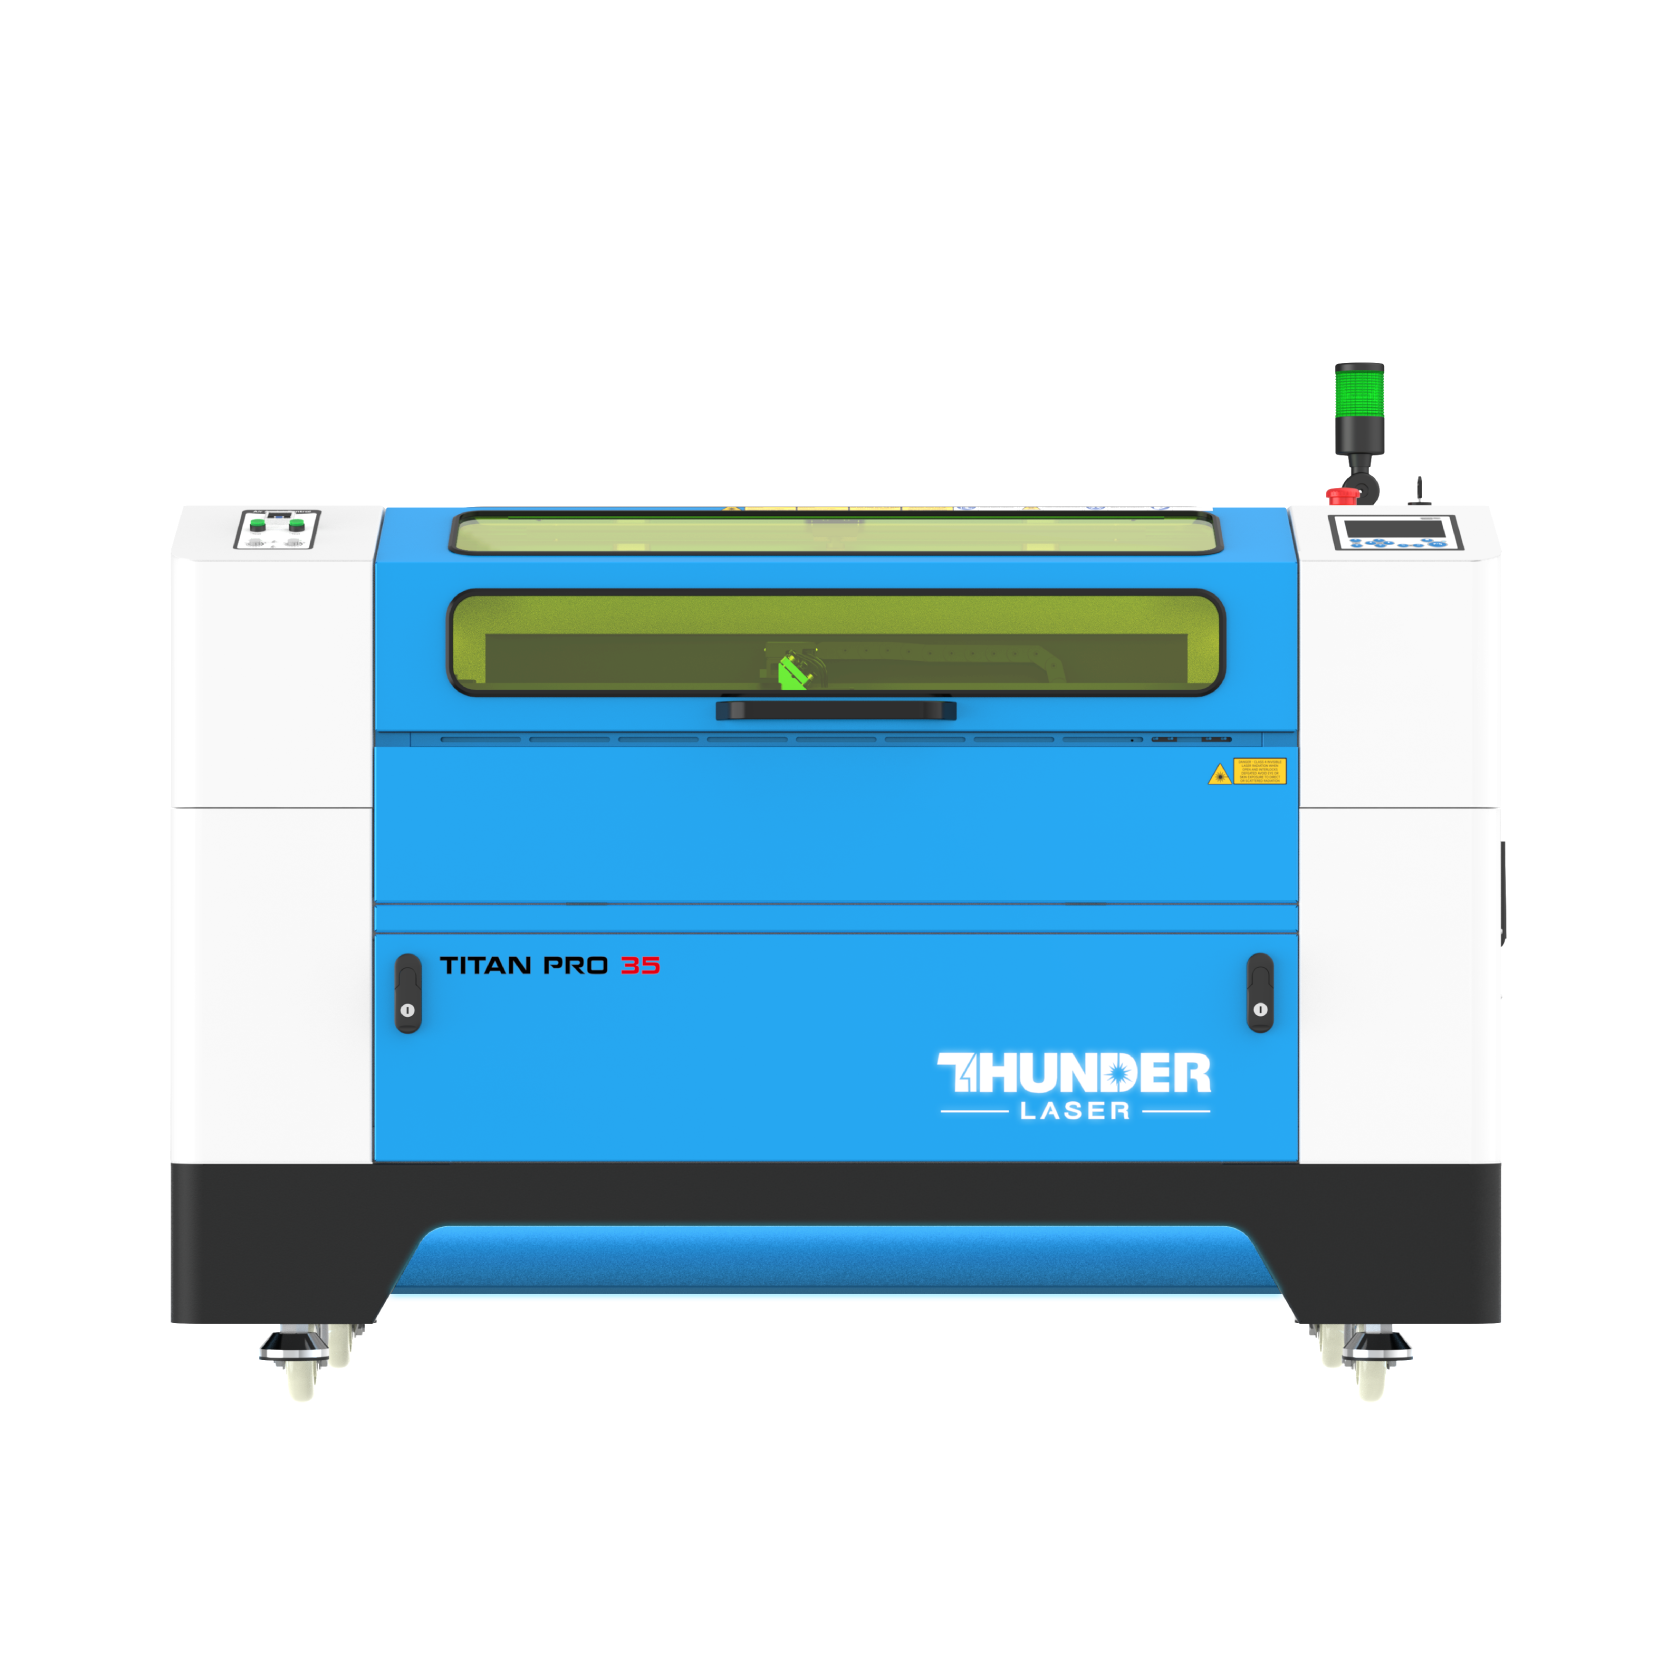
Titan Pro-Serie
Industrielles Lasersystem mit RF-CO₂- und MOPA-Faserlaser


WAS SUCHEN SIE FÜR?
Suche über Produkte, Blog-Beiträge, Support-Inhalte und Ressourcen.

Aluminum Pen
2026-09-04
Operational Process
Step 1: Prepare & Position the Material
Choose a piece of material with a suitable thickness and size. Place it flat on the table, then wipe away any dust or loose debris from the surface with a clean cloth. If the material is not perfectly flat, use pins or magnets to hold down the corners and keep it stable during processing.


Step 2: Import & Adjust the Design File
Open your laser software and import the design file. Set the parameters for each layer based on the recommended settings and your specific machine configuration. Once everything is ready, send the file to the machine. Then use the Frame function to check whether the marking positions are correct before starting the job.

Step 3: Set the Correct Laser Focus
Adjust the laser focus to match the thickness of your material before starting the job. A correct focus helps ensure clean and precise marks. You can set the focus manually or use the machine’s auto-focus function, depending on your model.


Step 4: Start Laser Marking
Once everything is set correctly, start the job and wait for the process to finish. It is recommended to monitor the machine during operation so you can respond quickly if any issue occurs. After the job is complete, wait a moment before opening the lid to let any remaining fumes clear out.
Step 5: Post-Processing
Clean the surface with water or alcohol to remove any dust or residue left after processing. Then use glue to attach the decorative parts in the appropriate positions. If needed, you can further improve the final appearance by applying paint or polishing the surface for a cleaner and more refined finish. Assemble the main structural components according to the design. Use slots or glue to fix the parts together and ensure the structure is stable and properly aligned.

Come and Try!
Your elegant “Reserved” sign is now ready to take its place! Whether displayed in a restaurant, café, or at a special event, it adds a professional and welcoming touch to any setting. Try customizing your next one with engraved logos or metallic backplates—because even the smallest details can make your space unforgettable.

Thunder Aurora Lite
Discover our compact desktop laser marker built for fast, precise, and detailed marking.

Projekte, die Sie möglicher weise auch mögen
Share. Connect. Get Inspired.
Your Creativity Fuels Our Community—let's Build Something Amazing Together!

Share on Social Media
Post your laser project and tag @thunderlaser.official to get featured.

Join Thunder Family
Learn, share, and get real support from the community.

Follow for More Ideas
Stay tuned for tutorials, material tips, and latest news.
Bereit für deine nächste Schöpfung?
Bereit für den nächsten Schritt? Entdecken Sie weitere Tutorials oder finden Sie die richtige Maschine für Ihre Arbeit.

 Stable & Consistent MachinesUnlimited ApplicationRobust After-sales SupportFactory Direct Supply