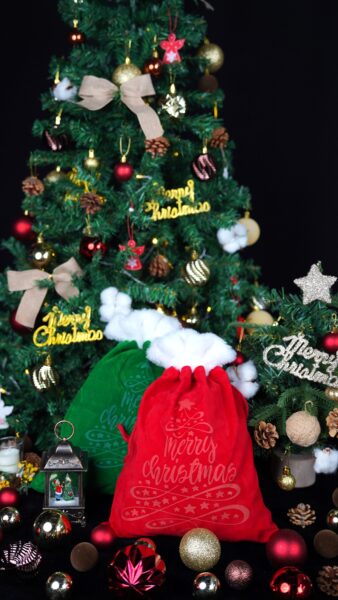
Velvet gift bags feel luxurious—and laser engraving turns them into personalized keepsakes perfect for the holidays. With careful setup, a laser cutter can etch crisp, elegant designs into velvet’s surface, revealing a beautiful contrast while keeping the pile soft. This quick tutorial will help you make memorable holiday gifts that look and feel special.
Verify the lens is clean or there's no problem in the laser.
Make sure the exhaust fan is working well.
Ensure the air assist is on.
Step 1: Place Your Materials on the Laser Bed
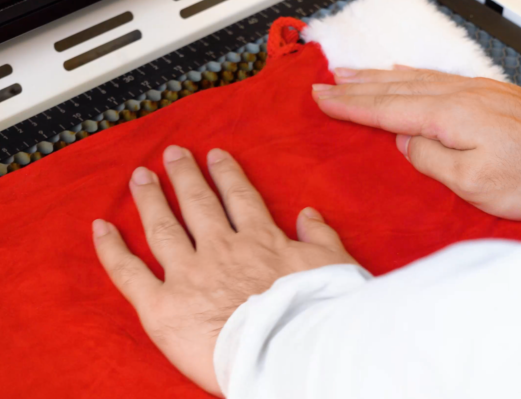
Lay the velvet bag flat on the laser bed with the side you want engraved facing up. Smooth the pile so fibers all lie in the same direction. Back the bag with a rigid sheet (wood or acrylic) to keep it stable and prevent the laser from hitting the honeycomb bed. Secure the bag gently with low-tack masking tape around the edges — avoid pulling the fabric out of shape.
Step 2: Import and Position Your Design in LaserMaker
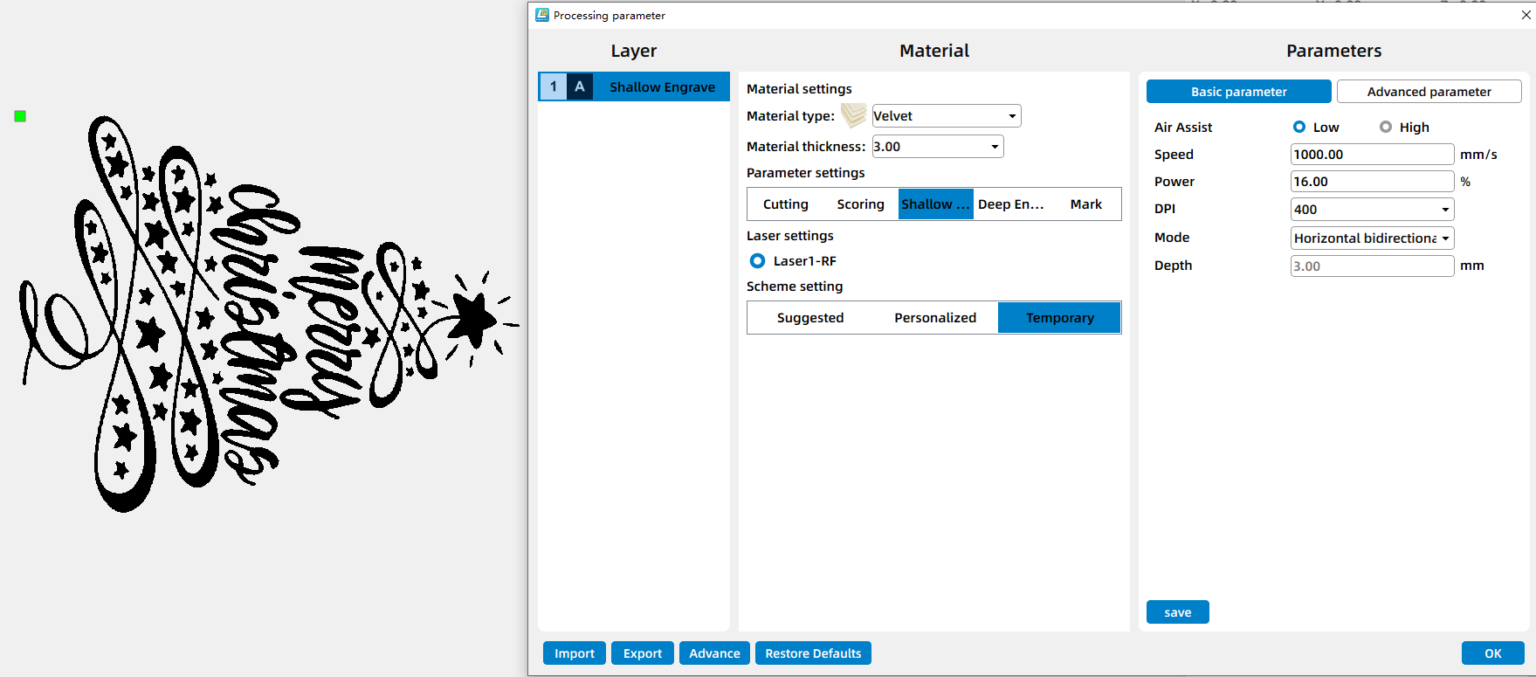
Open your laser software (e.g., LaserMaker, LightBurn) and import the design. Position and scale the pattern so it sits exactly where you want it on the bag. Before you start, set the correct power, speed, and DPI for achieving a better engraving result.
Step 3: Focus Your Laser Machine
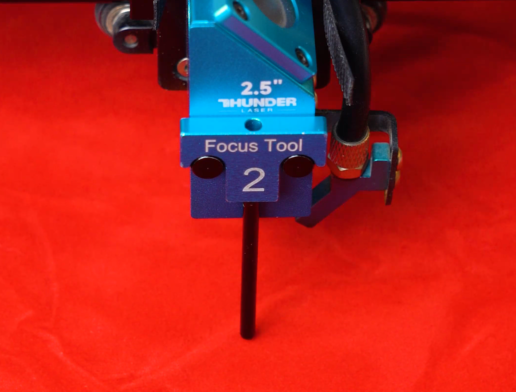
Use a focus stick or gauge and lower the head until the tool just touches the fabric surface (the pile). Take your time with manual focus — small adjustments make a big difference on textiles.
Step 4: Frame the Design
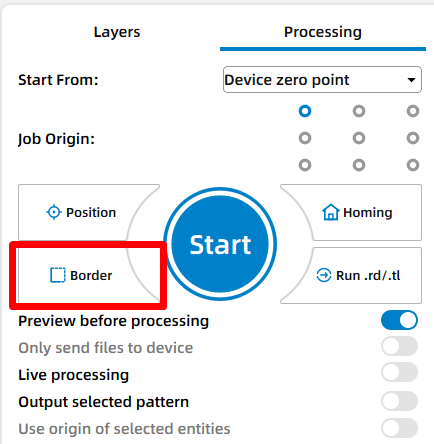
Run the Frame (Border) function to preview the laser path. Watch the camera view as the laser head traces the outer boundary. Confirm that the design fits exactly on your materials and that no part of the outline runs off the edges or hits the tape.
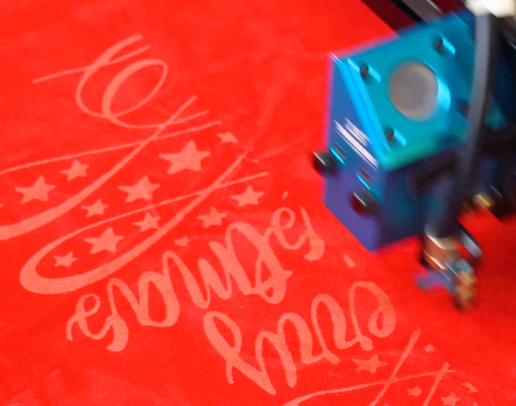
Step 5: Monitor the Laser Engraving Process
Watch the engraving closely: velvet can char if power/speed aren’t correct, and smoke reduces contrast. Keep ventilation on, stand by to pause if you see excessive smoke, flame, or movement, and do not leave the machine unattended while engraving textiles.
Step 6: Finishing
When the job completes, let the bag cool for a moment, then remove tape and backing. Gently brush the engraved area with a soft brush to remove any loose residue if needed. Inspect the design and trim any stray fibers with small scissors if necessary. Your velvet gift bag is ready to fill and give.
Come and Try!
This holiday, turn ordinary gift bags into keepsakes—soft, elegant velvet with a crisp engraved design makes every present feel extra special. Try monograms, tiny snowflakes, or a short holiday message. Test one, tweak the settings, and then make a dozen—you’ll love how fast small, personal touches make your gifts stand out. Ready to make something beautiful? Fire up the laser and get crafting!

.png "laser cutter Globle") International
International
 United States
 Brasil
 Canada
 Costa Rica
 Mexico
 Česká
Česká
 Romania
 Polska
 Ireland
 Italia
 Lietuva
 Россия
 Deutschland
 Britain
 Україна
 France
 Sverige
 Norway
 Denmark
 Ελλάδα
 Portugal
 한국
한국
 中国
中国
 中国香港
中国香港
 Israel
 中國臺灣
中國臺灣
 ジャパン
ジャパン India
India
 پاکستان
 پශ්රී ලංකා
 ประเทศไทย
 Australia
 New Zealand
 South Africa