





Laser Glass Etching Machine: All You Need to Know
 26-07-23
WHAT ARE YOU LOOKING FOR?
Search Across Products, Blog Posts, Support Content, And Resources.

Laser Glass Etching Machine: All You Need to Know
26-07-23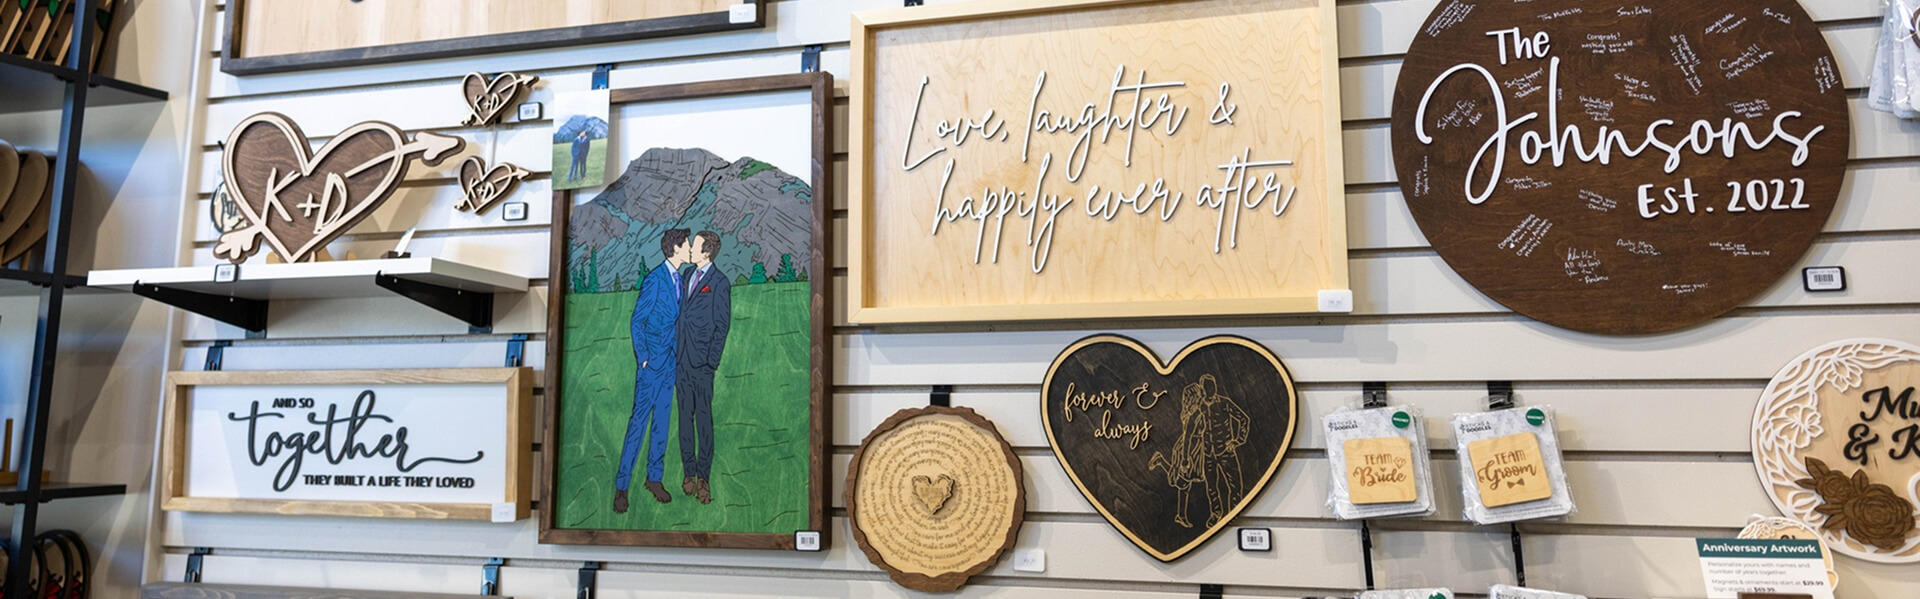
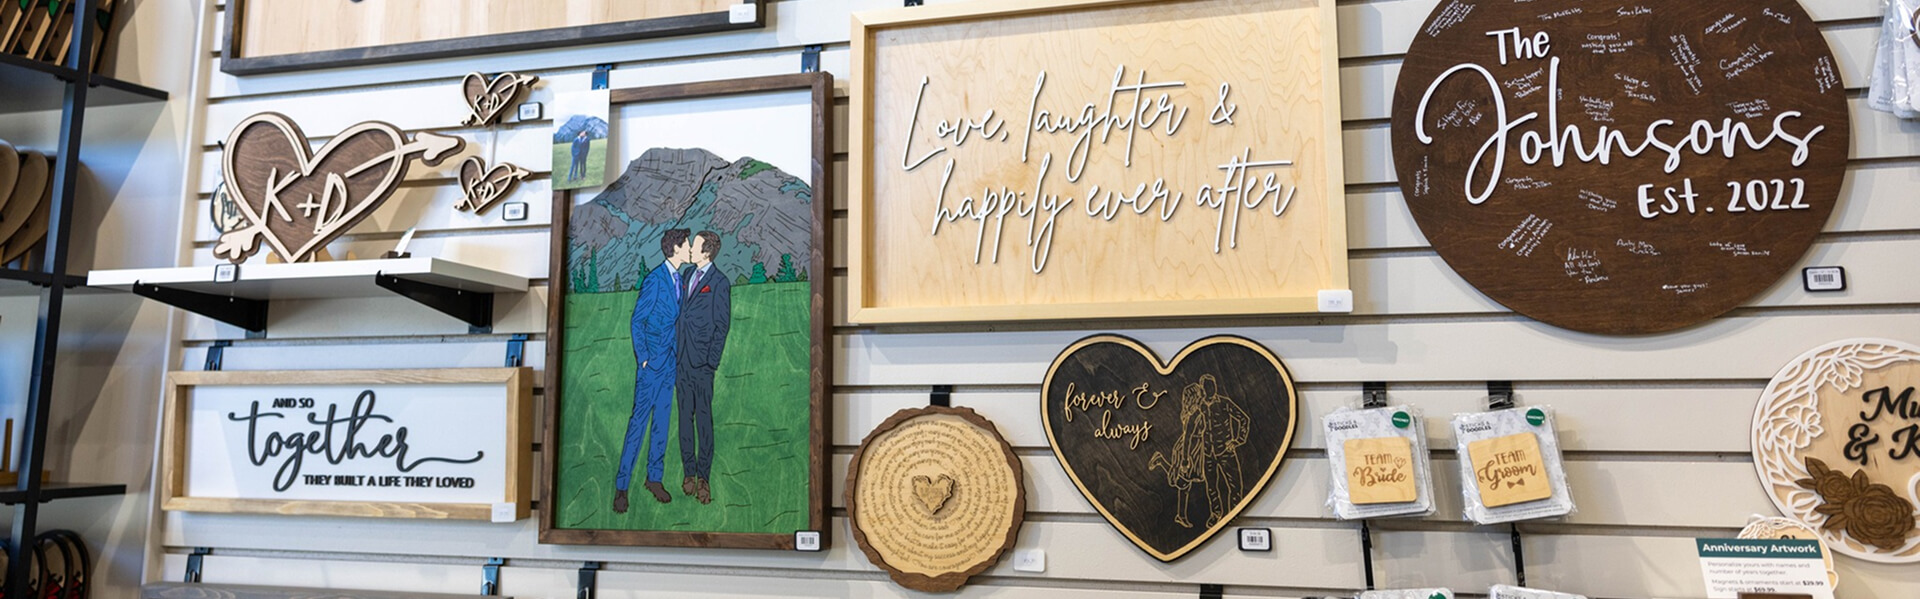
A laser glass etching machine can turn ordinary glassware, bottles, awards, mirrors, panels, and decorative products into personalized items with a permanent frosted design. It is widely used by gift shops, makers, event businesses, trophy suppliers, restaurants, and commercial personalization studios.
Good results depend on more than choosing a laser machine. Glass composition, surface stress, wall thickness, curvature, artwork, focus, power, speed, resolution, airflow, and rotary setup can all affect whether the finished mark looks smooth and even or develops chips, cracks, haze, and rough texture.
This guide explains how laser glass etching works, which laser source is best for different glass applications, what types of glass can be engraved, how to use starting settings, how to engrave glassware with a rotary attachment, how to prevent cracks and rough texture, and how to choose the right Thunder Laser machine for glass engraving work.
Quick Answer: Yes. A CO₂ laser is the most common choice for creating a white or frosted effect on ordinary glass, glassware, bottles, awards, and mirrors. A UV laser may be more suitable for fine logos, small codes, coated glass, cosmetic packaging, and applications that require limited visible heat impact.
Not every glass product reacts in the same way. Soda-lime glass is often a practical starting point, while tempered, crystal, borosilicate, coated, and additive-containing glass require separate testing. Always test the exact product before processing a customer order or production batch.
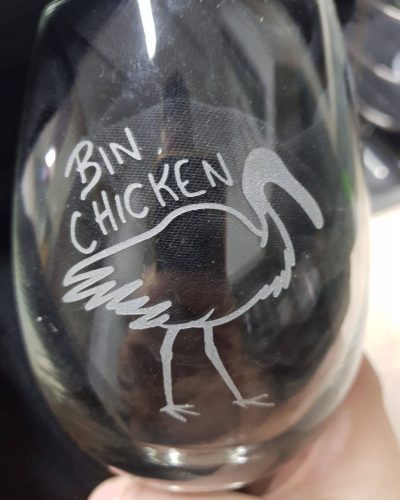
A laser glass etching machine can create permanent text, logos, artwork, and decorative patterns on suitable glass products.
A laser glass etching machine uses focused laser energy to modify the surface of glass according to a digital design. It can reproduce names, logos, photographs, monograms, serial numbers, line art, decorative patterns, and other personalized graphics.
During common CO₂ laser glass engraving, the glass absorbs energy near the surface. Rapid localized heating creates microscopic surface changes that scatter light and produce the familiar white or frosted appearance.
The process should not be treated as conventional deep carving. Excessive energy may create coarse fractures, sharp chips, or complete breakage instead of producing a cleaner or darker mark.
| Term | Typical Meaning in Glass Applications | Common Result |
|---|---|---|
| Laser Etching | A shallow surface modification used for decorative designs and identification. | A white, frosted, or lightly textured appearance. |
| Laser Engraving | A broad industry term frequently used interchangeably with glass etching. | Frosted artwork, photographs, text, or logos. |
| Laser Marking | Fine identification or contrast generation, often associated with UV systems or coated surfaces. | Small logos, codes, text, or a controlled surface change. |
In many glass applications, etching and engraving are used to describe a shallow frosted surface effect.
In normal commercial use, the terms laser glass etching machine and glass laser engraving machine are frequently used for the same equipment category. The important distinctions are the laser source, glass construction, product shape, and finished effect required.
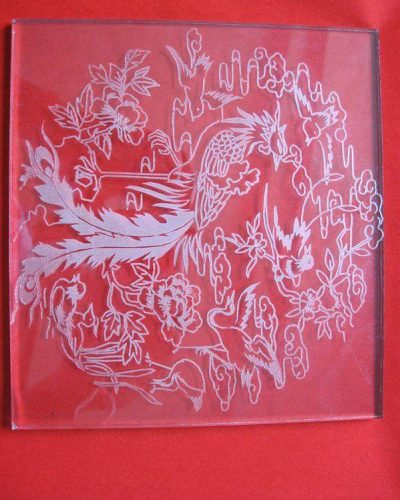
Photographs and detailed artwork require careful image preparation, resolution testing, and heat control.
CO₂ and UV lasers are the two most relevant options for direct glass processing, but they serve different applications. Diode and fiber lasers are generally not the first choice for ordinary transparent glass.
For broader material examples and project ideas, the glass material application page shows how glass engraving and marking can be used for gifts, packaging, trophies, décor, and personalization projects.
| Laser Type | Best-Fit Glass Applications | Main Advantage | Main Limitation |
|---|---|---|---|
| CO₂ Laser | Glassware, tumblers, wine glasses, bottles, awards, mirrors, panels, and decorative gifts. | Creates a familiar frosted effect and supports larger work areas and rotary engraving. | Excessive heat may produce chips, rough texture, or cracking. |
| UV Laser | Fine logos, small text, cosmetic bottles, coated glass, codes, and precision marking. | Small laser spot and limited visible heat impact. | Smaller marking field and less suitable for large-area decorative engraving. |
| Diode Laser | Selected coated, painted, or prepared glass surfaces. | Compact equipment and accessible entry cost. | Visible diode wavelengths may pass through clear glass without a suitable coating or preparation method. |
| Fiber or MOPA Laser | Metal coatings, metalized layers, caps, labels, or metal components attached to glass products. | Fast permanent marking on metals. | Not normally the best option for directly engraving ordinary transparent glass. |
CO₂ and UV lasers are the main options for direct glass etching and marking, while diode and fiber lasers have more limited roles.
For custom drinkware, gifts, awards, bottles, and general glass engraving, a CO₂ laser is usually the most versatile choice. For smaller, finer marks on sensitive or coated products, a UV laser may be more suitable.
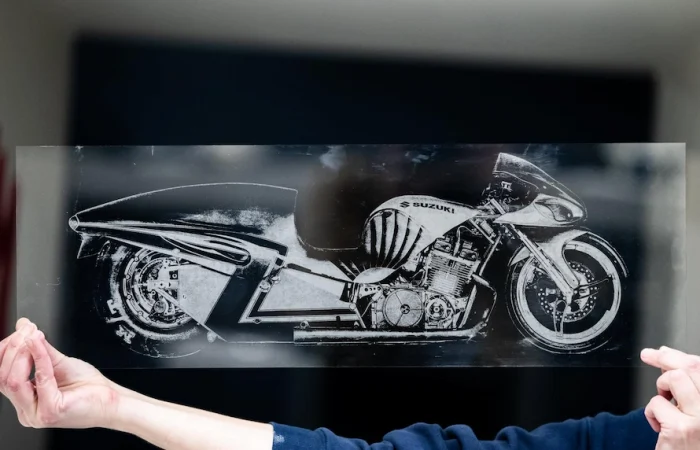
The best laser for glass engraving depends on product size, required detail, production volume, and desired finish.
Many common glass products can be engraved, but the result varies with composition, manufacturing stress, coatings, additives, and thickness. Identify the exact product and run a test on a spare sample before production.
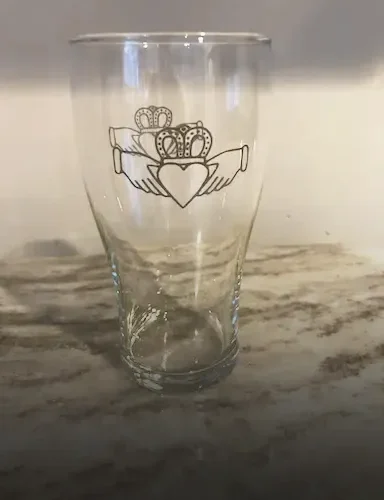
Glass composition, wall thickness, shape, and surface stress can all influence the finished engraving.
| Glass Type | Typical Applications | Suitability | Main Consideration |
|---|---|---|---|
| Soda-Lime Glass | Drinkware, jars, bottles, windows, and common household glass. | A practical starting point for CO₂ laser etching. | Wall thickness and manufacturing quality still vary. |
| Borosilicate Glass | Laboratory glass, cookware, bottles, and heat-resistant products. | Can be engraved after testing. | May respond differently from ordinary soda-lime glass. |
| Molded Glass | Tumblers, mugs, jars, bottles, candle containers, and decorative products. | Suitable when the engraving surface remains within the available focus range. | Seams, curves, and thickness variation may affect the result. |
| Sheet or Panel Glass | Signs, partitions, wedding displays, plaques, and architectural decoration. | Suitable for flat engraving with stable support. | Large panels require sufficient machine area and careful handling. |
| Mirror | Wedding mirrors, event signs, bar mirrors, and decorative displays. | Often processed from the coated back side. | The design normally needs to be horizontally mirrored. |
| Tempered Glass | Drinkware, doors, panels, cookware, and safety glass. | Higher-risk and product-dependent. | Internal stress may cause cracking or complete breakage. |
| Crystal or Additive-Containing Glass | Premium drinkware, ornaments, awards, and decorative products. | Requires individual testing. | Lead, metal oxides, colorants, and other additives may change the laser response. |
| Coated Glass | Mirrors, cosmetic packaging, decorative bottles, and branded products. | May be marked by modifying or removing the coating. | Verify the coating composition before laser processing. |
Glass composition, thickness, coating, stress, and curvature all affect engraving quality and breakage risk.
Glass safety: Do not process cracked, chipped, heavily stressed, or unknown glassware without testing. Wear appropriate protection when handling damaged glass, supervise the machine, and remove any cracked item from service.
The following glass laser engraving settings are starting references from the Thunder Laser material settings database. They are not universal production settings.
Glass source, wall thickness, curvature, focus, artwork, desired texture, machine condition, and rotary setup may require different values.
| Machine | Laser Power | Speed (mm/s) | Min Power | Max Power | Air | DPI | Lens |
|---|---|---|---|---|---|---|---|
| Bolt | RF 30W | 1000 | 50% | 50% | Low | 350 | 2″ |
| Bolt | RF 60W | 1200 | 80% | 80% | 0.5 | 300 | 2.5″ |
| Bolt Plus 36 | RF 80W | 2000 | 70% | 70% | 0.5 | 300 | 2.5″ |
| Nova | DC Glass 60W | 1200 | 80% | 80% | 0.1 | 300 | Standard setup |
| Nova | DC Glass 80W | 1200 | 75% | 75% | Low | 300 | Standard setup |
| Nova | DC Glass 100W | 1200 | 58% | 58% | Low | 300 | Standard setup |
| Nova Plus | RF 80W | 1000 | 40% | 40% | 1 | 300 | 2.5″ |
| Nova Plus | RF 100W | 1000 | 35% | 35% | 1 | 300 | 2.5″ |
| Nova Plus | RF 120W | 1000 | 30% | 30% | 1 | 300 | 2.5″ |
Use glass laser engraving settings as starting references, then test the exact glass product before production.
The Air values follow the machine-specific conventions used in the settings database. A numeric value on one machine should not automatically be treated as equivalent to a value on another machine.
Starting test: Use the official setting for your machine as a reference, then test a small design on the exact glass product. Compare at least two nearby power or speed combinations before processing the final item.
For more recommended starting parameters across different machines and materials, visit the Thunder Laser CO₂ Laser Settings database.
Determine whether the item is soda-lime, borosilicate, tempered, crystal, mirrored, coated, or an unknown decorative product. Check for chips, cracks, scratches, seams, or existing stress.
Use clear vector artwork for text, logos, and line designs. For photographs, improve contrast, remove unnecessary background detail, and test the selected image mode and resolution.
Avoid extremely dense artwork. Closely spaced engraving areas can concentrate heat and produce a rough or chipped texture.
Remove dust, oil, fingerprints, labels, and loose residue. Place flat glass on stable support and prevent it from moving during engraving.
For cylindrical products, install a suitable rotary attachment and support the item so its axis remains level.
Focus on the actual glass surface. Enter the recommended starting speed, power, resolution, and airflow for the machine.
A slight defocus may improve the appearance on some glass products by spreading the energy over a wider area, but it should be tested rather than used as a universal rule.
Test a spare product or an inconspicuous area. Inspect:
Position the artwork, use Frame to confirm the engraving area, and start the job. Supervise the process and stop if the glass develops a visible crack, excessive chipping, or unexpected movement.
Allow the glass to cool before handling it. Clean the item with warm water, mild soap, and a soft cloth. Inspect the engraved area and surrounding glass under good lighting.
Do not use or sell glassware with sharp chips, cracks, unstable fragments, or loose surface residue.
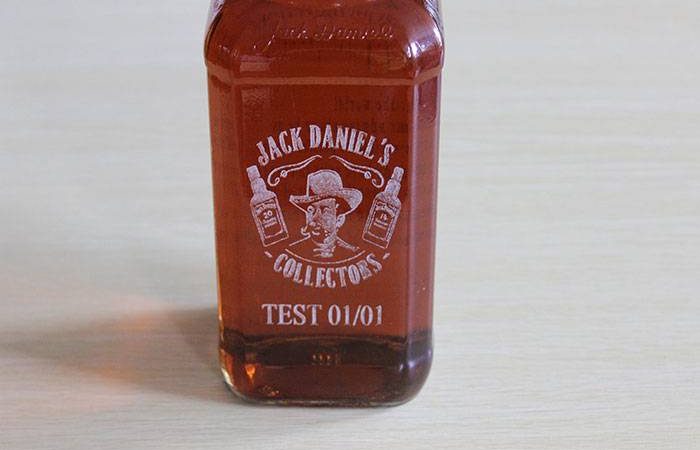
Laser engraved wine glass.
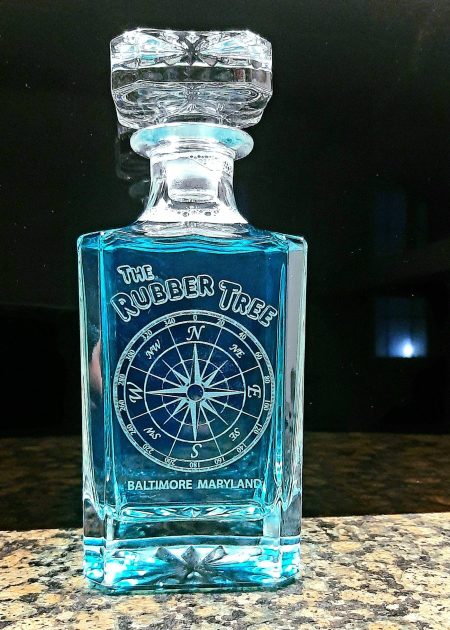
Laser engraved glass bottles.
A rotary attachment turns a glass cup, tumbler, bottle, jar, or wine glass while the laser engraves. It replaces one linear machine axis with controlled rotational movement so the artwork follows the curved surface.
| Rotary Type | Best For | Main Advantage | Main Limitation |
|---|---|---|---|
| Roller Rotary | Straight tumblers, jars, bottles, mugs, and cylindrical glassware. | Fast setup for common round products. | Tapered or irregular items may slip or change height. |
| Chuck Rotary | Wine glasses, narrow bottles, tapered items, and products requiring stronger holding. | More controlled gripping and positioning. | Setup may take longer, and delicate rims require careful handling. |
Roller and chuck rotary attachments fit different types of glass cups, bottles, tumblers, and wine glasses.
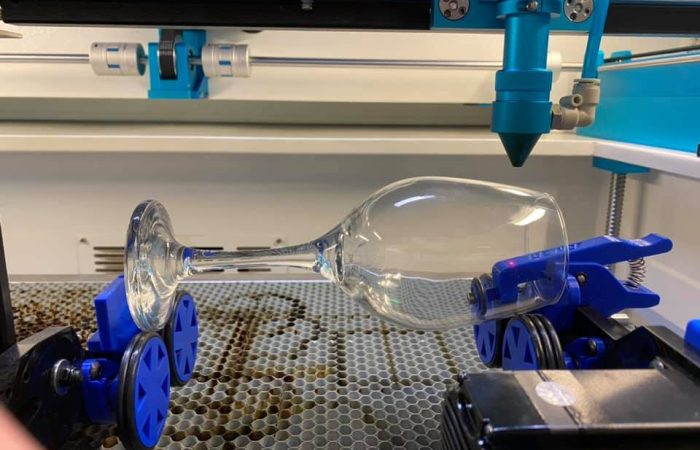
Laser engraved wine glasses.

Laser engraved test tubes.

Laser engraved glass cup.
Tapered wine glasses and bottles are more difficult because the engraving surface changes diameter across the design. Keep the artwork within a narrow band where the surface remains close to the focal plane.
Large designs may require additional support, a chuck rotary, or artwork distortion compensation. Test the complete design on an inexpensive sample before using premium glassware.
A damp paper towel, thin soap layer, suitable masking material, or slight defocus may improve the finish on some glass by changing heat distribution or reducing surface residue.
None of these methods is required for every glass product. Compare the untreated surface with one or more preparation methods on the exact glass before production.
Mirrors are commonly processed from the back. Place the coated side toward the laser, horizontally mirror the artwork, and test how the laser affects the paint, backing, and reflective layer.
After engraving, view the design from the front. Depending on the project, the cleared area may be left transparent, filled with color, or protected with a new backing layer.
Photographs require stronger image preparation than simple logos. Increase useful contrast, remove distracting backgrounds, sharpen important details, and avoid very high resolution that creates excessive heat and muddy texture.
Test different dithering methods and DPI values. The best result may use fewer engraving dots than a photograph engraved on wood or coated metal.
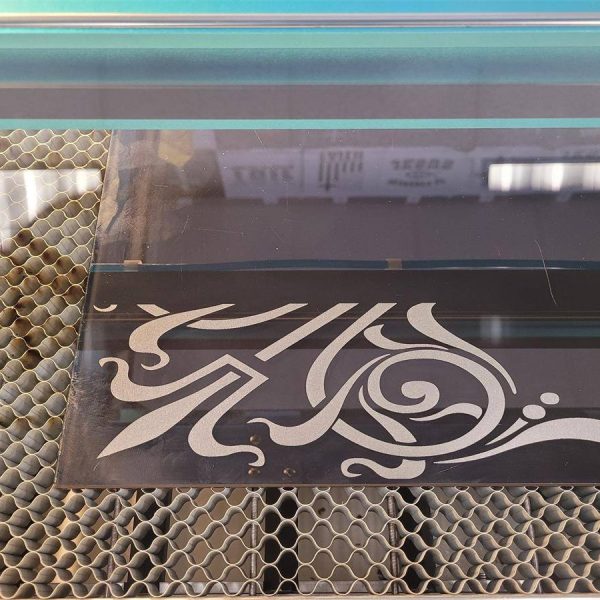
Glass engraving can be used for gifts, event products, awards, signs, mirrors, decorative panels, and branded merchandise.
| Problem | Likely Cause | Recommended Adjustment |
|---|---|---|
| Rough or heavily chipped engraving | Excessive energy, low speed, high DPI, or dense artwork. | Reduce power or DPI, increase speed, and simplify closely spaced details. |
| Glass cracks during engraving | Internal stress, existing damage, excessive heat, or unsuitable glass. | Stop the job, reduce heat input, test another product, or avoid that glass type. |
| Engraving is weak or incomplete | Insufficient energy, incorrect focus, dirty surface, or poor laser absorption. | Clean and refocus, then adjust power or speed gradually. |
| Frosted effect is uneven | Curved surface, inconsistent focus, glass thickness variation, or rotary misalignment. | Level the item, improve support, reduce design width, and recalibrate the rotary. |
| Design is stretched or compressed | Incorrect rotary diameter, circumference, or steps-per-rotation setting. | Run a measured test shape and recalibrate the rotary. |
| Glass slips during rotary engraving | Weak grip, uneven shape, unsuitable roller position, or excessive acceleration. | Improve support and grip, adjust the roller spacing, or use a chuck rotary. |
| Photograph looks muddy | DPI is too high, contrast is weak, or the image mode is unsuitable. | Reduce DPI, improve image contrast, and test another dithering method. |
| Mirror design appears reversed | The back-side artwork was not horizontally mirrored. | Flip the complete design horizontally before engraving the mirror backing. |
| Residue remains after engraving | Surface preparation, smoke, coating, or cleaning method. | Allow the item to cool, then clean it with a soft cloth, warm water, and mild soap. |
Most glass engraving issues can be reduced by testing the exact product, controlling heat, and checking focus or rotary setup.
The best laser glass etching machine depends on product size, required detail, production volume, rotary requirements, work area, and whether the project needs a broad frosted engraving or a small precision mark.
| Machine | Best-Fit Glass Applications | Main Reason to Choose It |
|---|---|---|
| Bolt Series | Custom drinkware, wine glasses, bottles, awards, gifts, detailed logos, and frequent small-batch orders. | RF CO₂ control, fast engraving, compact footprint, and rotary compatibility. |
| Nova Plus Series | Larger panels, multiple glass items, commercial batches, larger fixtures, and mixed-material production. | Larger work areas and RF CO₂ power options for growing production. |
| Aurora UV | Small logos, codes, fine text, cosmetic packaging, coated glass, and precision marking. | Fine UV marking with limited visible heat impact and a small laser spot. |
Bolt, Nova Plus, and Aurora UV support different glass engraving, rotary, batch, and precision marking needs.

The Bolt Series is suitable for personalized tumblers, wine glasses, bottles, awards, barware, custom gifts, and frequent small-batch glass engraving orders.
The Thunder Laser Bolt Series is suitable for personalized tumblers, wine glasses, bottles, awards, barware, and custom gifts.
Its RF CO₂ laser source supports responsive engraving control and detailed raster work. Optional rotary equipment allows cylindrical and selected tapered glass products to be processed in the same machine.

The Nova Plus Series provides larger RF CO₂ work areas for glass panels, multiple glass items, larger fixtures, commercial batches, and mixed-material production.
The Nova Plus Series is more suitable when production requires a larger work area, multiple items per batch, larger glass panels, larger fixtures, or a broader mixed-material workflow.

Aurora UV is suitable for small, high-detail marks on selected glass, ceramics, packaging, cosmetic bottles, coated glass, and heat-sensitive products.
The Aurora UV is suitable for small, high-detail marks on selected glass, ceramics, packaging, cosmetic bottles, and heat-sensitive products.
It uses a 5W UV laser source, supports marking fields up to 200 × 200 mm, and provides scanning speeds up to 7000 mm/s. It is intended for precision marking rather than large decorative engraving across an entire glass panel.
No machine can guarantee that every glass product will engrave without damage. Submit the actual glassware for testing or purchase spare samples before committing to production.
A laser glass etching machine can create permanent frosted designs on tumblers, wine glasses, bottles, awards, mirrors, panels, and personalized gifts. CO₂ lasers are the most versatile option for general glass engraving, while UV lasers are better suited to smaller, finer marks on selected sensitive or coated products.
Identify the glass, use the recommended starting settings, test the exact product, control heat, and calibrate the rotary before production. A clean test result is more valuable than relying on one universal power setting or assuming all glass will react in the same way.
Looking for the Best Glass Laser Engraving Machine?
Share your glass type, product dimensions, artwork, rotary requirements, and expected production volume with Thunder Laser. Our application team can help evaluate a suitable machine and testing direction.
View Glass Laser Settings Contact Thunder LaserTalk To Our Experts Now!
Please leave your contact information so that we can serve you better.
GLASS LASER ETCHING MACHINE FAQS
TAKE THE NEXT STEP WITH THUNDER LASER


 Stable & Consistent MachinesUnlimited ApplicationsRobust After-sales SupportFactory Direct Supply


