Did you know laser engraving a leaf ornament is not only possible—but also incredibly beautiful? We’ve tested it ourselves, and the results are truly stunning! By engraving photos onto real leaves, we’ve created delicate, one-of-a-kind leaf ornaments that highlight both nature and technology.
How the laser interacts with the leaf’s natural texture makes leaf ornament projects so unique. The fine details of the photo blend seamlessly with the leaf veins, turning each piece into a miniature, organic work of art.
Start by choosing a clear, high-quality image with strong contrast—blurry or overexposed photos won’t translate well onto delicate leaf surfaces. Crop the photo to highlight the main subject, removing unnecessary background or distractions. Convert the image to grayscale so the laser can interpret the light and dark areas accurately. Next, adjust the brightness, contrast, and sharpness to ensure details stand out and edges are crisp. Make sure the image resolution is high enough, so the fine textures and lines engrave clearly. Finally, import the photo into your laser software and use its preview and adjustment tools to optimize contrast, positioning, and, if available, dithering patterns for the best result. Taking these steps ensures your laser-engraved leaf will capture the photo with clarity and depth.
If you want to know how to laser engrave photos on leaves with Lightburn, here are more details.
Step 2: Prepare Your Preferred Photo
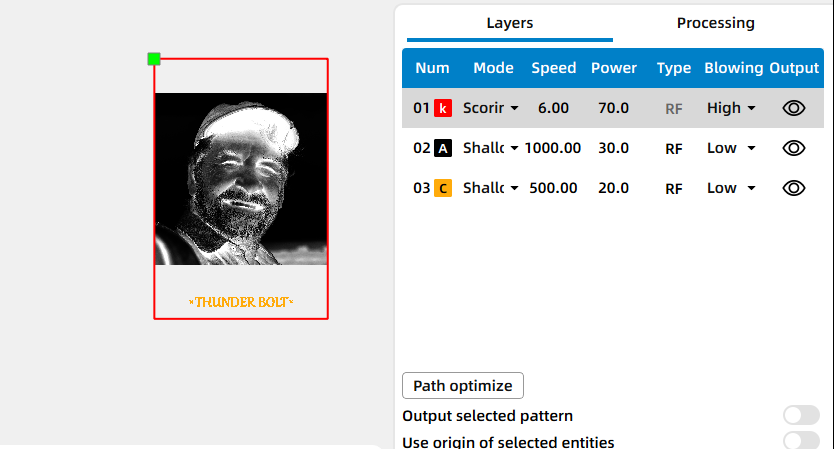
Open your laser software (I use LaserMaker here because it’s easier to use) and import the photo you want to engrave. Adjust the size and positioning so it fits nicely on the leaf.
Step 3: Secure the Leaf for Stable Laser Engraving
Carefully place the leaf onto the laser bed, ensuring it lies flat and stable. Use magnets, tape, or other securing tools to hold the leaf firmly in place. This prevents any movement during the engraving process, which is crucial for achieving precise and detailed results. If your laser machine does not have a vacuum platform, we recommend placing a piece of wood or another flat sheet underneath the leaf. This helps reduce any unevenness on the leaf surface and ensures a more consistent engraving.
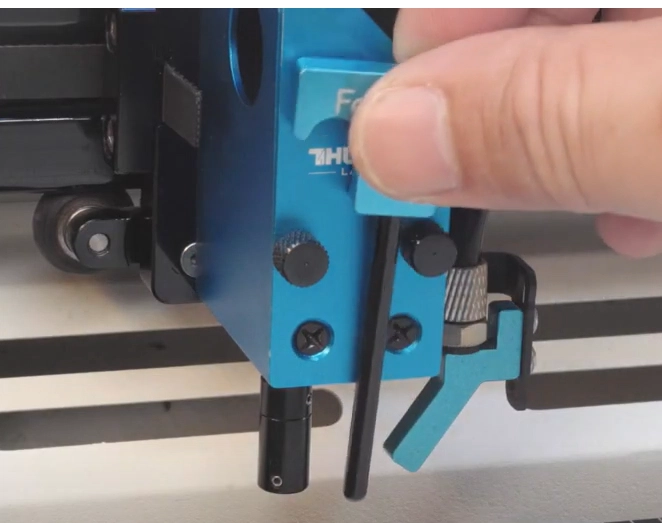
Step 4: Focus Your Laser Machine
Proper focusing is essential for achieving detailed engravings. We recommended using manual focus here to get more precise focusing because the leaf ids more likely to be uneven.
Step 5: Frame the Design and Start Laser Engraving
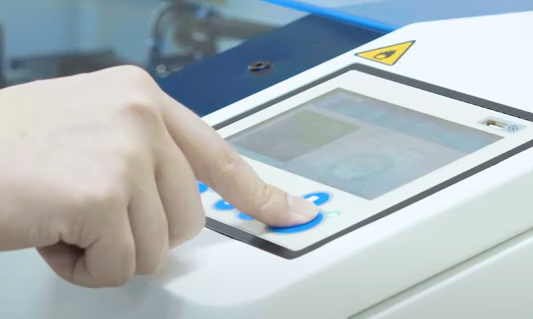
Before hitting start, I framed the design to make sure the engraving area matched the leaf. The red-light outline will tell you the engraving area. Once satisfied, just click Start, and the laser will begin laser engraving.
Step 6: Wait for Your Beautifully-engraved Leaf
Monitor the machine closely during the operation to ensure everything runs smoothly. Once completed, carefully remove the engraved leaf, and admire the intricate design that the laser has beautifully etched onto the delicate surface.
Conclusion
Laser engraving leaf ornament offers a unique blend of natural beauty and precise artistry. This eco-friendly craft allows you to create stunning, personalized decorations that highlight the intricate details of each leaf. Whether for gifts or seasonal décor, laser engraving leaf ornament brings creativity and nature together in a truly special way. Give it a try and see how this delicate technique can transform ordinary leaves into lasting works of art.


.png "laser cutter Globle") International
International
 United States
 Brasil
 Canada
 Costa Rica
 Mexico
 Česká
Česká
 Romania
 Polska
 Ireland
 Italia
 Lietuva
 Россия
 Deutschland
 Britain
 Україна
 France
 Sverige
 Norway
 Denmark
 Ελλάδα
 Portugal
 한국
한국
 中国
中国
 中国香港
中国香港
 Israel
 中國臺灣
中國臺灣
 ジャパン
ジャパン India
India
 پاکستان
 پශ්රී ලංකා
 ประเทศไทย
 Australia
 New Zealand
 South Africa