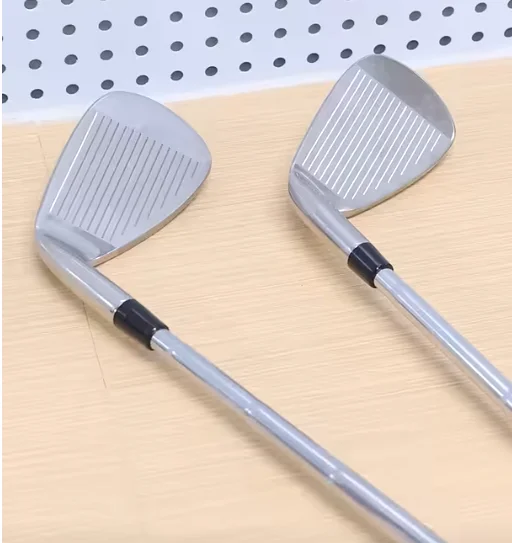
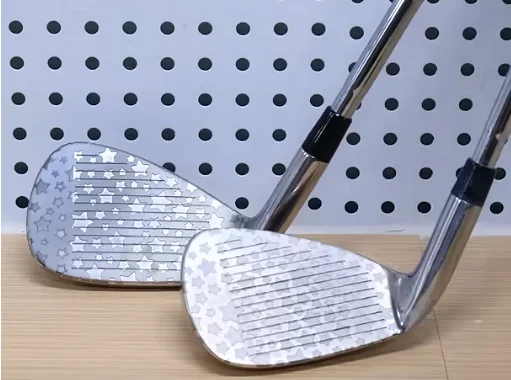
Laser marking on golf clubs makes your gear truly stand out! With clean, precise laser marking, you can add custom star patterns that reflect personality and style—whether you’re marking your own favorite club or designing a unique set for someone special.
Ready to bring character and clarity to every swing? Personalize your golf club with laser marking and hit the green with confidence and flair!
The machine is connected and operating normally, and the lens cover has been removed.
Verify the lens is clean or there's no problem in the laser.
Make sure the exhaust fan is working well.
Ensure the air assist is on.
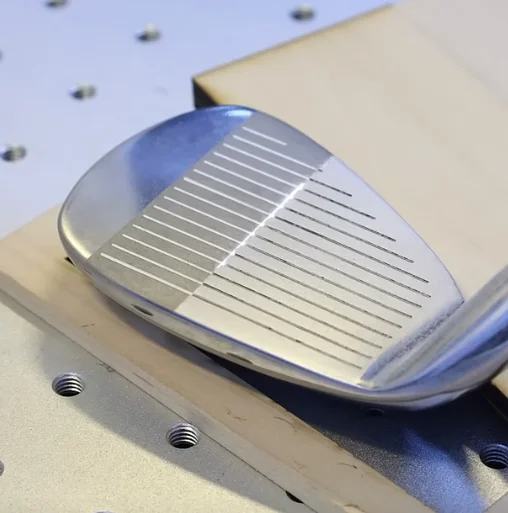
Step 1: Place the stainless steel golf clubs
Put the stainless steel golf clubs on the laser bed.
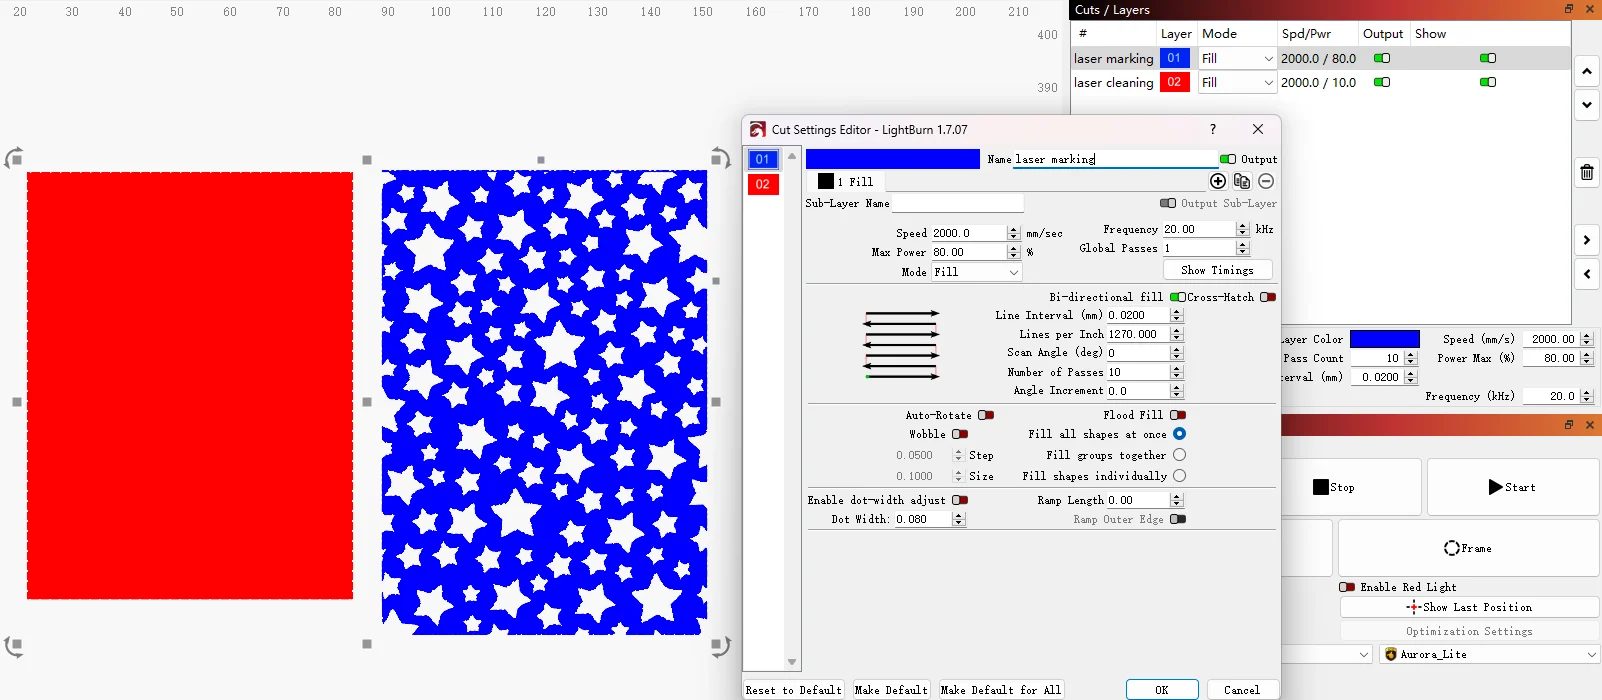
Step 2: Import the File and Check Out
Load your design into LightBurn software, adjusting its size and position to fit your stainless steel golf clubs. We set up a laser cleaning layer for creating white contrast on them. We recommend cleaning them once before and after laser marking to get the recommended results. The two layers have different parameters, so make sure the laser marking parameters are set correctly.
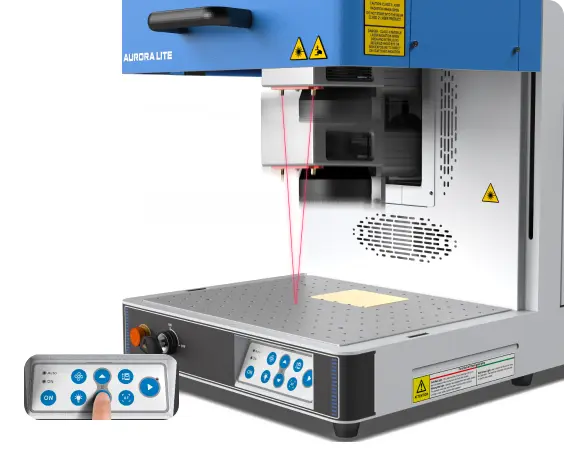
Step 3: Don't Miss the Focus
Missing the focus is one of the biggest reasons for laser marking failure. So don’t forget to click the AF button for auto focus. Of course, manual focus is also effective.
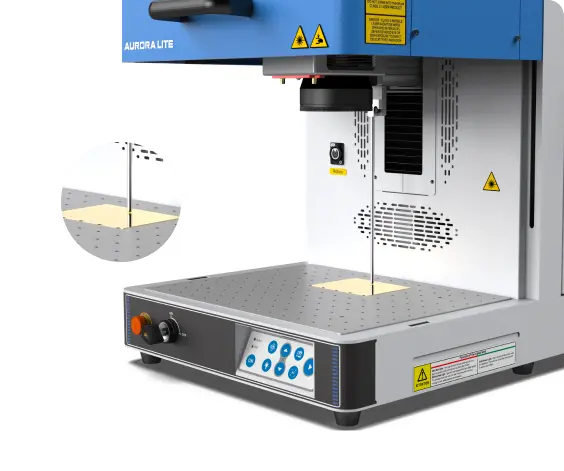
When two red dots are displayed on the stainless steel golf clubs, it is out of focus. When the two light dots overlap each other, it means in focus.
Auto focus
Manual focus
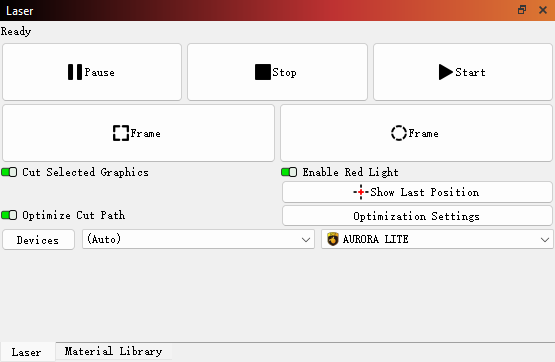
Step 4: Ready to start laser marking
Press the frame button and check if the visual red light indicate the right area to be marked. The frame should be located in the middle of the stainless steel golf clubs. If not, move the pattern positions until they align.
After checking, close the laser door and begin Aurora Lite’s operation.
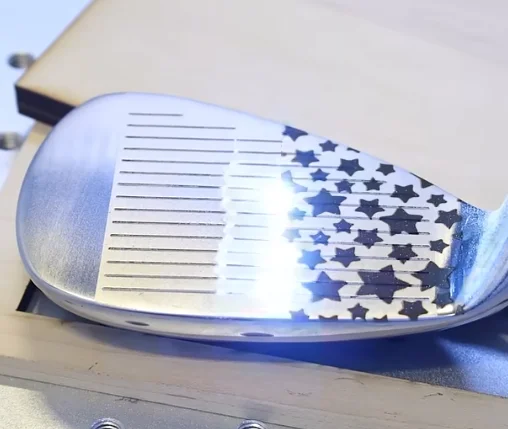
Step 5: Monitor the Marking Process
Stay near the machine throughout operation to monitor for any unusual sounds or alarms. This vigilance ensures safety during laser marking, as the energy is potent. Avoid looking directly at the laser beam, even with protective measures in place.
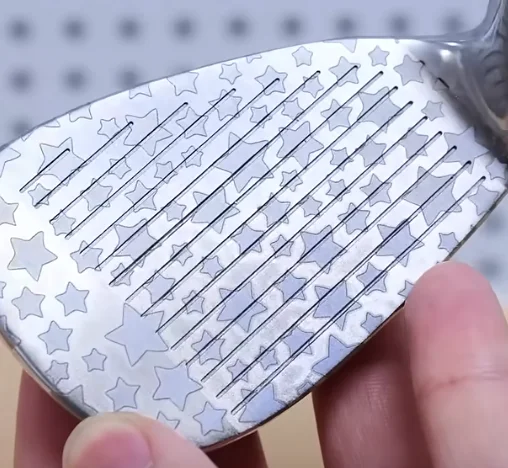
Step 6: Complete the laser marking
Once laser marking is complete, let it cool down for a while. Then get your personalized stainless steel golf clubs out of the laser machine. Laser marking does not produce toxic substances, and you can use it after a simple cleaning!
Come and Try!
Perfect for golf lovers, tournament organizers, thoughtful gift-givers, or sports accessory brands, laser marking golf clubs is simple to personalize, quick to produce, and made to endure every swing—making them a standout option for small creative shops and premium custom retailers alike. With endless marking options from sleek initials to playful star patterns, these clubs add a personal edge to the game and arrive ready to impress on or off the green.

.png "laser cutter Globle") International
International
 United States
 Brasil
 Canada
 Costa Rica
 Mexico
 Česká
Česká
 Romania
 Polska
 Ireland
 Italia
 Lietuva
 Россия
 Deutschland
 Britain
 Україна
 France
 Sverige
 Norway
 Denmark
 Ελλάδα
 Portugal
 한국
한국
 中国
中国
 中国香港
中国香港
 Israel
 中國臺灣
中國臺灣
 ジャパン
ジャパン India
India
 پاکستان
 پශ්රී ලංකා
 ประเทศไทย
 Australia
 New Zealand
 South Africa