Every pet deserves something that’s truly theirs. A personalized stainless steel pet bowl not only looks great, but also helps identify your pet’s bowl at home, in multi-pet households, or at daycare and grooming centers.
In this tutorial, you’ll learn how to laser mark a custom design or pet name onto a stainless steel bowl. Even if you have never used a laser machine before, the step-by-step instructions below will guide you through the entire process.
The machine is connected and operating normally, and the lens cover has been removed.
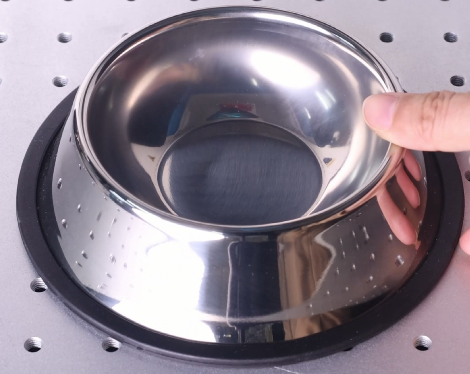
Step 1: Place the Pet Bowl on the Laser Bed
Place the bowl securely on the laser machine bed. Remove any dust, oil, or fingerprints from the marking area.
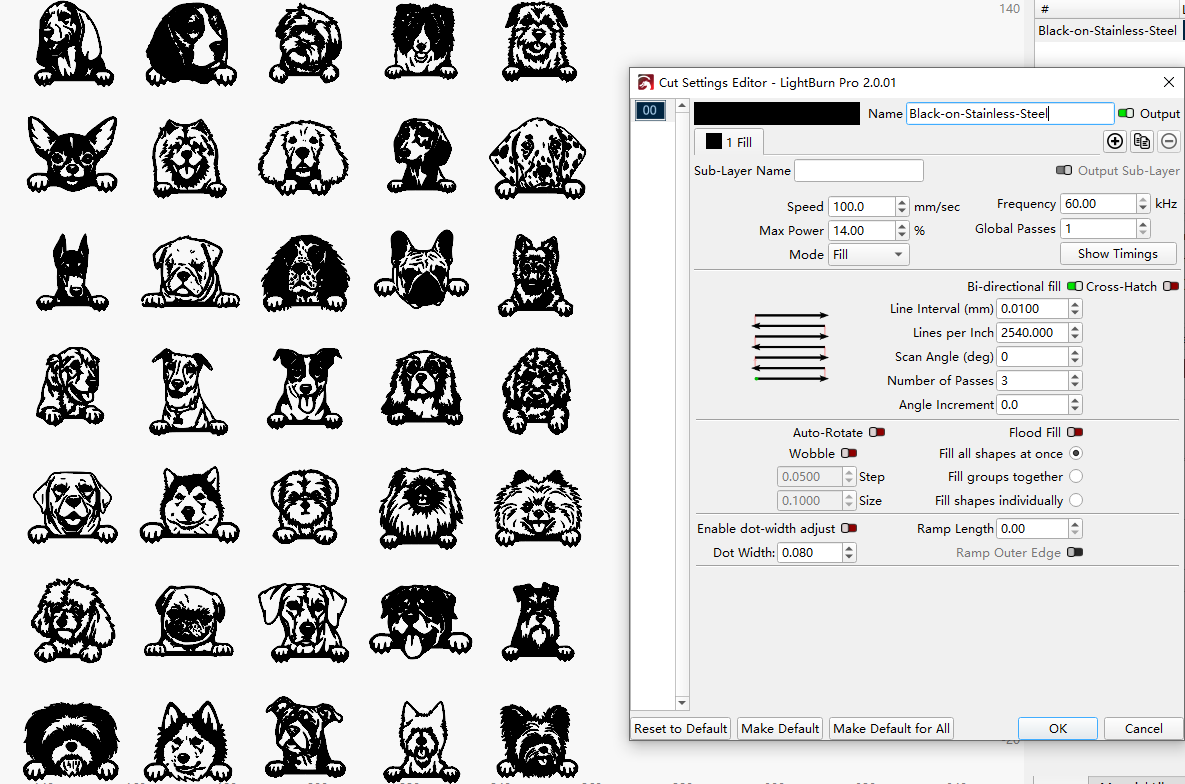
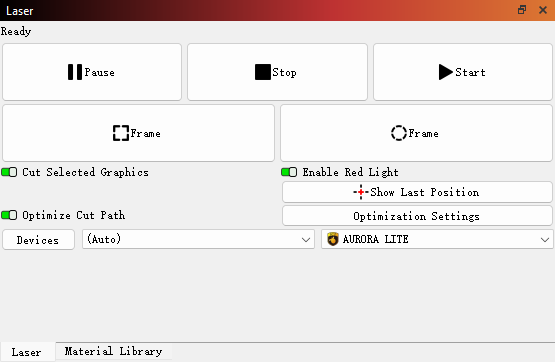
Step 2: Import the Laser Mark File
Open your laser software and import the prepared design. Position the design in the center of the marking area and then confirm that the marking layer settings are correct. Simple designs usually produce the cleanest results on stainless steel surfaces.
PRO TIP
New to laser marking stainless steel? Our in-depth guide explains the process, settings, and best practices in detail.
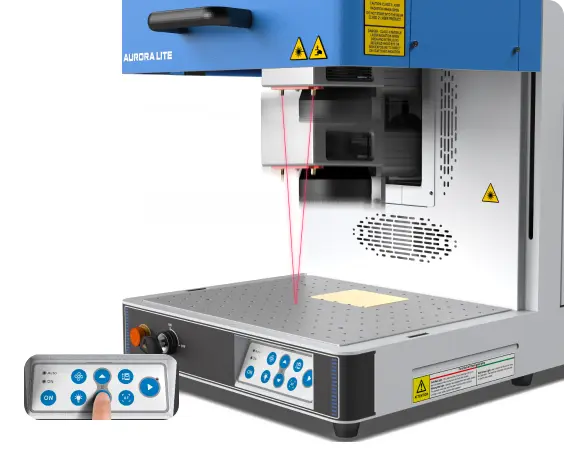
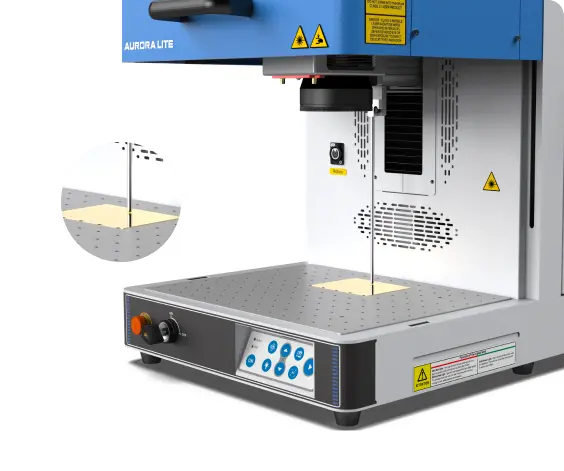
Step 3: Focus the Laser
Set the focus precisely on the top surface of the medal. Accurate focus is essential for achieving smooth transitions and well-defined layers in 3D marking.
Auto focus
Manual focus
Step 4: Run a Frame Test
Use the frame or outline function to preview the laser marking area. This helps confirm alignment and prevents the design from marking outside the slate.
Step 5: Monitor the Marking Process
Once everything is ready, start the laser marking job. During the process, the laser will interact with the stainless steel surface to create a permanent mark. Depending on the settings, the mark may appear dark, matte, or slightly textured.
When the marking process finishes, allow the bowl to cool briefly before touching the marked area.
❗
While the machine is running:
Keep an eye on the marking progress Ensure the bowl remains stable Make sure ventilation is working properly
Step 6: Complete the Laser Marking
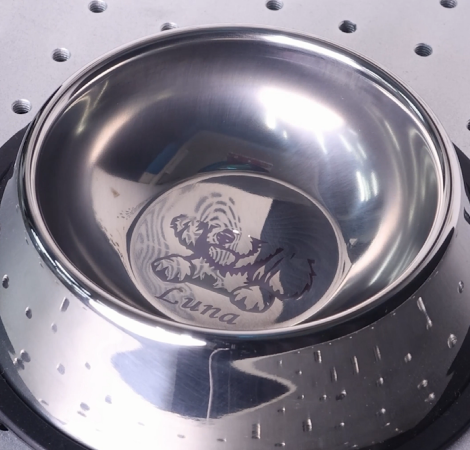
Your personalized stainless steel pet bowl is now finished.
Take a moment to inspect the marking quality. The design should appear clean, sharp, and easy to read. Because laser marking creates a permanent mark, it will not easily fade or wash away during everyday use.
Now the bowl is ready to be filled with your pet’s favorite food or water.
Come and Try!
A small detail can make everyday items feel special. Try marking your pet’s name, a paw print, or a fun icon to create a bowl that’s uniquely theirs. It’s a simple project—but one your furry friend will use every single day.

.png "laser cutter Globle") International
International
 United States
 Brasil
 Canada
 Costa Rica
 Mexico
 Česká
Česká
 Romania
 Polska
 Ireland
 Italia
 Lietuva
 Россия
 Deutschland
 Britain
 Україна
 France
 Sverige
 Norway
 Denmark
 Ελλάδα
 Portugal
 한국
한국
 中国
中国
 中国香港
中国香港
 Israel
 中國臺灣
中國臺灣
 ジャパン
ジャパン India
India
 پاکستان
 پශ්රී ලංකා
 ประเทศไทย
 Australia
 New Zealand
 South Africa