When we encounter materials larger than the work table, Nova’s pass-through door provides essential assistance by accommodating oversized materials. Additionally, we need to perform multiple passes, which requires using the Print and Cut feature in LightBurn. This feature, along with the pass-through door, is indispensable for processing materials larger than the work table.
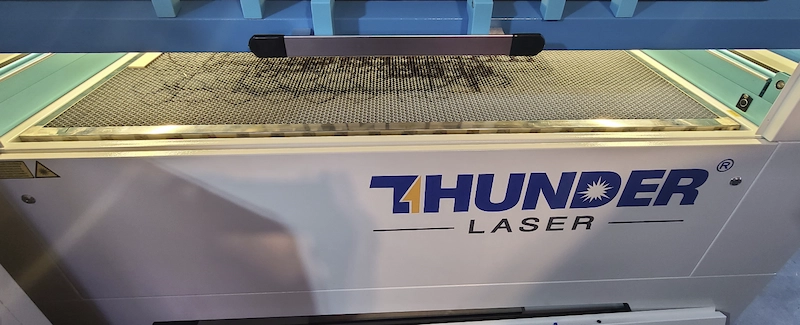
The pass through allows for oversized objects to fit in the machine. Your Thunder Nova has a front removable door and a rear removable slot. The clearance is around .8″ depending on the model. The pass through will allow the material to hang outside the machine and be indexed through as you perform your print and cut setups.
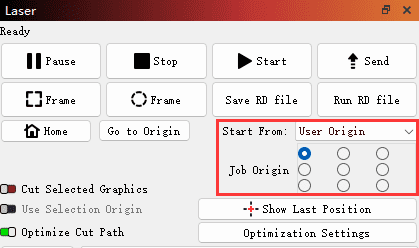
Print and Cut is a software feature that can be use in conjunction with the Pass Through. Print and Cut allows the use of physical marks or points on your material to be used to line up additional cut lines. Print and Cut heavily relies on the machine operator and having a fine tuned machine in order to be successful. It helps when you try to cut or engrave objects larger than the machine’s working area, aligning existing objects for additional laser work.
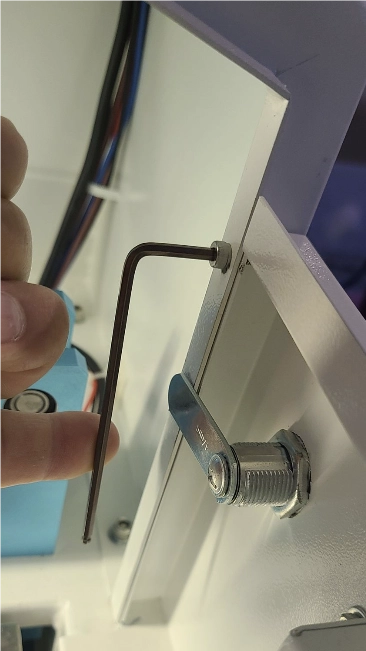
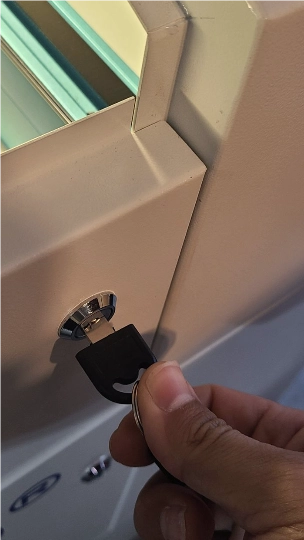
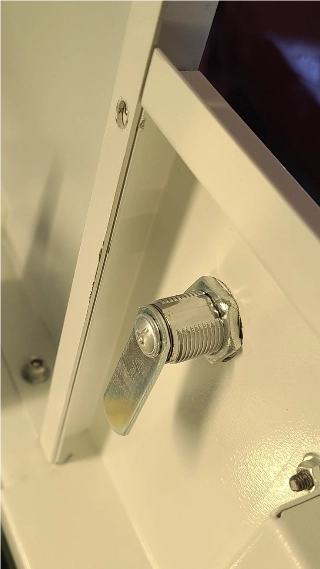
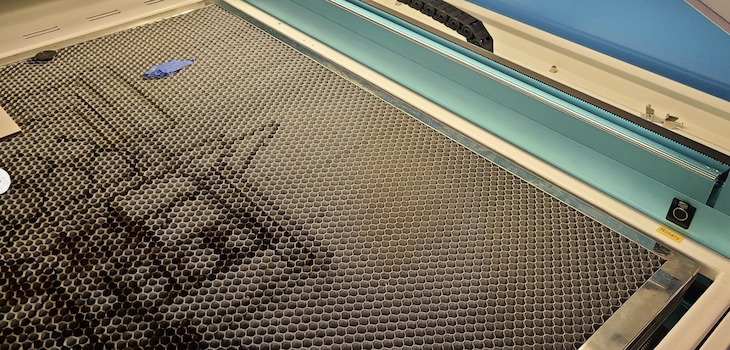
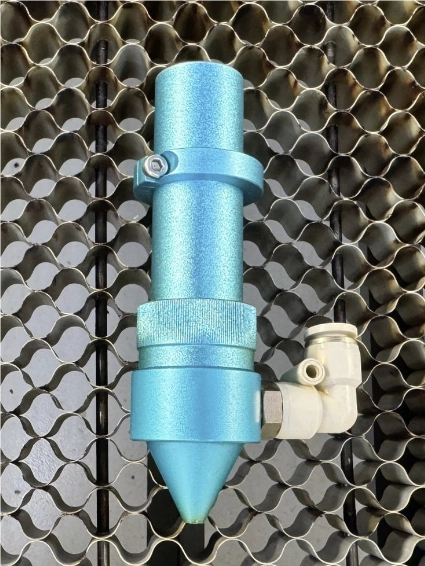
If you are using the passthough for the print and cut, you will need to remove the panels, set the proper Honeycomb position and Focus the laser head manually. If you are only using Print and Cut to line up a job that fits on your honeycomb, then you can skip these steps.
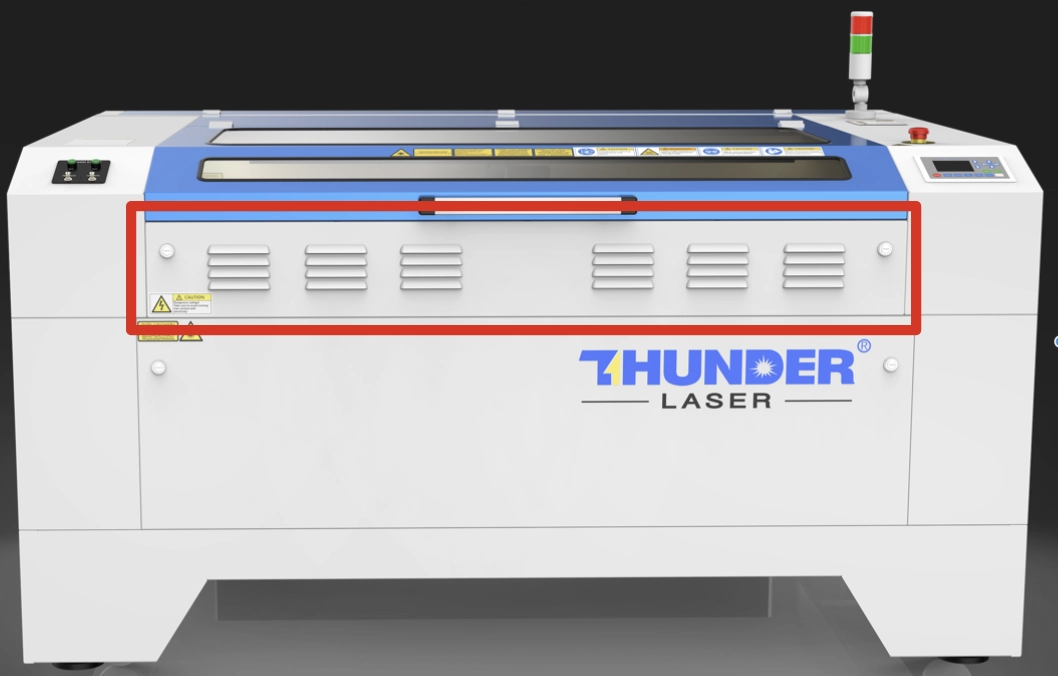
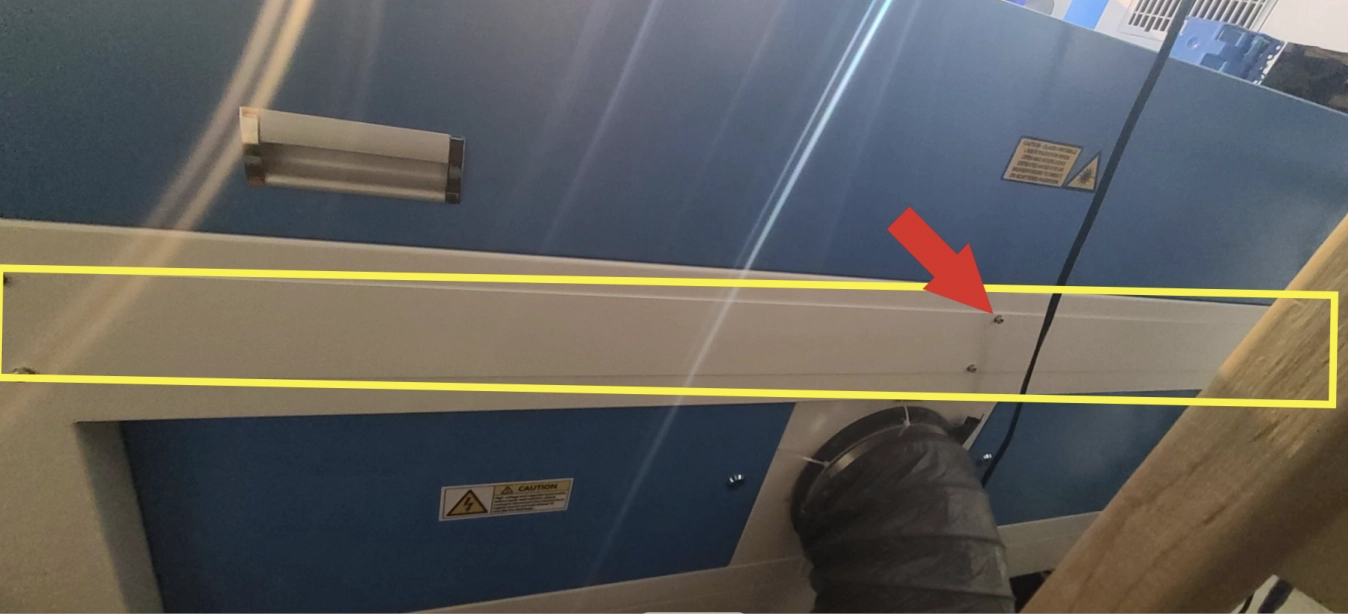
Locate the Front Pass through on your machine


.png "laser cutter Globle") International
International
 United States
 Brasil
 Canada
 Costa Rica
 Mexico
 Česká
Česká
 Romania
 Polska
 Ireland
 Italia
 Lietuva
 Россия
 Deutschland
 Britain
 Україна
 France
 Sverige
 Norway
 Denmark
 Ελλάδα
 Portugal
 한국
한국
 中国
中国
 中国香港
中国香港
 Israel
 中國臺灣
中國臺灣
 ジャパン
ジャパン India
India
 پاکستان
 پශ්රී ලංකා
 ประเทศไทย
 Australia
 New Zealand
 South Africa